


Create a Cottage Christmas Vibe With This Grapevine Wreath Idea
Get ready to create a beautiful and rustic grapevine wreath. I'll take you through each step, showing you how to transform basic greenery and stems into a cottage-style seasonal decoration. Let's get started with this unique grapevine wreath idea.
This post was transcribed by a member of the Hometalk editorial team from the original HometalkTV episode.
Tools and materials
Hometalk may receive a small affiliate commission from purchases made via Amazon links in this article but at no cost to you.
Steps
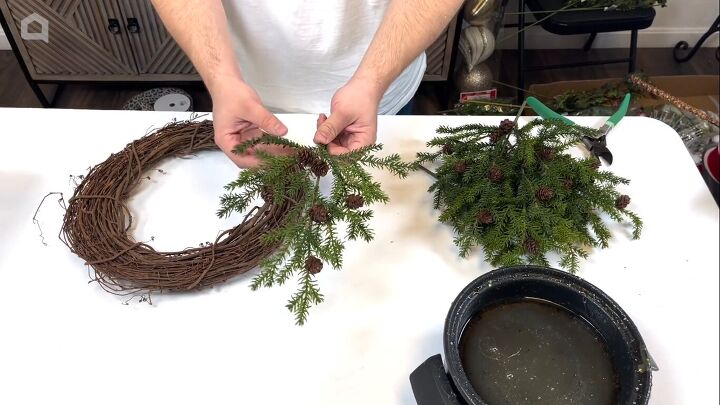
1. Fluff out the pine stems
I just grabbed some products from the warehouse, and I found this beautiful greenery. My favorite thing about this are the pine cones. These pine cones are artificial, so they're not going to be damaged, and they're always going to look pretty.
I just prepped all of the greenery by cutting the stems, removing the tag, and fluffing out the branches.
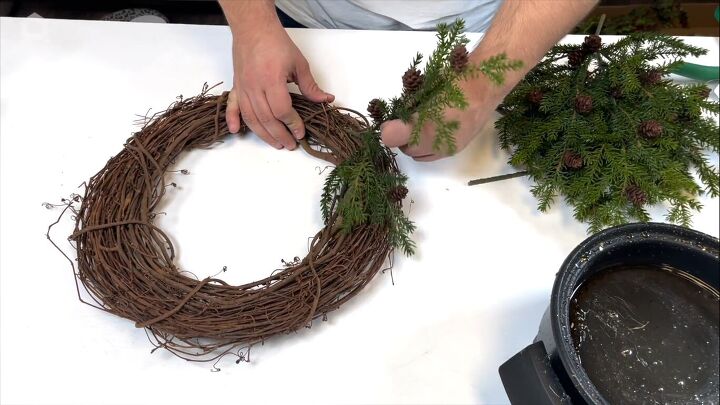
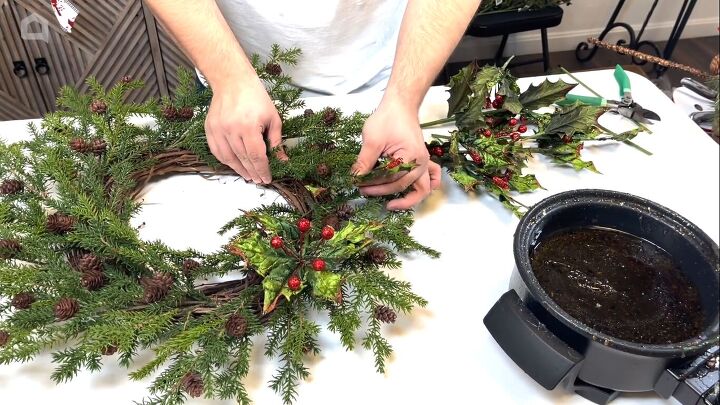
2. Glue the pine stems to the grapevine wreath
Now we can start working these in. Take the stems, dip them in a hot glue skillet, then angle them towards the grapevine.
Always make sure you take your stems and angle them parallel with the grapevine. You never want to take them, poke them in, and then bend them to shape. What ends up happening when you do that is you create a very unsightly back to your reeds.
You want to make sure your reeds are as pretty from the front to the back. So always make sure you angle your stems in that way. If you place this on a glass door, you can see the beautiful backside of the grapevine because it is a beautiful product.
Also, you don't want to scratch your door, friends and family, or your customers. So definitely make sure nothing is sharp sticking out.
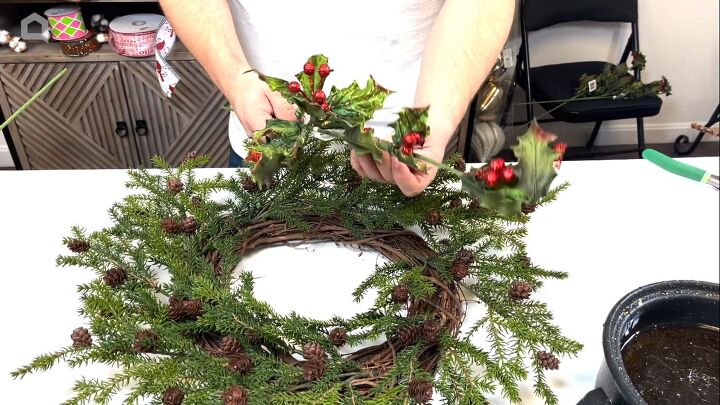
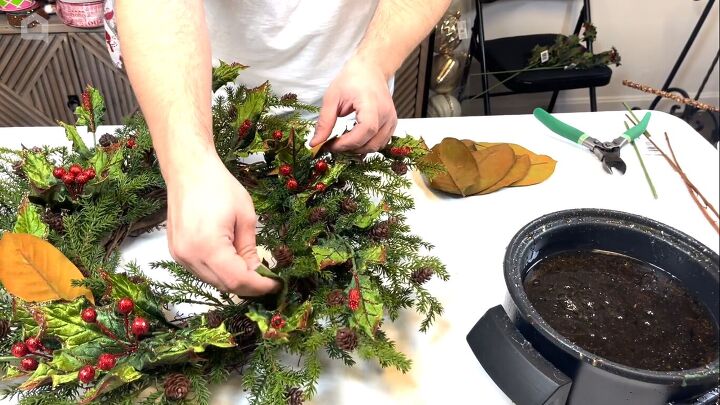
3. Add holly
Up next, it's time for this holly, and we're just going to separate each leaf. These also come with the little berries and curly cues.
Unlike we did with the greenery, we can break this part individually. You can even take individual leaves and work them in. We'll do that to three or four stems, and then we can work them in.
I broke down a total of three stems. I don't think we need any more than that, because we do have our magnolias to work in, followed by some preserved oranges. So we'll just take them and space them sporadically throughout.
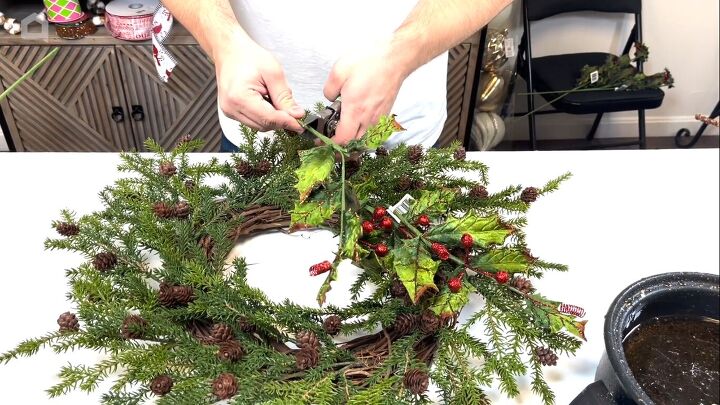
This is a very organic style wreath. We could have actually done without the holly and kept it with just natural products but I do want to add a little bit of glitz to this wreath.
I'm just lifting up some of that existing greenery and poking these stems in. It doesn't have to be perfectly even or perfectly spaced. Open up the leaves and pull them apart. Make sure all those leaves are facing forward so you get the full effect.
The beauty of designing your own wreath is you can stop at whatever point you like. So if you wanted to stop with just the greenery we worked in, you absolutely can. If you want to stop with just the holly, you can do that as well.
4. Add magnolia leaves
Next up we have the Magnolia leaves. I love that these come in slightly different shades within each spray. I broke down two sprays and we can work them in backward. That's going to match the oranges really nicely.
So we'll start with a few leaves backward and then we'll place a few leaves forward as well. This looks incredibly realistic. If you've ever seen real magnolia, it's very similar in style to this.
I'm actually not poking these stems into the grapevine. I'm just hot gluing the surrounding sides, making sure I have enough hot glue.
Tip: you can always change your mind
After saying I would add the magnolia leaves forward and backward, I actually kind of like it just backward.
Always take a step back if you're unsure or if you decide against something. Just because the idea was there initially does not mean you have to follow through with it.
I often see a lot of designers commit to an idea in their heads and feel as though they have to transition that to their design.
That's just not the case, you guys. There are so many different ways of making a wreath that you don't have to follow through with the exact plan you had in mind.
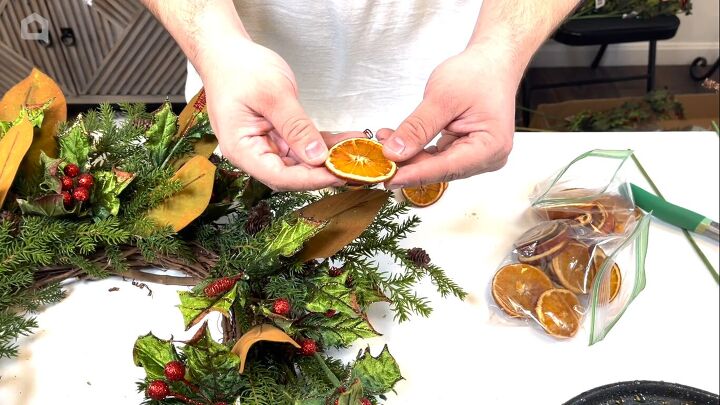
5. Add dried oranges
It's time to work in some of our oranges. Okay, so I'm very, very proud of these orange slices, you guys. I forgot to order them in time, so I made my own.
How to dry orange slices
I cut some oranges, which was very, very difficult, surprisingly, and I let them dry in my oven. I started with 175 degrees, maxed out at 235, then flipped them every hour or so.
Some of them aren't completely dry, so my biggest tip is to make sure that they're similar in size. If they're not similar sized, remove the smaller ones after a certain period of time, or else they'll burn.
Whether you use them or not, I highly suggest you just give that a try. Baking your own oranges just for the scent alone makes your whole house smell wonderful!
All we're going to do is just hot glue them in place; dip them in your glue skillet and secure them like so.
If the orange slices are not completely dry, don't let that concern you. They will air dry over a couple of days. But you do want to get them as dry as you possibly can. That way they don't rot.

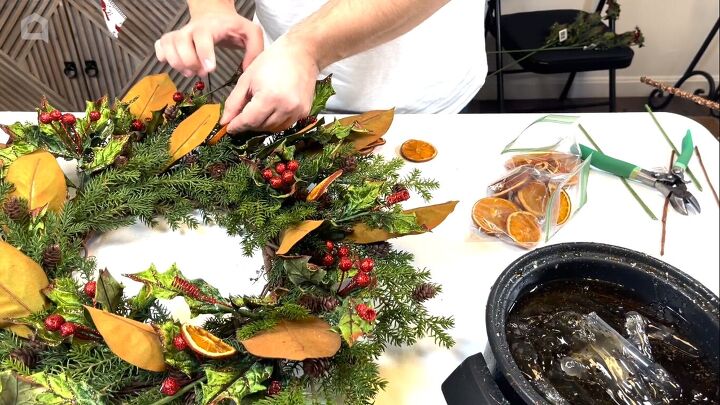
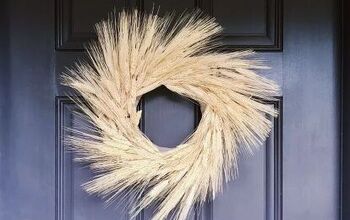
Cottage-style grapevine wreath
Here's how the finished orange, natural, cottage-style grapevine wreath turned out. I absolutely love it. All of the supplies came from our website other than the oranges.
We used three of the magnolia sprays, four or five of the greenery sprays, and three sprays of the holly. One thing we did differently is we took the magnolia and we actually worked in the backside of the leaf, which is kind of an orangey bronze color, which matches the oranges really nicely.
If you want to keep this 100% natural, you don't have to do with the holly sprays because they do have glitter. But I think a little touch of glitter here and there like we've worked in looks really, really nice.
What do you think of this DIY Christmas wreath idea? Let me know in the comments below.


Frequently asked questions
Have a question about this project?