


Festive Painted Cardboard Garland
This post is sponsored by COLORSHOT, all opinions are my own.
Have you ever been shopping and admired a window display so much you wanted to copy it? I often find inspiration from stores and recreate my own version. One holiday season a store had a pretty, magical garland made of metal with leaves and stars hanging from it.
I’ve been wanting to remake the garland and challenge myself by using items that I already have around the house. Something we seem to have in abundance all of the time is cardboard! Could I use cardboard to make garland that feels just as enchanting as the one I saw??
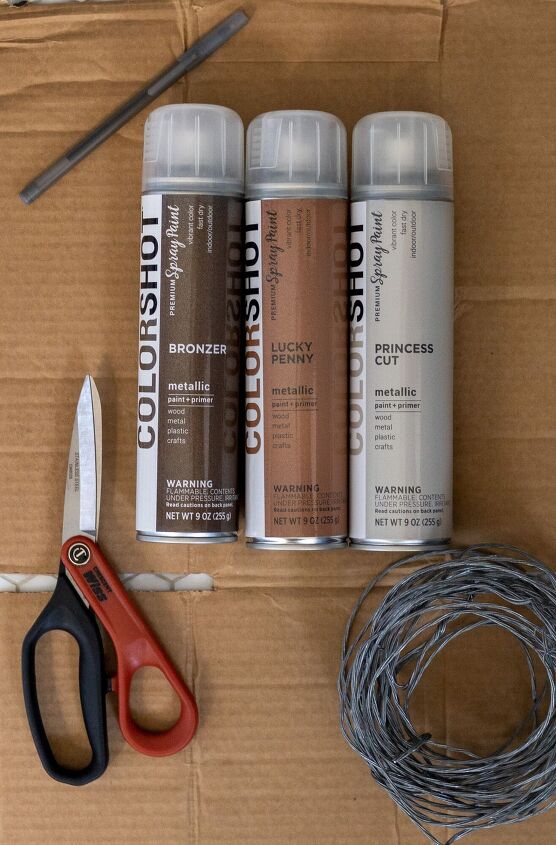
I gathered boxes destined for the recycle bin,left-over wire from another project, utility shears, and metallic spray paint colors.
I also used a glue gun.
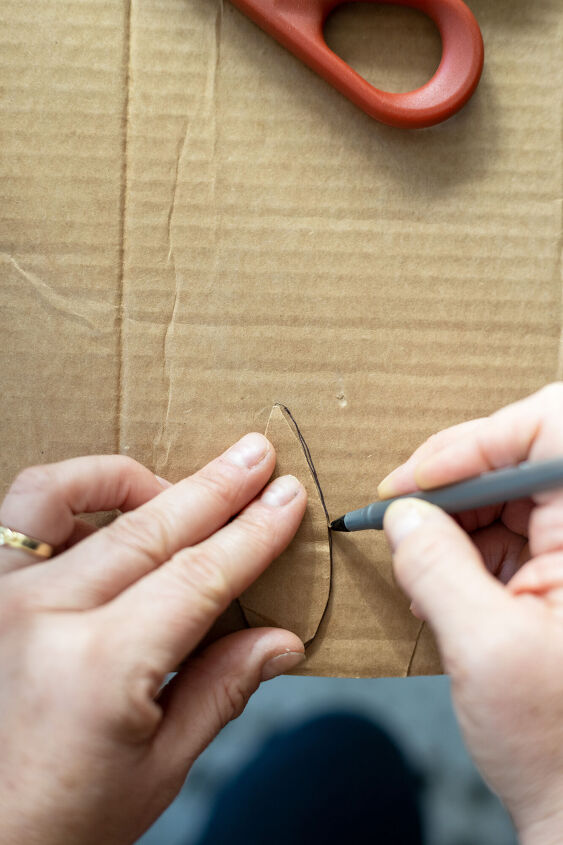
Drawing freehand, I made a small, medium and large leaf template.
I then used these to trace rows of leaves.
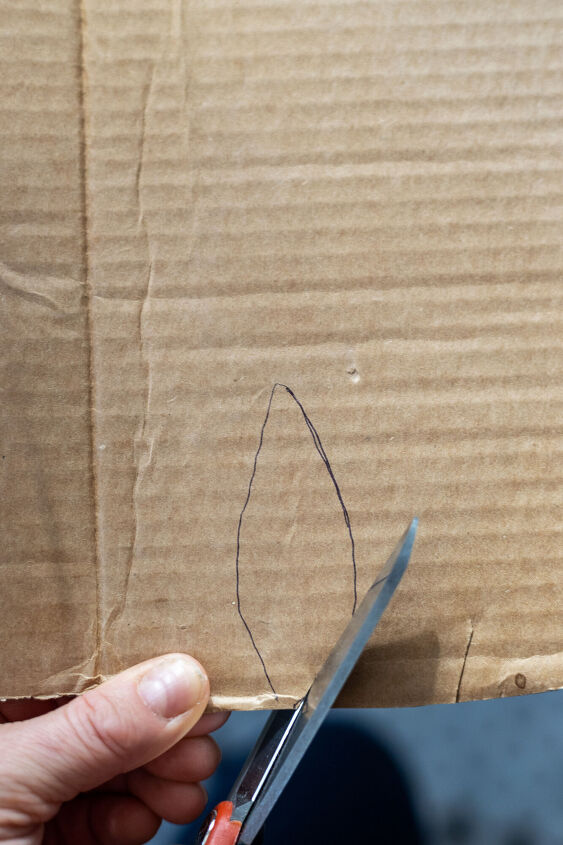
Make sure you have sharp scissors to cut through the cardboard.
Older children might be able to help with this project.
Could be a fun thing to do on a cold day!
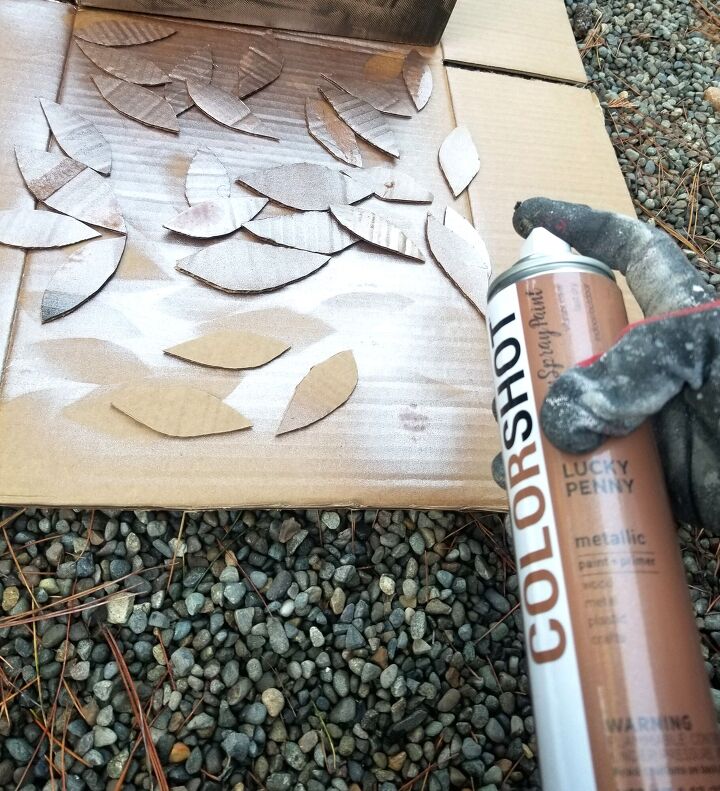
I debated this step. I considered spraying the cardboard, and then tracing the leaves. However I worried that this method would waste too much spray paint.
So I cut the leaves, then painted. The one hiccup with doing the steps in this order is that the smallest leaves would blow around from the force of the spray paint. Pretty minor, but still worth noting.
If using a spray paint, make sure to work outside/in a well ventilated area. And always read product instructions beforehand and note temperature restrictions and drying times.
Shake the spray can vigorously for 1 minute after the mixing ball begins to rattle. Seriously, 1 minute. If using a highly pigmented spray paint like COLORSHOT, shake often during application to keep the color mixed.
Hold the can 6”-10” from the surface of your item and spray in smooth, even strokes. Apply 1 coat at a time, waiting a few minutes between coats.
Luckily the dry time of the COLORSHOT spray paint is 10 minutes to touch - without any added toxic drying chemicals - which makes it really easy to work with! I was able to flip the leaves to paint the other side. After 24 hours the paint is fully cured and ready to work with!
This next step had me thinking of how best to show the leaves. I experimented with placing holes in the middle of the leaves. This didn’t show enough of the leaf.
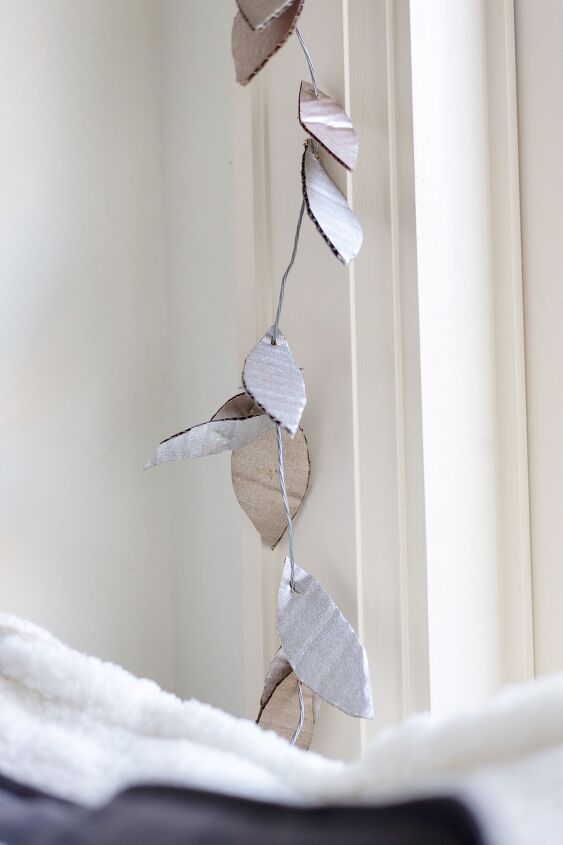
Piercing holes at the top gave the best look. And varying the height of the holes added more interest than being strung uniformly.
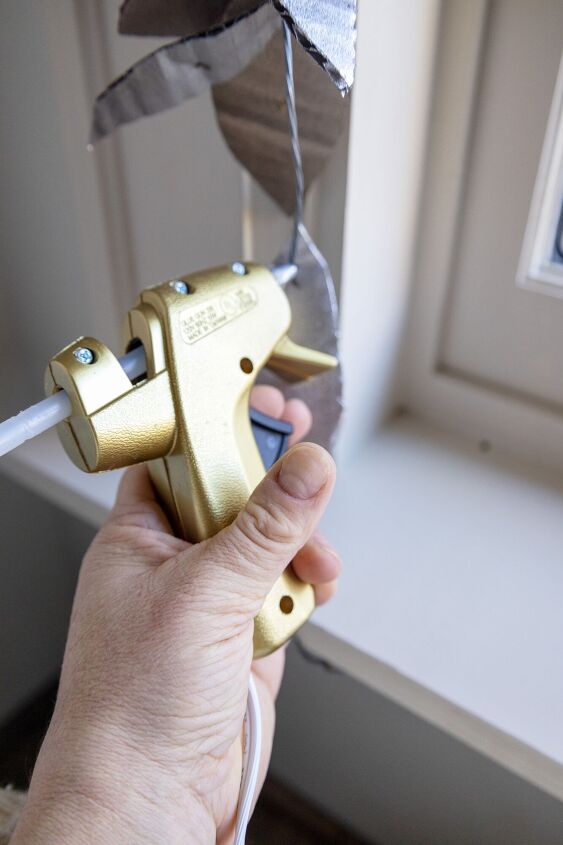
Next, apply small dabs of hot glue to secure leaves to the wire.
I found that I didn't actually need to glue all of the leaves. Since the wire is able to hold a bent shape, the leaves stay in place rather than sliding.
I used COLORSHOT spray paint in Lucky Penny, Bronzer and Princess Cut to paint the leaves, and I love how much coverage and durability just one coat provides. Some parts of the cardboard had printing in black ink and a few passes even covered that.
Overall I used pieces from two different cardboard boxes. Some parts were too bent or had tape that was difficult to remove.
After worrying that I would run out of spray paint, I definitely have more than enough!
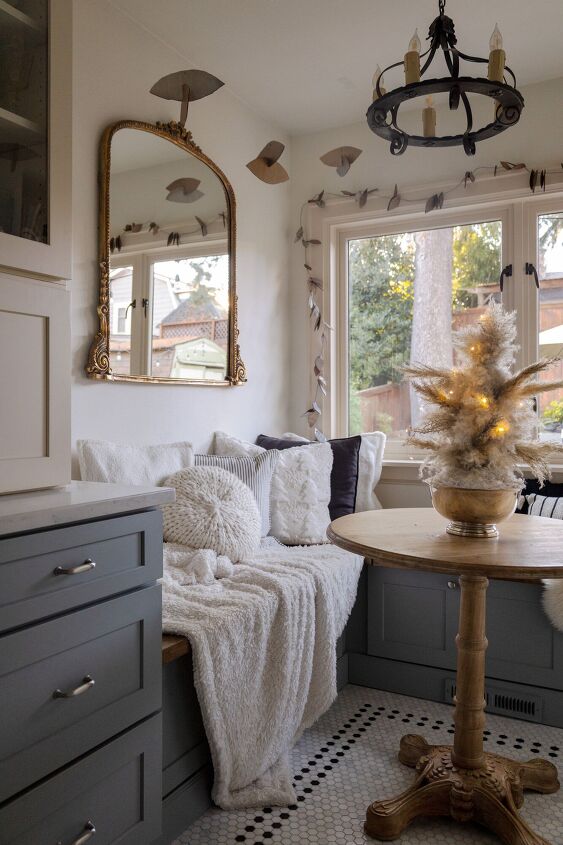
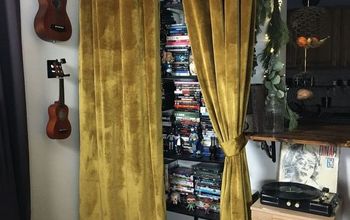
Here is the garland hanging in our breakfast nook!
I like to decorate this area to brighten up the dark winter mornings. It makes getting ready for the day just a bit more pleasant. Then at night, it is a nice and cozy spot for my son to sit while dinner is being made.
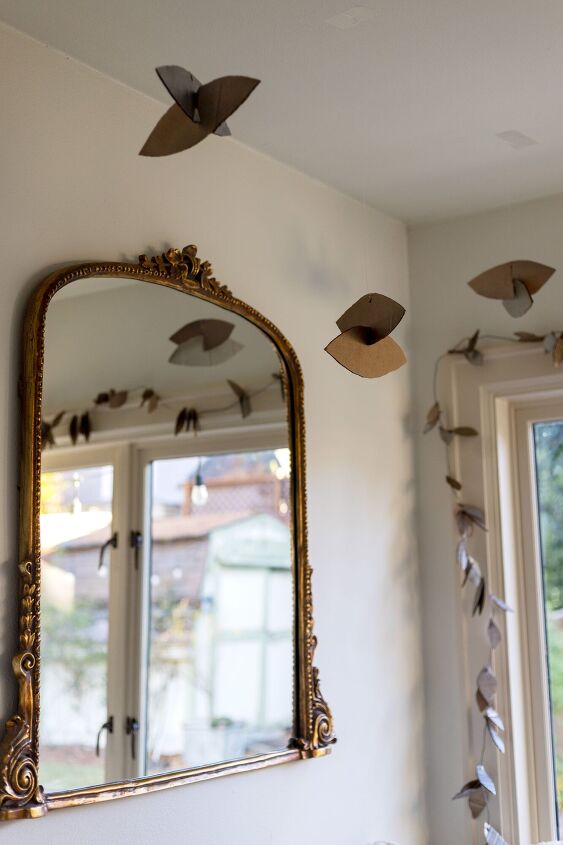
While making the garland I had another idea!
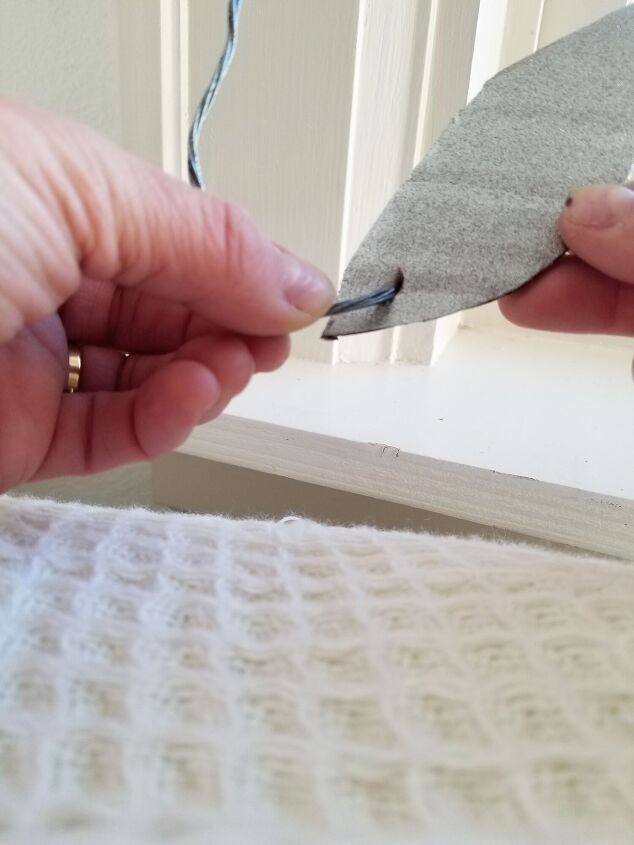
Using two of the large leaf shapes, I cut a slanted notch in one.
Then I slid a second leaf into the notch.
These can also hang from windows.
Now that my youngest is crawling around, I need decorations that are out of her reach!
Thanks for reading! Hope you are inspired to get crafty!
Resources for this project:
See all materials


Comments
Join the conversation
-
Battery operated twinkling lights would be beautiful in the evening hours. Great recycling job.
-
I love your built in & imagining the lovely kitchen it’s next to. Looks like an inviting place to live in and gather with family. We’ll done!


Frequently asked questions
Have a question about this project?