


DIY Decorative Plate: How to Make a High-End Stone Tray
Are you looking for an easy and affordable way to elevate your home decor?
Making a faux stone tray is a great option to add a touch of luxury to your living space. With just a few simple materials and this step-by-step tutorial, you can create a stylish and high-end looking tray that will impress your guests.
This post was transcribed by a member of the Hometalk editorial team from the original HometalkTV episode.
So, grab your supplies and let's get started on making a beautiful faux stone DIY decorative plate for your home.
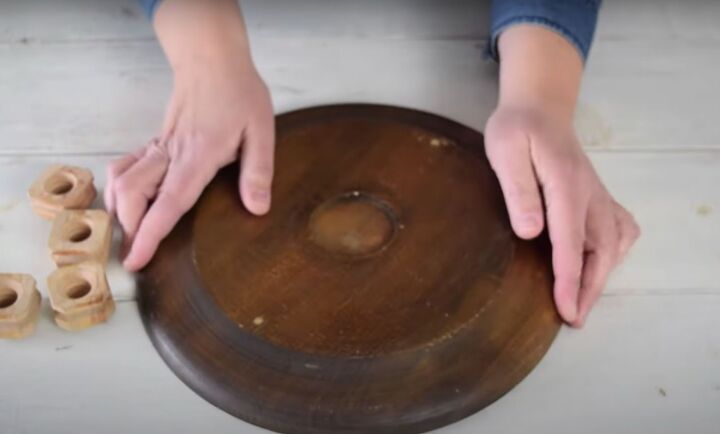
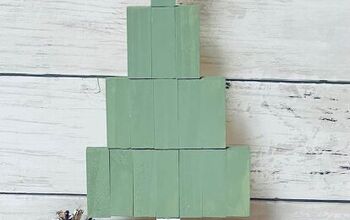
1. Attach the Wood Pieces
To start creating the stone-look DIY decorative tray, I first turned it over, so the bottom was facing me.
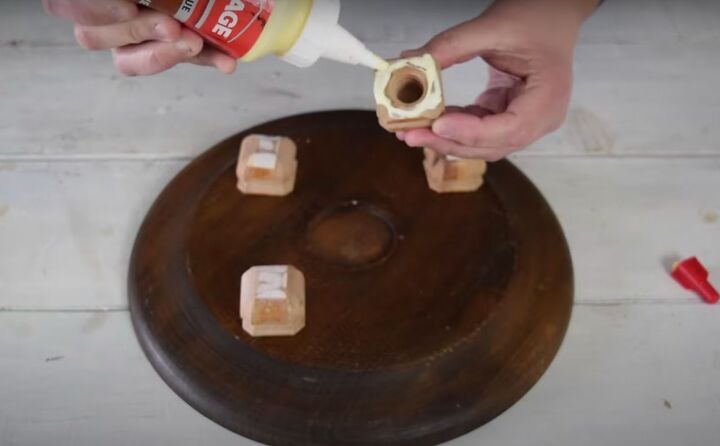
Next, I glued 4 small wood pieces to the bottom. They are easy to attach using a bit of wood glue. Line them up with the little lip around the edge of the tray.

2. Let the Glue Dry
With all four feet in place, I went ahead and let the glue dry. Lay a heavy book on top while they are drying to hold them in place.
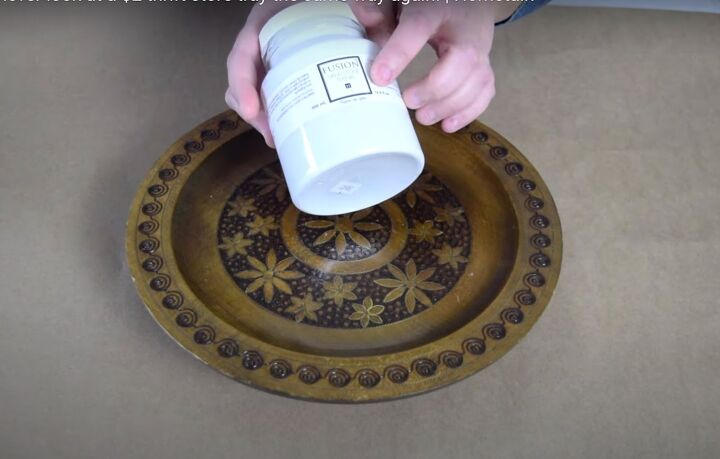
3. Apply the Sandstone Texture
Once the wood glue had time to dry, I removed the book and got ready to create the beautiful sand texture.
I used a product by Fusion called Sandstone texture. If you don't have Sandstone texture, you can always use regular paint and just add some sand to your paint as it will give it the same kind of gritty texture.
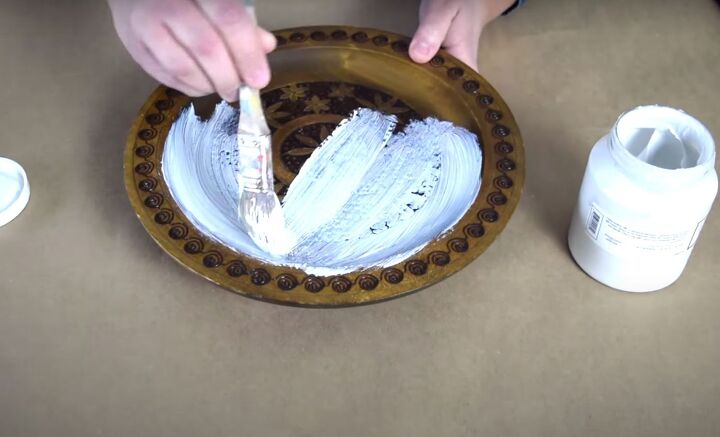
The Sandstone texture was painted onto the entire tray except for the very bottom of the feet. It is easy to apply with a small paintbrush.
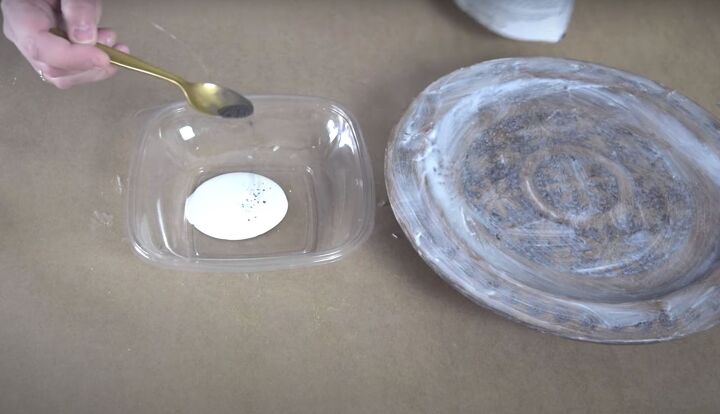
4. Add Paint
Once the Sandstone dried, there was a beautiful gritty texture to the tray, and it was ready to paint.
I wanted the tray to be a grayish color so I added a hint of black milk paint powder to some white craft paint. You could easily do this with black or grey craft paint as well. The milk paint, because it is used in its powdered form, adds some extra texture to the paint.
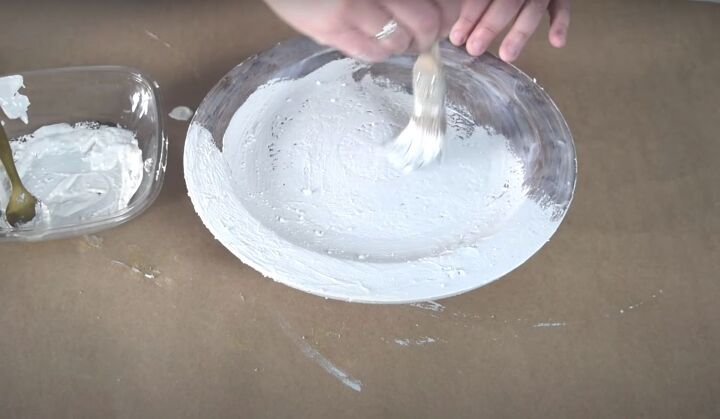
With the paint mixed, I painted the bottom of the tray first and then turned it over and finished with the top. When it is completely covered, leave it to dry overnight.
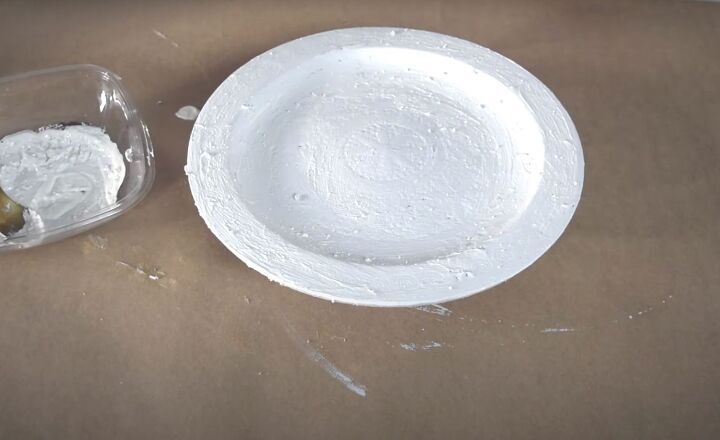
5. Finish and Enjoy
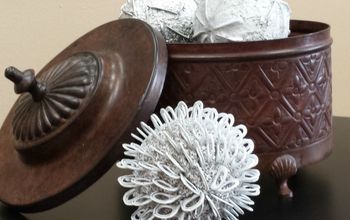
You don’t need to do anything else to it after that. The Sandstone texture and the texture from the milk paint powder create a beautiful surface that looks like stone when it is dry.
More of My DIY Decor Projects
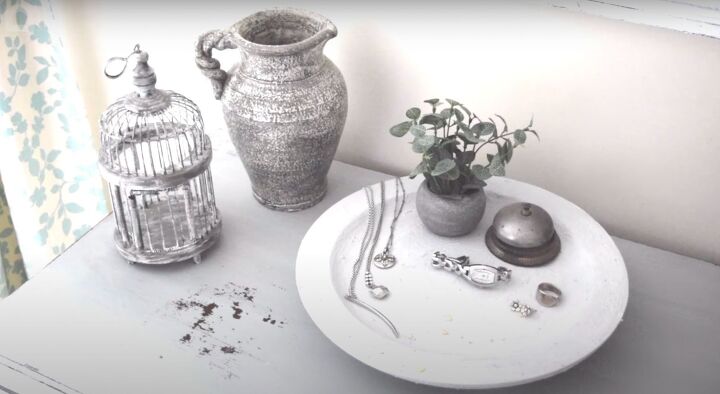
I am absolutely thrilled with how this DIY decorative plate turned out. This thrift store find now looks like a high-end stone tray that I paid a lot for. It was so easy to create, and I hope that the next time you're at the thrift store, you'll be inspired to pick up any sort of tray, whether it's metal, glass, or wood, and make your own faux stone tray.
If you love thrift finds as much as I do, grab my new downloadable cheat sheet "10 Things to NEVER Pass Up At the Thrift Store" here...
For more thrift and dump find projects, be sure to check out the Recreated Designs blog here...
Resources for this project:
See all materials


Comments
Join the conversation
-
Oh I finally can relate to this! I might even step out of my comfort zone and say I am going to try this. Thank you for the inspiration! Simple elegant and made by me!
-
It looks pretty but I wish there was a close up.


Frequently asked questions
Have a question about this project?