


A Step-by-step Guide to Decorating With Upcycled Cookie Tins
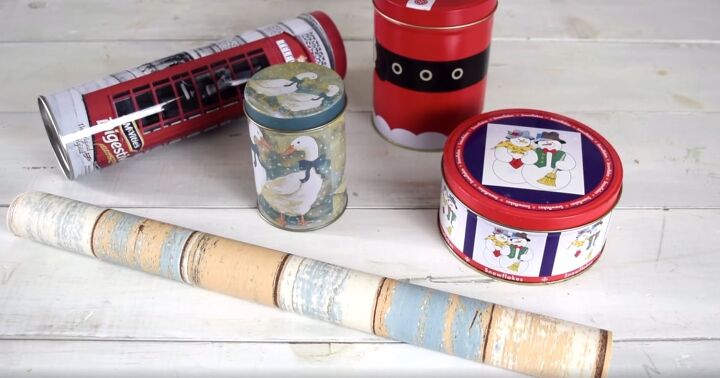
It's that time of year again when the holiday season has come and gone and you're left with a pile of empty holiday cookie tins from Christmas gifts. Instead of throwing them away, let's upcycle them into functional storage containers.
This post was transcribed by a member of the Hometalk editorial team from the original HometalkTV episode.
In this tutorial, I will show you how to use contact paper to repurpose cookie tins into stylish and practical organizing solutions that you can use in your home.
This easy DIY project is affordable and environmentally friendly; all you need is a roll of contact paper and your creativity. I chose a paper with a wood grain, but these would look gorgeous with faux marble contact paper or even metallic contact paper. The choice is yours!
1. Clean your cookie tins
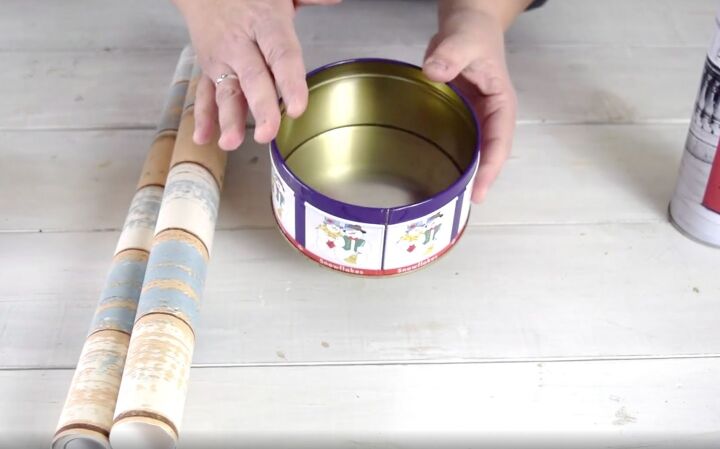
To start, you need several cookie tins and you want to remove the lids and make sure they are nice and clean.

2. Measure and cut the contact paper
I wanted to make the stripes of my contact paper go up vertically on my tin but you can do it either way.
To measure how much I needed, I unrolled the contact paper and used the grid on the back as a guide. Most peel-and-stick contact papers have grids on the back, so they're super handy to use.
3. Applying contact paper
When you're working with contact paper, it's always easiest to start on one side and not to peel the back off all the paper all at once. This will keep it from sticking to the surface you're putting it on.

To cover my tin with the decorative contact paper, I started at the back where the seam of the tin was. As I rolled the tin over the contact paper, I also pulled off the backing at the same time.
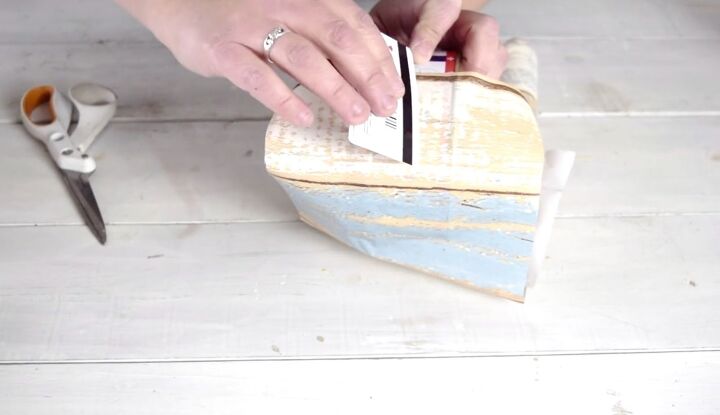
I made sure to smooth out any air bubbles along the way as well as crease the edges.
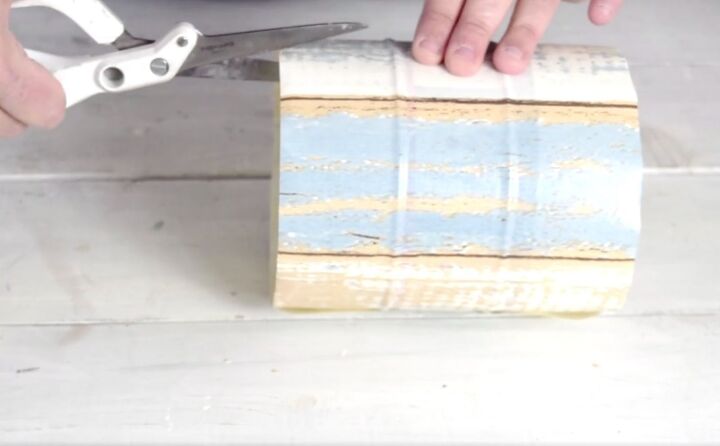
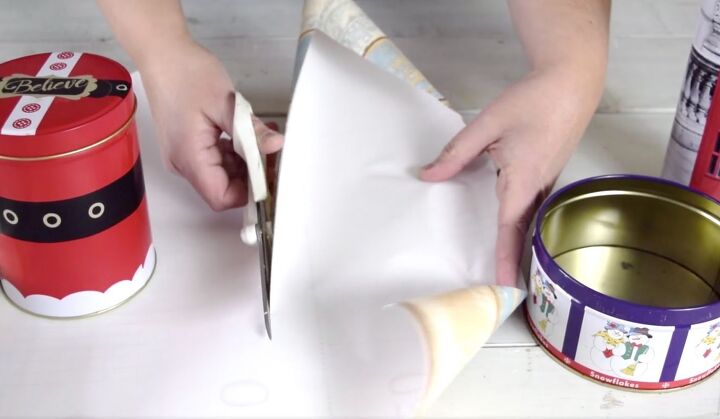
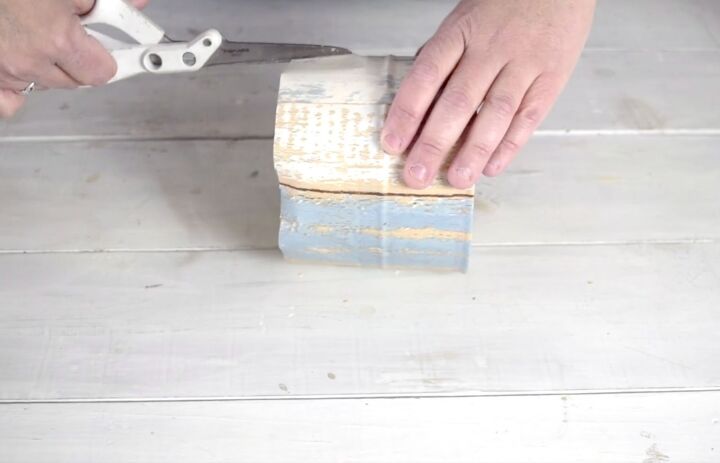
With the sides covered, I moved onto the bottom. To make the bottom smooth, I took a pair of scissors and made little cuts all around the contact paper that was hanging off.
I made the slits fairly close together so that when they are turned over the bottom they laid flat.
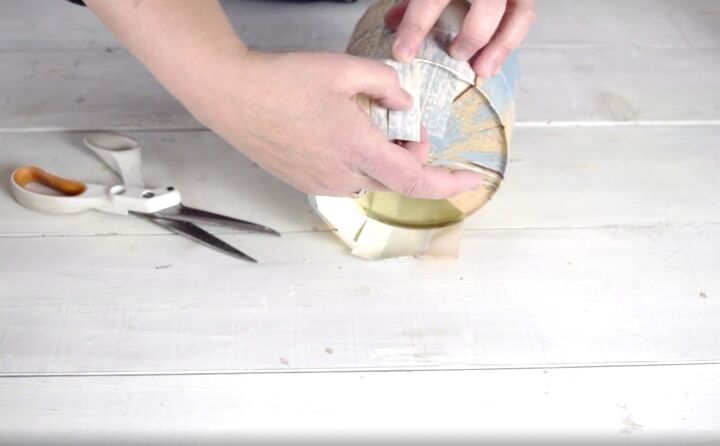
When I had all of the little flaps stuck to the bottom, I ran my fingers around to make sure I had a nice crisp seam and no bubbles.
Next, I moved onto the top. Again, I made some little slits all around the entire top in case they overlapped at all when they were folded down. They shouldn't overlap on the top but I wanted to give them the flexibility to do so.
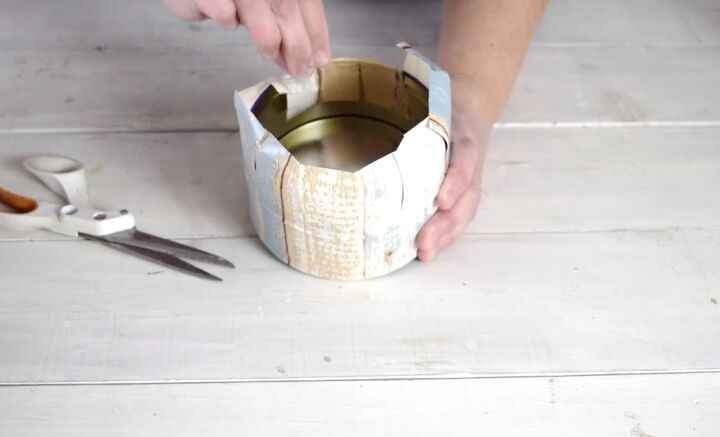
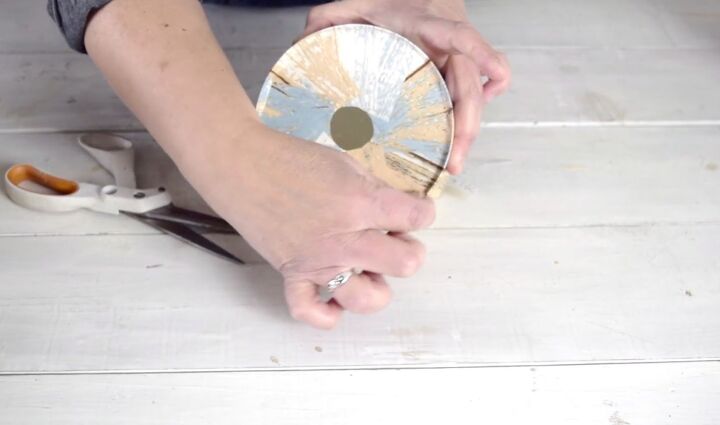
Then I turned down all of the flaps and smoothed them out on the inside of the tin.
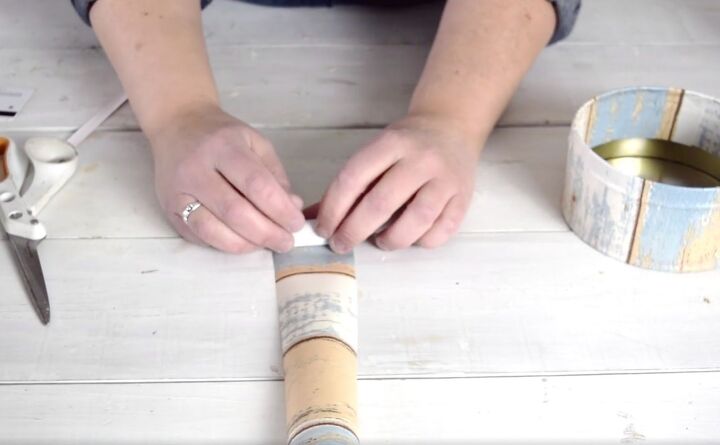
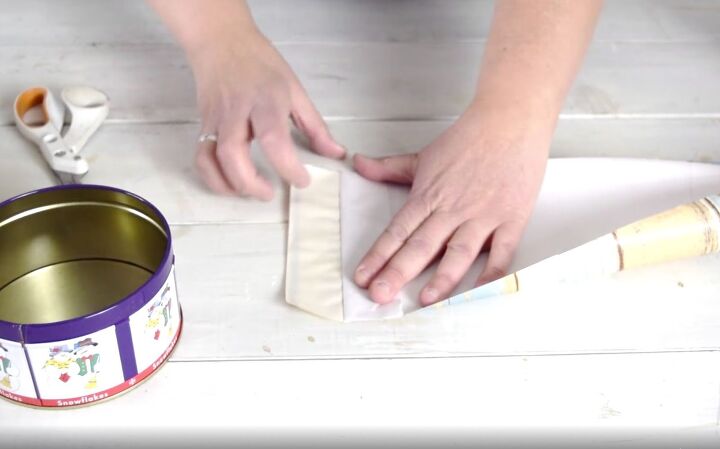
Since I planned on using my tins without any lids, I wanted to finish off the inside and make it look really nice. I cut an additional piece of the decorative contact paper a little thinner than the width of my tin and then used it to line the inside. If you are keeping your tins closed and using the lid, you don’t need to finish off the inside.
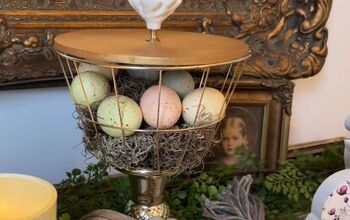
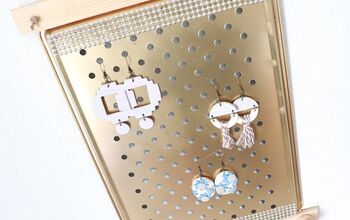
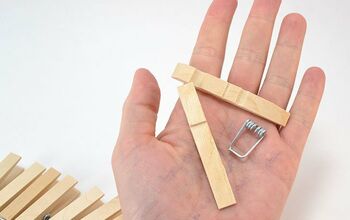
More Recycling Ideas
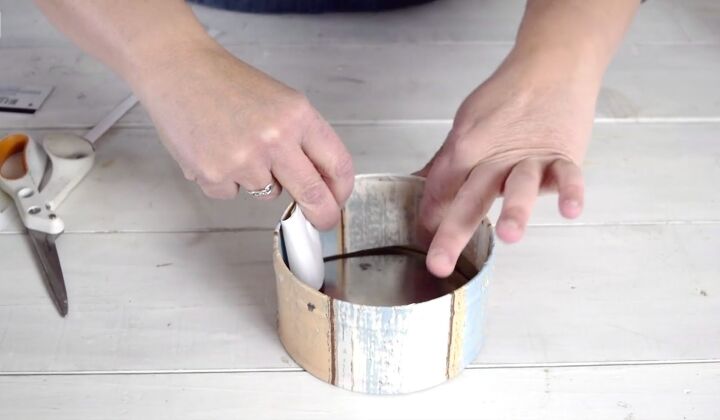
To attach the piece to the inside, I found it easiest to roll it up inside out and then peel the backing off slowly as I stuck it in place. Rolling it up inside out made it much easier to work with in such a small space.
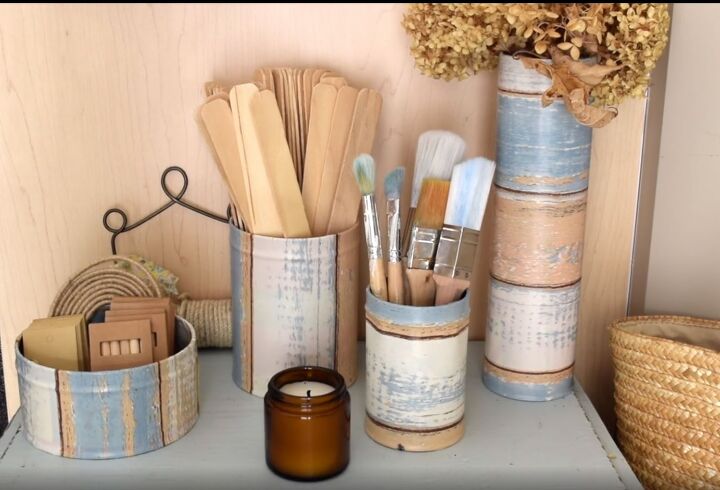
Cookie tin craft idea tutorial
This contact paper project is a fun and creative way to upcycle cookie tins, giving them a second life as practical storage containers. Not only is it a budget-friendly solution, but it's also a great opportunity to add a pop of color or pattern to your living room or kitchen countertops.
It was so easy to use the decorative contact paper to recreate my Christmas tins. I love that it can be easily taken off if I ever change my mind.
I hope that you enjoyed this contact paper DIY idea and give your own cookie tins a brand new purpose.
For more upcycling and thrift projects, be sure to visit Recreated Designs and follow on Hometalk above.
If you love to thrift, grab my "10 Things to NEVER Pass Up at the Thrift Store" guide here...


Comments
Join the conversation
-
I still have some like these from my grandma, who used shelf paper, and she’s been gone 23 years. :)
As a tip, she used lidded coffee cans (and other things with lids) and would also cut out a circle sized price to cover all but the rim of the top.
The plastic coffee can lids didn’t hold up to years of usage. But metal twist top ones did.
I’m going to dig out the coffee cans and paper the insides and use them for decor storage. :)
-
Great Job and such a good idea! Have been doing this for years.


Frequently asked questions
Have a question about this project?