


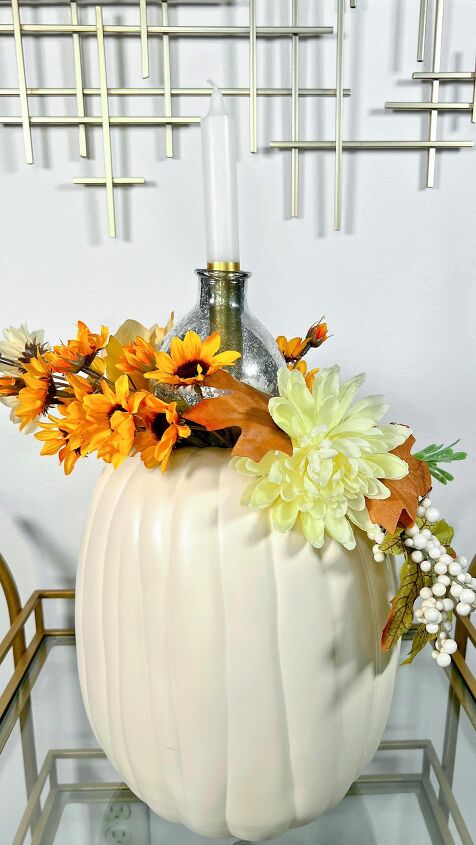
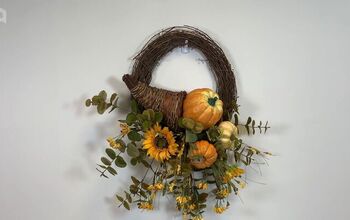
How to Make Cute DIY Fall Pumpkin Decor in a Few Easy Steps

Hello, everyone! Today, I'm excited to show you how I created this adorable DIY fall pumpkin décor. While you may not have the exact same materials as me, feel free to get creative and adapt the steps to your available resources. Let's get started!
Tools and materials:
- A large Styrofoam pumpkin
- A glass for tracing
- X-Acto knife or craft knife
- Silk flowers in a fall assortment (leaves, branches, accents)
- Small bulb-shaped candle holder
- A candle
- Hot glue gun and glue sticks
- Paints and brushes for decorating the pumpkin (if desired)
Steps

Step 1: Prepare Your Materials
Before diving into the project, make sure you have all your materials handy and a clean workspace to work on.
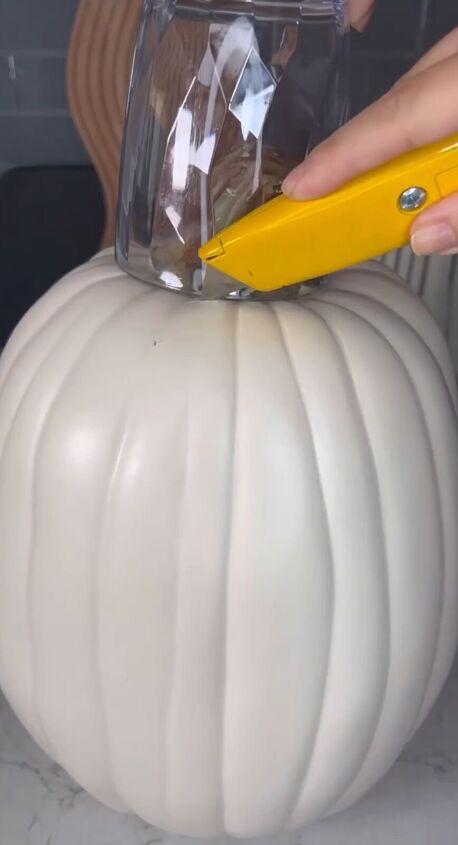
Step 2: Trace and Cut a Hole
Begin by taking the glass and using it to trace a circle on the top of your Styrofoam pumpkin. This circle will serve as the opening for your floral arrangement.
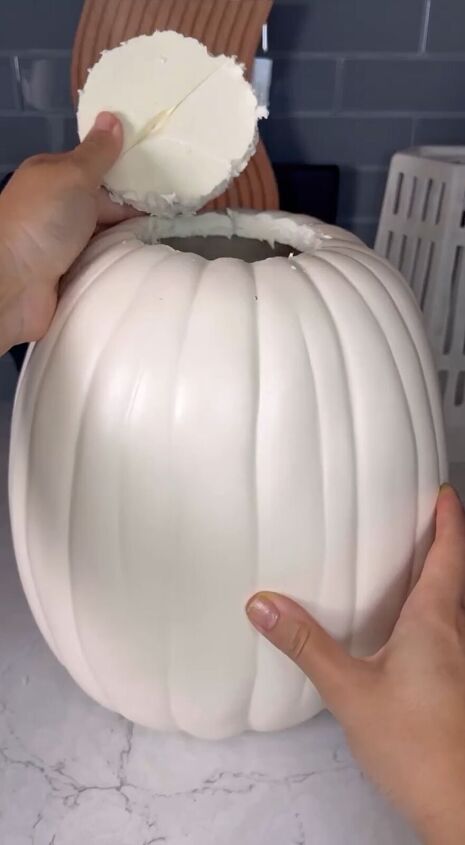
Once you've traced the circle, carefully use your X-Acto knife to cut along the traced line. Be cautious and take your time to avoid any accidents. You may need to make several passes to cut through the Styrofoam completely.
Step 3: Decorate the Pumpkin (Optional)
If you'd like to add a personal touch to your pumpkin, consider painting or decorating it. You can use acrylic paints and brushes to create a unique design or color scheme that matches your fall theme.
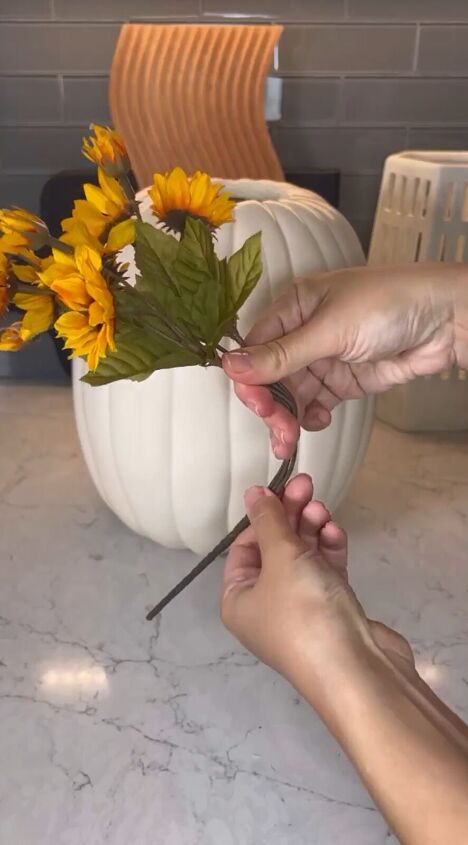
Step 4: Prepare Your Silk Flowers
Gather your silk flowers, leaves, branches, and any other accents you have chosen for your fall arrangement. You can find a variety of fall-themed silk flowers at craft stores.
Trim the stems of your silk flowers and arrange them in a way that you like. Get creative with the placement, mixing different colors and textures to achieve the perfect fall look.
Step 5: Secure Everything with Hot Glue
Using a hot glue gun, apply a small amount of hot glue to the base of each silk flower and press it firmly into the Styrofoam pumpkin around the opening you cut earlier.
Be cautious when using the hot glue gun to avoid burns, and work one flower at a time to ensure a secure and neat attachment.
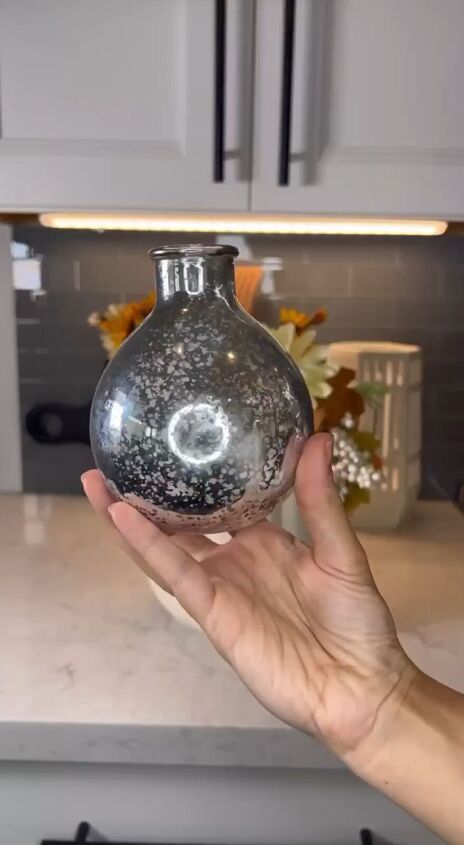
Step 6: Add the Candle Holder
Place your small bulb-shaped candle holder in the center of your floral arrangement. This will serve as a holder for your candle, adding a warm and cozy touch to your décor.

Carefully insert a candle into the holder. Ensure that it's secure and sits at the desired height within your arrangement.
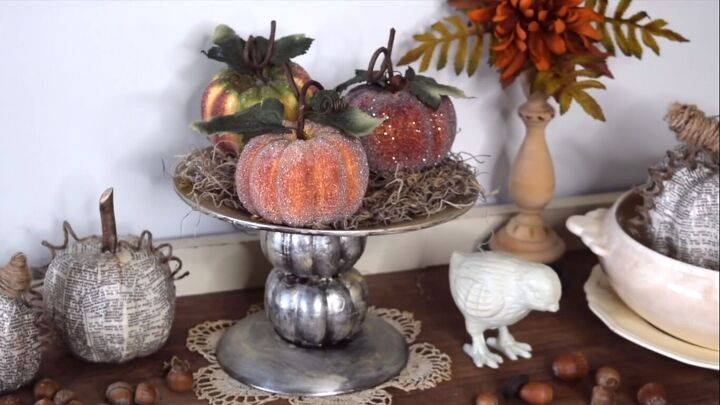
Step 7: Display Your Fall Pumpkin
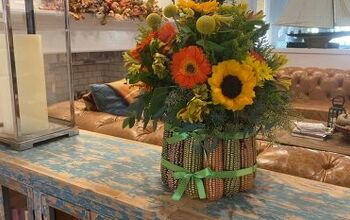
Once you're satisfied with the arrangement and any additional decorations, find the perfect spot in your home to display your beautiful DIY fall pumpkin décor. It makes for a charming centerpiece or accent piece on a mantel, table, or shelf.
DIY fall pumpkin decor
That's it! You've successfully created a lovely DIY fall pumpkin décor piece to add warmth and seasonal charm to your home. Feel free to experiment with different flower combinations and decorations to make it uniquely yours. Enjoy the autumn vibes!
Follow @elnazhamai on Instagram for more DIY ideas.
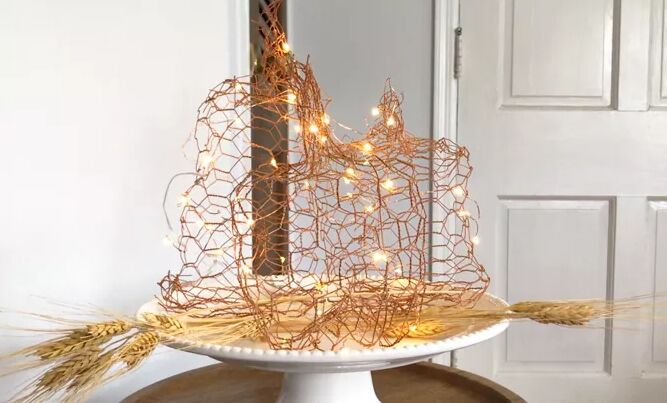
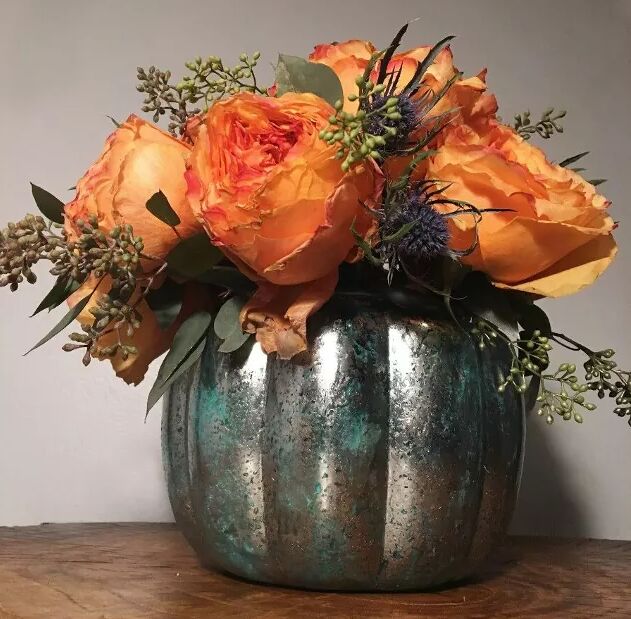
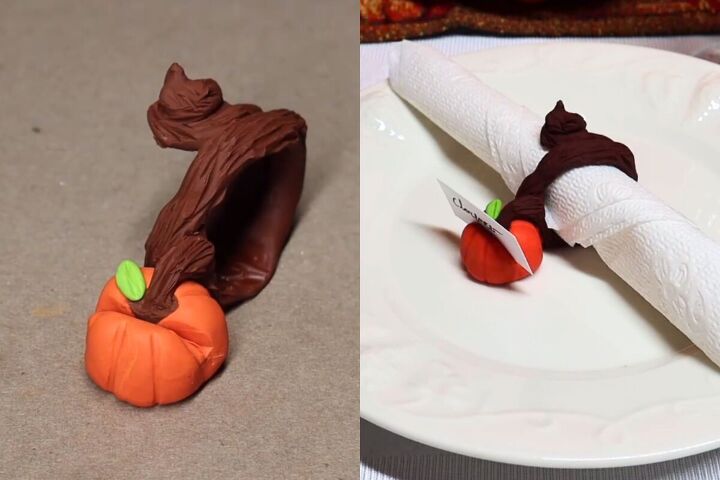
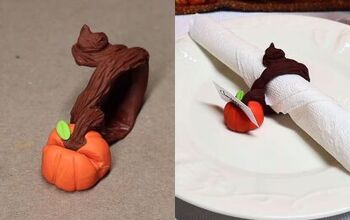
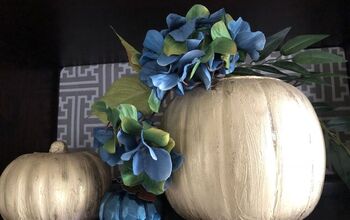
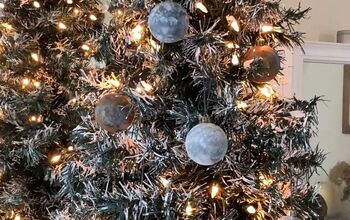
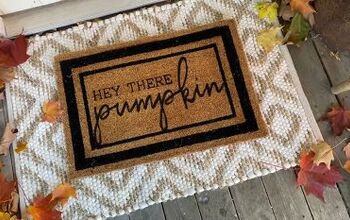
DIY fall project ideas
For more creative autumnal decor projects, discover Hometalk's best DIY pumpkin ideas
DIY pumpkin ideas


Frequently asked questions
Have a question about this project?