


Dollar Tree Lamp Makeover

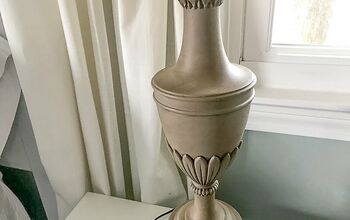
These Dollar Tree lamps are great for a makeover. The shade is the perfect shape for decoupaging and the base leaves room for some special extras.
Let’s get started.
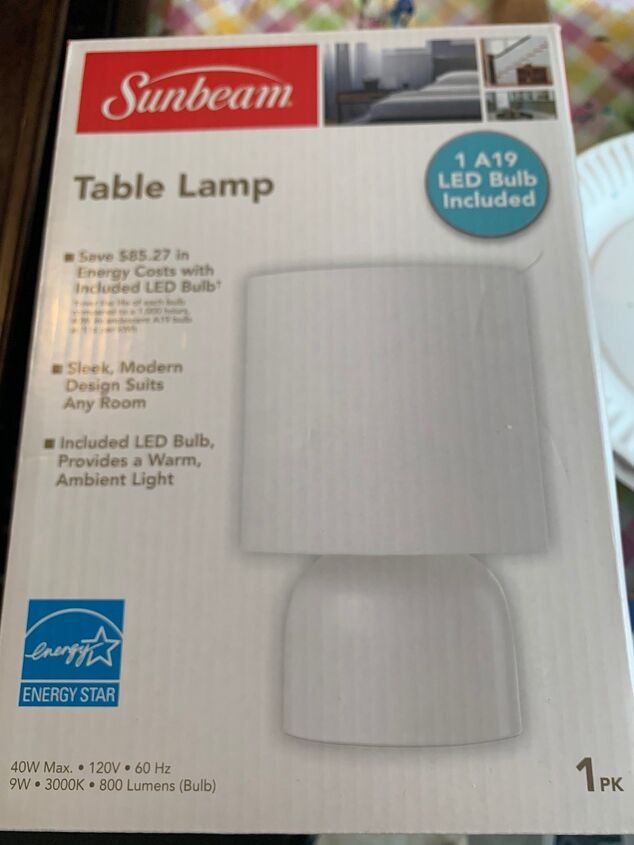
These lamps can be hard to find at the Dollar Tree. But I was told that they also sell them on Amazon.
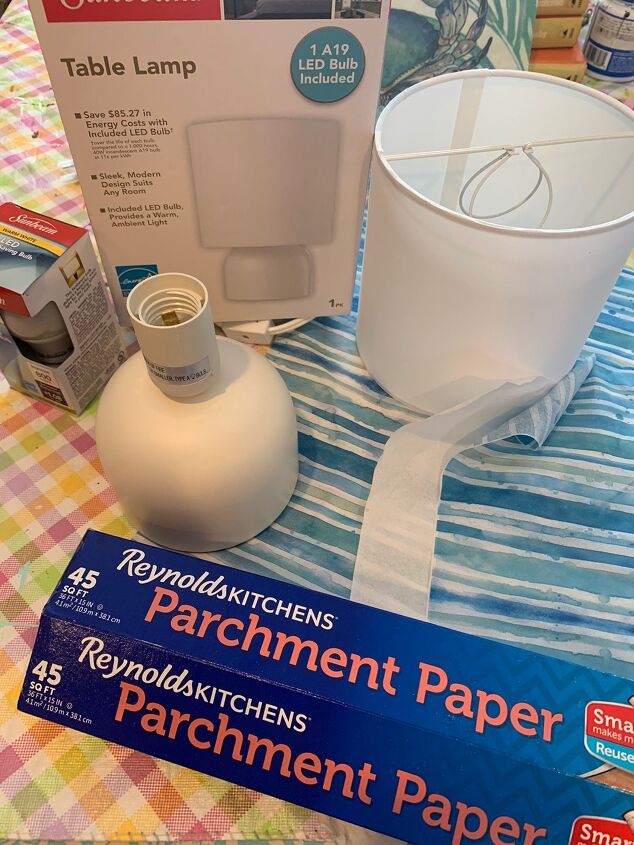
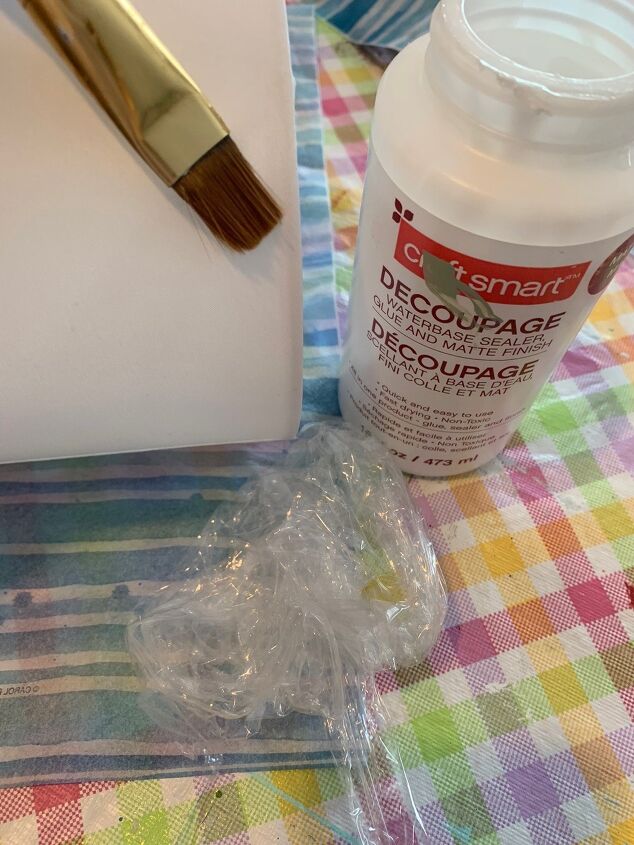
I’m decoupaging the shade so I need a pretty paper napkin and some decoupage medium. I used air dry clay, glue and paint for the sea shells I added to the base of the lamp.
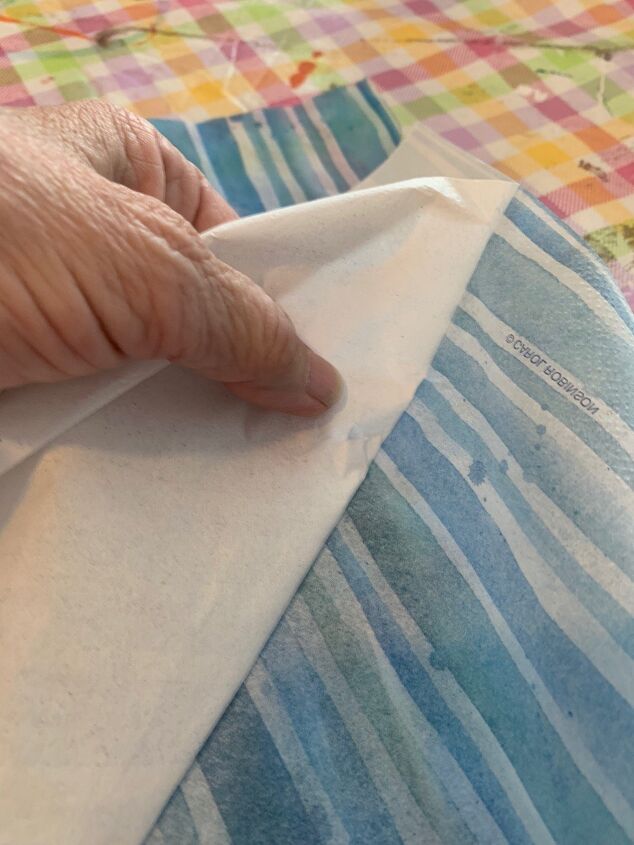
First I peeled away the white layers of the napkin.
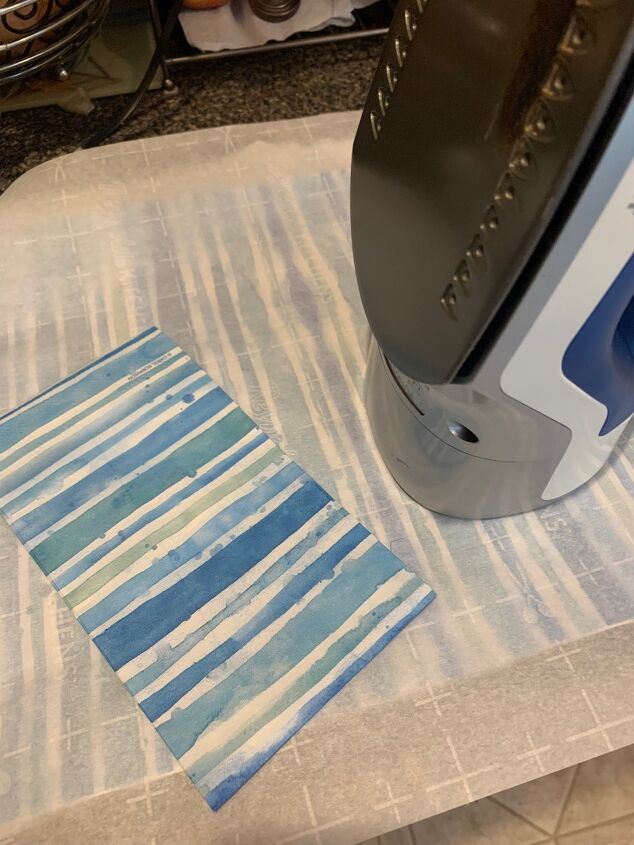
Next I used an iron to iron out the folded marks.
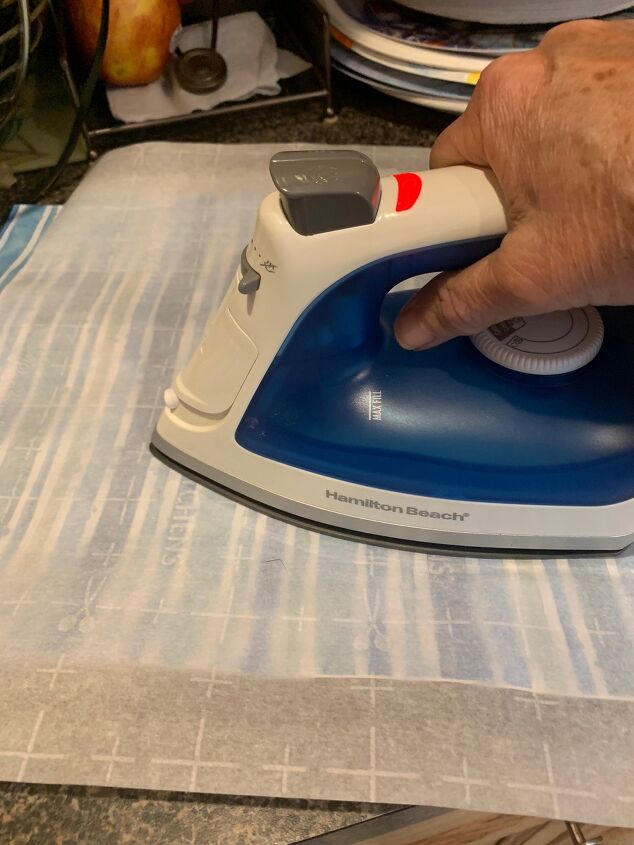
I put a piece of parchment paper on top of the napkin first. I ironed the napkin to make sure it would be nice and smooth on the shade. I may try not ironing it first next time to see if I can still get good results.
The napkin is longer than the shade. I attached the napkin with a little bit extra to fold over on the top and let all the extra hang over on the bottom.
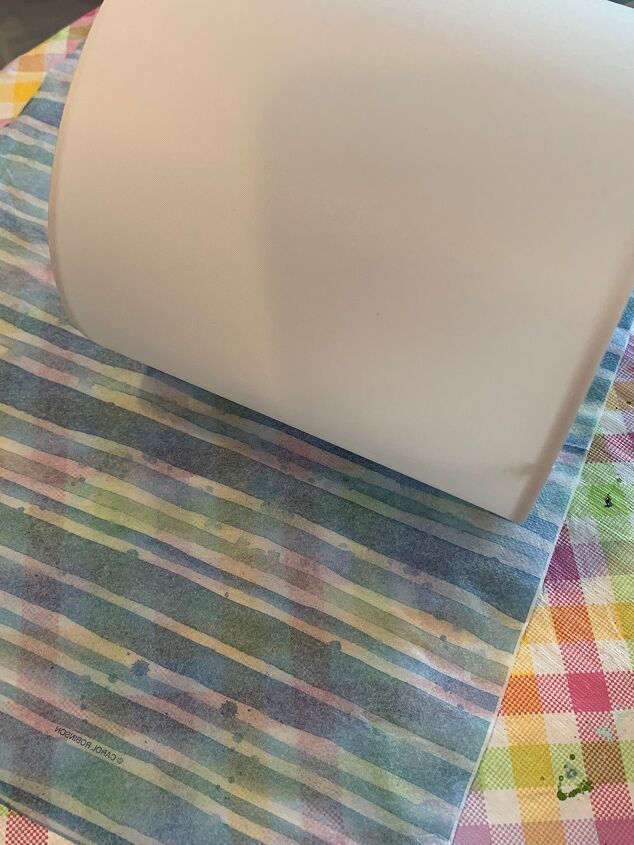
I think you can see it better in this picture.
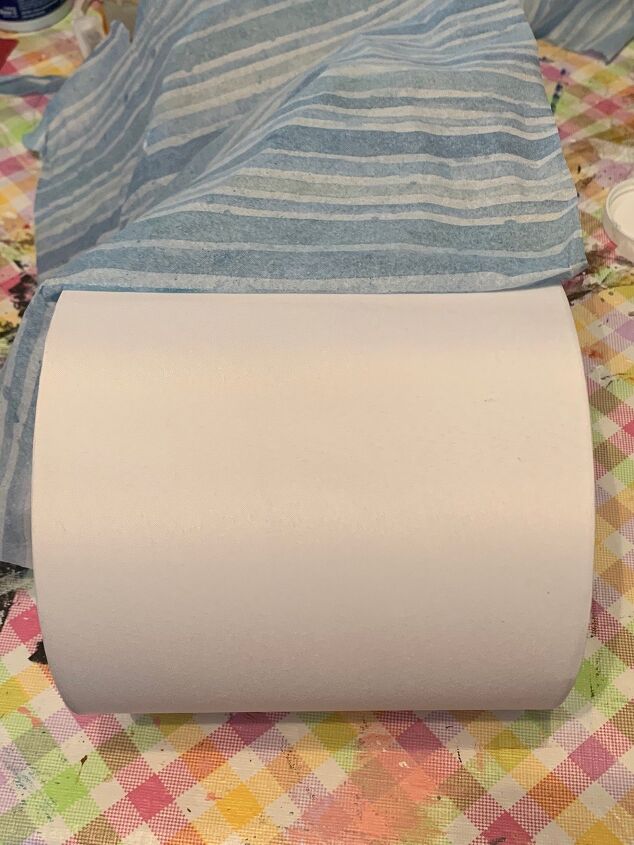
Apply a thin coat of the decoupage medium on a section of the shade with a brush and roll the napkin on a little bit at a time. Keep adding the decoupage medium as you go along.
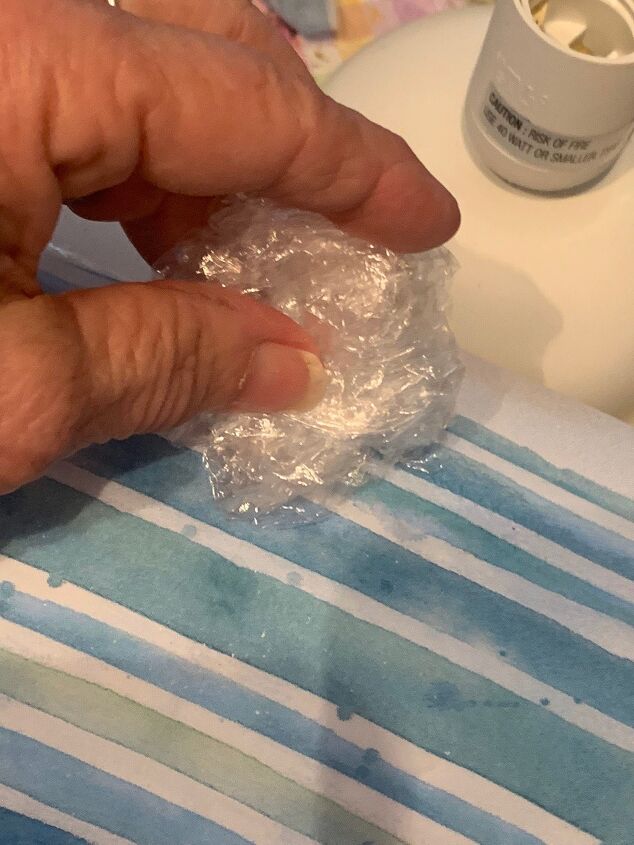
Use a wadded up piece of plastic wrap to smooth any wrinkles as you go along.
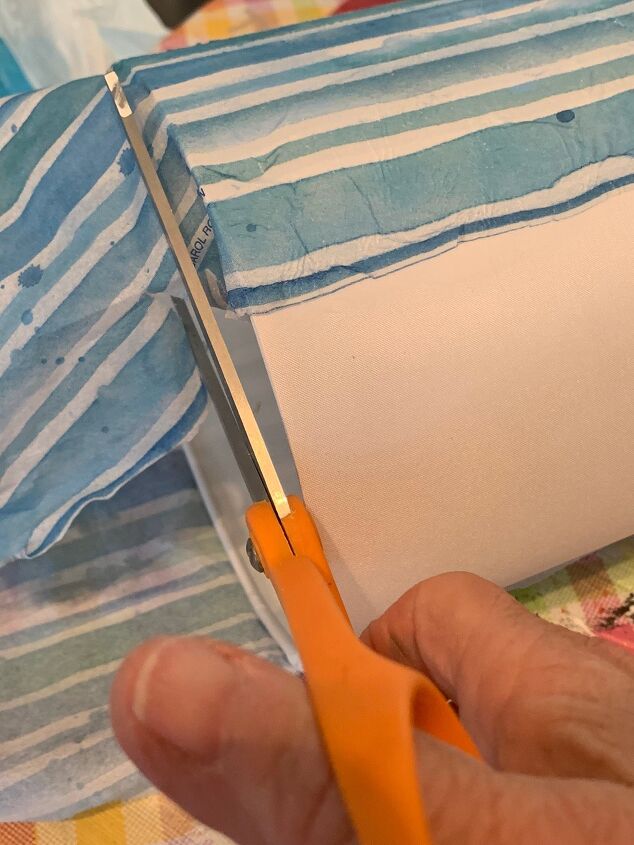
I had to cut the extra napkin from the bottom but still left a little extra to fold over. Next time I plan to measure the shade and cut the napkin ahead of time leaving about a quarter inch extra on both ends.

I’m folding it over the edge here. I used more decoupage medium to make it stick on the inside.
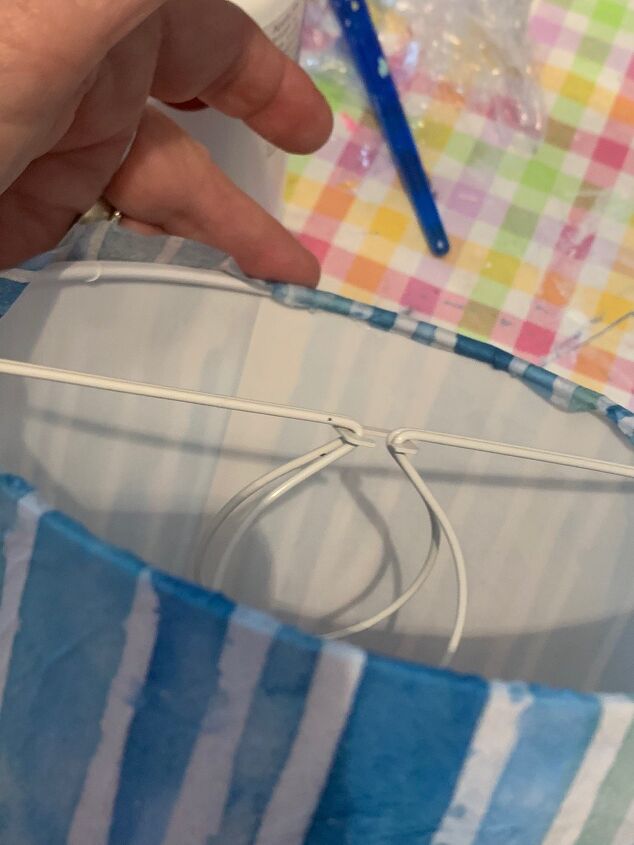
I was careful to make it look pretty on the inside too. The shade had a little lip that made it easy for me to straighten it out with my fingernail. I ended by putting a light coat of mod podge over the entire napkin/shade.
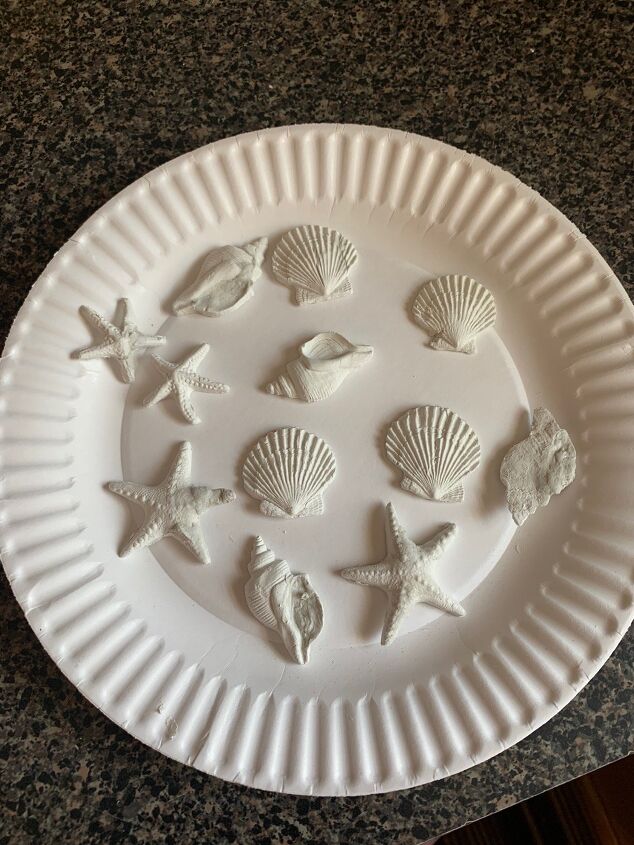
Moving on to the base I made sea shells using an IOD brand mold and air dry clay. I make sure all the edges are nice and smooth. I wasn’t sure how many I would need so I made a bunch.
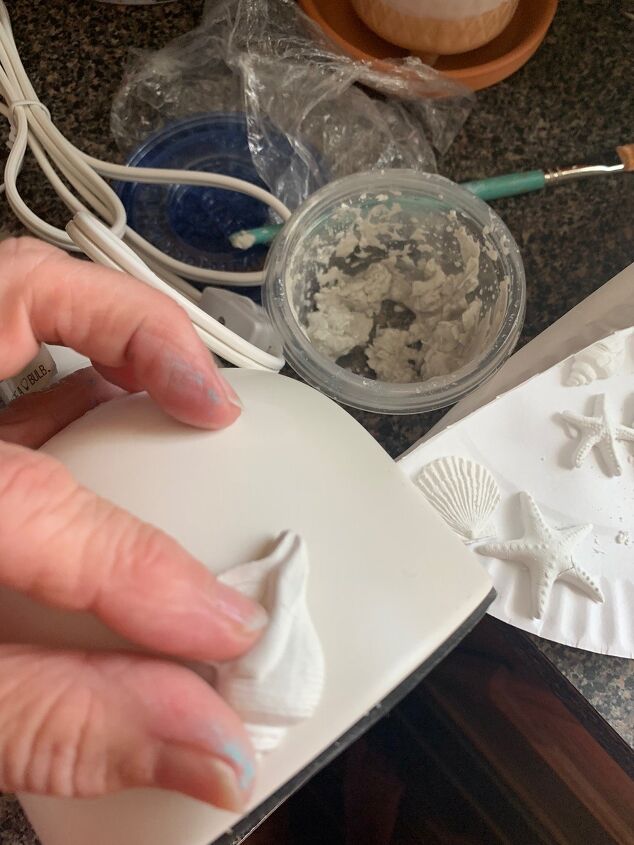
Before they dried I placed them on the lamp base to make sure each shell had a curve. Then I let them dry overnight.
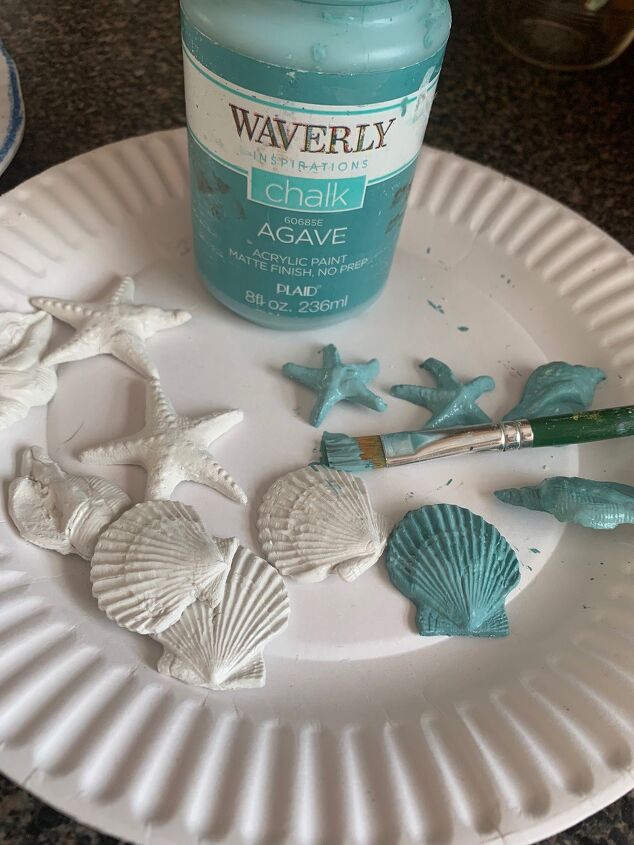
Next I painted them with chalk paint. I used a blue color that matched the shade.
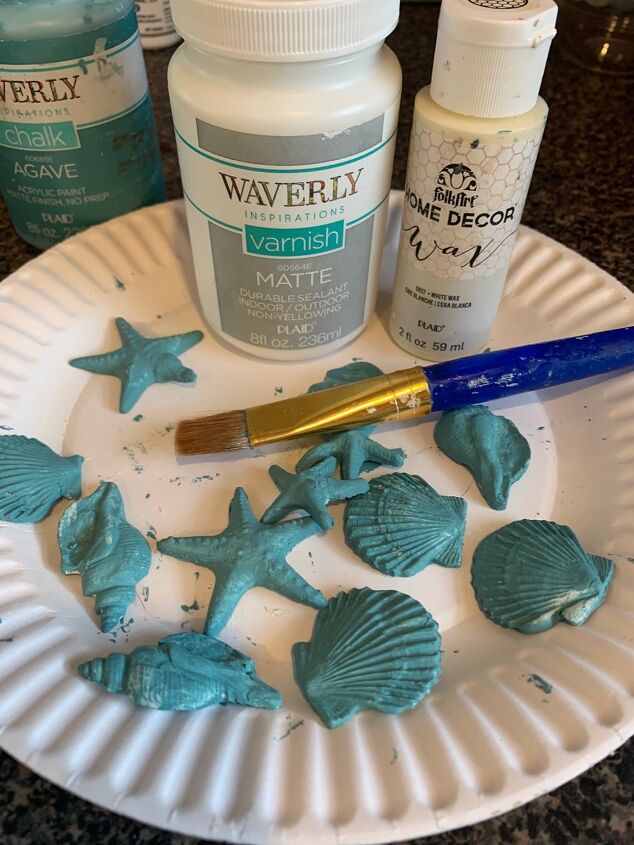
After the paint dried I added varnish to seal the paint. My final step with these was to add some white wax. Brush on the wax and before it dries whip off some of the wax with a dry paper towel. This technique gives each shell a lot of dimension and looks great.
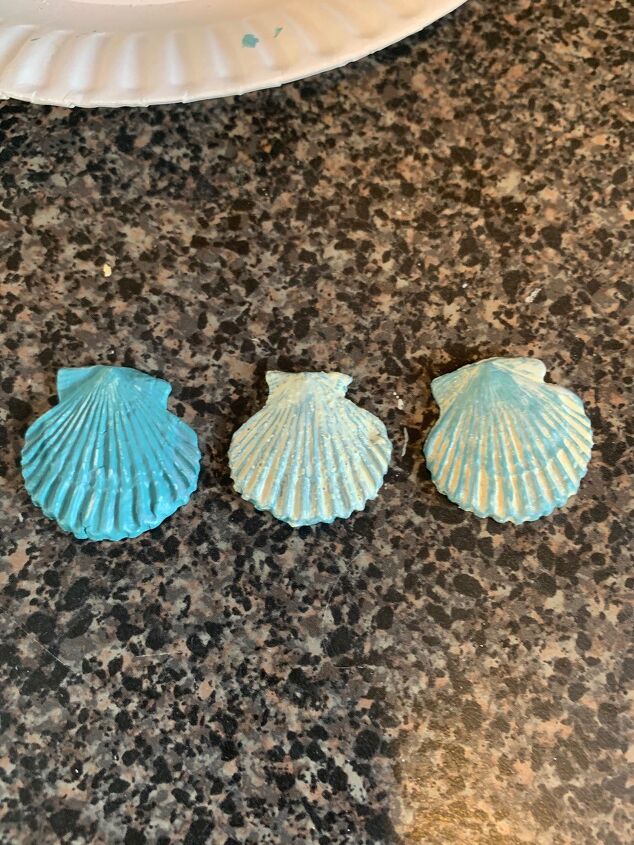
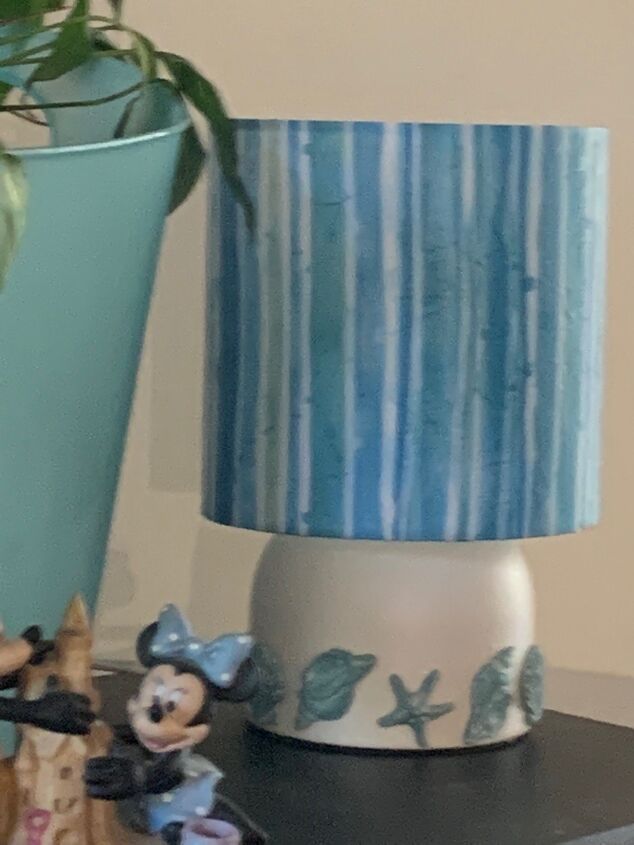
Here you can see the difference. Once the wax dried I added varnish again for a final finish and to seal them up good. Once dried, they are ready to add to the lamp base. I used E6000 glue. Because the bottoms were curved to match the shape of the lamp base they where easy to add.
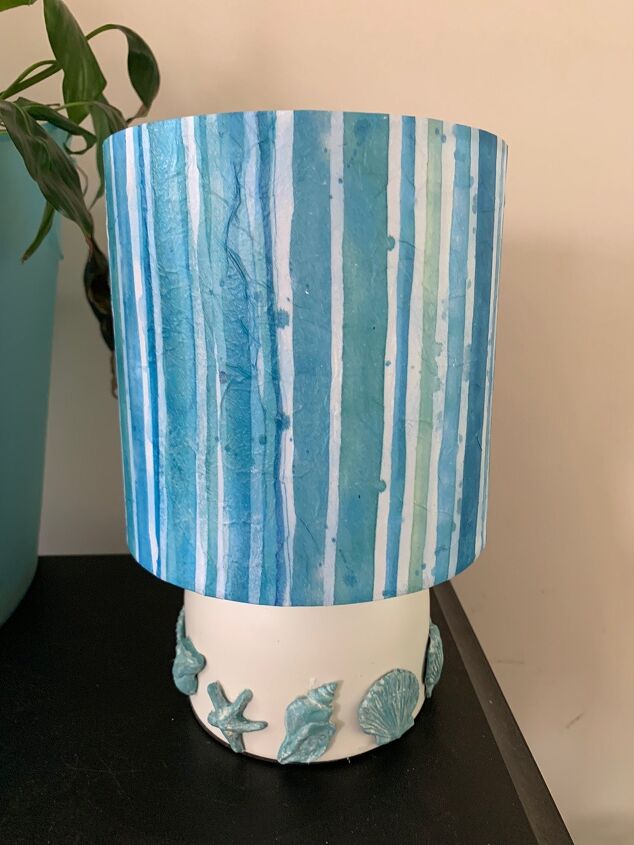
So what do you think!
Just think of all the color combinations you can do. And using a white lamp was a great base color for the napkin.
Hope this tutorial gives you ideas on how you can make your own.
‘til next time!
Resources for this project:
See all materials


Comments
Join the conversation
-
WOW that looks GREAT
-
Love it, all the way to the beach and back!
Great job👏👏


Frequently asked questions
Have a question about this project?
Fantastic job! Wow. The napkin is beautiful. Very creative with the beachy theme. Looks like a completely different lamp. Who would have thought?
Did you apply the decoupage medium on the outside of the napkin too?
Very nice!! Can I use fabric instead of napkins?