


How to Make a Coffee Filter Flower in 4 Simple Steps

Hey there, fellow crafters! Today, I want to share with you a fun and creative way to bring the beauty of spring into your home. Join me as we transform some ordinary branches into stunning floral decorations using coffee filters. Let's get started with how to make a coffee filter flower!
Tools and materials
- Branches: Find some sturdy branches, preferably with multiple smaller branches coming off of them. You can collect them from your backyard or any nearby park.
- Coffee filters: Get a bunch of coffee filters. The amount you need will depend on the size and number of branches you're working with.
- Scissors: Have a pair of scissors ready to cut the coffee filters to your desired size and shape.
- Pink paint and paintbrush (optional): If you want to add a touch of color to your flowers, have some diluted pink paint handy.
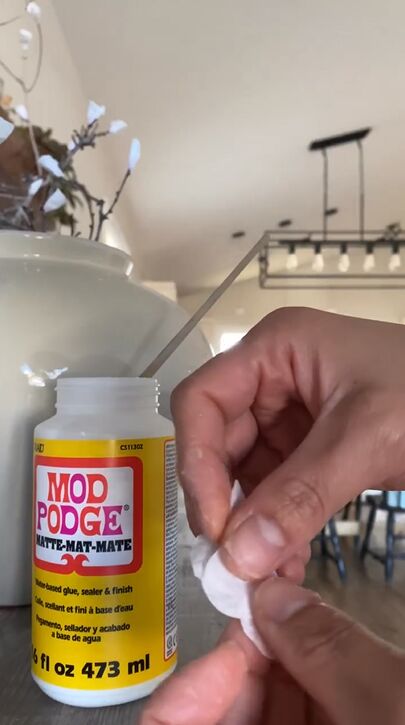
- Glue: Mod Podge or any other adhesive that works well with paper.
Steps
1. Cut and shape the coffee filters
Take a coffee filter and begin cutting it into pieces. You can choose the size and shape according to your preference, but remember not to make them too small. Larger pieces are easier to work with. Don't worry about making perfect shapes; imperfect ones can actually add some charm to the final result.
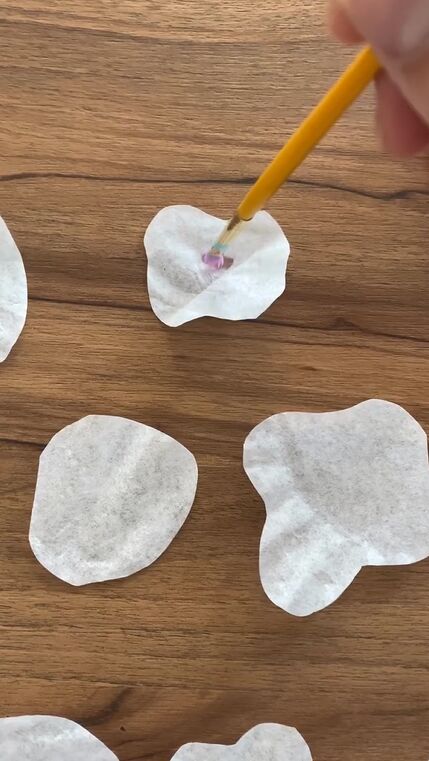
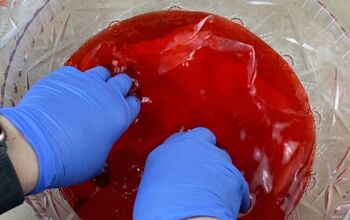
2. Add a splash of color (optional)
If you'd like to give your coffee filter flowers a gentle pink hue, this step is for you. Dilute some pink paint with water, then dab the center of the flowers with a paintbrush to add a subtle pop of pink. You can adjust the intensity of the color by controlling the paint-to-water ratio.

3. Let the filters dry
After painting the coffee filters, set them aside and let them dry completely. You can place them on a flat surface or hang them up to dry, ensuring they don't touch each other to prevent the colors from smudging.
4. Fold and glue
Once the coffee filters are dry, take each piece and fold it in half. Apply a small amount of glue to one side of the folded filter. Now, carefully wrap the glued end around the tips of your branches, pressing it gently to ensure it adheres securely.
Repeat this step for each coffee filter piece, distributing them evenly along the branches.
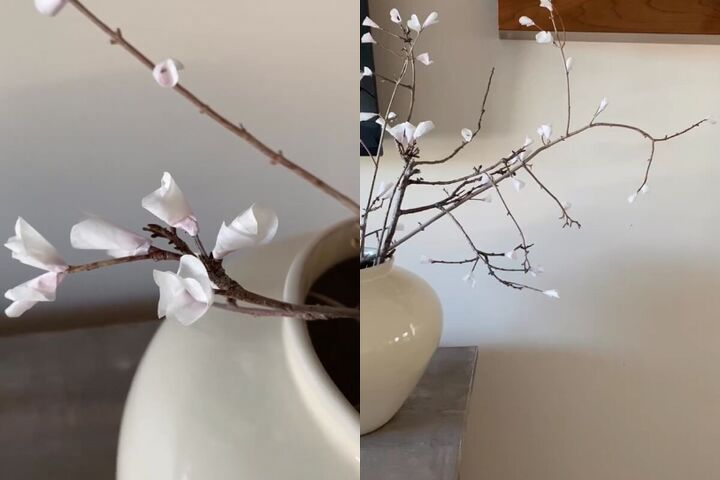
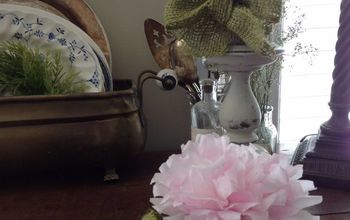
How to make a coffee filter flower
Voila! You've created a beautiful spring-inspired decoration using coffee filters and branches. Now you can proudly display your handmade floral branches in your home.
Feel free to save this tutorial for future reference and leave a comment below letting me know what you think. Happy crafting, and may your home bloom with the colors of spring!
Comments
Join the conversation
-
Can’t wait to try this! 😘
-
Love this!!!!


Frequently asked questions
Have a question about this project?