


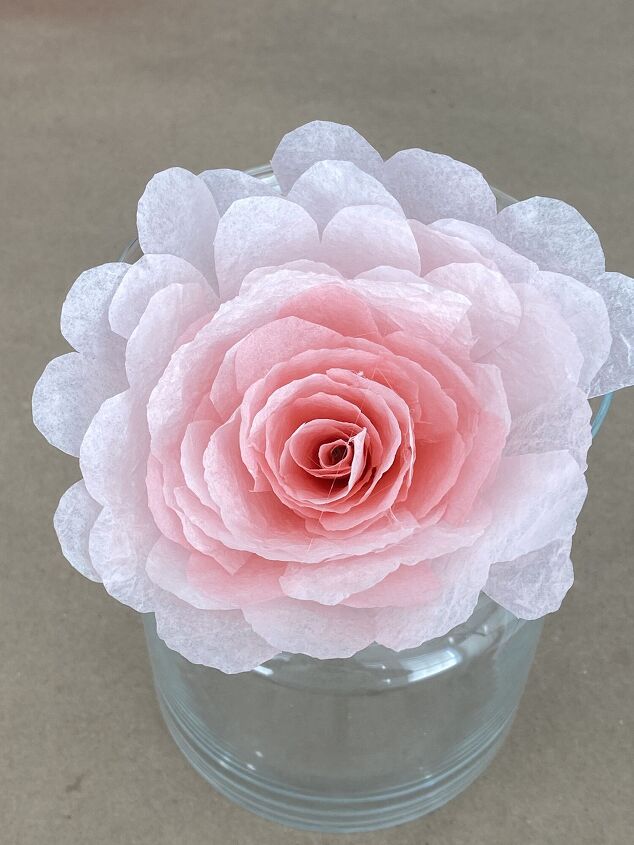
How to Make Beautiful DIY Coffee Filter Roses
Have gorgeous flowers in your home with these beautiful DIY coffee filter roses! You can make these in no time at all and enjoy using them in vases, centerpieces, or pretty garlands! I have been wanting to make some paper flowers for some time. Follow along the step by step tutorial to create these paper roses yourself! There are so many different techniques for making beautiful flowers from coffee filters, but this is how I made them for my first time.
How to dye your coffee filters:
I decided to use two different shades of pink to make these roses. I used four cups of water and twenty drops of red food coloring for my vibrant pink filters and four cups of water and six drops of red food coloring for my second color, pale pink.
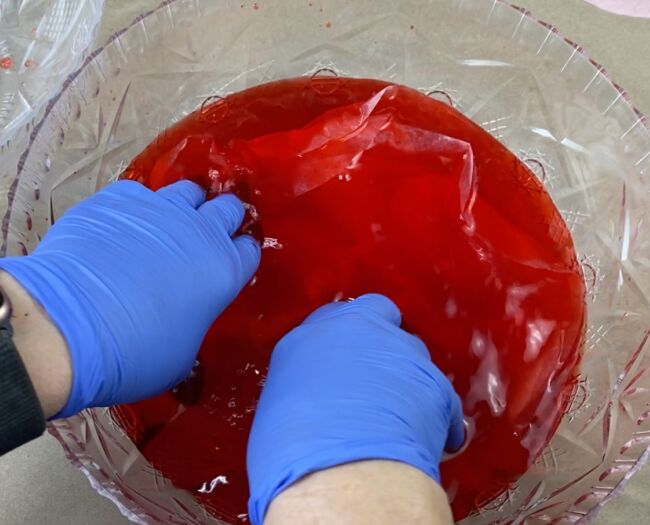
Separate your coffee filters and put ten to fifteen of them into the bowl of water. (Use a glass bowl or something disposable like my Dollar Tree bowls. Plastic will stain from the food coloring. )
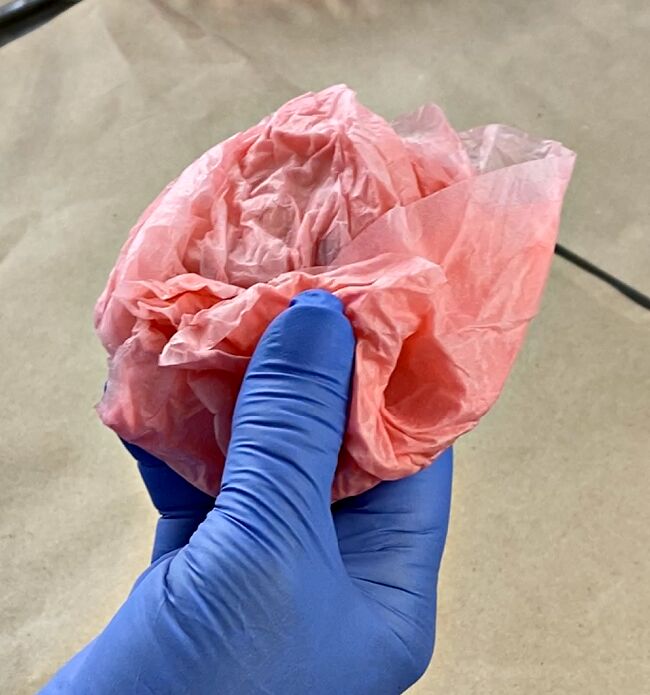
Let them soak for a couple of minutes and then gather them in your hand and squeeze as much of the water out of them as you can. In addition to removing the water, by squeezing them, you also add texture to the coffee filters. You will want to wear gloves to protect your hands or have pink hands for a few days!
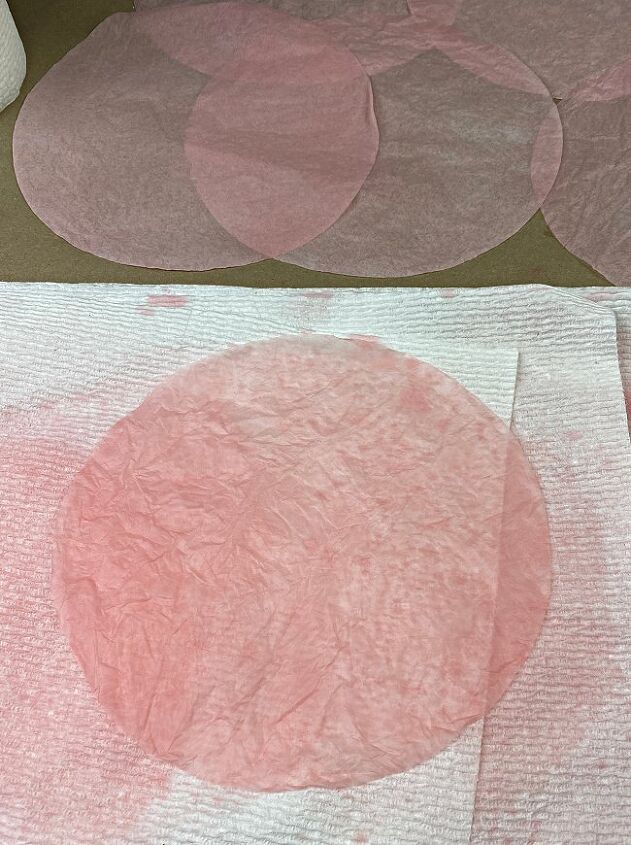
Gently separate the filters (although they are fairly tough) blot them with paper towels and then and lay them out on parchment paper or kraft paper to dry. They should dry fairly quickly, but make sure they are completely dry before starting to make your roses with them. I suggest leaving them overnight.
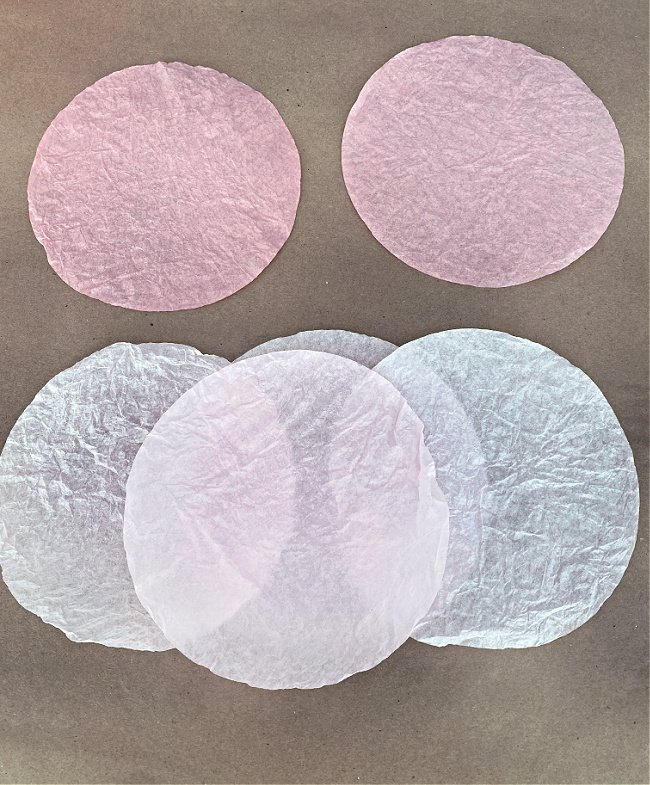
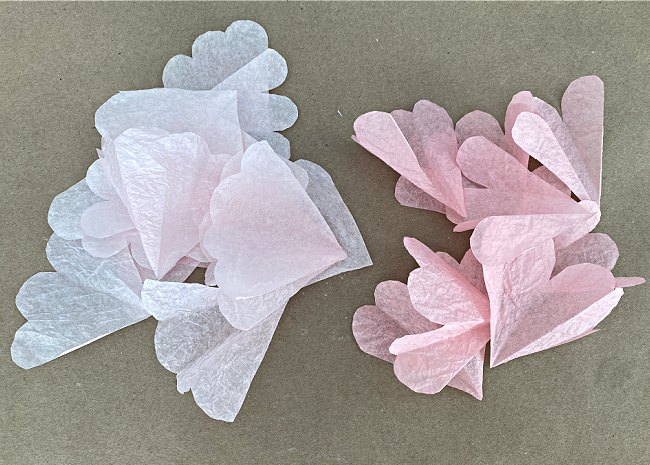
When your coffee filters are dry, you may stack them according to color. I have provided detailed instructions for you here. To make the roses like I have shown you here, you will use two of the darker pink coffee filters and four of the lighter pink filters.
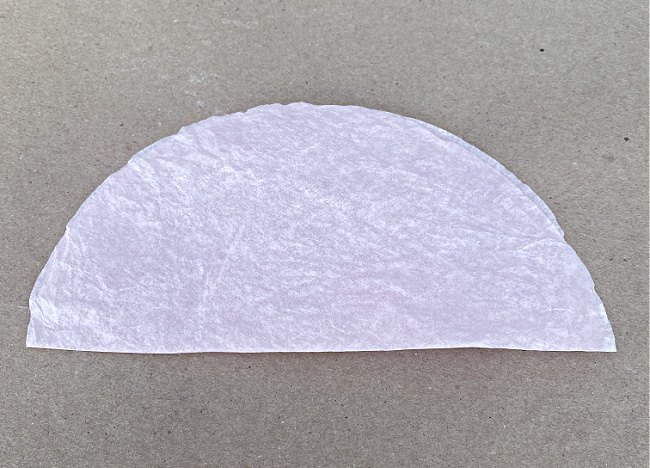
- Fold each of your coffee filters in half so it kind of looks like a taco.

2. Fold each one of them in half again.
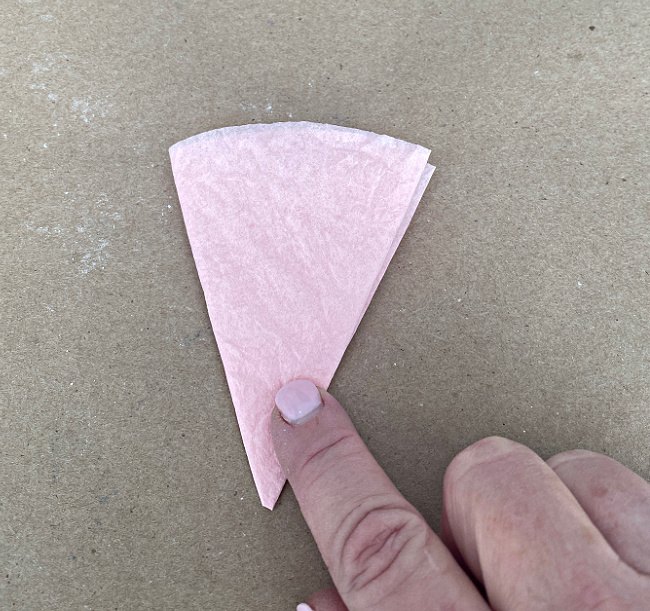
3. Fold in half a third time
.
4. Fold the coffee filter in half one more time
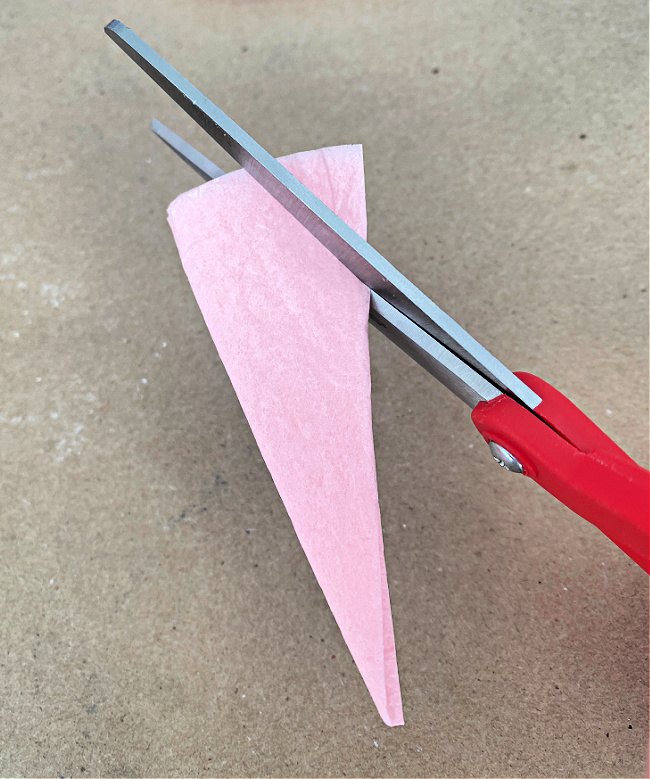
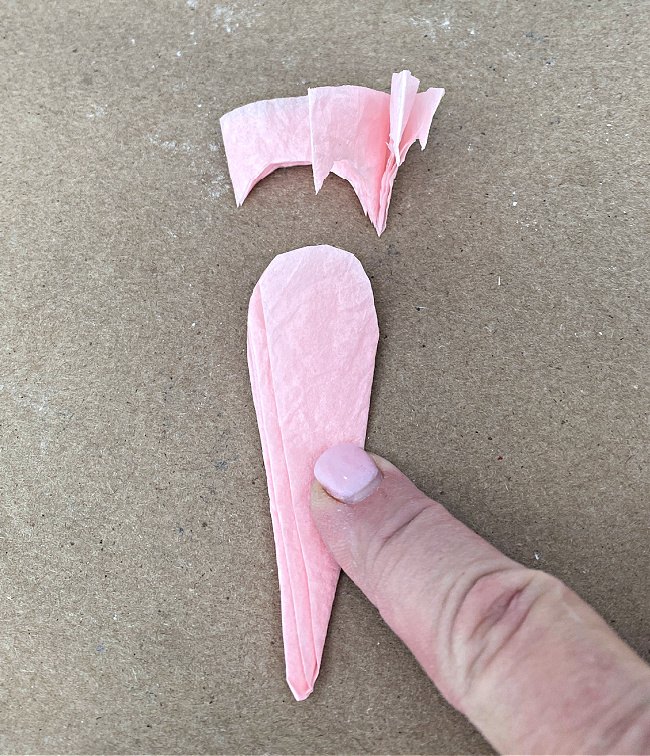
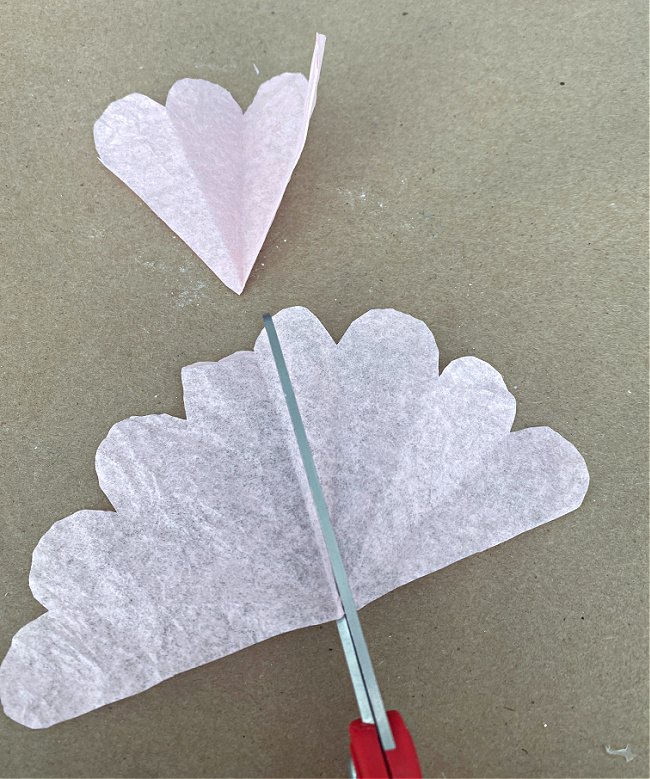
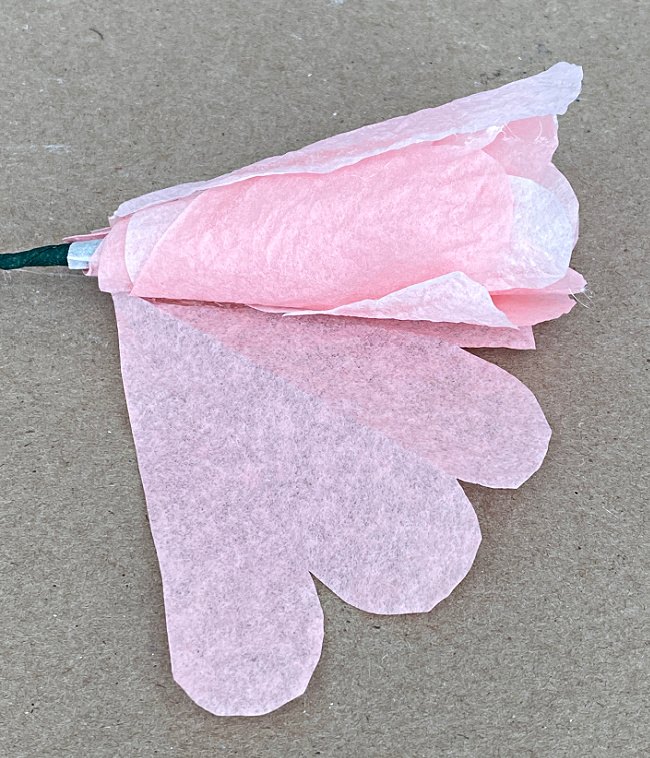
5. Cut the top of your folded coffee filter as shown in the photo. It should look like it is the shape of an ice cream cone.
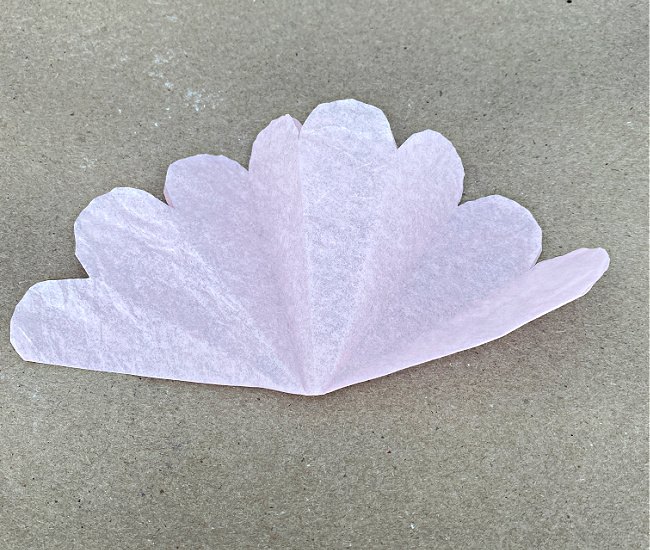
Unfold the coffee filters back to the “taco” shape and cut each one in half. This will make your petal shapes for you.
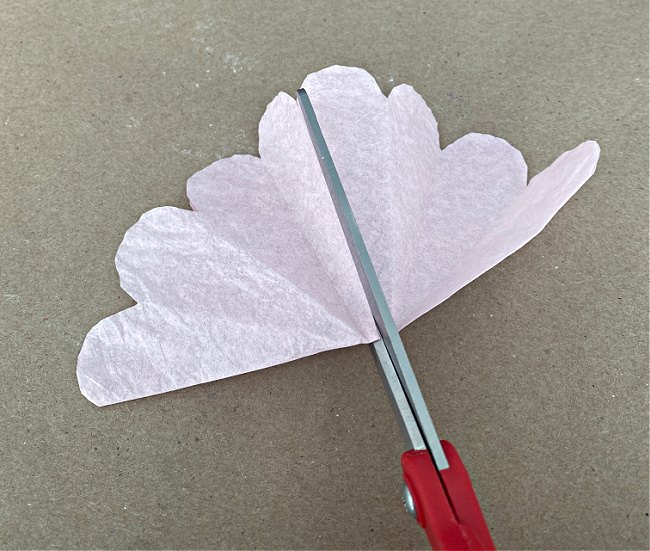
You will have two pieces that are both still folded.
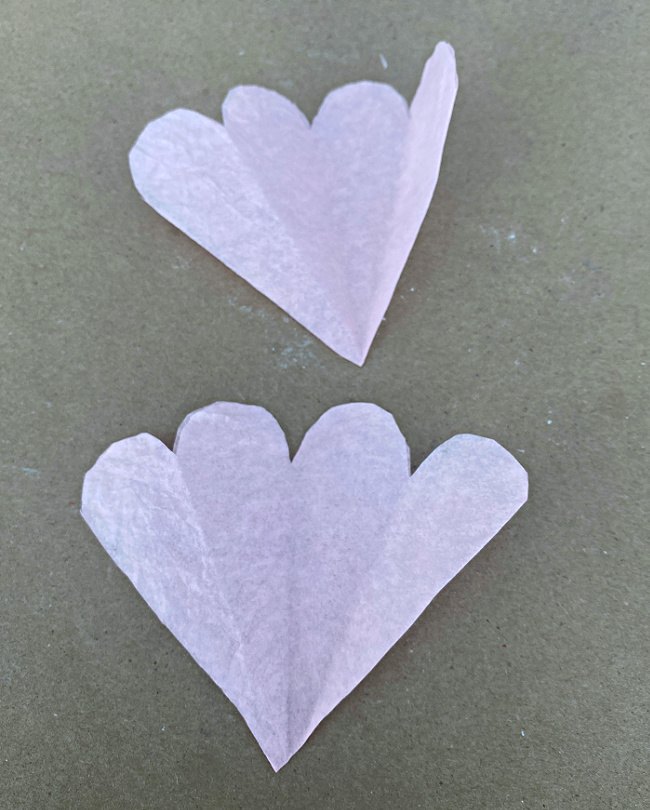
Unfold each of those and cut each one in half. In the image below, the top piece has not been unfolded yet, the bottom piece has been unfolded and is being cut in half.
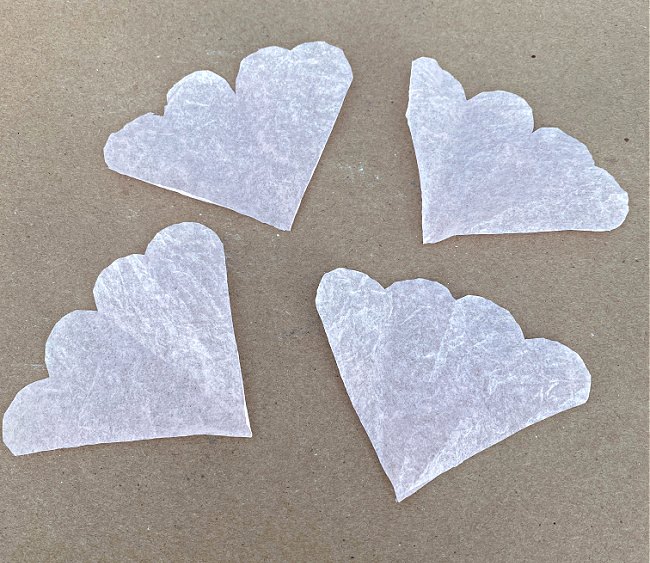
You will have four pieces from one coffee filter that look like this. Repeat this with all of your coffee filters.
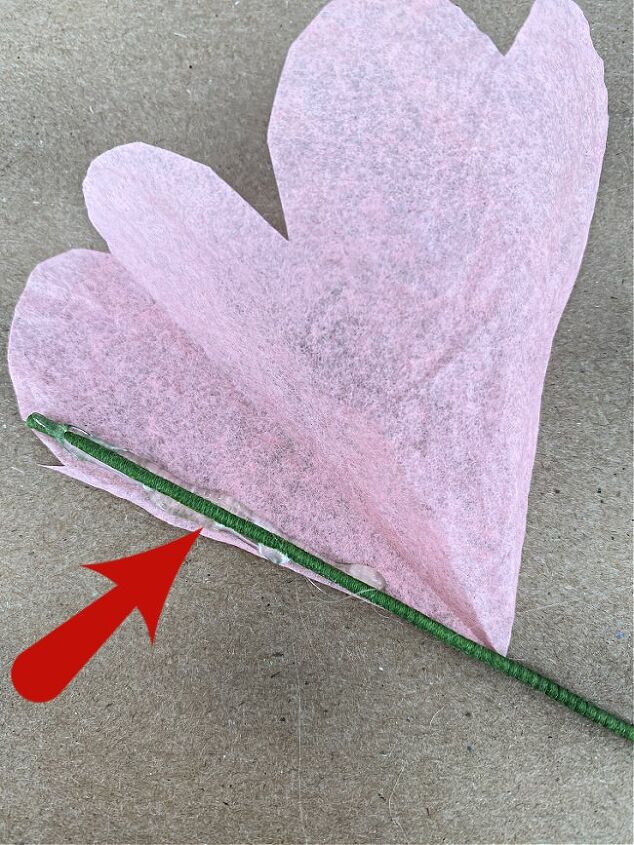
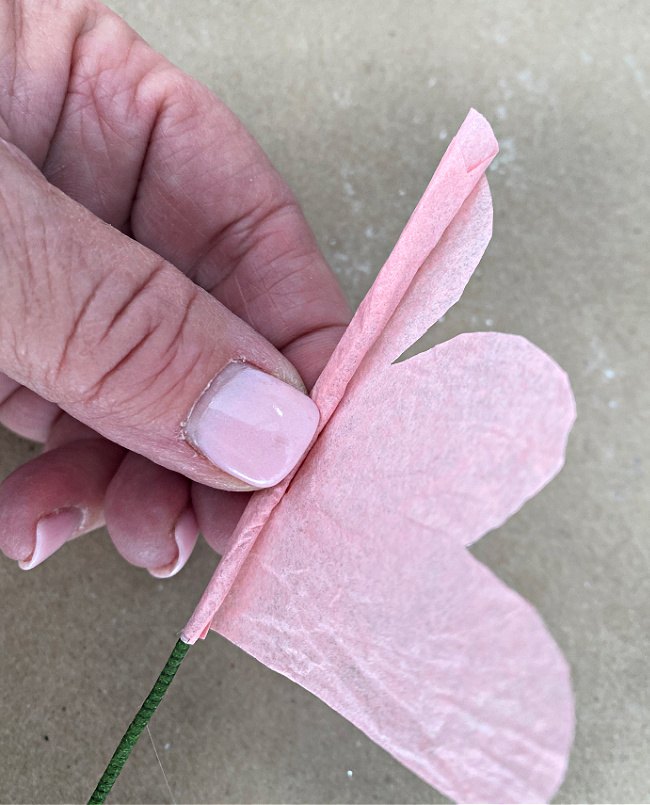
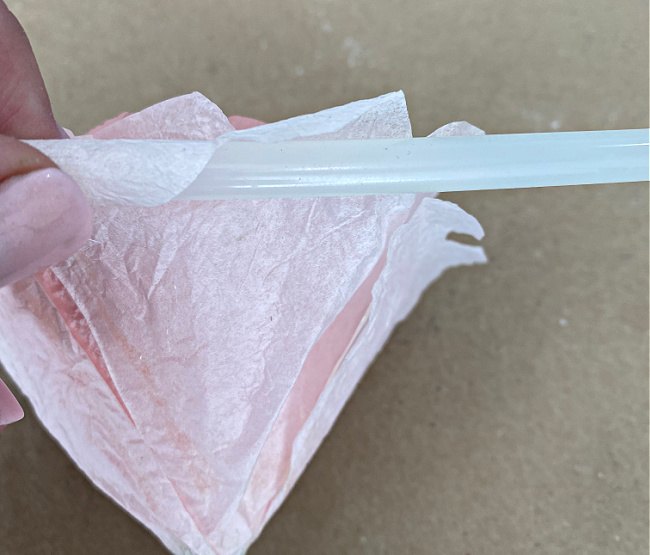
Lay this down upon one piece of wire and begin rolling the paper fairly snugly around the wire.
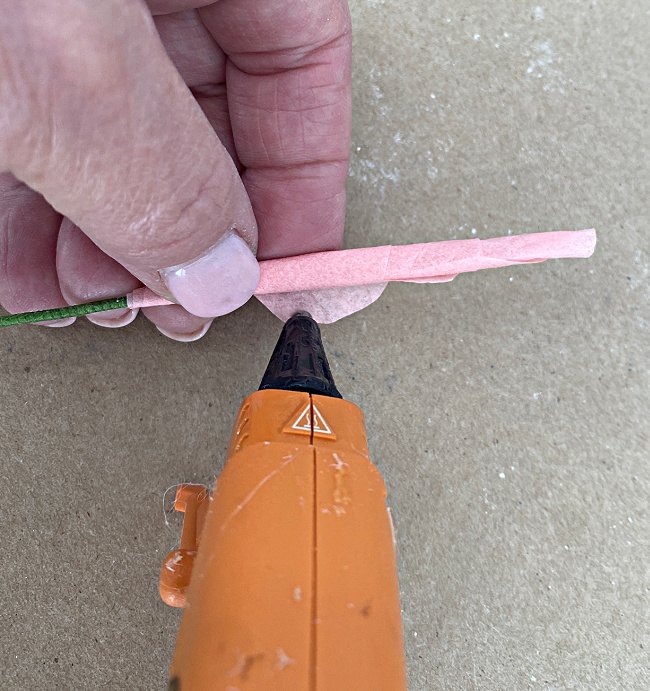
When you get to the end of your petal, put a dab of hot glue (low temp) onto the paper and push it down to secure it.
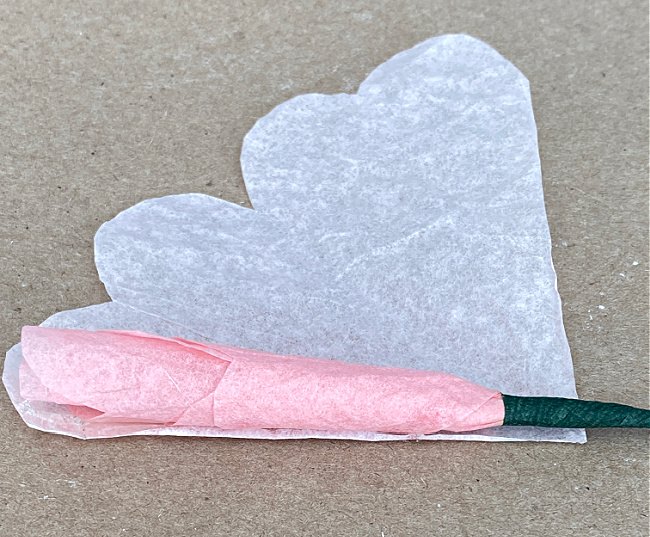
For the second layer, take a piece of the darker pink paper and repeat the process, sticking it to the piece you already have. At this point I like to squeeze the coffee filters tight around the wire at the base of the flower and add one layer of floral tape to secure the base.
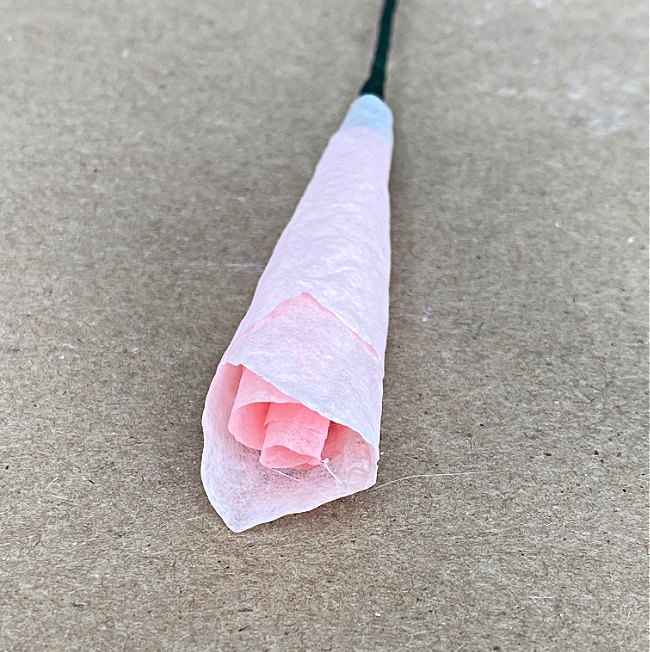
Then repeat the process with one of the lighter shades of pink. As you add each additional petal, you will not wrap it quite as tightly. Each additional petal gets attached a little more loosely to allow the rose to open up. Your center of the rose is taking shape and should look something like this.
Now you will continue adding petals. Alternate one light pink with one dark pink until all you have left is the lighter ones. Below you can see how to add the additional petals.
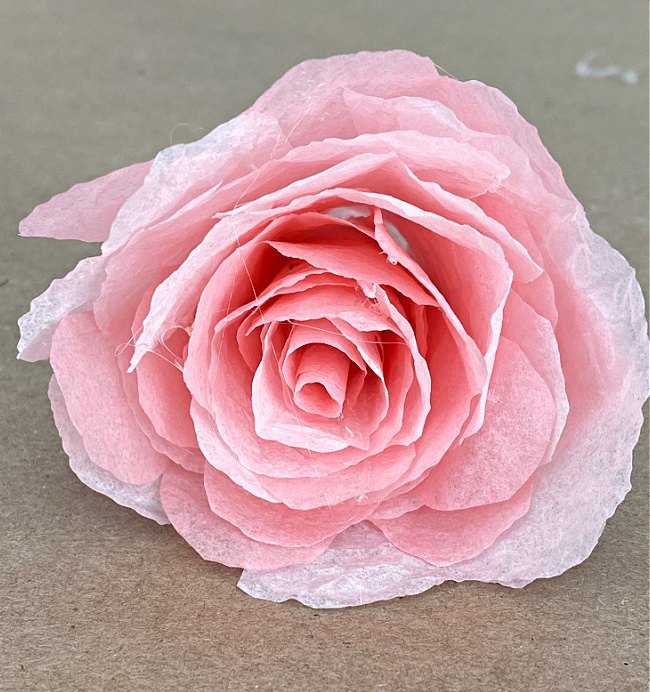
Your rose is going to be looking like this before you add the last few petals onto it. (Don’t mind the glue strings, they will all be gone.)
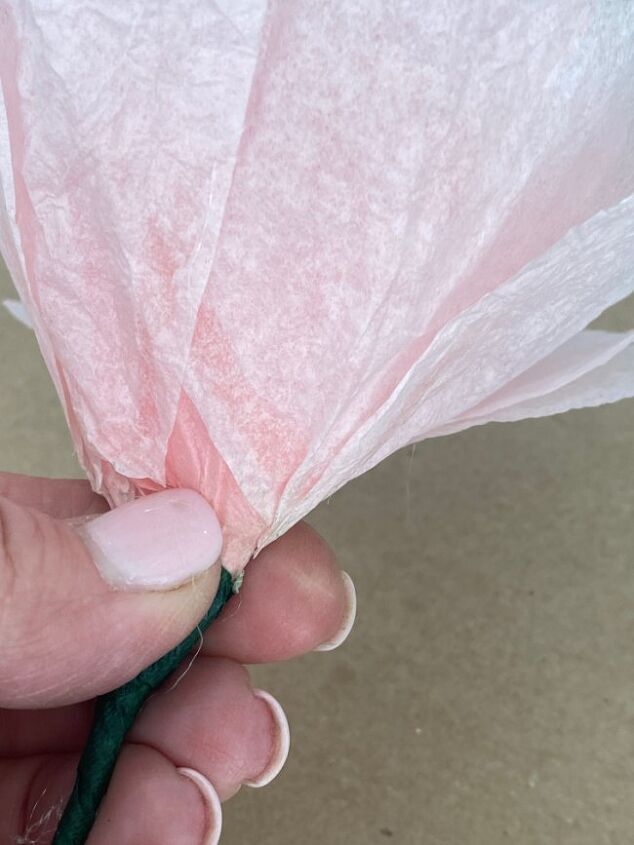
When all of your petals have been added, squeeze the bottom of the rose tightly, take some floral tape and wrap it around the squeezed base and down your wire stem. I usually cut my wires in half so they are about nine inches long, but you can make long stemmed coffee filter roses and leave the wire at 18 inches if you prefer. Wrap the floral tape down around the entire stem.
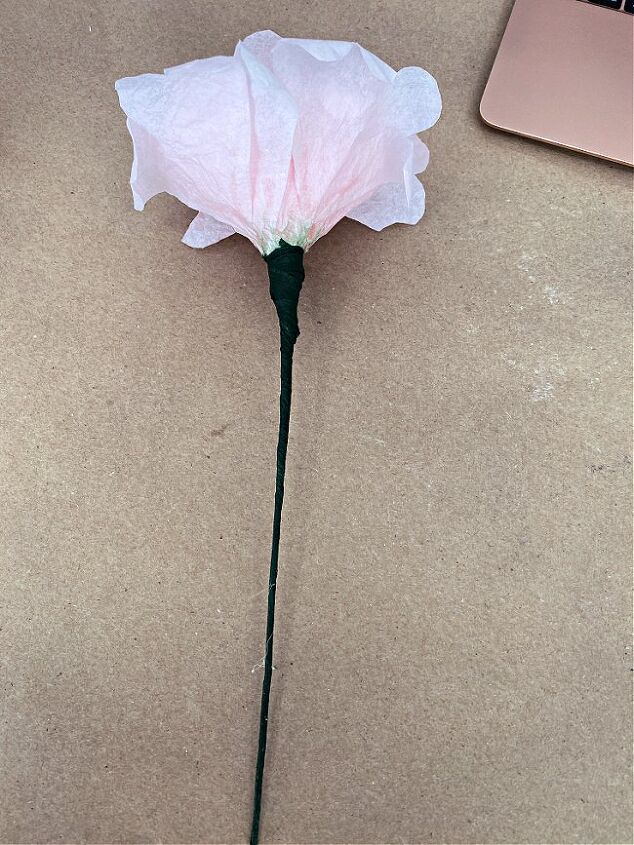
Finish off your rose by curling the outer edge of your outer petals. Simply wrap them around a pencil or a mini glue stick like I have. Hold them for a moment and they will take on the curled shape.
PIN THIS!


Comments
Join the conversation
-
Hello Maria Johnson you are a special woman
-
They look real. Thanks for the good directions.


Frequently asked questions
Have a question about this project?
Beautiful. How many filters do you think are used for each rose? (Assuming each filter makes 4 pieces.)