


How to Paint Floor Tiles With the Rust-Oleum Floor Paint Kit

Wondering how to use floor tile paint to give your old floors a fresh and vibrant look? In this step-by-step tutorial, I'll guide you through the process of painting floor tiles using the Rust-Oleum Floor Paint Kit.
This easy and cost-effective DIY project can breathe new life into your space. Follow along as I share my experience painting bathroom floor tiles and provide you with tips, and tricks to achieve a stunning outcome.
Tools and materials
- Rust-Oleum Floor Paint Kit
- Painter's tape
- Stencils (a couple of different designs if desired)
- Stencil adhesive spray
- Primer
- Paintbrushes and rollers
- Drop cloths or plastic sheets
- Top sealer coat
How to paint floor tiles
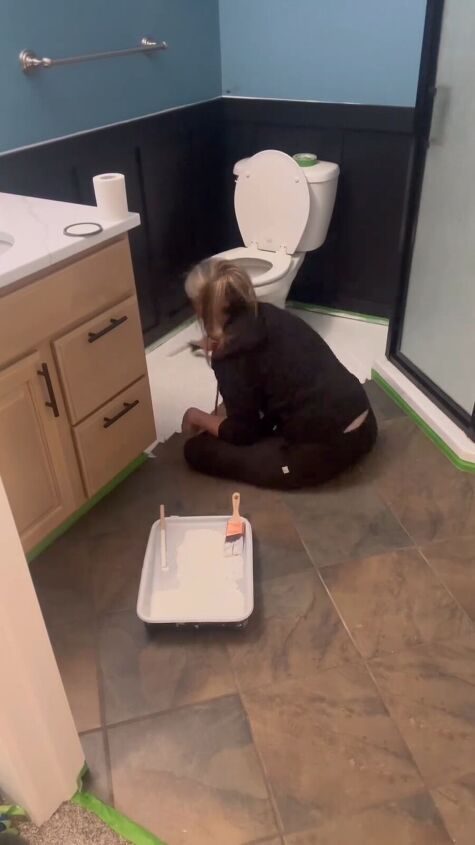
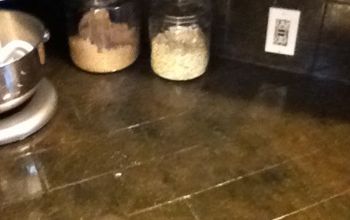
Step 1: Prepare the Surface with Primer
Begin by thoroughly cleaning and drying the floor. Apply a primer suitable for your floor type, following the manufacturer's instructions. This step ensures proper adhesion of the paint and enhances durability.
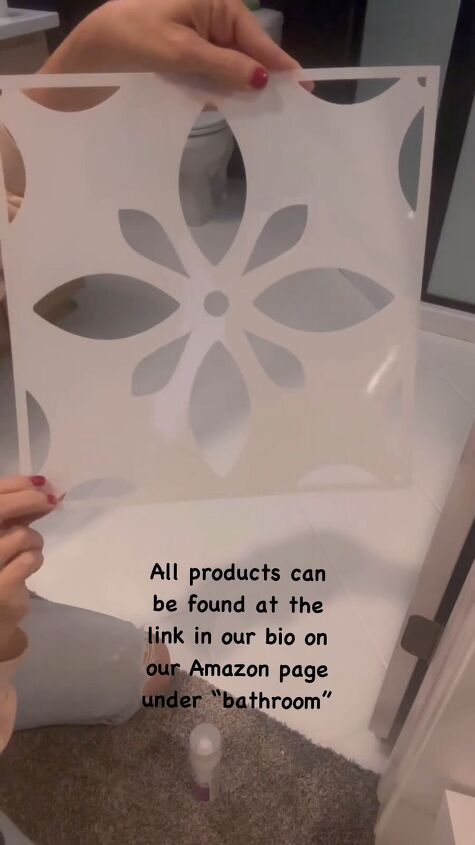
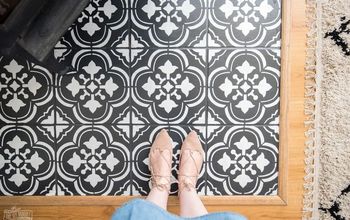
Step 2: Choose and Place Your Stencils
Select your desired stencil design.
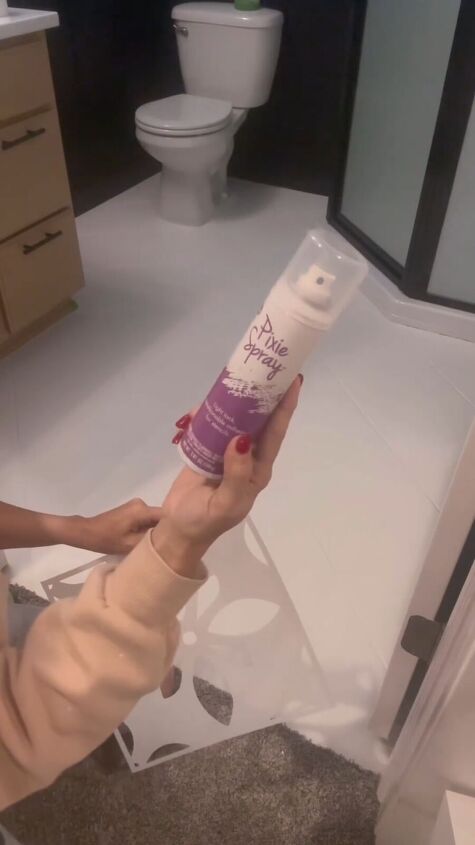
Position the stencil in the center of the tile and secure it with stencil adhesive spray. Press the stencil down firmly to prevent bleeding.
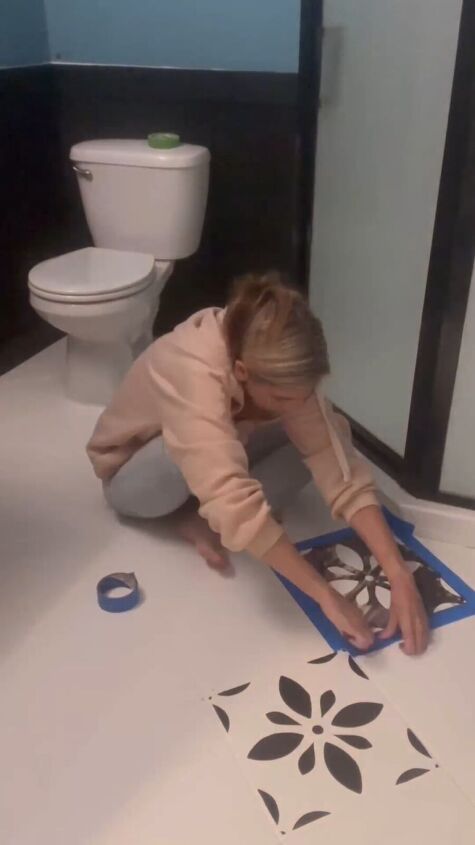
Step 3: Avoid Overpainting with Tape
To prevent overpainting onto adjacent tiles or areas, carefully apply painter's tape along the edges of each tile. This extra precaution ensures a neat and professional finish.
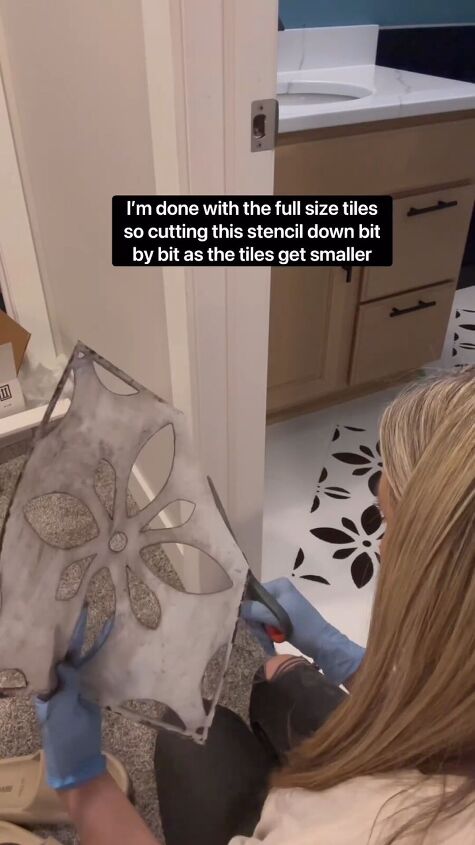
Step 4: Adjust Stencil Size for Smaller Tiles
For smaller tiles or irregular spaces, trim the stencil to fit using scissors or a craft knife. Take your time to match the stencil to the size and shape of the tiles, maintaining a cohesive design throughout the floor.
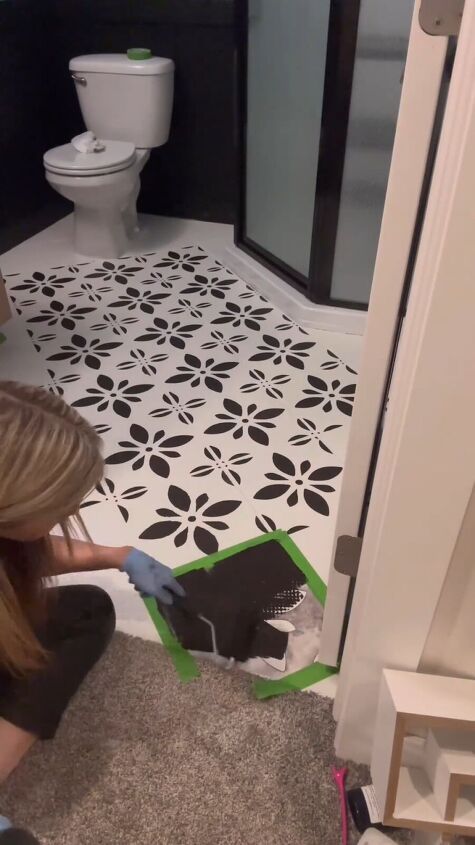
Step 5: Apply Paint with Care
Using a paintbrush or roller, carefully apply the chosen color from the Rust-Oleum Floor Paint Kit within the stencil. Take your time and ensure even coverage. If using multiple stencils, repeat this process for each design, allowing sufficient drying time between layers.
Step 6: Seal the Deal with Top Coating
Once the paint has dried completely, apply the top sealer coat included in the Rust-Oleum Floor Paint Kit. This protective layer adds durability and longevity to your painted floor. Follow the recommended drying times on the product's label.
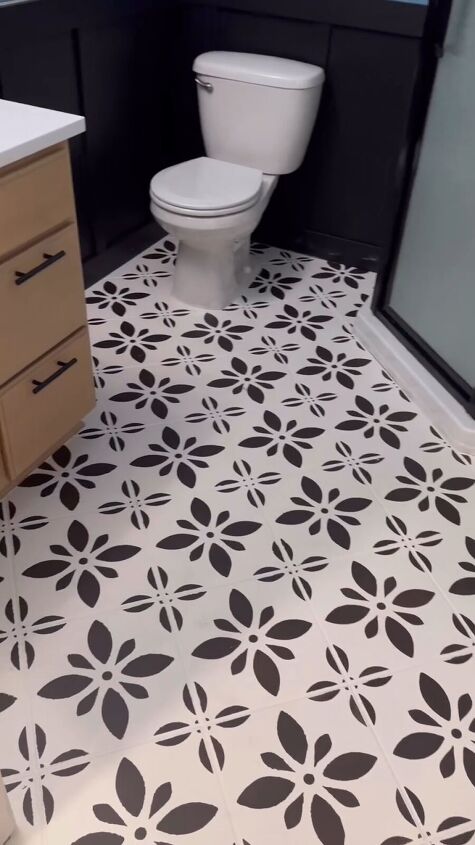
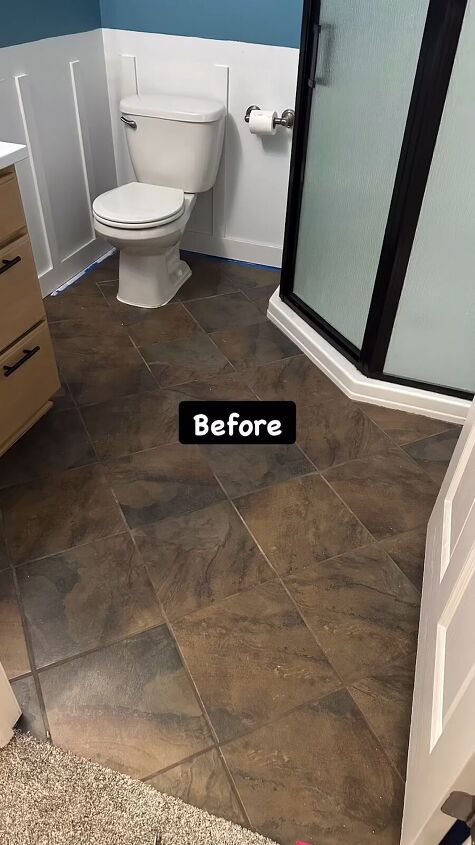
Painting floor tiles before and after:
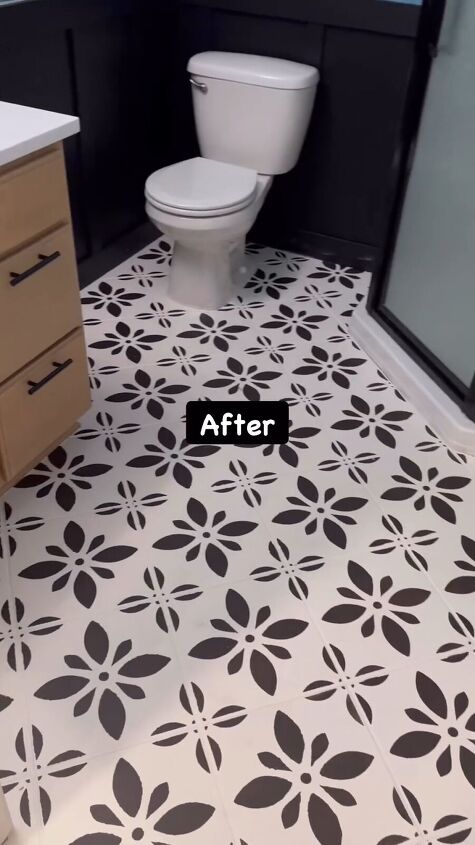
How to paint tile floors
Congratulations! You've successfully how to paint tile floors. You’ve transformed your floor tiles into a work of art. The Rust-Oleum Floor Tile Paint Kit, combined with careful stenciling and sealing, has given your space a fresh and stylish appearance.
Step back and admire the beauty you've created through this simple yet impactful DIY project. Enjoy your newly painted floor! Don’t forget to leave me a comment to let me know what you think.
Follow @a_bit_unexpected_diy on Instagram for more DIY ideas.
Comments
Join the conversation
-
I can update you in 10 years 😂 haha! I have heard great things about it and honestly I didn’t love the old tile so if this only buys me a couple years I’m okay with that 😍
-
Rustolium makes great products.


Frequently asked questions
Have a question about this project?