


Save Money With Hugelkultur!

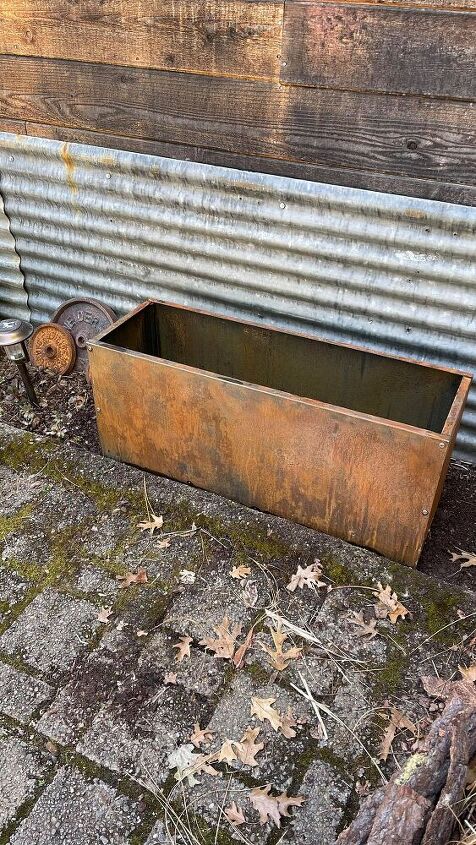
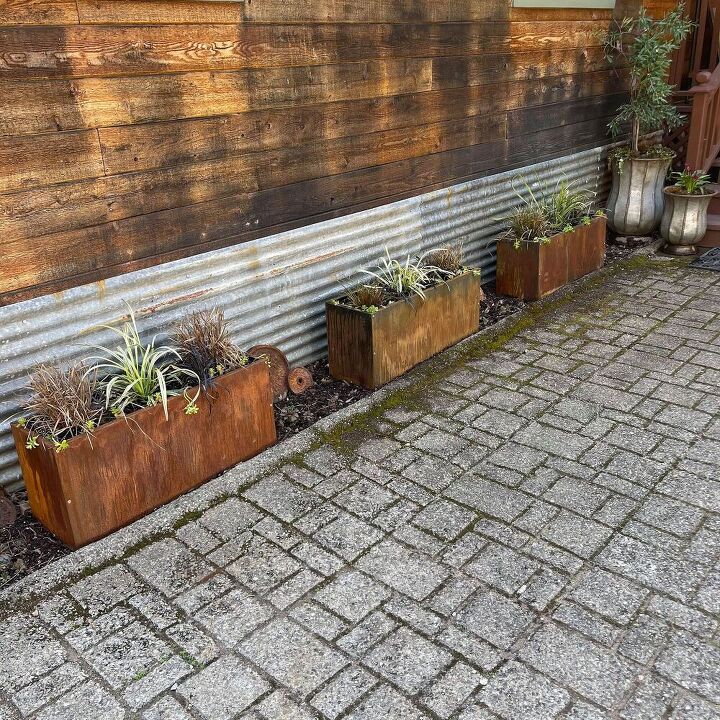
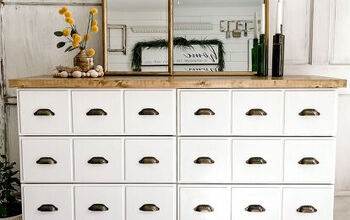
Today I am popping on to share how I fill all of my garden boxes. It saves us money because we have less soil to buy, plus it is AMAZING for the plants! Here is my finished planter box. You may have already seen it on my previous post, where I show you how to rust metal. This particular planter box is from DIY Cartel, and I absolutely love it! If you'd like more info on how I rusted it, see my previous post. If you'd like to know more about the box itself, click here-- it is a GORGEOUS planter box, and we get so many compliments on it!
If you have ever purchased soil to fill large planter boxes, you know that it can get very expensive. So I have been using the Hugelkultur method, which is European method of making raised garden beds filled with rotten wood and other plant materials. Hugelkultur beds have naturally good drainage and produce rich, fertile soil that retains moisture. They're also a great way to clean up your yard!
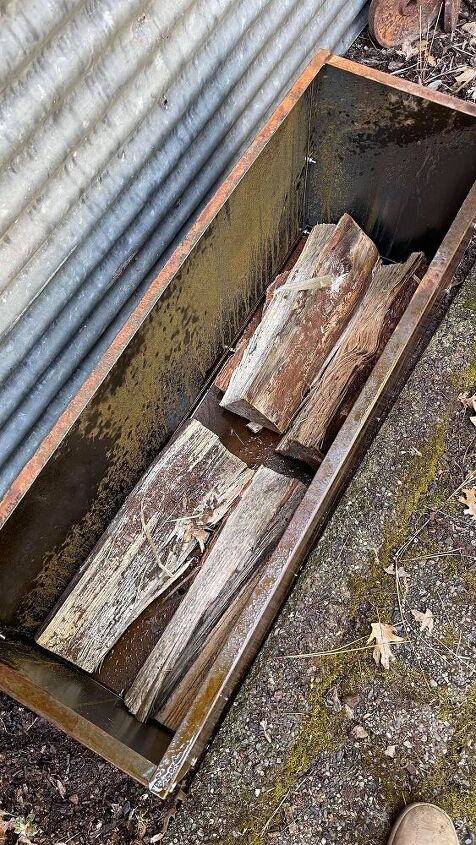
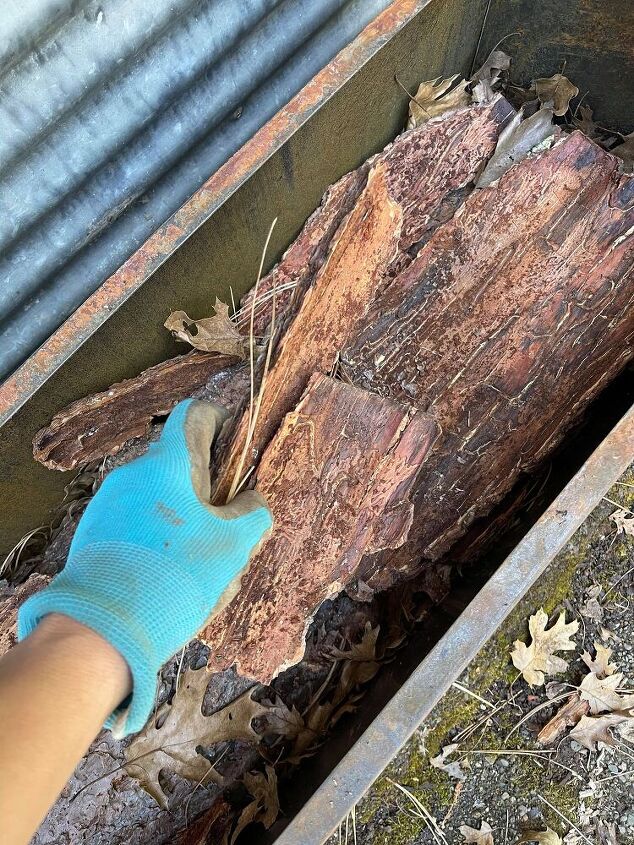
The first thing I do is make sure the box has good drainage holes. This planter from DIY Cartel has predrilled holes, which makes it so easy! Then I create a layer of wood pieces. You can use a fallen tree or branches you have pruned. The older the wood, the better.
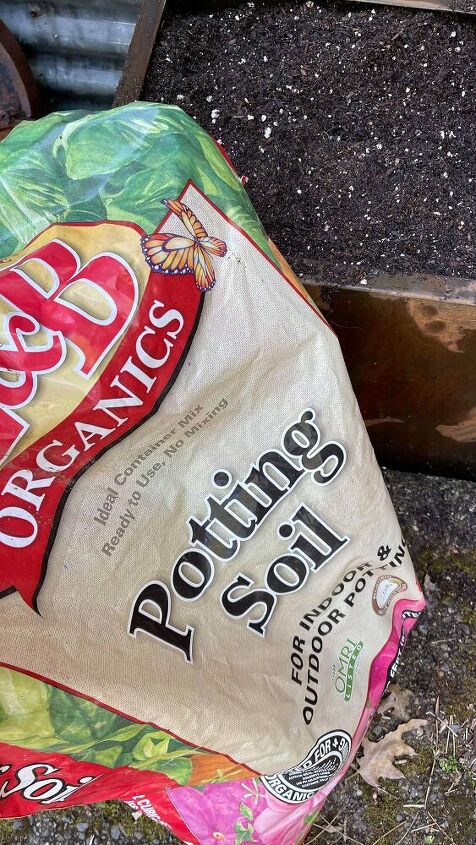
After this, I place a few inches of potting soil. I like to use organic soil.
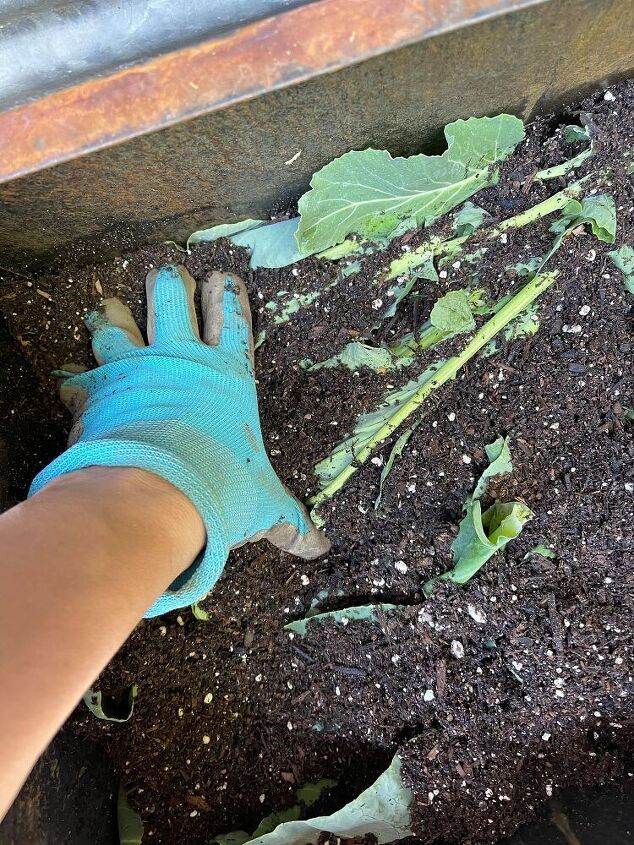
After this, I layer in greens, such as lawn clippings or plants I have pulled from the garden. Just be careful not to use anything that might go to seed and give you weeds. Here, I used old cabbage plants that needed to be removed from my other planter boxes.

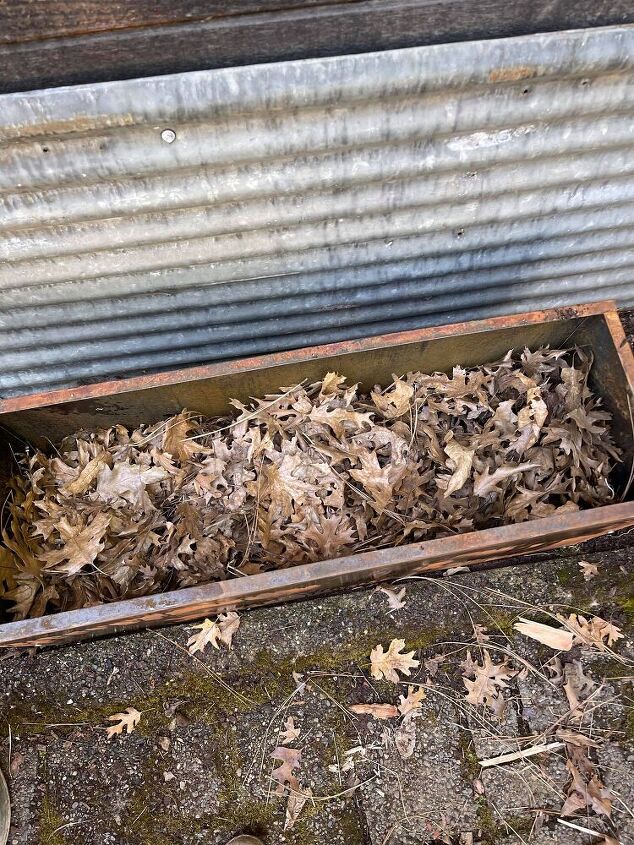
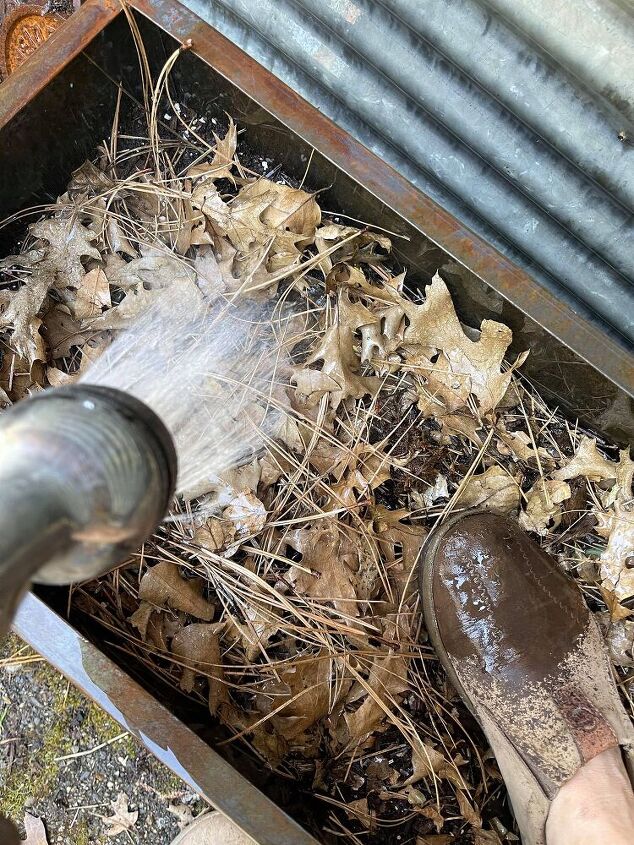
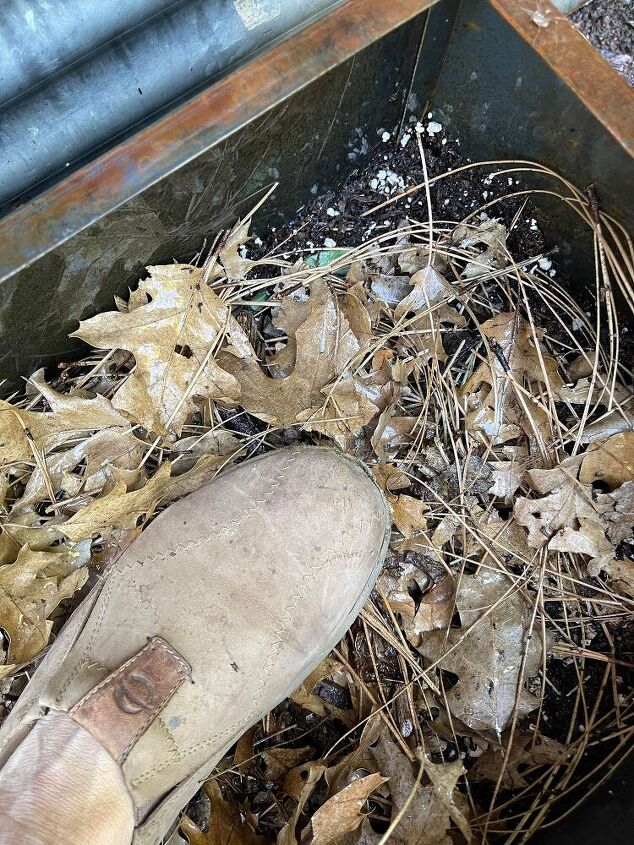
Basically, you are creating a compost pile of alternating layers in the planter box. It will be sooooo good for your plants - lots of nurients! I continue layering leaves, bark, greens, and soil. In between layers, I like to wet down the soil and push it down with my feet at bit.
When you get to the top third of the box, you can finish it all off with potting soil. Just think about how big your plants are, and how much soil they will need to start off with. If you are putting in large plants with larger root systems, you will need a thicker top layer of soil to start. Everything under that top later will decompose over time, creating super rich soil that your plants will thrive on as their roots continue to grow! Here are my planted boxes:
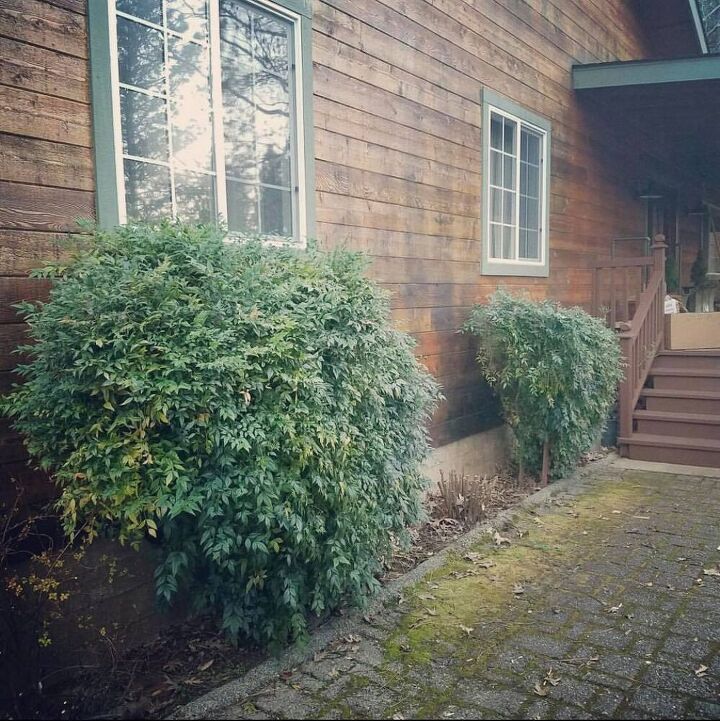
Here is what this area looked like before:
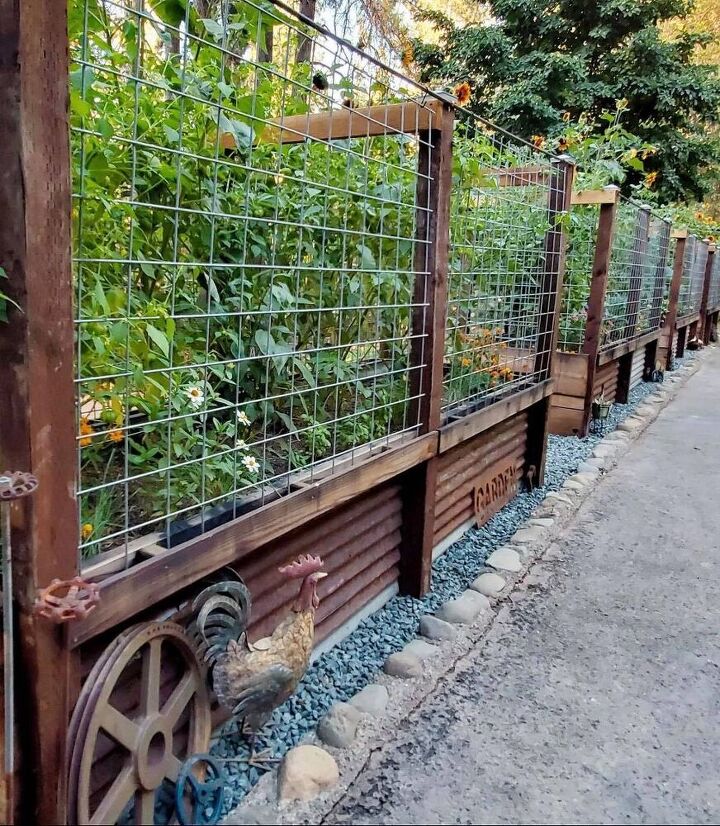
And here is a photo of the huge garden beds that we built last year. It would have cost us so much money had we not used the Hugelkultur method, and just look at how the plants love it, too! We had an amazing garden! BTW, the fence panels are there to keep the forest friends (animals) out. :)
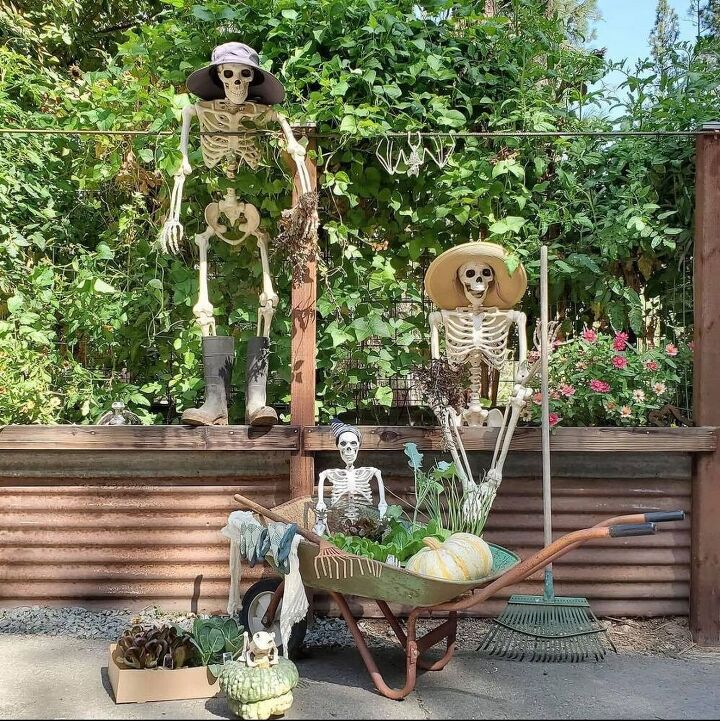
And, just for fun, here is a pic with the fence panel off, at Halloween!
If you liked this post, please share... and I would love it if you would follow me on Instagram or Facebook -- @jagcagdesign -- where I constantly post lots of fun DIY and money-saving projects!
Happy DIYing,
Xo,
Jamey


Comments
Join the conversation
-
Read your post in time... ready to use my huge planter, and bought a HUGE bag of soil. Now I'll fill/layer as you've shown us here, then add soil. Thank you!
-
I second a post on how to build the fence.


Frequently asked questions
Have a question about this project?
Could you do a post on how you made the fence?
curious as to the fence being gone or on. What is that about? DO yo take the dance off in the winter? Isn't that a lot of work? I love the look of your entrance and would love to do the skeleton thing. Very cute.
This is inspiring- I am wondering about the heat of compost myself, is it not enough compost to generate heat?? I have small area where my garden usually goes, 5’ x 7’ was gonna start throwing stuff into it to till for next year since no water to waste this year…..