


How to Do an Easy Shelf & Cabinet Makeover With Pole Wrap

Minwax sent me a plain, boring cabinet so I could do a makeover using their stains. I began my cabinet makeover by envisioning the changes I wanted to make.
There are so many cabinet makeover ideas out there so really think about it and then decide on the placement of the cabinet. I decided I wanted to put the new cabinet in the laundry room. Let me show you what I did.
Tools and materials
- Cabinet
- Red oak board
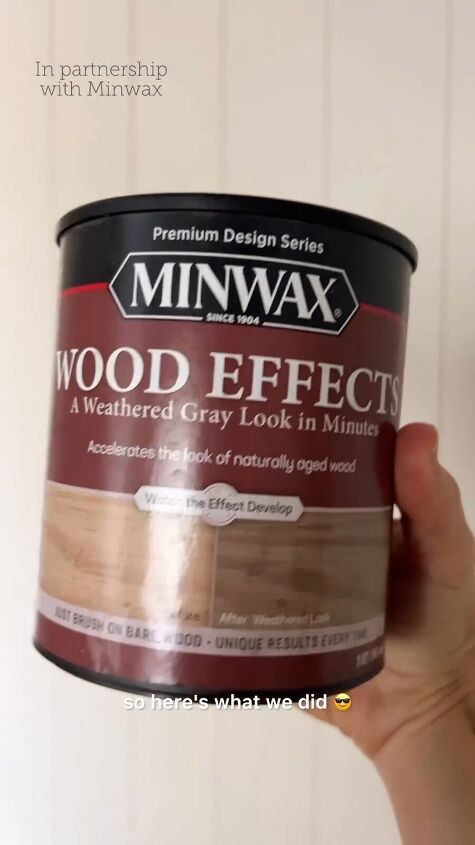
- Minwax Wood Effects in Weathered Gray
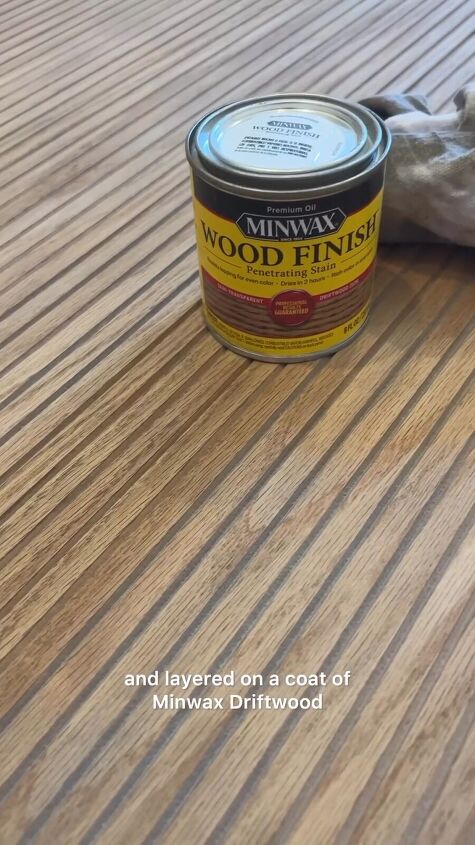
- Minwax Driftwood
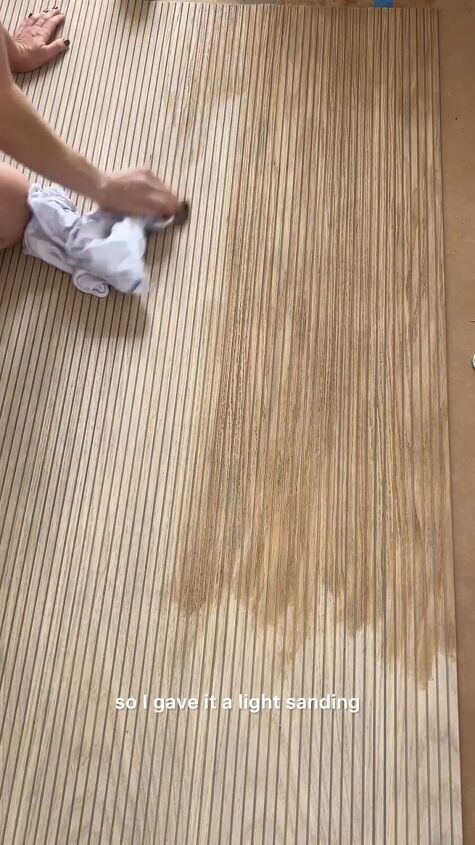
- Sandpaper (light, fine grit)
- Red oak pole wrap
- Clamps
- Crown molding
- Hardware for the cabinet
- Saw
- Wood glue
- Paintbrushes
- Screwdriver
- Measuring tape
Cabinet makeover

Step 1: Adding a shelf
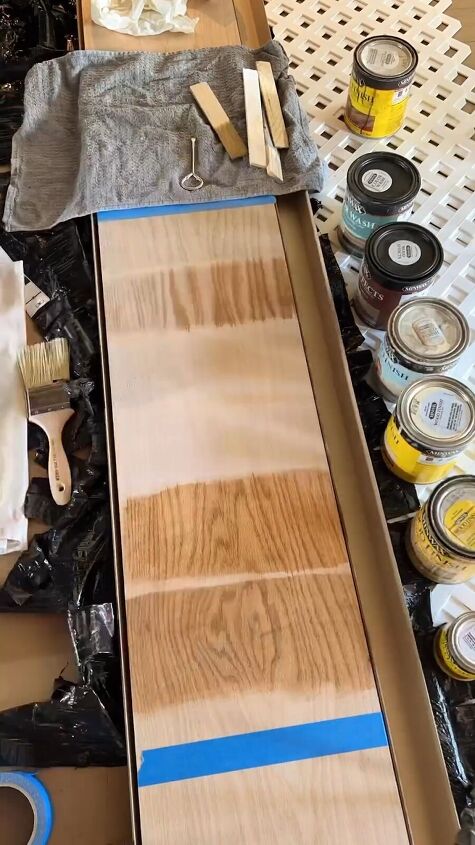
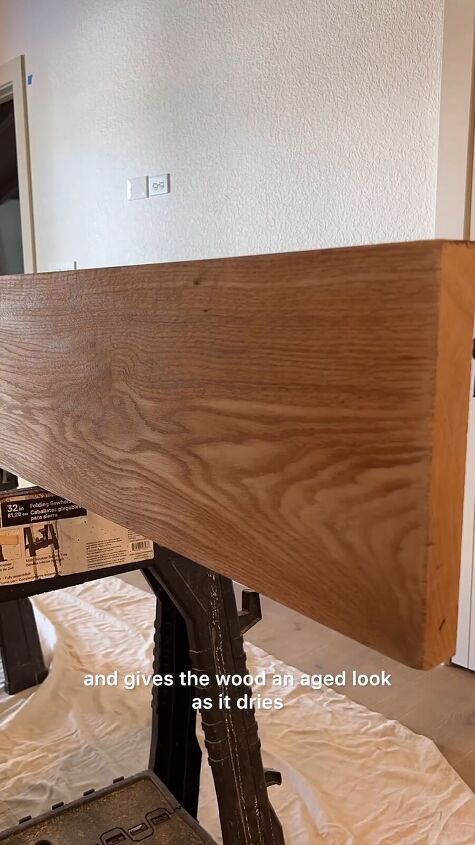
First I wanted to add a shelf, so I tested a bunch of samples on a red oak board.
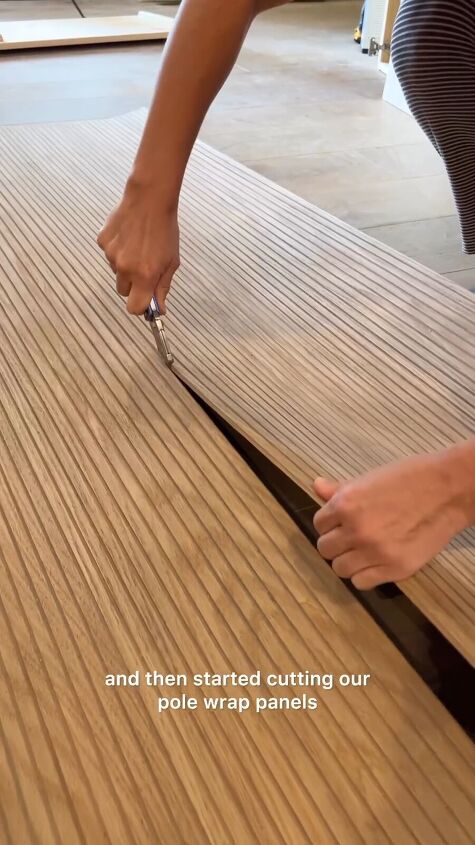
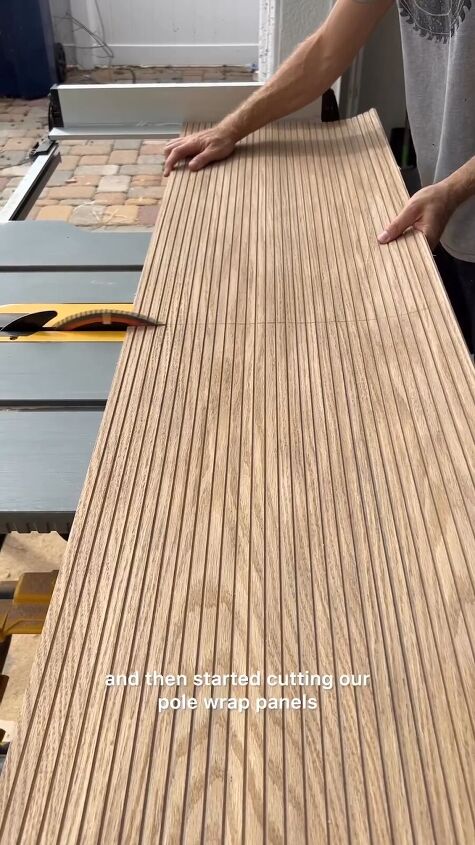
Step 2: Cut and stain the pole wrap
We cut the pole wrap to fit the cabinet

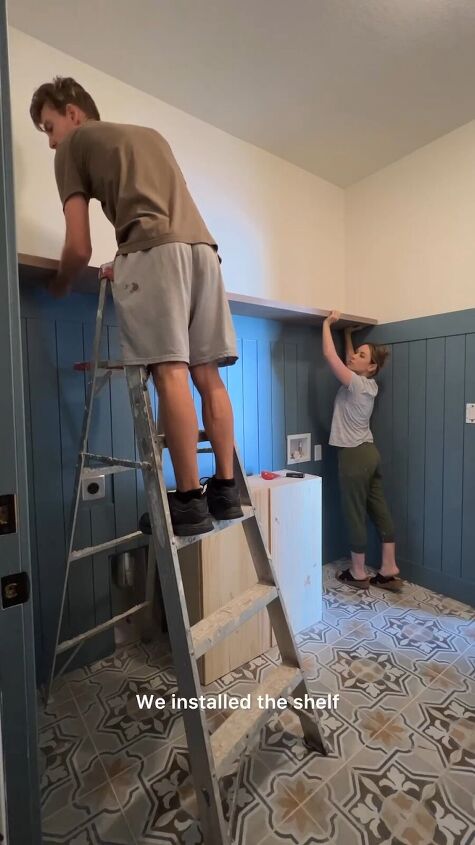
Step 3: Installing the shelf
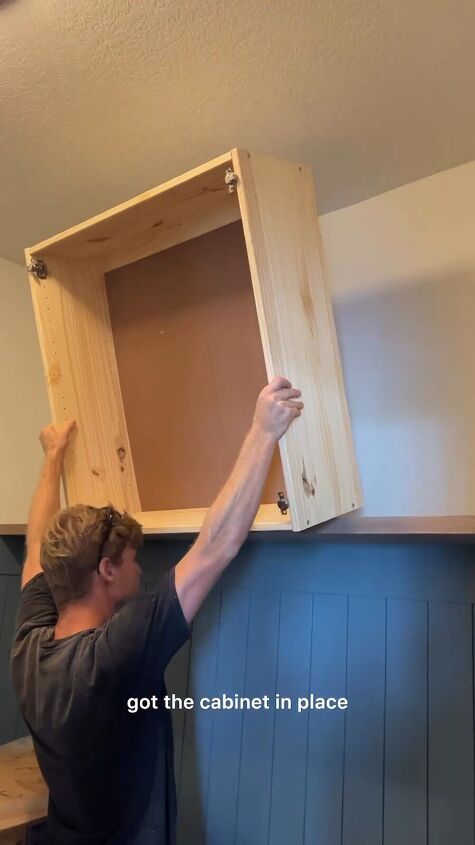
We installed the shelf and put the cabinet in place.
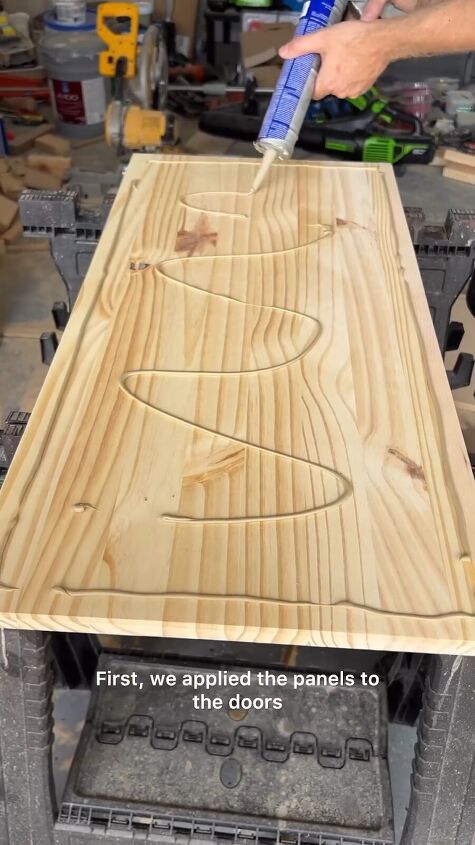
Step 4: Attaching pole wrap to the doors
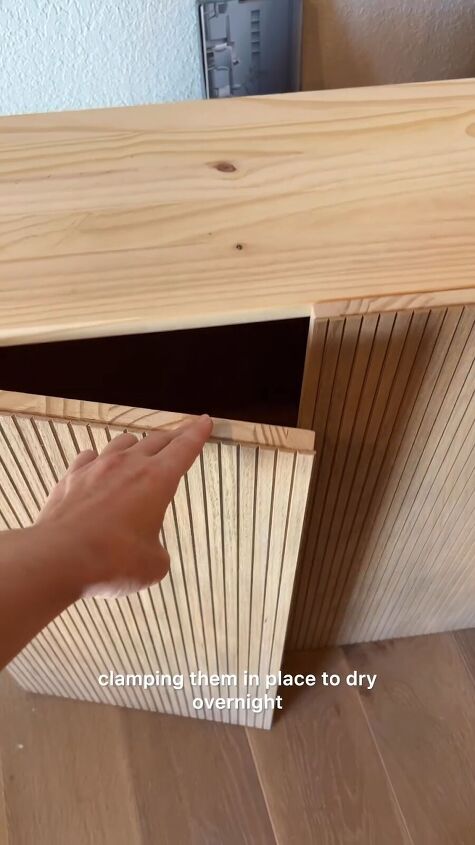
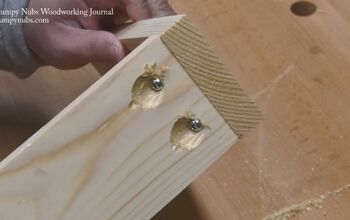
First, we applied the panels to the doors, clamping them in place to dry overnight. The doors were reinstalled and we lifted the cabinet into place.
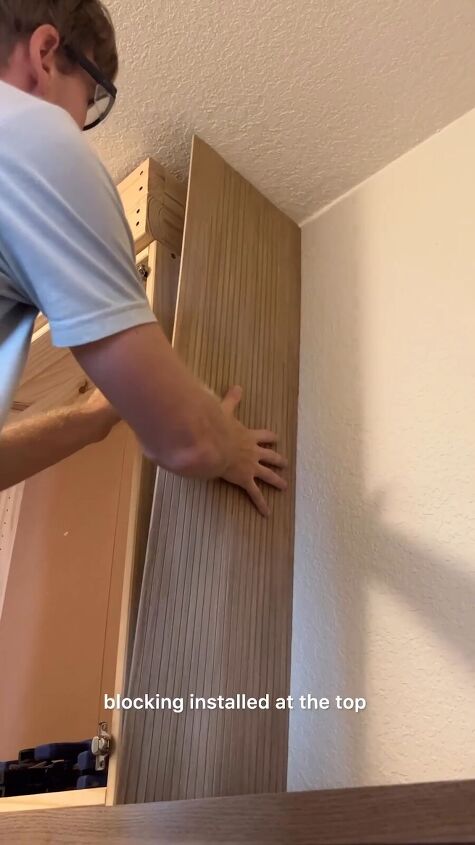
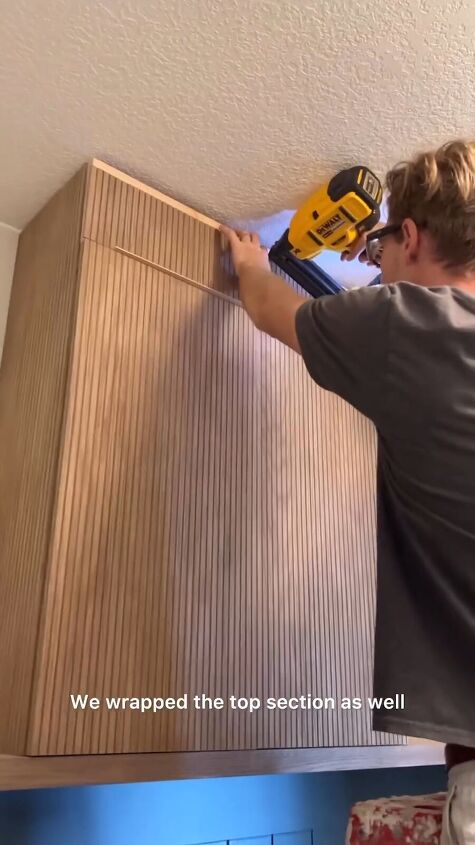
Step 5: Finishing the side, top, and bottom
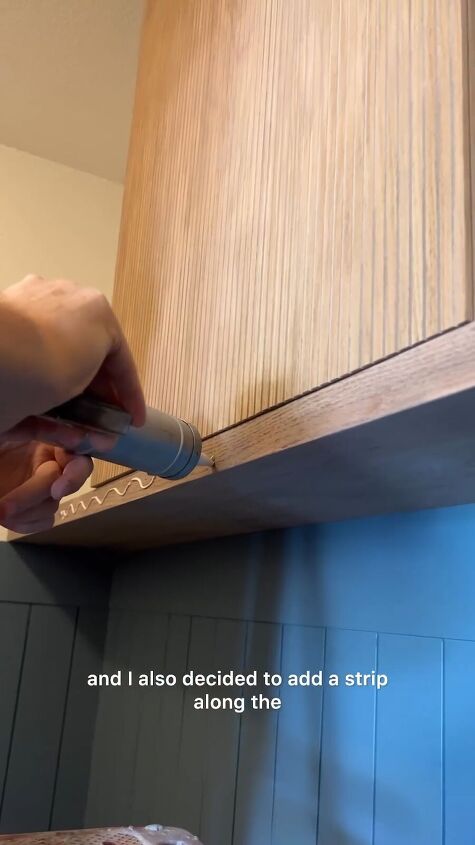
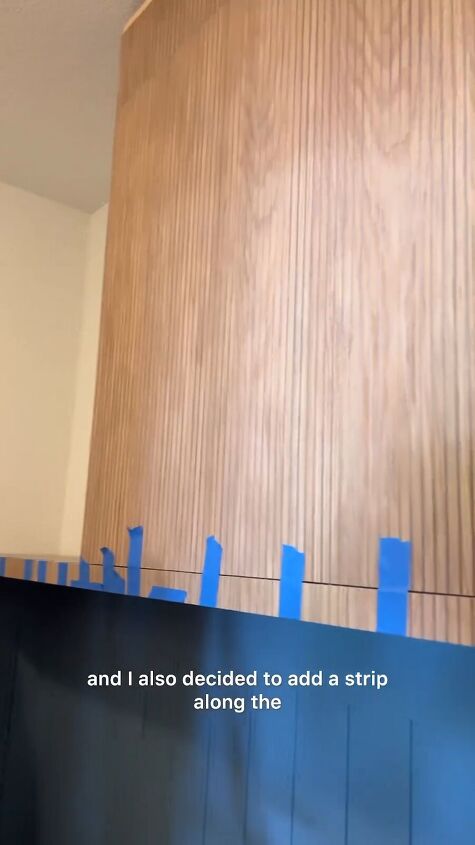
We installed the top panel after the side panels were added. We decided to add a strip along the shelf to make it more uniform.
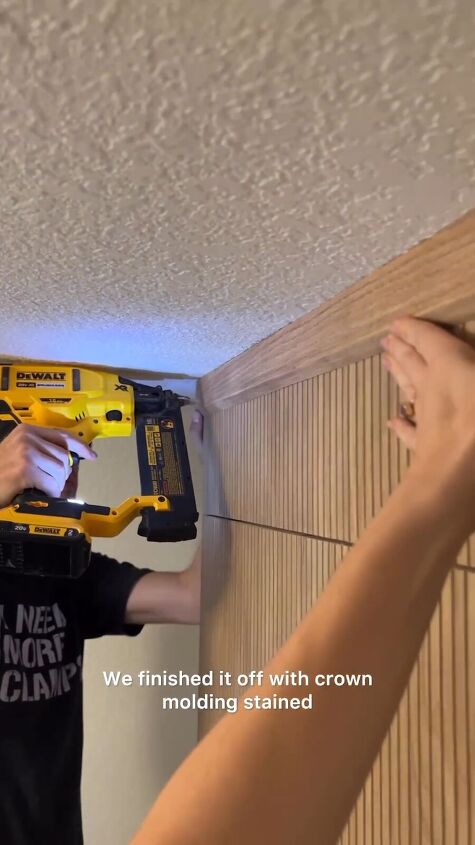
Step 6: Crown molding
We finished it off with crown molding stained to match and added hardware.
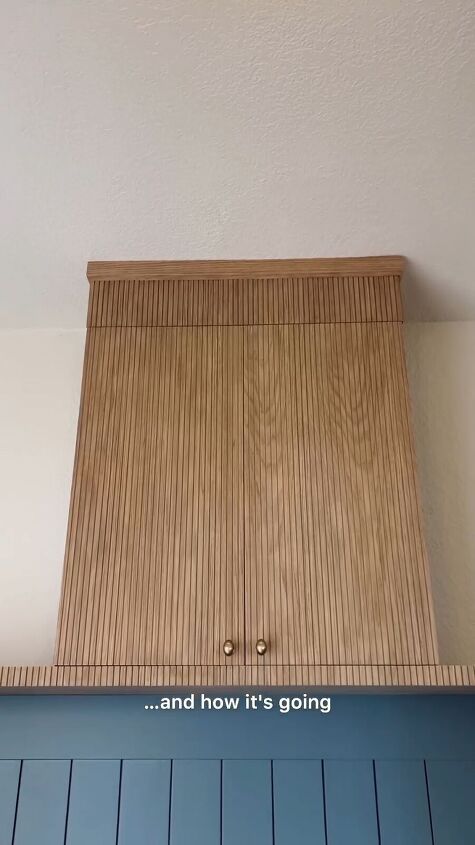
Cabinet makeover
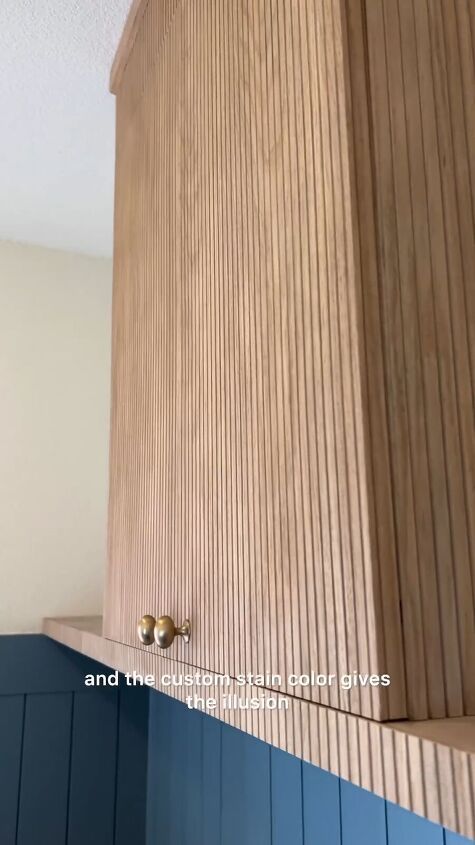
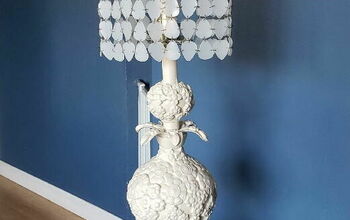
We love the texture and the elevated look of the pole wrap on this cabinet. The custom stain color gives the illusion of expensive white oak. Thanks to this DIY cabinet makeover idea, my laundry room is going to be gorgeous!
Let me know if you have used pole wrap and what you used it for. I love the idea so I’m looking for more ways to use it. Let me know in the comments!
Follow @jennasuedesign for more DIY ideas.


Frequently asked questions
Have a question about this project?