


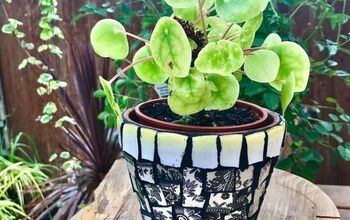
How to Transform Plastic Plant Pots | Clever Faux Concrete Technique
Do you have a plastic dollar store planter that looks plain and unattractive? Don't worry; I've got you covered! In this step-by-step guide, I'll show you how to give your planter a stunning makeover using simple materials and a little creativity.
This post was transcribed by a member of the Hometalk editorial team from the original HometalkTV episode.
Get ready to transform your dull planter into a beautiful piece of decor that will impress everyone who sees it.
1. Gather Your Materials
To begin this weathered concrete planter you'll need to gather all the necessary materials for this project:
- Sanding block or sandpaper
- Paintbrushes (various sizes)
- Clear sealer or varnish
- Mixing container (for paint and sand mixture)
- Old cloth or paper towels (for cleaning and wiping)
- Plastic planter
- Gray chalk paint
- Sand (fine-grit)
- Dark gray paint
- White paint
- Potting soil
- Beautiful plant of your choice
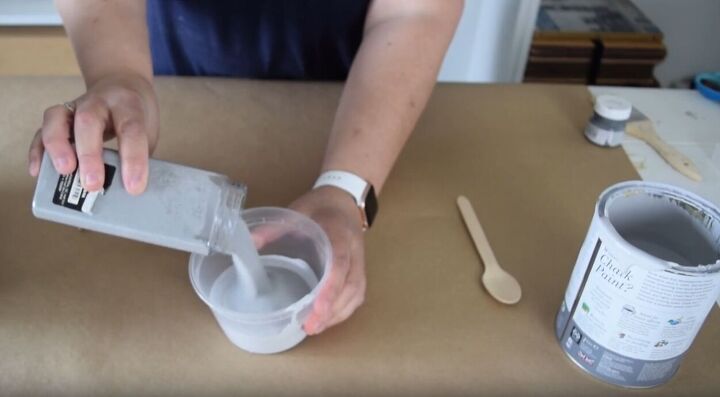
2. Make the concrete mixture
Mix together your fine sand and gray paint to form a textured paste that resembles concrete.
3. Prep the Planter
Now that you have your paint and sand, it's time to get the planter ready for its makeover. Grab a sanding block and give the surface of the planter a quick sanding. This will roughen up the plastic and create a better surface for the paint to adhere to.
4. Apply the Base Coat
With the planter prepped, it's time to apply the gray chalk paint and sand mixture. Cover the entire planter, including the edges and inside lip, to ensure a realistic and authentic appearance. Make sure no plastic is visible; this step is crucial for achieving a high-quality look.
5. Add Dimension with Dark Gray Paint
Once the base coat is dry, take your dark gray paint and apply it to the planter's surface. Don't worry about covering the entire surface; instead, brush the paint on randomly to create depth and texture.
6. Highlight with White Paint
To add a touch of elegance, use white paint to highlight the edges and high points of the planter. Start by adding white paint to these areas, and then blend it with a little gray using your brush. This technique will give your planter a beautifully weathered and aged look.
7. Seal the Planter
Since your planter will be displayed outside, it's essential to protect the paint and sand mixture from the elements. Seal the planter with a clear coat to ensure its longevity and preserve its newfound beauty.
8. Add soil and Plants
Now, it's time to fill your planter with potting soil and
And add a beautiful plant to complete the look.
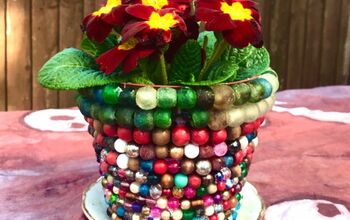
More Planter Updates
Stunning Outdoor Planter DIY Tutorial
Congratulations! You've successfully transformed your plastic dollar store planter into a magnificent piece of decor that will elevate the look of any space. The texture and paint have given it a brand-new identity, and nobody would guess it was from the dollar store.
I hope this DIY makeover has inspired you to give your own planters a makeover. It's incredible what a little paint and creativity can do! If you decide to try this project or have any questions, I'd love to hear from you.
Resources for this project:
See all materials


Comments
Join the conversation
-
If you buy a concrete pot then YOU MISS the creative experience!
Blah!
Love this! Next Spring when all too soon to plant...CREATE THESE!
😊 thanx
-
Thanks for this idea


Frequently asked questions
Have a question about this project?