


How to Create a Realistic Faux Bark Planter: A DIY Gardener's Dream
Welcome to the world of DIY planters!
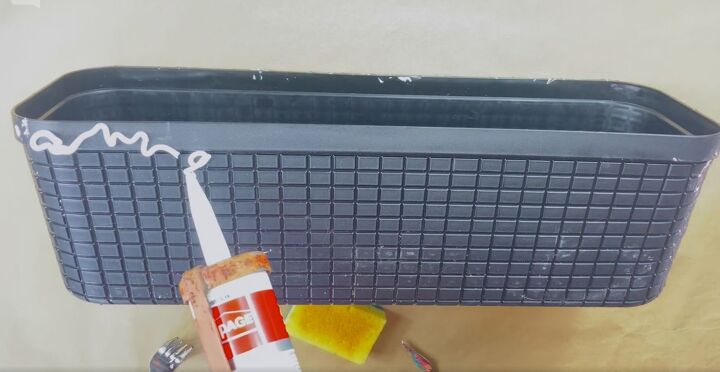
In this project, I will show you how to transform a plain rectangular plastic planter into a charming "Faux Bark Planter" using caulk and acrylic paint.
This post was transcribed by a member of the Hometalk editorial team from the original HometalkTV episode.
If you have one of those common plastic planters lying around, this makeover will breathe new life into it, giving it a rustic and natural appearance that perfectly complements your garden or home decor.
1. Applying the Caulk
To begin, grab your waterproof and paintable caulk and start squirting it all over the outside of the planter box. Don't worry about making it look neat; we'll be creating a textured bark-like finish later on.
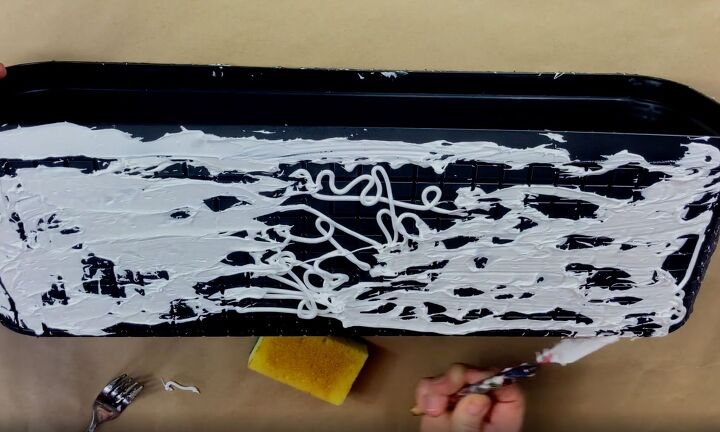
2. Creating Texture
Take a putty knife and smear the caulk all over the planter's surface. This step helps build a base coat for the bark texture.
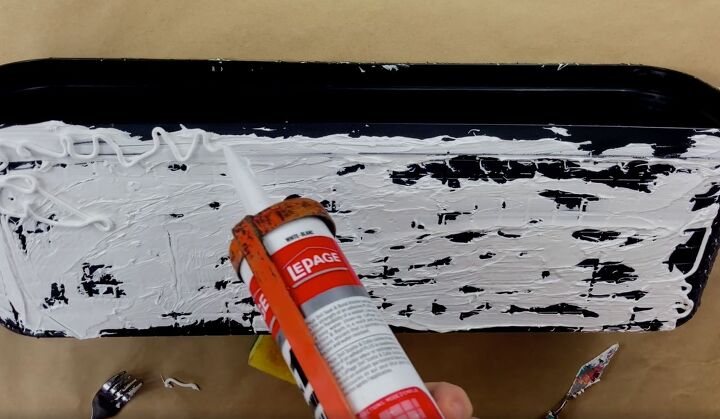
Once the first layer is evenly applied, go ahead and add a second layer on top.
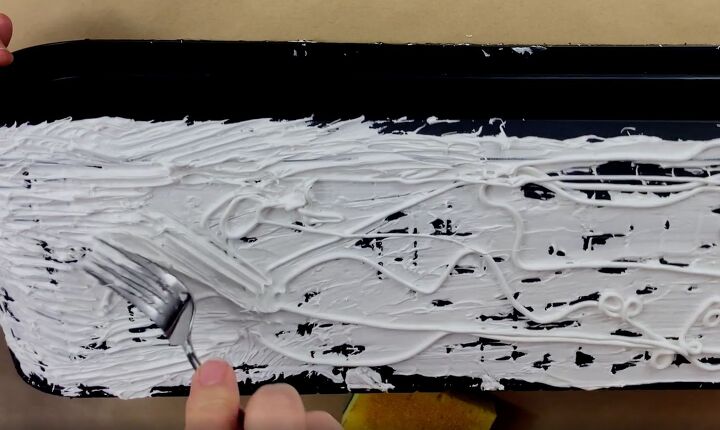
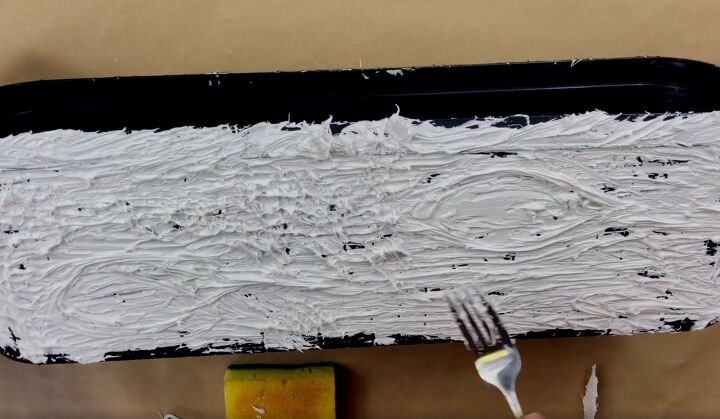
3. Crafting the Faux Bark Finish
For this step, use a fork to spread out the second layer of caulk. This technique will help you achieve a faux bark-like finish and create the appearance of wood knots on the planter. Don't worry about covering every inch of the surface; remember, we'll be painting it later.
4. Allowing the Caulk to Dry
The caulk will need some time to dry properly. While waiting for it to dry, you can keep coming back and working on it.
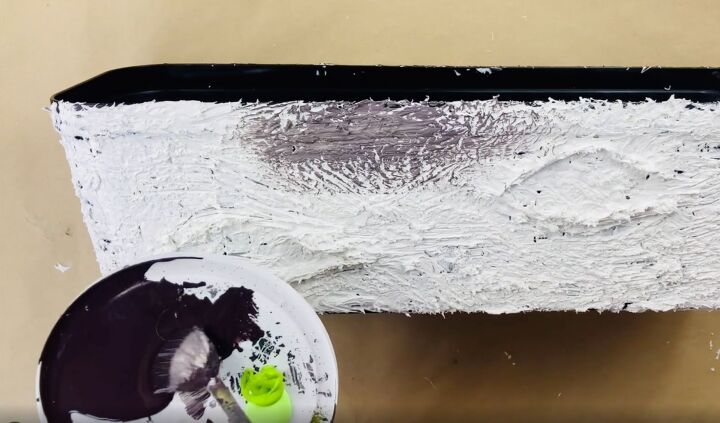
5. Painting the Planter
Once the caulk has dried, it's time to bring your Faux Bark Planter to life with acrylic paint.
For a realistic bark look, start with dark brown paint and mix in a little cream to give it a natural appearance.
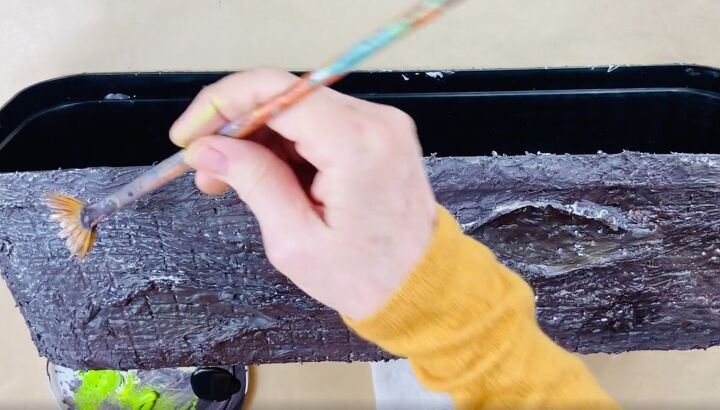
6. Highlighting the Bark Effect
After the first layer of paint has dried, use cream and olive green paint to highlight the bark effect you created with the caulk.
Take a fan brush and gently slide it across the surface to add subtle accents and enhance the realistic appearance of the bark.
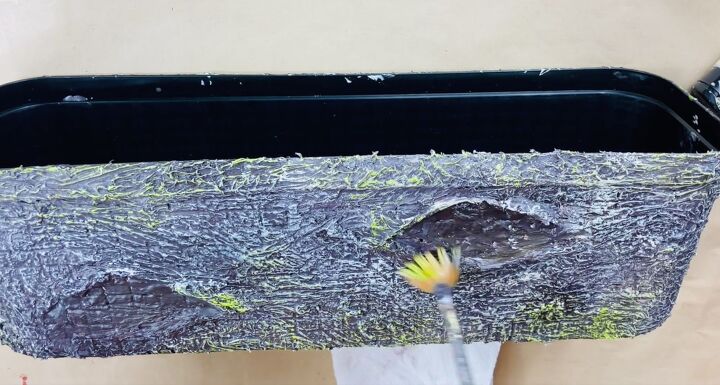
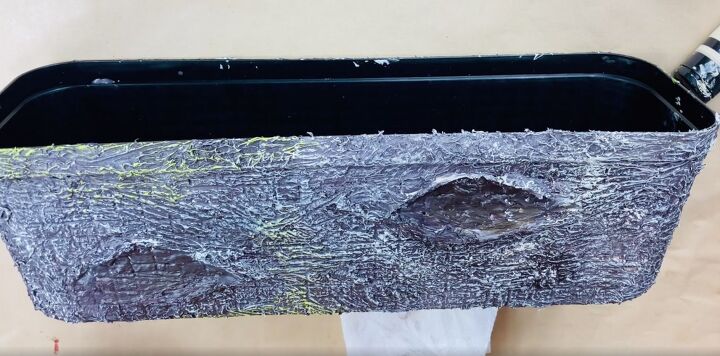
7. Adding Mossy Touches
To complete the natural look, incorporate touches of bright green paint using the same technique as before. This step will give the impression of moss growing on the bark, adding a touch of realism and charm to your planter.
More Planter Ideas
DIY Faux Bark Planter Tutorial
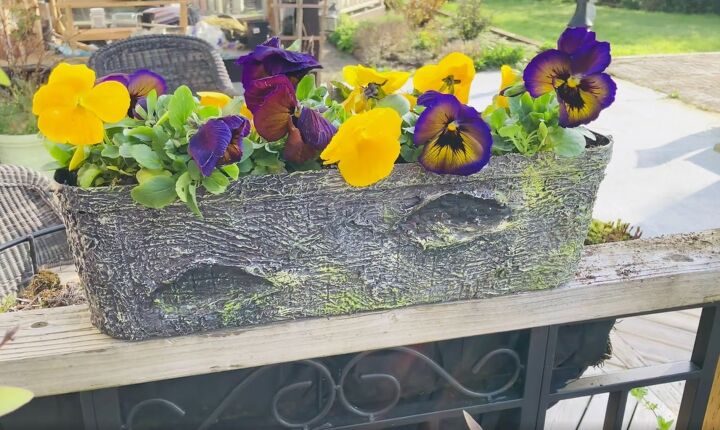
With its textured bark-like finish and mossy touches, this planter is now ready to showcase your beautiful plants and flowers.
I hope you enjoyed this project and that it has inspired you to try your hand at creating your own Bark Planter.
If you have any questions or want to share your experiences with this project, feel free to leave a comment below.
Resources for this project:


Comments
Join the conversation
-
Really cool and creative.
-
I love it as well. And I, too, am wondering if you sprayed it with some sort of protectant after completing the painting. Thanks!


Frequently asked questions
Have a question about this project?
Did you spray or cover it with something to make it waterproof? It seems like acrylic paint might flake off with rain hitting it.
I'd like to try something similar, but for round plastic planters. Any suggestions? I don't think the wood look would work in the round.