Turn a Dollar Store Vase Into an Aged Faux Stone Planter

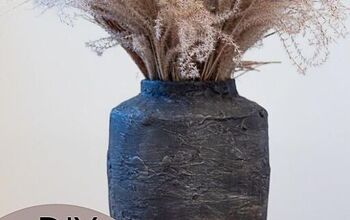
Got an old chipped vase lying around? Don’t throw it away! This plaster Dollar Store vase project will take your cracked vase from trash to treasure! In no time at all you can have a faux stone planter that looks like it’s been around for ages. This faux stone plaster technique can be used on vases, planters, even lawn ornaments. Follow our step-by-step tutorial to create your own faux stone planter!
Tools and Materials:
- Plaster (We used Perfect Plaster but Plaster of Paris works as well)
- Sand
- Cold water
- Glass vase
- Grey paint
- Green paint
- Paint brush
- Paper towel or coffee filter
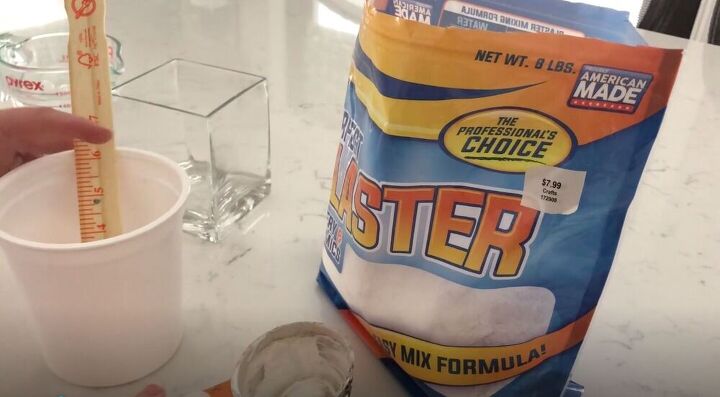
It’s important to use cold water when mixing plaster. We’ve found that when you use warm water the plaster tends to harden faster.
This part is kind of trial and error, add water slowly until you get the plaster to the right consistency.
We’re looking for a thin frosting consistency that looks like this.
Then I added some fine sand to the plaster. This adds texture to the piece and gives it an aged look.
Next I spread the plaster onto the vase.
I slowly applied a thin layer all along the sides with my hands.
Then I dabbed a layer along the rim on top once I had finished with the sides. Don’t worry too much about glass showing through as we’ll fix that up in the next step.
I went back and did another coat of plaster with a bit of a thicker plaster to make sure that there were no bits of glass showing through. I wanted mine a bit smoother, so I dipped my hands in water every now and then to smooth it out.
Then I let the pot dry completely. You’ll see the color change from grey to white as it dries.
I wanted to mimic granite, so I mixed up a few different shades of grey.
I painted the entire pot with the light grey first. This would create a base for me to build depth and dimension on after.
Then I pounced some of the medium grey onto different spots on the pot to add some dimension.
You can also do this with a wet paper towel or coffee filter to add some depth.
Next I focused on some little crevices and pounced the darkest grey onto the pot.
Make sure to take a paper towel or coffee filter to blend the dark paint so that it doesn’t stand out too much. You don’t want it to look splotchy.
Rocks in nature often have some moss on them, so why shouldn’t my stone planter? I tapped a bit of olive green paint along the edges and corners and blended it in.
That’s all there is to it! Who would know that this aged looking planter is actually brand new! We’ve used this technique on vases and even on a ceramic bunny! What would you age with this technique? Let us know in the comments below!
Enjoyed the project?

Comments
Join the conversation
-
-
 Sunny Side Design
on May 30, 2022
That’s a great idea Dawn.
-
-
-
-
 Sunny Side Design
on May 21, 2023
Thanks Patty. I believe that layering differ colors of paint make it look more realistic. Have a great day.
-
-











Frequently asked questions
Have a question about this project?
Did you plaster the bottom?
How does it hold up outside? Can it be done to a plastic pot?
Love it