


Dresser Converted Into TV Stand

by
Whitney
12 Materials
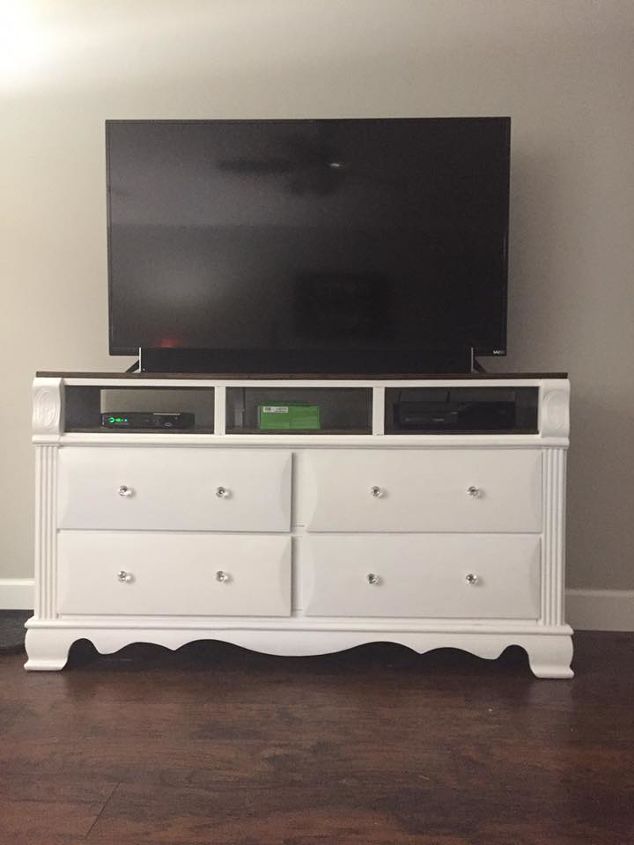
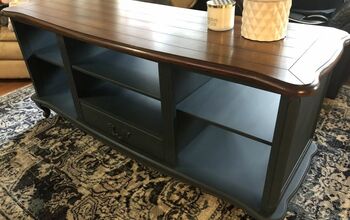
I have had this dresser for a few years now. I bought it from a co-worker along with the matching mirror, chest of drawers, nightstand and a non-matching solid oak chest of drawers all for only $50! SCORE! Since moving into our first home, we have kept the dresser in one of our spare bedrooms unused. I grew tired of using our oak sofa table for holding our TV so I thought why not convert the dresser into a TV stand? This was my first furniture flip and as you can see I got a little excited and forgot to take the before and during photos, lol. I’ll try to explain in detail how I converted my unused dresser into our awesome and functional TV stand!
So, I started out by removing the drawers and hardware from the dresser. I lightly sanded it down with my palm sander and removed the sanding dust with a tack cloth. Next I applied my first of two coats of the Zinsser B-I-N primer and sealer, waiting 15 minutes between coats. The top three spots were once drawers. Knowing that I was converting it into a shelf I made sure to apply primer to the inside of the dresser and to the back cover of the dresser (not pictured). While I waited for the primer to dry, I began removing the hardware from the bottom four drawers and filling the holes with Elmer’s Wood Filler. I love this stuff because it is so easy to apply, dries quick and it is sandable, paintable, and stainable. You never even know it’s there once you’re done! After the filler was dry, I applied two coats of primer to the drawers, inside and out. The previous owner of our house left about a ¼ of a gallon of Valspar High Gloss white paint and primer he used on the interior trim. That is what I used for the final two coats of paint on my dresser. Had I known earlier I had that lying around the house I probably wouldn’t have bought and used the Zinsser primer. Oh well, lol.
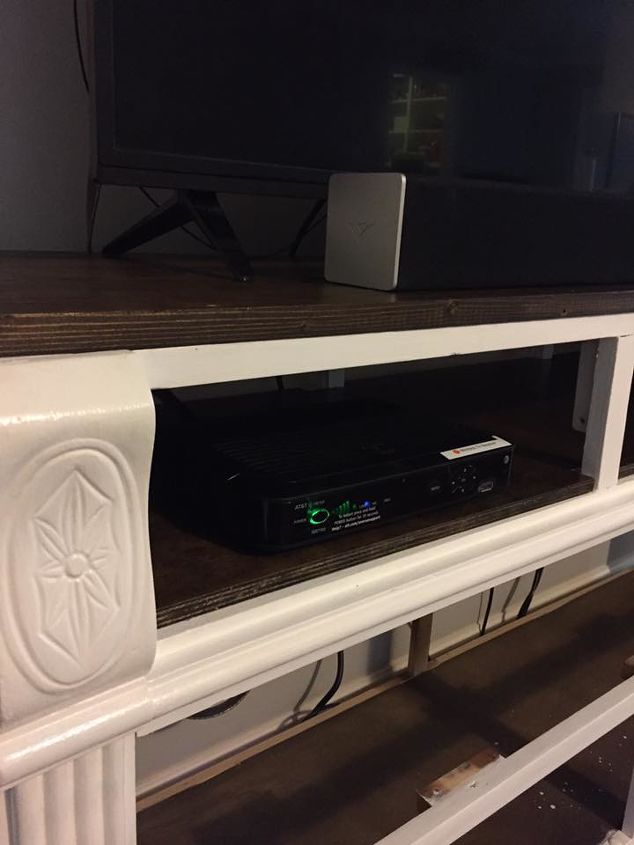
My final step was to replace my dresser top and add the shelf where the top three drawers once were. At first I planned to buy ¾ inch plywood and cut it to fit my dresser. That soon changed as the only option I had was to buy 8 feet worth which would cost around $50 by itself. I still had to buy ¼ inch plywood for my shelf. SO being the optimist that I am, I set out in the lumber section of Lowe’s to find a cheaper alternative. I am so glad I did because I am came across a pre-made board that was almost the perfect size! It was made of 2x2’s that were cut and glued together. The width was exact and all I needed to do was cut a foot off so it would fit length wise. I took my ¼ inch plywood and cut it into three separate squares so it would be easier to install them. I used my jigsaw to cut the notches out of the ¼ plywood shelf so they would fit where the supports were. I wanted it to be as snug as possible. For the stain I mixed equal parts MinWax Wood Finish Dark Walnut and Grey to get the desired effect on the wood. I lightly sanded the top and shelf pieces, applied my stain mix with a stain pad applicator and waited 24 hours for it to dry. After the 24 hours, I applied two coats of MiniWax Polycrylic, hand sanding and waiting two hours in between coats of polycyrlic. All that was left was to screw down the new top, install the glass drawer knobs I bought on Amazon and put on the back cover. DONE! I am absolutely in love with it!
Comments
Join the conversation
4 of 8 comments
-
Such a great transformation!
-
Here's something else you could have done, remove the top, cut it in half, reattach the back half using a hinge so it will operate like a lid, secure the front part so it won't open. Gut the inside so a liftable shelf can be installed for the TV to set on, take the top drawer fronts Inge them to the unit so now you have three doors that once were the drawers drill a hole in the back for all the cables and power cords, come tellt time, lift the lid cue the raisable shelf up come the TV, open the door for the access to the video equipment, when done watching TV close her back up out of sight out of mind, but then again I'm one for always hiding things, makes it harder for a crook to steal them. That's all.


Frequently asked questions
Have a question about this project?