


Walls Without Bricks

by
Estelle
5 Materials
1 Month
Medium
It is possible to build walls without using bricks. It's fast, very strong and cost effective.
We did not want a 'normal' house at all when we decided to build ourselves, so we started out on a fantastic journey. Make no mistake...it was frustrating at times, because we tried out new things and they did not always work out well. But we kept on going and we are quite happy with the results we've been getting so far.
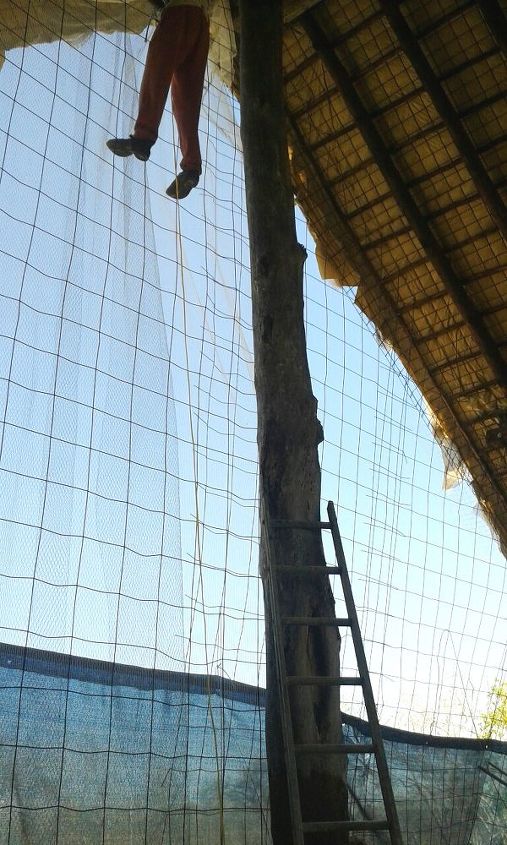
First we used welded mesh as a basis. It was fastened onto the structure of the roof and side poles. If the wall is very big you can also use round bar or reinforced steel to keep it more straight and in place if you want. We did not do that, because we wanted our home to be arty and different, so we decided to leave it like that and see what comes out of it.
This is one of the inside walls, but it's done in the same way. The welded mesh squares are just smaller on the inside because the wall is so much smaller.
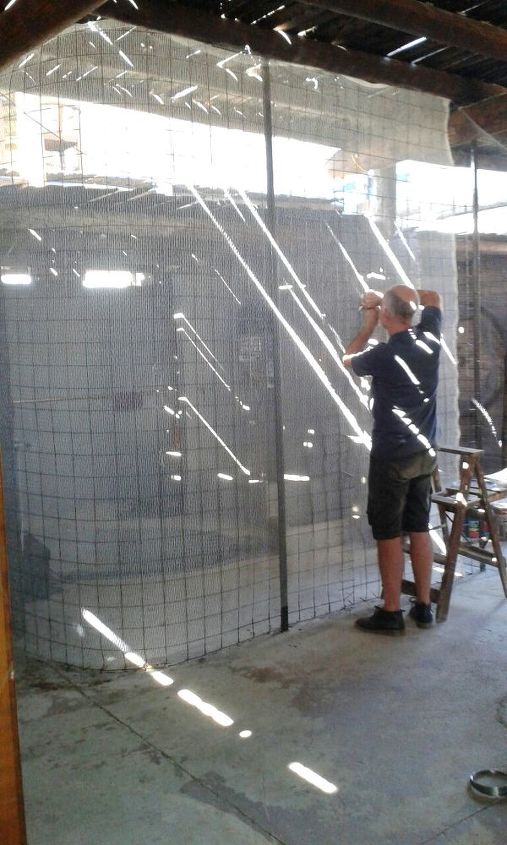
The next step is to fasten shade cloth to the mesh. 30% or even less will do, as it serves only as a basis for the cement.
It has to be fastened to the mesh all over. It makes it much easier to apply the cement.
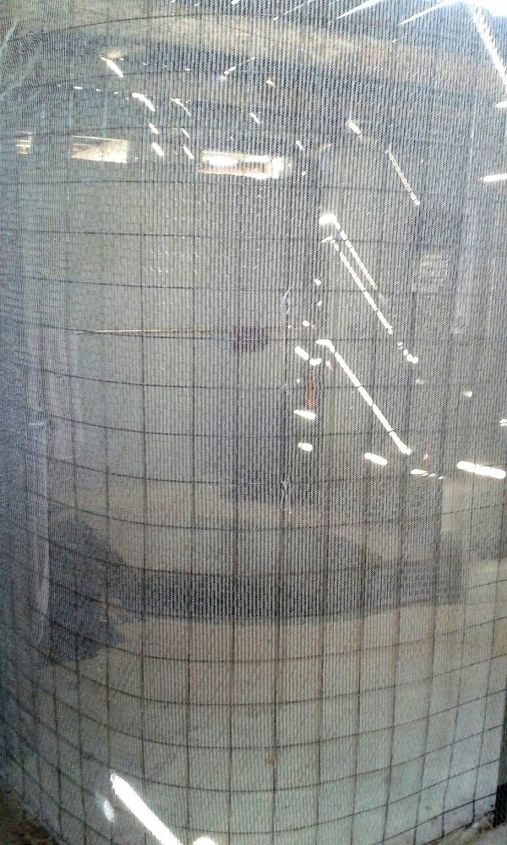
This is what it looks like up close.

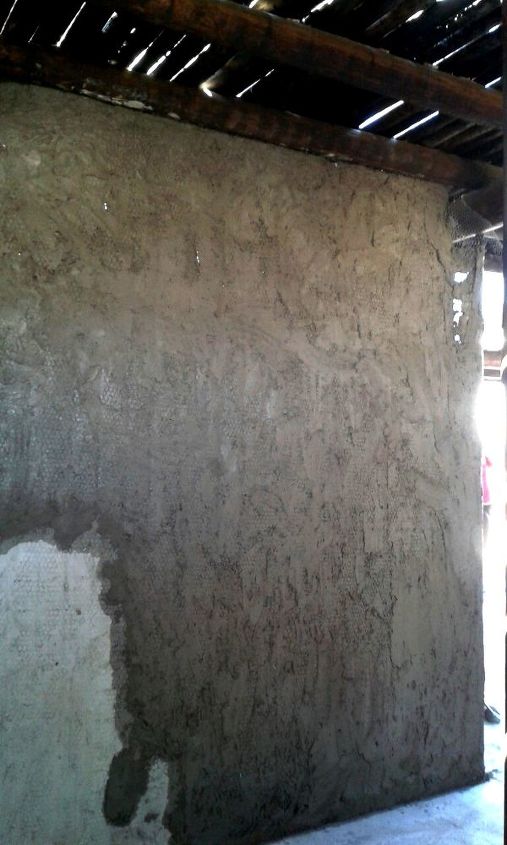
The cement mixture (cement and water as per instruction on the bag) is then 'plastered' onto the 'wall'.
You start from the bottom up. Thick rubber gloves is a MUST! You take a heap of cement with your hand and smear it onto the mesh upwards. It's difficult to not want to make it smooth then, but please do not. It will cause the cement to fall off and you'll have to start all over again.
Leave it to settle for a while. This is what it looks like on the other side after the cement is 'plastered' onto it. Here you can clearly see where the dry cement and the still wet cement is.
This is the side where the cement has been 'plastered' on.
If it has settled a bit - after about two hours or so - you can work on it again.
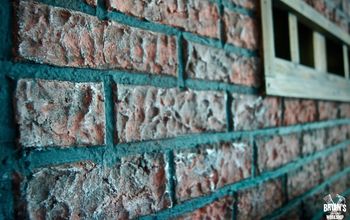
You can either just smooth it out like that or you can add a layer of normal, smooth plaster after it has dried completely.
We decided to just smooth it out a bit.
WARNING: It is not a perfect, straight wall. The cement is heavy and it tends to wobble here and there a bit. You can make it straight by adding a lot of reinforcing to the structure before plastering if you want. But as I said, we wanted it to be arty, AND we live in the bush, so we were opting for a more natural look.
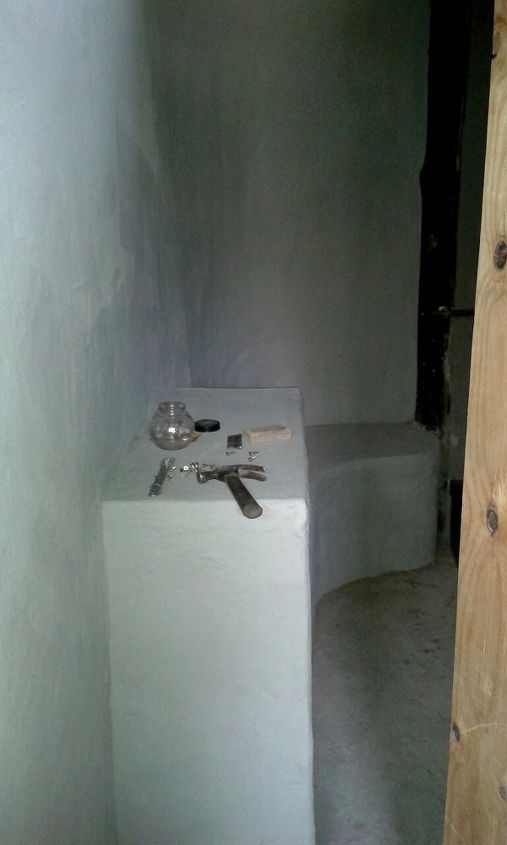
This is the inside of the same wall after it has been painted with a first coat. We also did the bench and the cupboard in the same way.
If you want to add things to the wall, be sure to include it in the structure before plastering. So you need to plan ahead. Decide what you want it to be before plastering.
We did the built in cupboards the same way. We just added doors onto them afterwards.
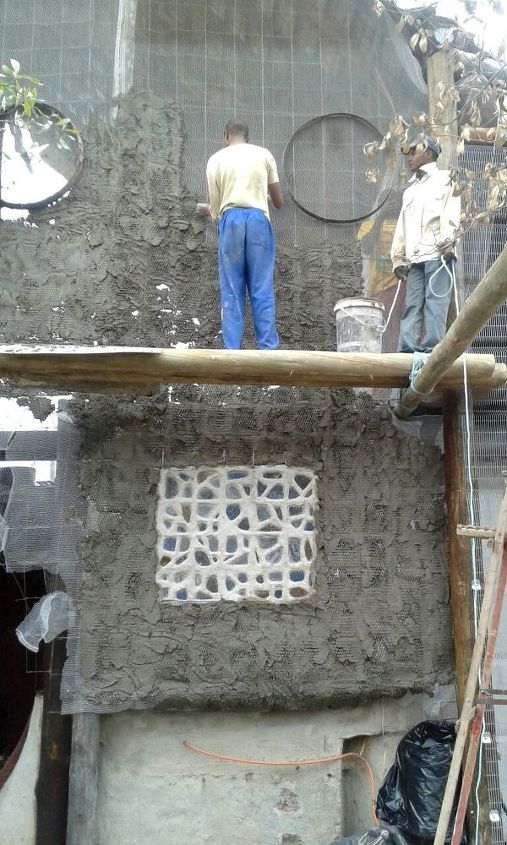
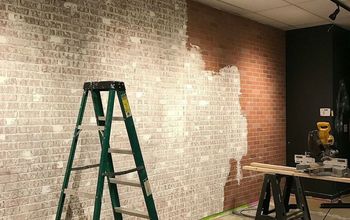
Here the guys that helped are busy plastering the big wall (the wall from the first picture) on the outside.
The inside was done already. It has to be done on BOTH SIDES of the mesh.
The rings you see here were left open for 'windows' that I made with cement and empty wine bottles. It was added in afterwards.
The bottom 'window' I also made with cement and pieces of offcut glass in a basis of weld mesh.
It's done on a flat surface and put into the wall when plastering. We fastened it to the weld mesh with pieces of wire before plastering the wall.

This is just to show who came to visit in the garden while we were plastering the wall....
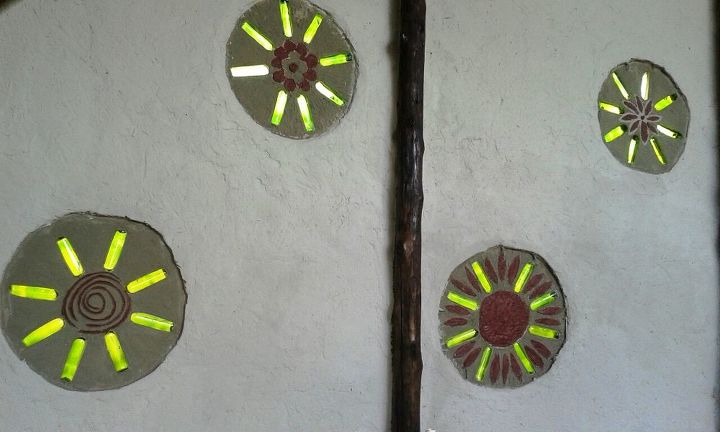
The round 'windows' are also put into the wall in the same manner as the square one. This is the finished result - from the inside.
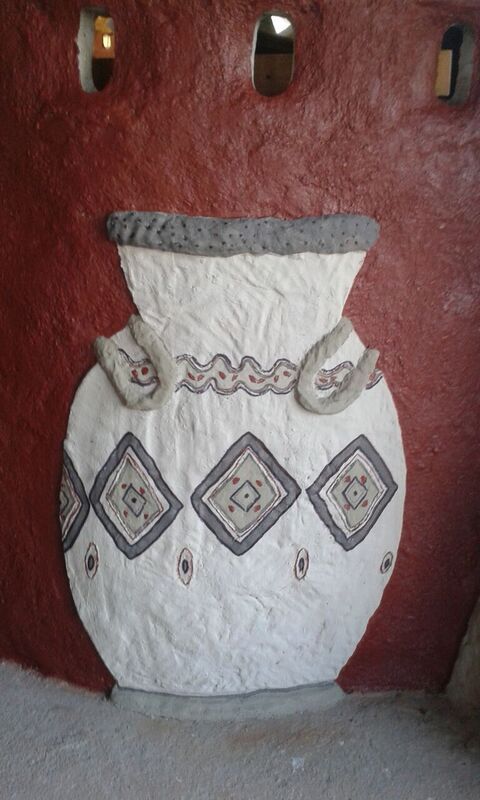
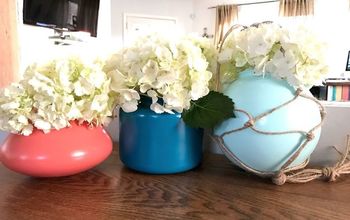
I've decided to play around a bit on the one wall in our kitchen. I also used cement to create these 3d pots against the wall. They are quite big, as you will see in the last photo.
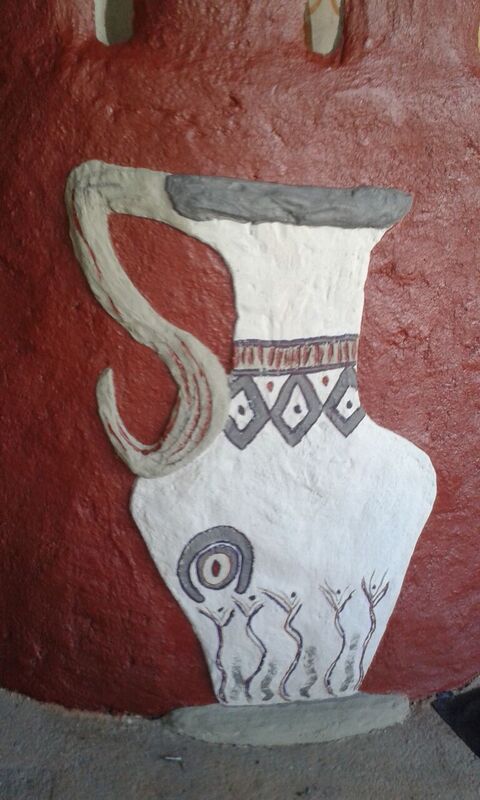
This is the other pot.
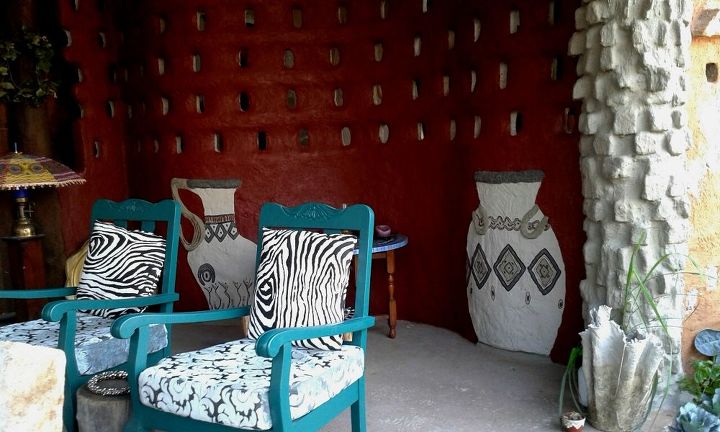
Here you can get an idea of how big the pots are.
The wall you see here was built with half bricks. The pillar on the right also.
So you see, you can do most anything with cement...and having fun while doing it......
Comments
Join the conversation
4 of 66 comments
-
Wow!!!! Simply fantastic... :-)
-
I am in awe.
So unique, artistic, brilliant.


Frequently asked questions
Have a question about this project?
Really nice work! What about building code's are there any where you live?
It looks great! How about a picture of the entire outside of the house?
What is the final thickness of the wall and how easy/difficult is it to heat?