


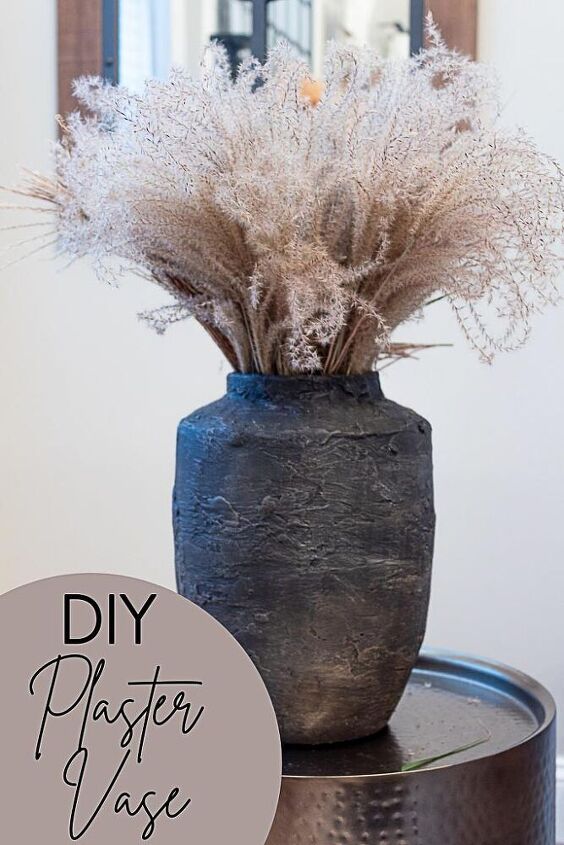
DIY Plaster Vase + Tips for Working With Plaster of Paris
Find out how to create your own high-end pottery pieces with this easy DIY plaster vase tutorial. Plus get my best tips for working with plaster of paris. Hint, it’s tricky!
This post contains affiliate links. Please see my full disclosure policy for more details.
This project is one of my favorite topics of the month! It’s part of my Thrifty Thursday series where I team up with some other talented bloggers to show you how to make more of your home for less. Be sure to check out the other budget-friendly DIYs at the bottom of this post!

My love for old rustic worn out things goes deep. And I love all of the old world looking pottery vases as Pottery Barn and Restoration Hardware, but this momma’s on a budget. Plus I have a ridiculous vase hoarding problem going on at the moment, so I decided to give one of mine a little DIY plaster treatment.
This project is super budget-friendly and only requires a few materials. And I’m going to tell you what I learned from my mistakes so you can cut down on your material list even more!
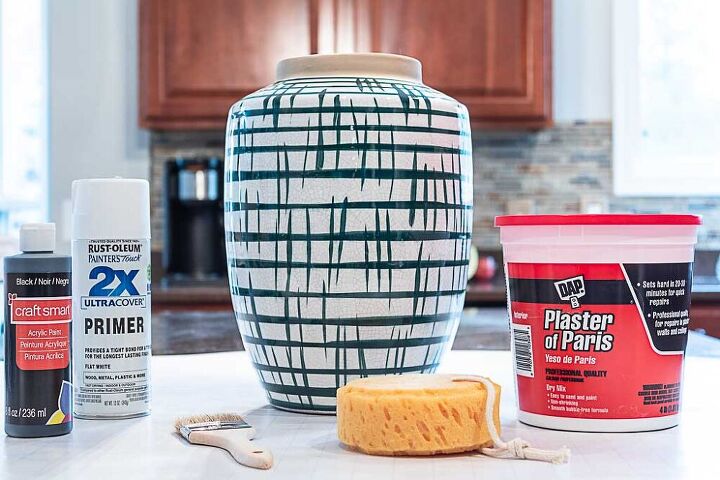
- Plaster of Paris
- Spray Paint Primer
- Sandpaper
- An Old Vase
- 2 chip brushes
- Black Acrylic Paint
- Dark Brown Acrylic Paint
- Medium Brown Acrylic Paint
- Light Brown Acrylic
- Paint
- Putty Knife
You’ll find out what I had to learn the hard way, but if you’d like to save yourself a little time and money then just opt for these materials below on your DIY plaster vase project.
- Plaster of Paris
- Spray Paint Primer
- An Old Vase
- Black Matte Spray Paint
- Medium Brown Acrylic Paint
- Light Brown Acrylic Paint
- 1 Chip Brush
- Putty Knife
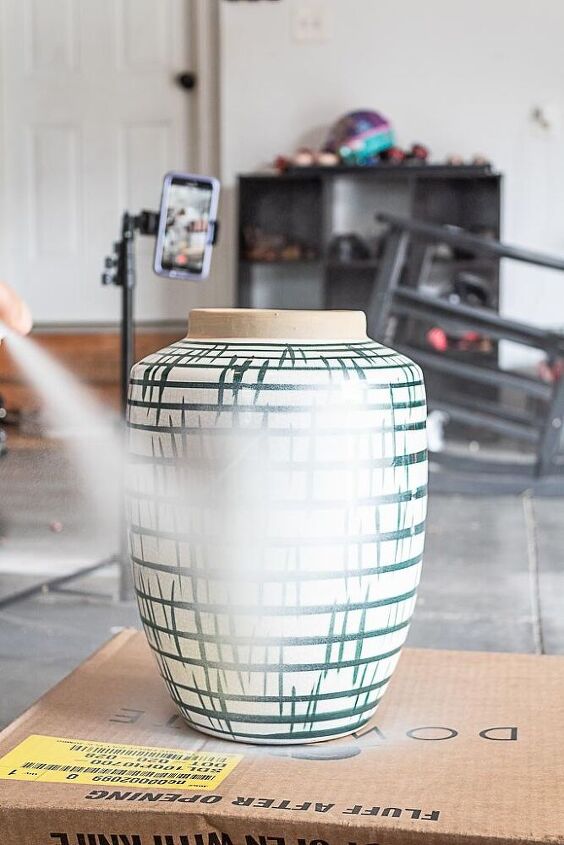
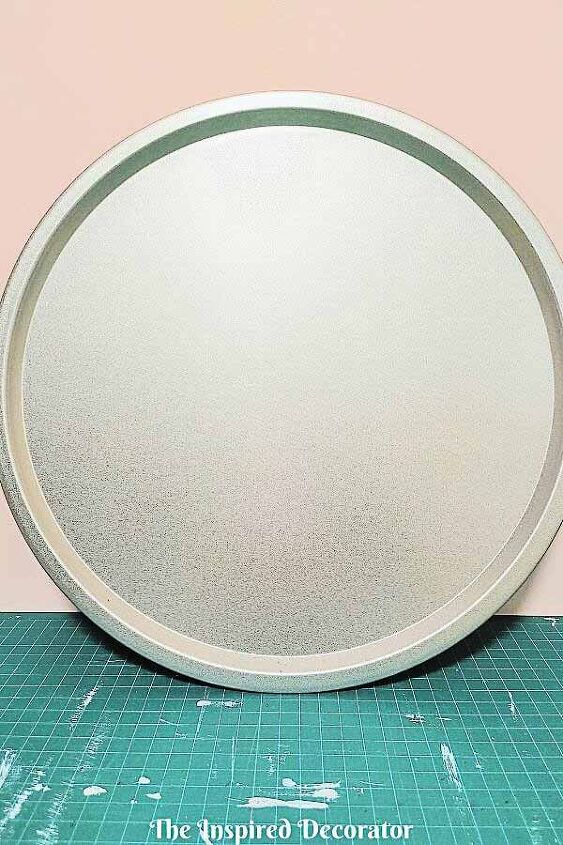
The first thing you’ll want to do is prep your vase by covering it in a solid coat of spray primer. This will help the plaster adhere to the surface of your vase. Try to avoid spraying the primer on too heavy. It’ll result in drips and runs that will only peel off later causing you to re-do your priming job. Short even bursts are always best when spray painting.
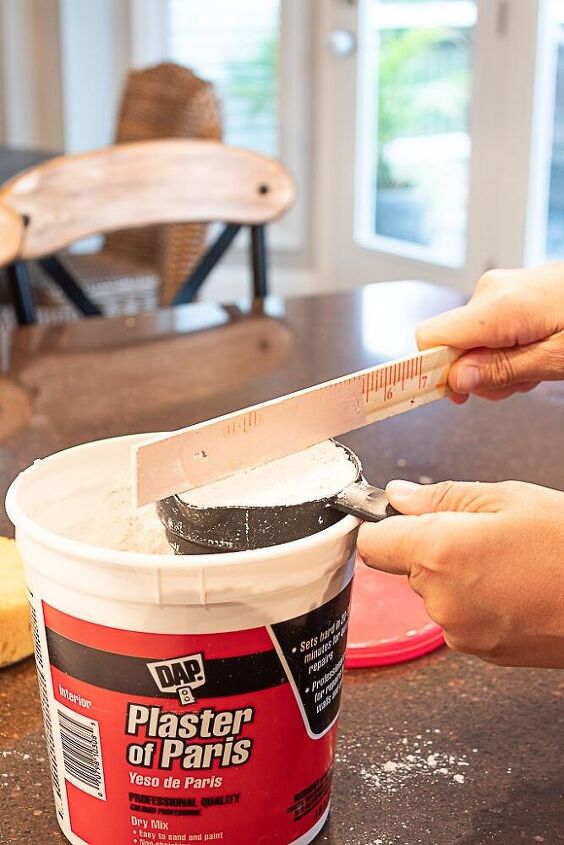
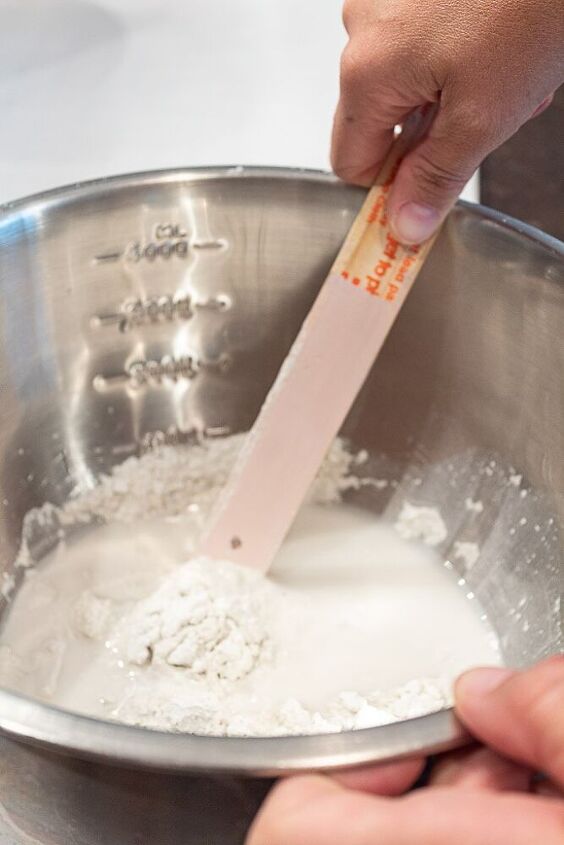
step 2: Mix your plaster
My vase is fairly large so I chose to mix 2 parts plaster with 1 part cold water and it was more than enough to get the job done. Make sure to stir it thoroughly to remove any clumps so that you end up with a thick creamy paste.
step 3: apply your plaster
This is the part that gets a little tricky, but no worries, I’ve got you. You’re going to want to work quickly applying your plaster because it dries fast and becomes harder to work with as you go.
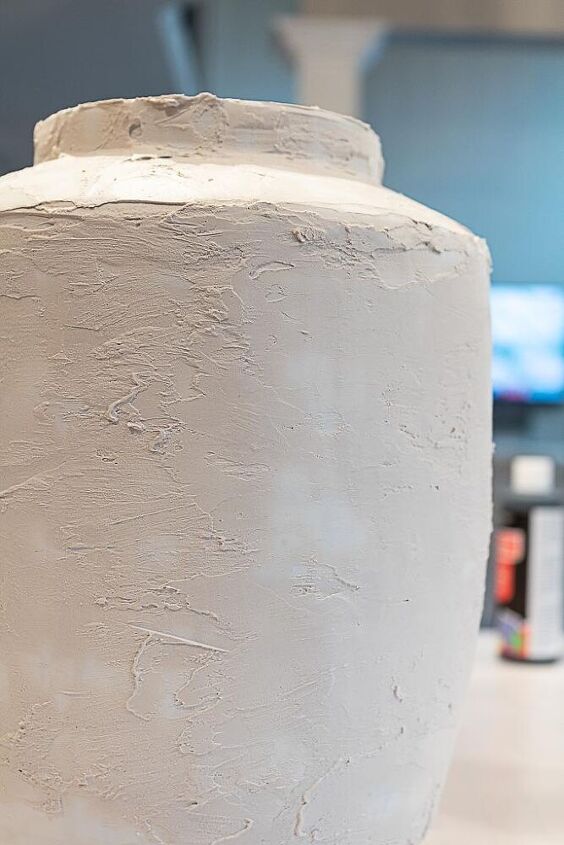
Start by using your putty knife to apply the plaster mixture in thin horizontal sections around the surface of your vase. Don’t worry about perfection. It’s meant to be messy. Think of it like icing a round cake, but with less crumbs. 🙂
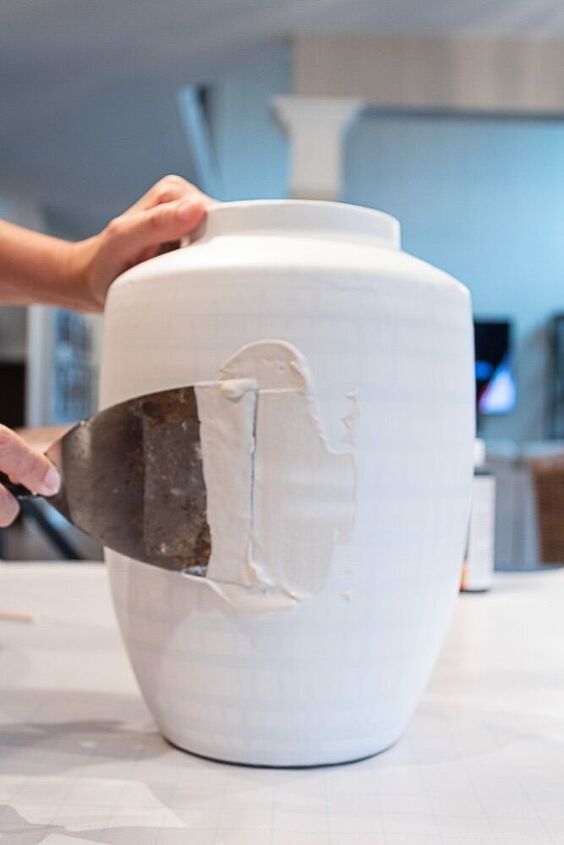
Do your best to cover as much of the surface of your vase as you can. It’s ok to have a few spots of primer peeking through, but you want to have a decent thin coating of plaster that looks something like this.
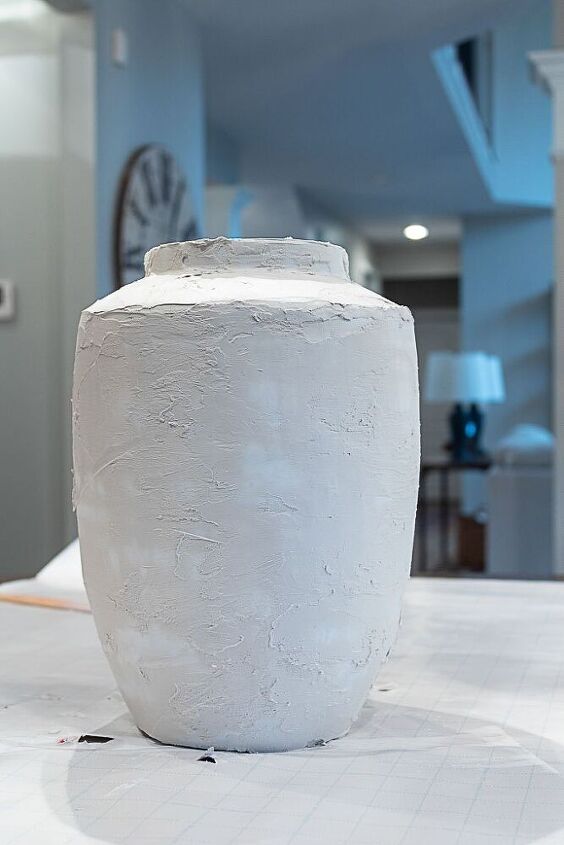
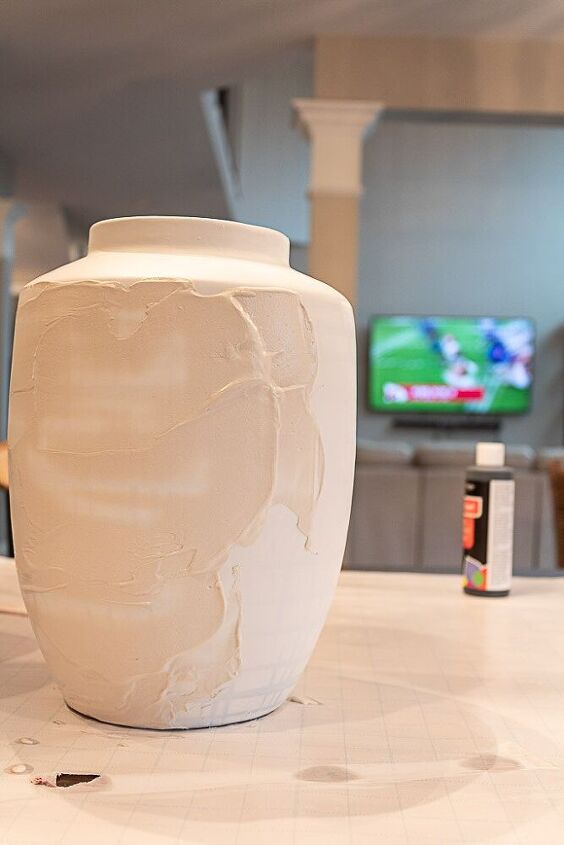
step 4: Let it dry
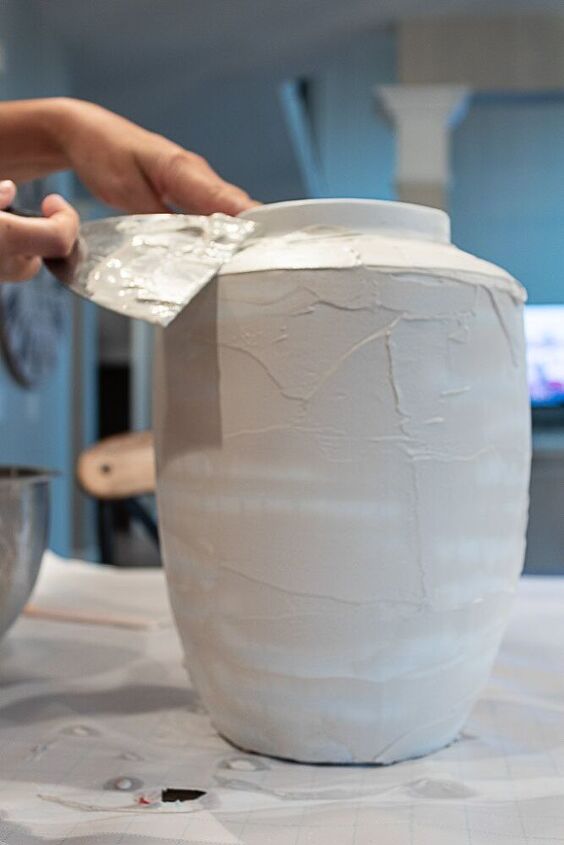
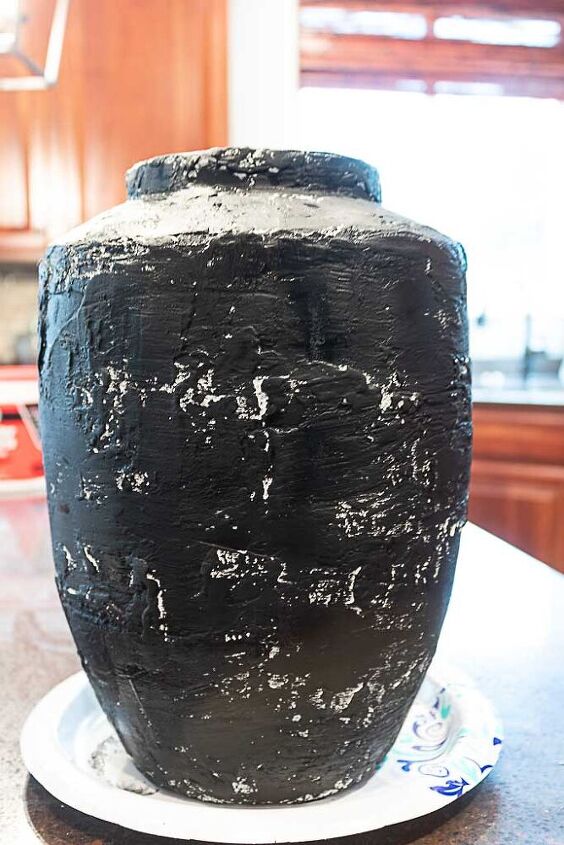
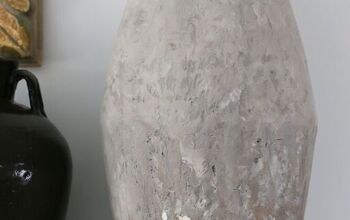
I let my plaster set up and dry over night. And in hindsight, I should have left well enough alone at this point. Looking back, this was the perfect amount of coverage. But I didn’t, and I kept going after the first coat dried. And then I ended up with this:
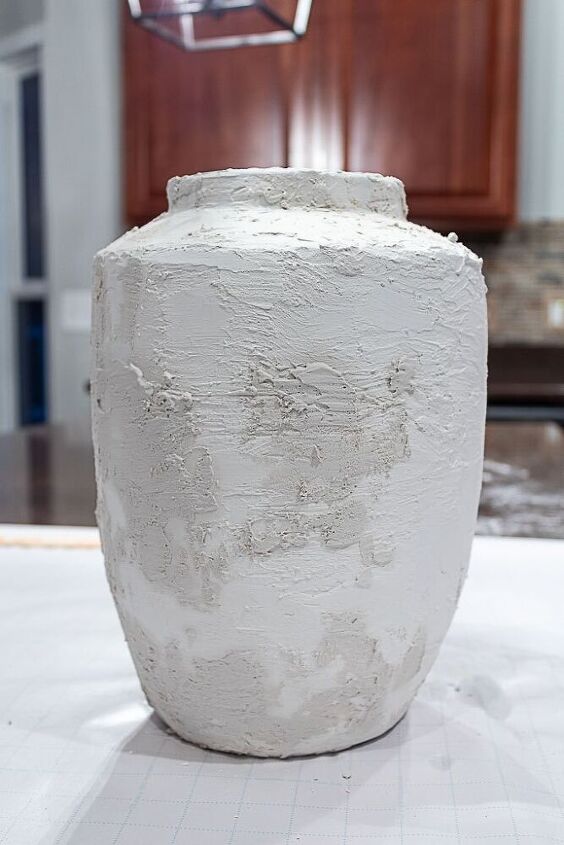
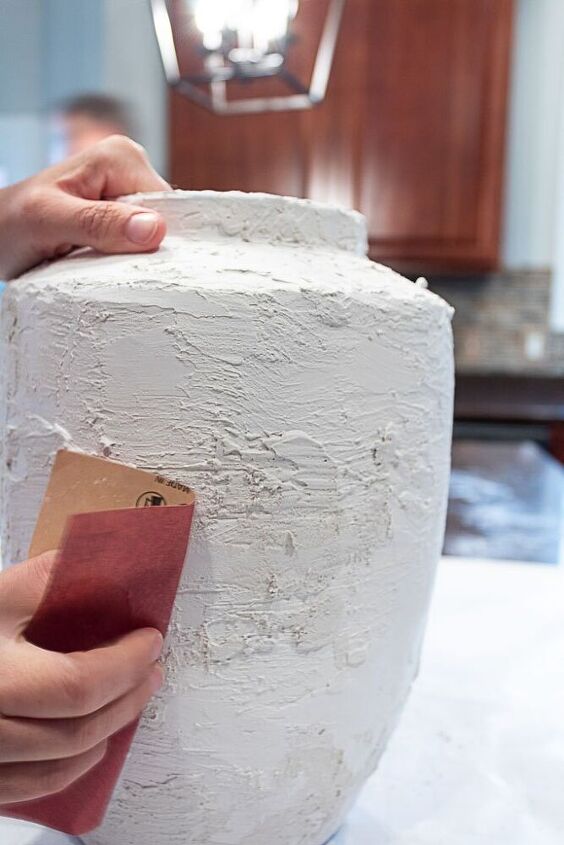
Way too thick and bulky looking and not exactly what I was going for. So my best tip on applying plaster is to work it all on in one thin coat. Do not recoat. Otherwise you’ll have to sand down and lose some of that gorgeous imperfect texture.
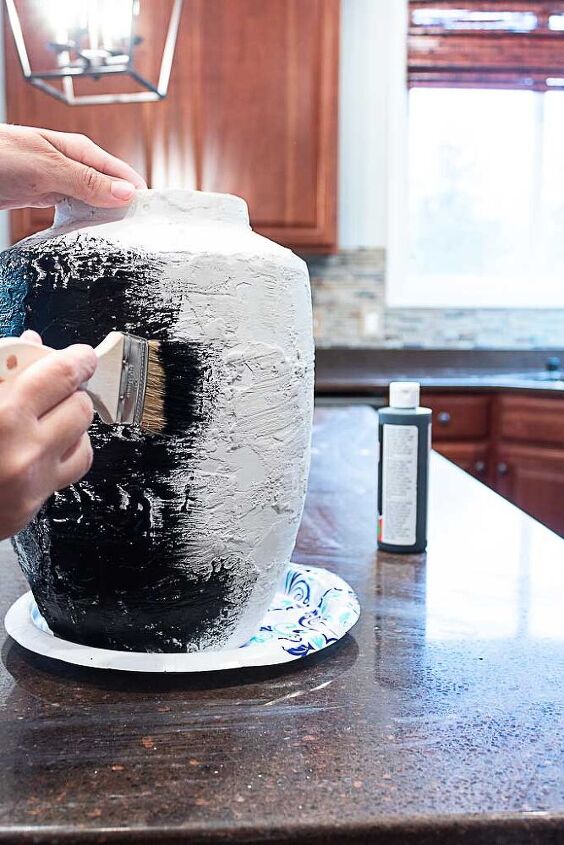
step 5: Apply your base coat of paint
Painting this DIY plaster vase was way more effort than I had planned for. Because I went too heavy on applying the plaster texture, that meant I had a lot of little nooks and crevices to fill in with paint. This part seemed to go on forever. I would save yourself the time and opt for a good can of matte black spray paint for this step. It should cut down on time and give you a more even paint coverage.
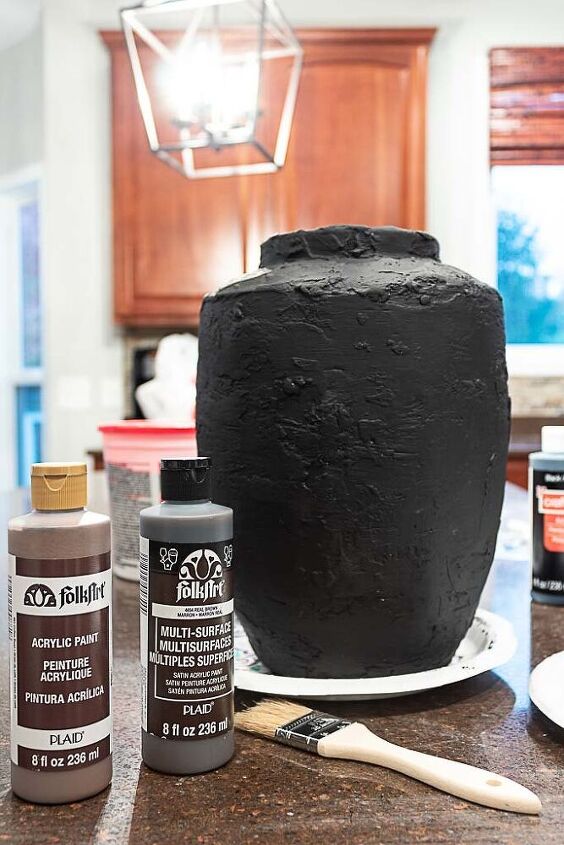
step 6: Add in the details
This is the fun part. Up until now your vase resembles something like this. A little rough, but the solid black color has no interesting old dirty details to it.
Using your chip brush, start by dry brushing each additional brown paint color onto your vase. Work it in using vertical, horizontal and circular brush strokes. Imperfection is the key!
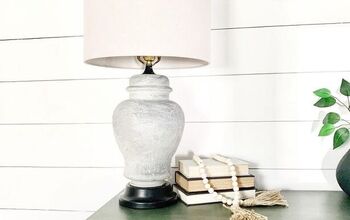
I was a little too eager to work through this step so I didn’t capture any progress shots, but you can read all about how to dry brush here. It’s the same exact technique I used on my pottery barn lamp dupes.
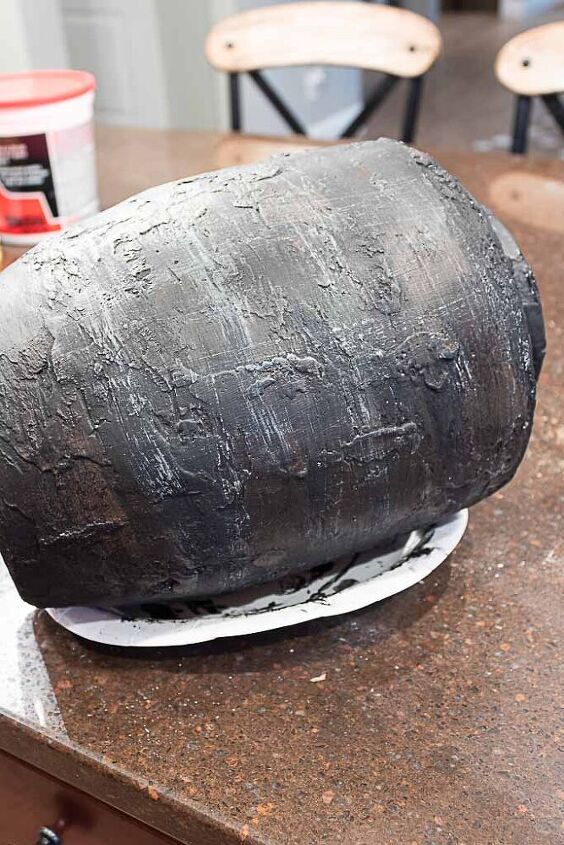

Way more texture and detail right? This acrylic paint dries pretty fast so as soon as you’re done painting you’re able to enjoy your new plaster vase project!
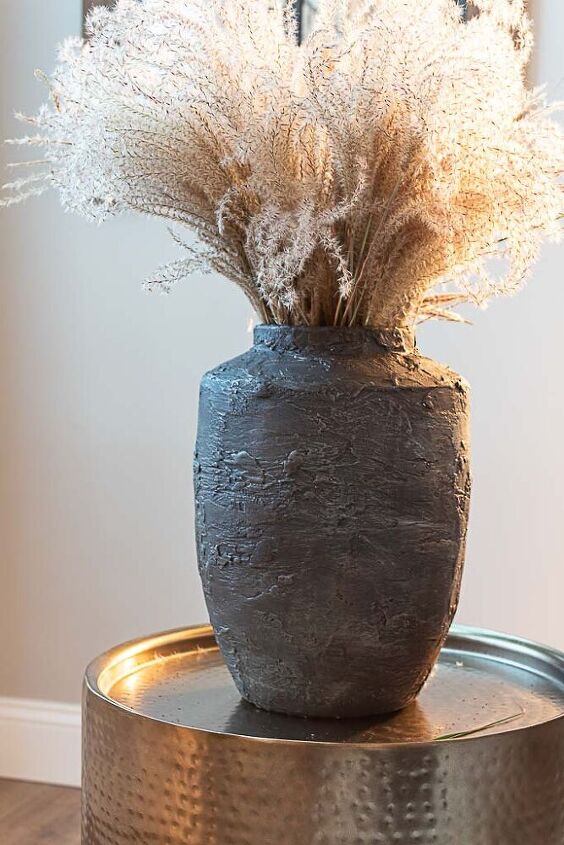
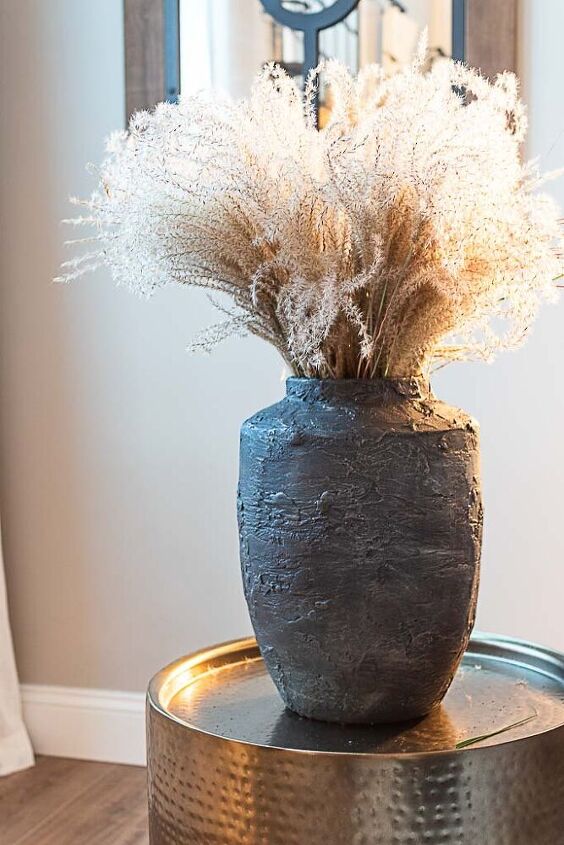
What do you think? Would you give this DIY plaster vase project a try? Drop me a comment below, I love hearing from you!
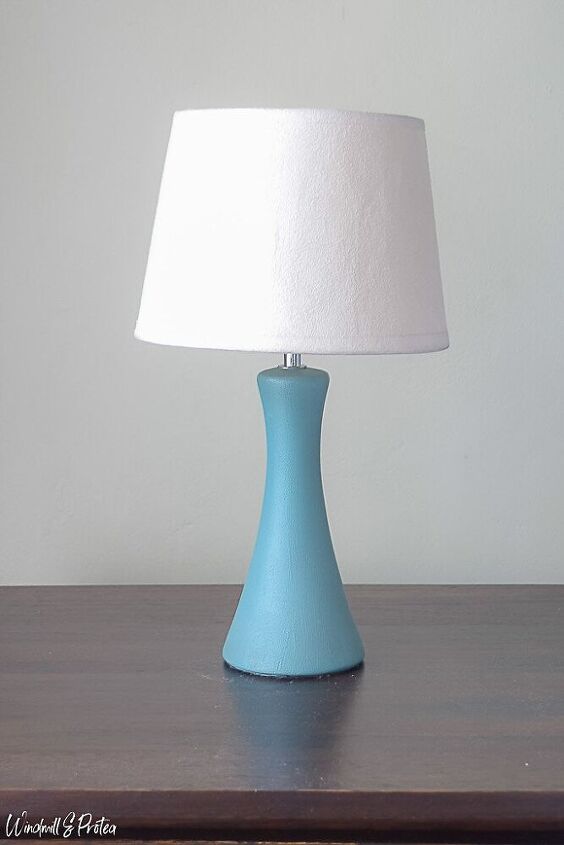
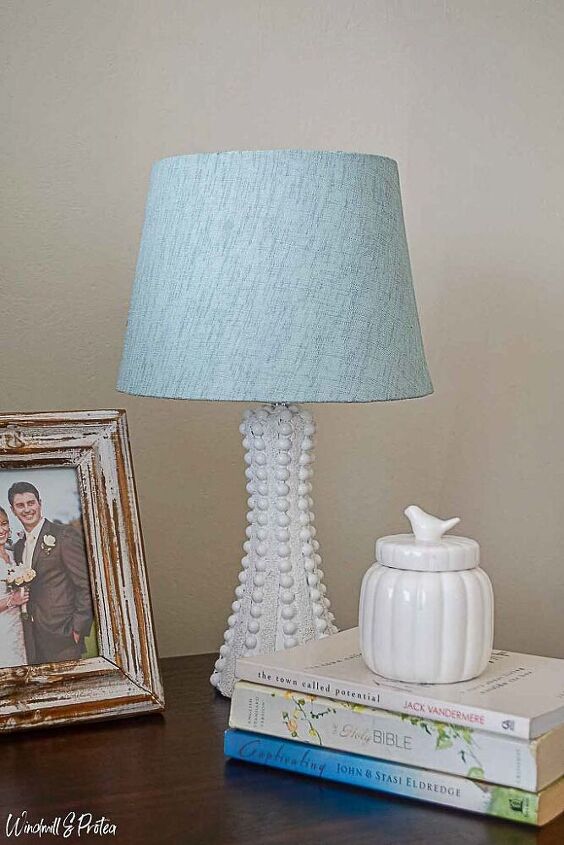
- Hobnail Table Lamp from Windmill & Protea
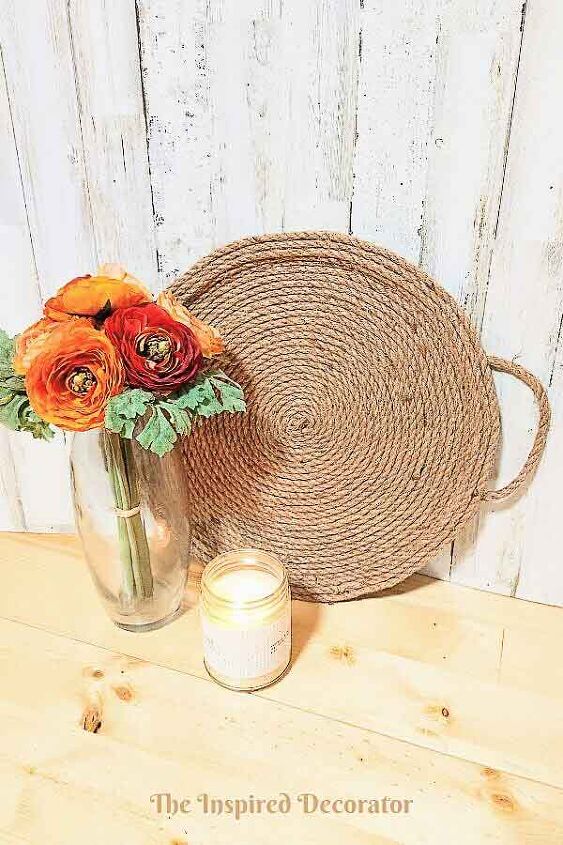
- DIY Rope Tray from The Inspired Decorato r
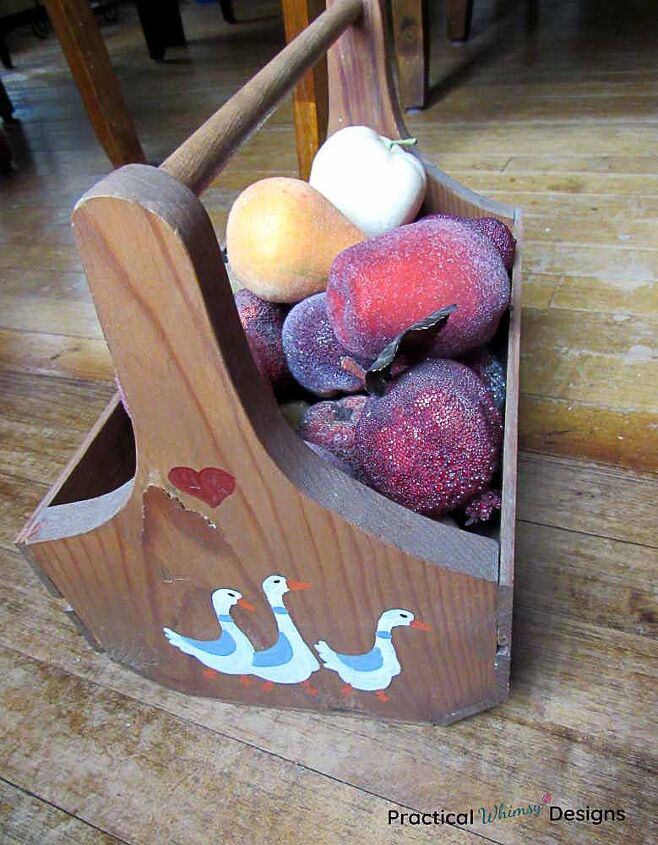
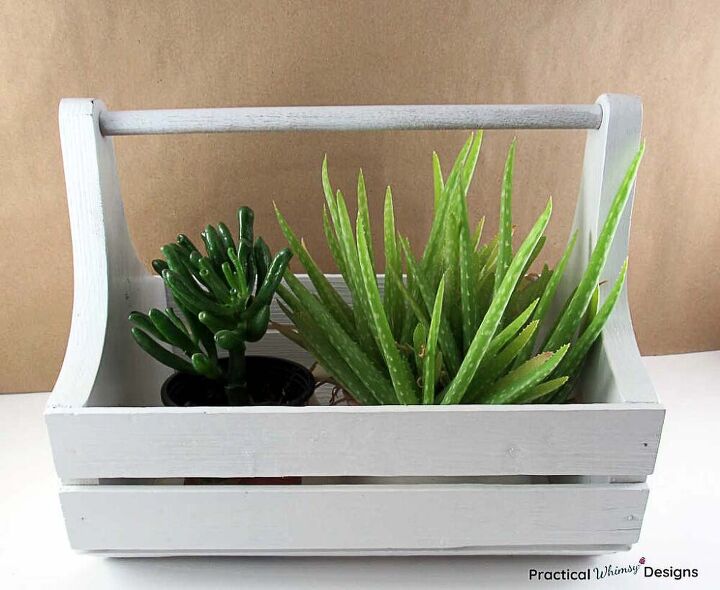
- Wooden Caddy Ideas from Practical Whimsy Designs
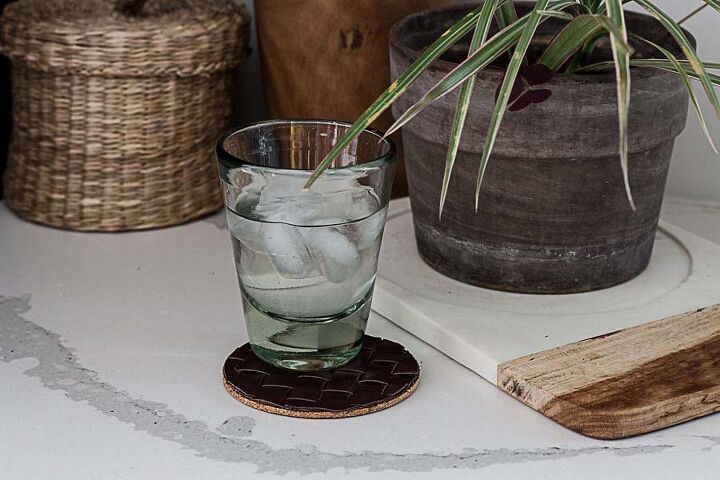
- DIY Leather Coasters from Bloom in the Black
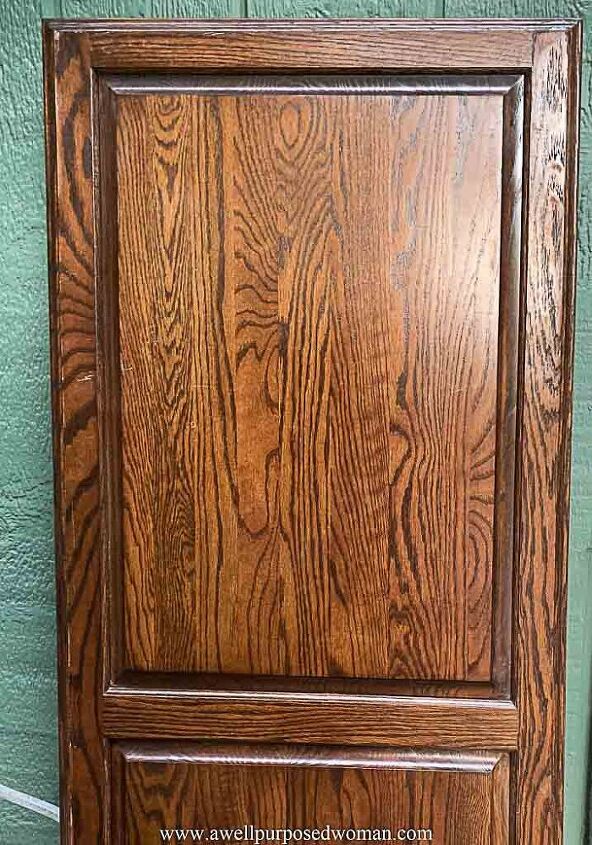
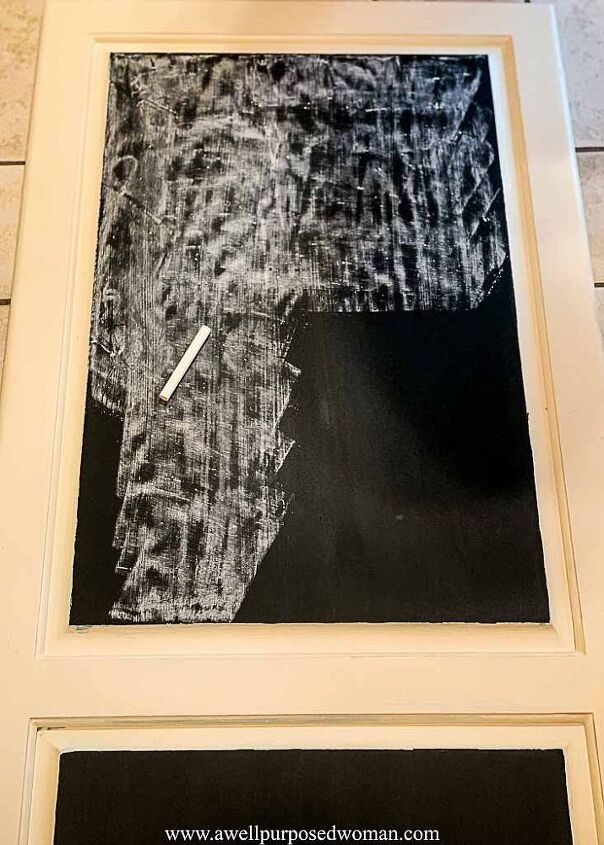
- Easy DIY Chalkboard from A Well Purposed Woman
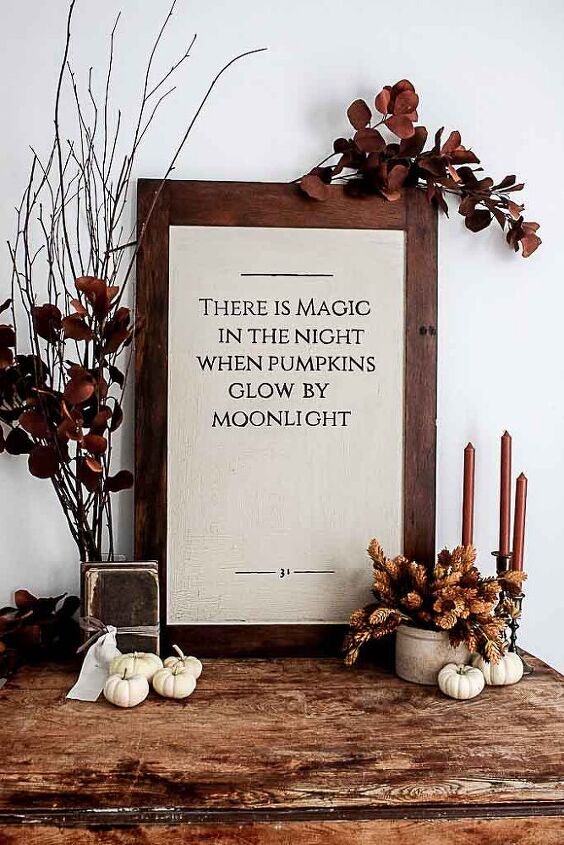
- DIY Halloween Sign from One-Thousand Oaks


Comments
Join the conversation
-
really lovely!! i love all your ideas, and i want to try some of them, and thanks.
-
Amazing idea! You reek with creativity 👌


Frequently asked questions
Have a question about this project?
What a great project! Would this process work on a glass jar/vase? If so, would you still begin with primer?