DIY Plaster Vase Makeover | Brand New To Old World Style

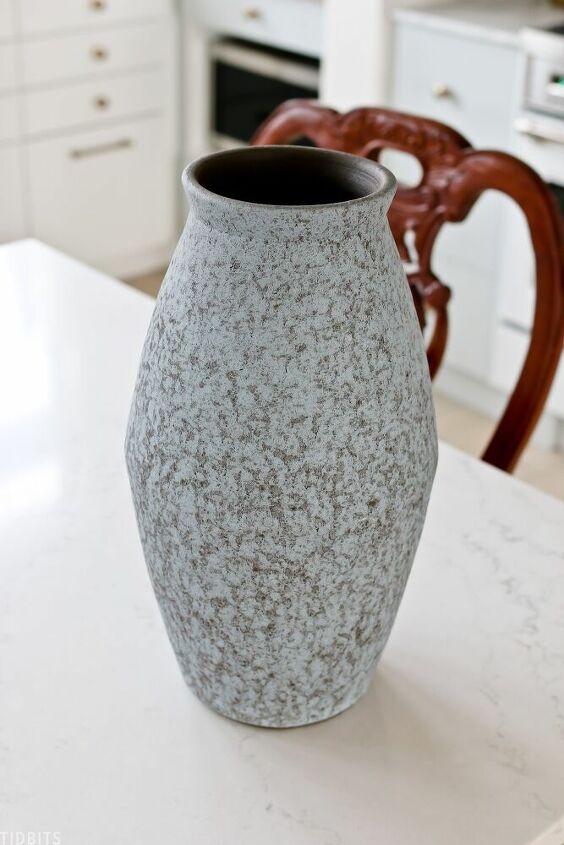
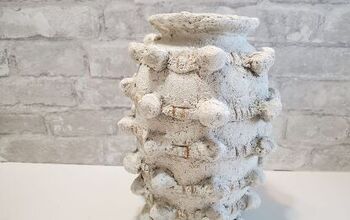
Joint compound takes the center stage to turn this vase from looking brand new to century’s old, with a unique old chippy plaster texture. Let me show you how I did it!I found this vase at Homegoods. I loved the shape, but didn't love the finish. At least - it didn't fit in with my European Farmhouse Kitchen Design.
Since we live in an unfinished pole barn home, we built ourselves, there are plenty of construction materials to pull from! I grabbed a box of our joint compound, and began playing with a new finish.
I just used some latex gloves and my hands to wipe it all over the vase. You are seeing my first layer here, but I did end up adding one more heavy layer, in more of a slapped on and glooby texture. I knew I would be sanding it down but wanted a whole lot of texture!
Once the joint compound was very dry, I took it outside and sanded it down until it was as smooth as I wanted, and with enough remaining texture that I wanted.
I used a mixture of 3 colors of acrylic craft paint.I used a dark brown acrylic paint to cover the entire surface. I knew this wasn’t my desired finished color, but I wanted to be able to sand it down and have some dark show through.
With no rhyme or reason, I just dabbed on the other paint colors. The final step is to sand and distress, until you get your desired "old world" results.
I opted to bring it down to the plaster at the base, to make it feel like it has been weathered in water for some time. There is heavier distressing up at the rim as well, where it might have been handled more.
Perfect touch for our European Farmhouse Kitchen!
You might also like to see our new European Farmhouse Kitchen Home Tour.
And read more about our Pole Barn Home.
Enjoyed the project?

Comments
Join the conversation
-
 Iris
on Dec 02, 2020
Lovely technique and gorgeous kitchen! but - I mean this kindly - maybe the dustpan belongs below the apron, not above it? and, you have clearly worked hard and thought carefully about this kitchen, with great result. Just a thought - if you wipe the fry pan with a coat of oil to preserve it, the oil will eventually drip out and land on anything below it. could seep into the wall paint or the cutting board. thank you for the wonderful ideas and kitchen eye candy pic! be well. cheers.
-
-
 Karolyn Fredette
on Mar 06, 2023
Lovely!
-












Frequently asked questions
Have a question about this project?
I have 2 plastic containers I want to use this technic on. What kind of sealer should I use so that I can use them outside?
Can I use plaster of Paris instigated joint compound?
Why is there a skillet and a dust pan hanging next to each other?