


I Have Always Wanted To......paint My Bathroom Countertop!

by
Dysko7710
7 Materials
1 Day
Medium
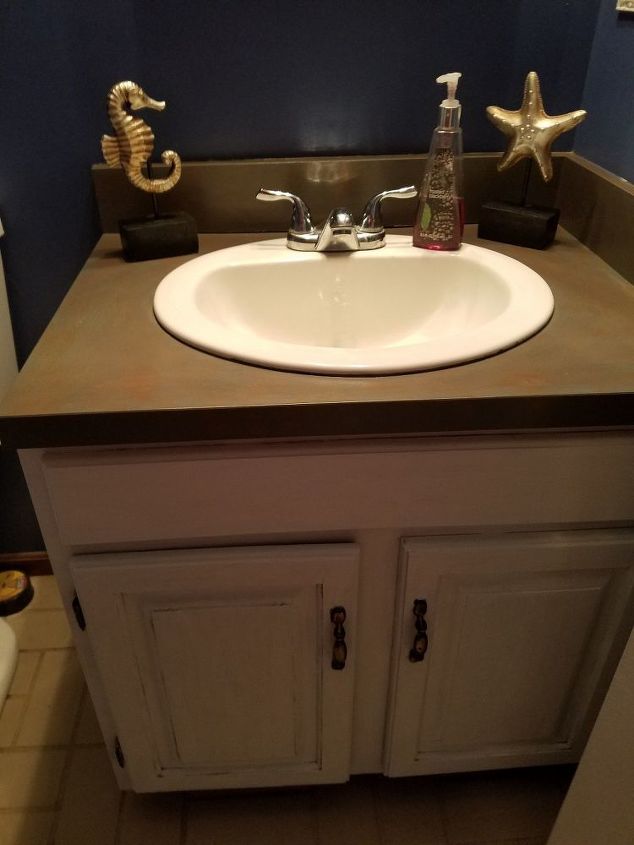
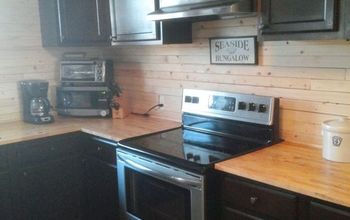
After over a year of staring at my ugly 80s laminate bathroom countertop (the one in our guest half bath on the first floor), and after reading so many success stories, I finally painted my bathroom countertop! I also did a bunch of other stuff in the bathroom to get my final look (I will post these as separate tutorials). Here, I am just focusing on my process of painting the countertop. Here is a picture of the final outcome:

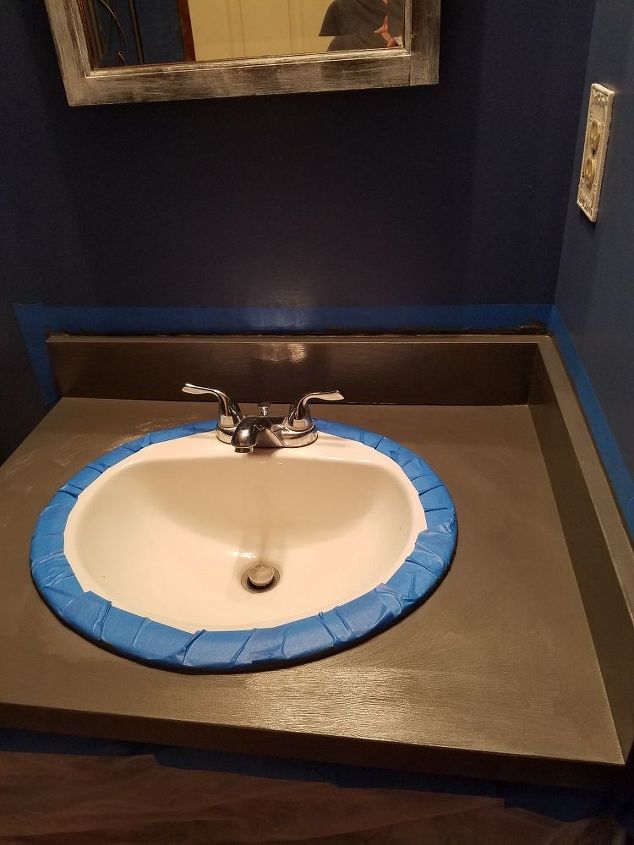
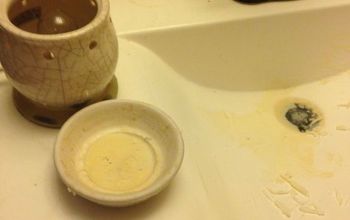
Here is what I started with:
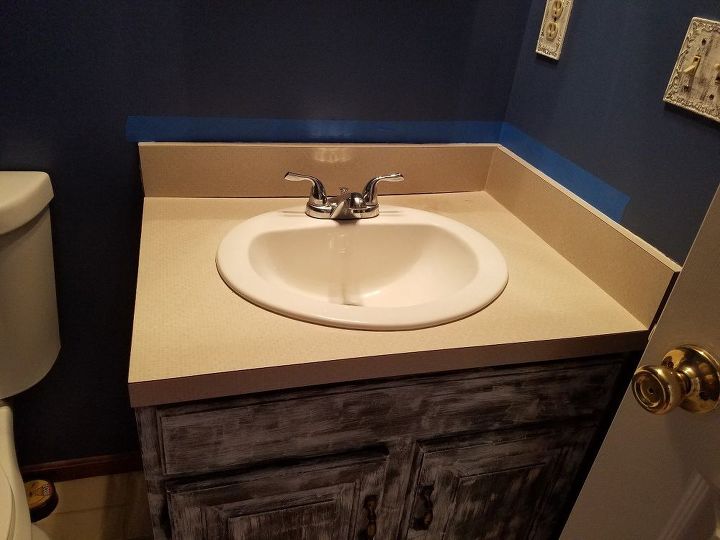
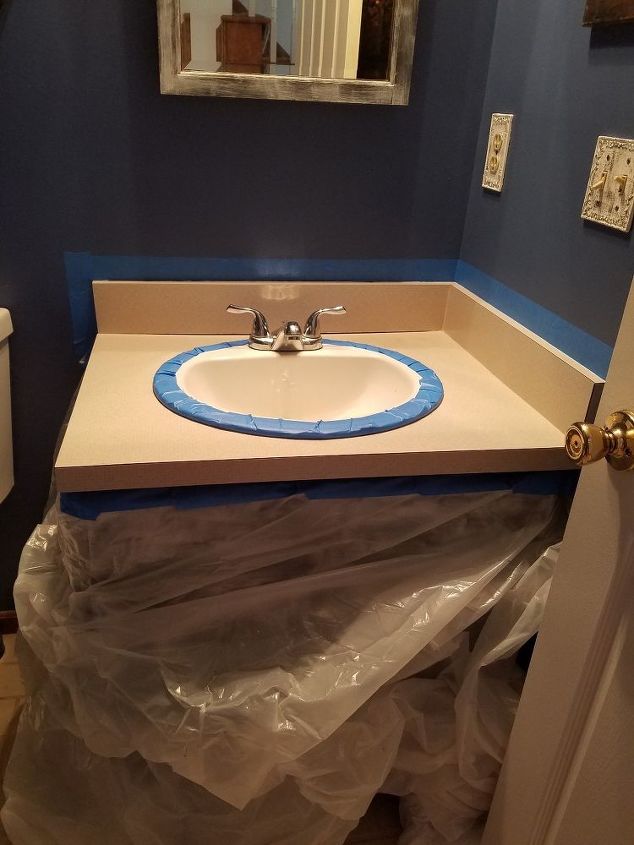
You can see I had ugly brown cabinets as well, which I had started slowly painting - again - a different project! I started by taping everything off around the walls and around the sink. I taped plastic all around the cabinets so nothing would get on those or on the floor. This worked well.
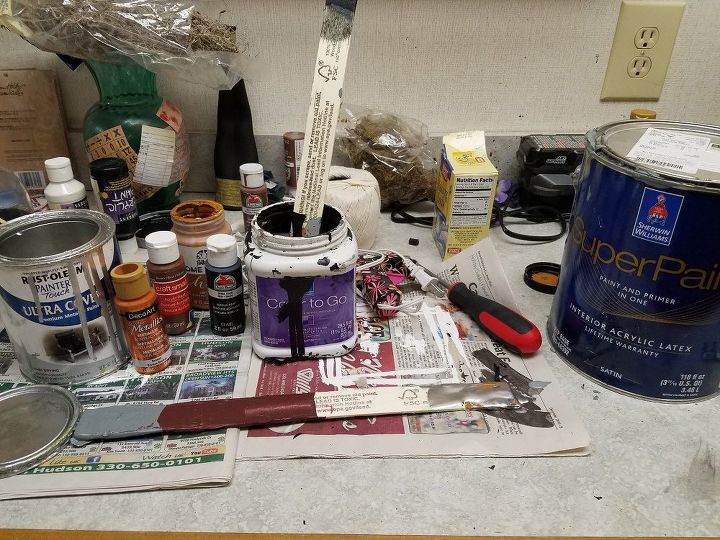
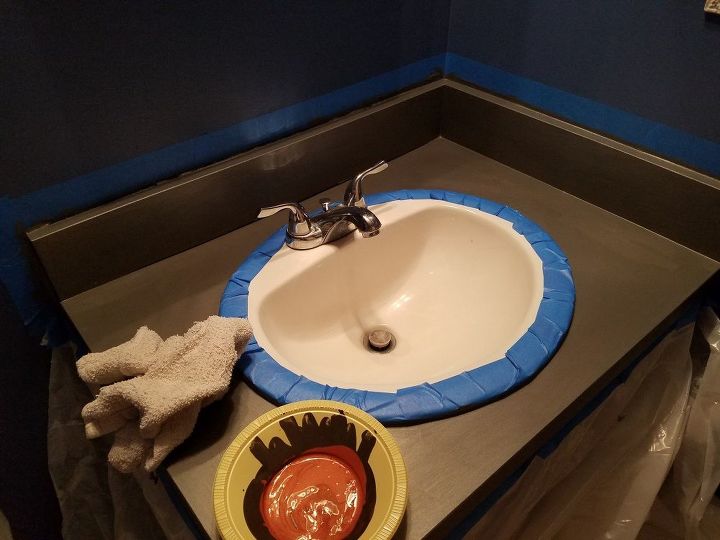
I custom mixed my base color using a bunch of stuff I had on hand already. Most people would prime with a good adhesion primer at this point, but I am too cheap and wanted to do it with what I had on hand. I have a lot of metallic silver paint left over from other projects, and metallic paint has actual metal in it and sticks to surfaces like crazy. So, I knew if I used this as my base paint, it would probably make everything stick to the surface really well. So, my mixture consisted of silver metallic paint, brown chalk paint, dark gray wall paint, black acrylic paint, black latex paint, brown acrylic paint and bronze acrylic paint! I just mixed until I had the color I wanted, it was definitely conglomerate of stuff.
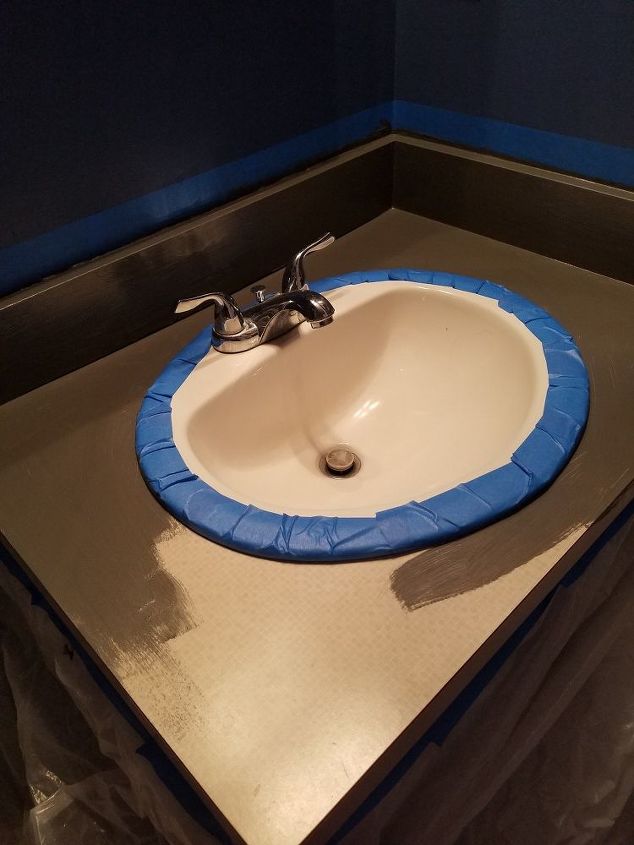
Here is my first coat going on. It turned out as a dark charcoal gray with a slight metallic component to it. I have mostly metal wall art in this bathroom, so I wanted the counter to have a metallic component to it as well - kind of industrial looking. Some people suggest rolling it on with a roller, to avoid brush strokes, but my look was going to be a little more rough/industrial, so I just brushed mine on. After the second coat, you couldn't see any brush marks anyway.
I let the first coat dry a couple of hours, then applied a second coat of the gray I had made. I let this dry for a couple of hours, as well. Then, I made a glaze with copper acrylic paint to blot on and rub in to give it a copper sheen. Glaze is awesome for adding color to something that blends in with the current color but does not overtake it. It also dries slowly, so it allows you to wipe off excess and blend into your surface. I used glazing medium and copper acrylic paint and rubbed it on with a dry cloth.
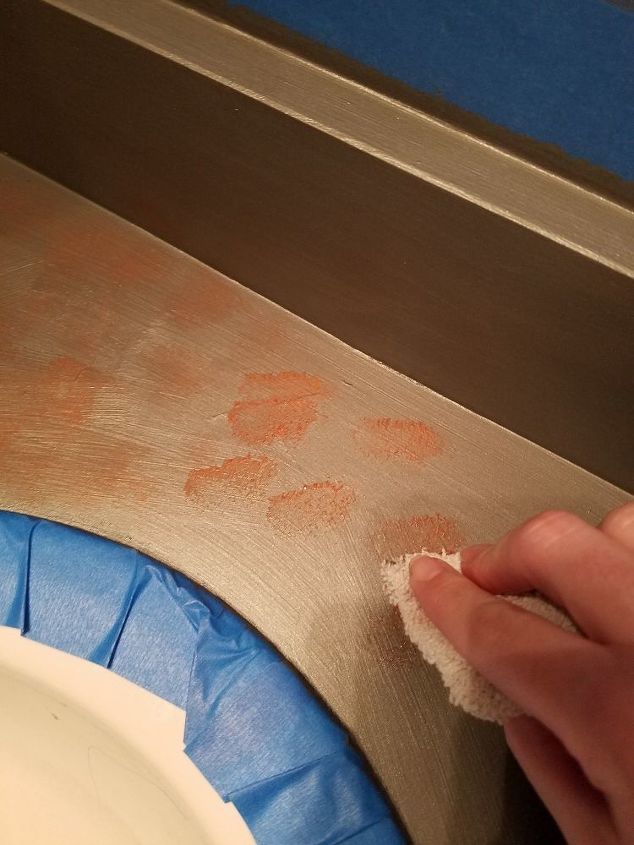
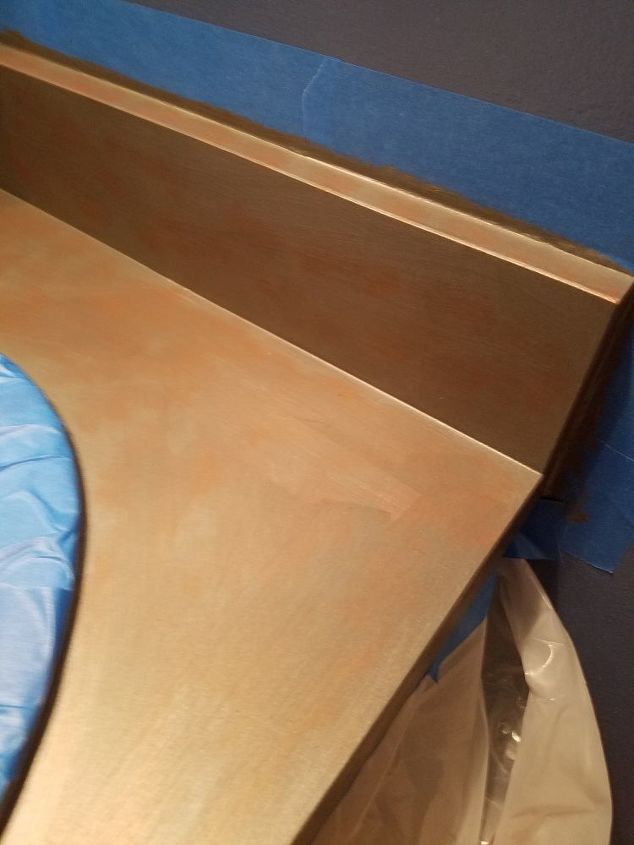
You can see above that first I blotted it on and then gently rubbed it into the surface to give it some copper color as well. After the copper dried, I applied two coats of wipe on poly with a cloth. Wipe on poly is great, it goes on well and is easy to work with. I let the first coat dry for an hour, then put a second coat on. The counter has held up well so far!! I think it will last for a long time!
Resources for this project:
See all materials


Any price and availability information displayed on [relevant Amazon Site(s), as applicable] at the time of purchase will apply to the purchase of this product.
Hometalk may collect a small share of sales from the links on this page.More info
Comments
Join the conversation
3 of 70 comments
-
Great job!!T his is gorgeous, looks absolutely amazing!
-
I have a marble bathroom sink is there anyway I could refinish it


Frequently asked questions
Have a question about this project?
Is this safe for a laminated eating surface? We have a table height bar where we eat.
When you say ’wipe on‘ polyurethane, do you mean the liquid in the can versus the spray on poly??? Btw counter looks great!
How to redo one piece bathroom countertop/sink?