22K Views
Raised Bed Garden (Part 2) Setting the Beds in the Ground

by
DeeDee
(IC: blogger)
$133.00
4 Hours
Advanced
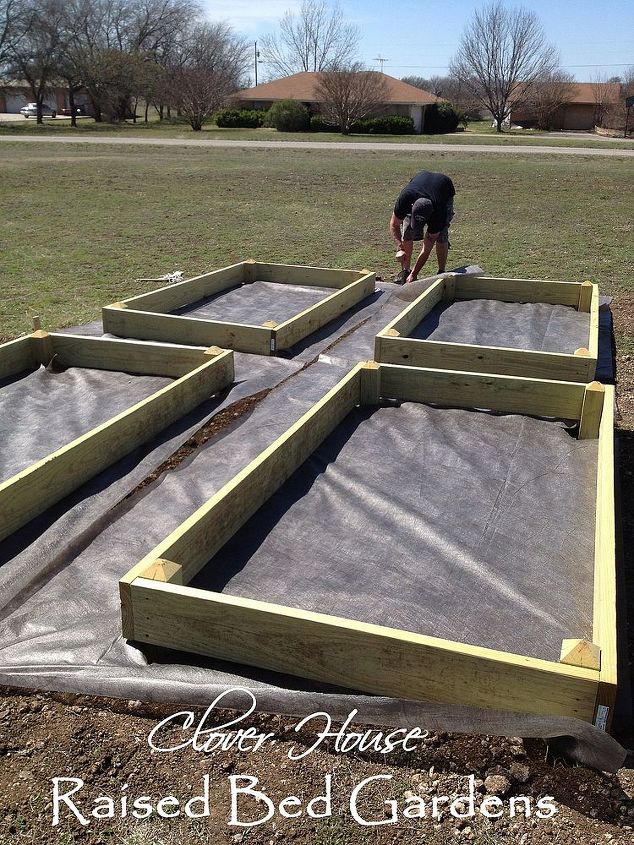
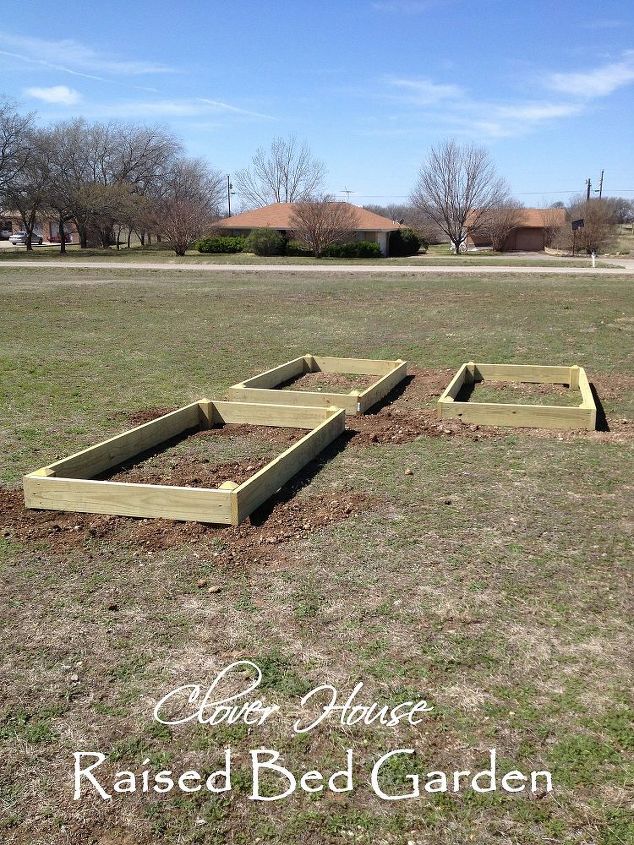
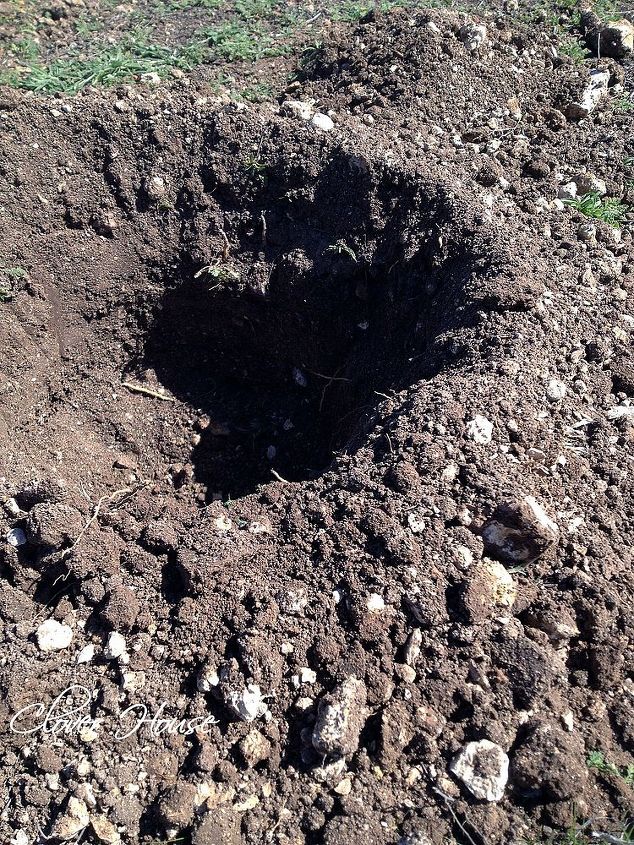
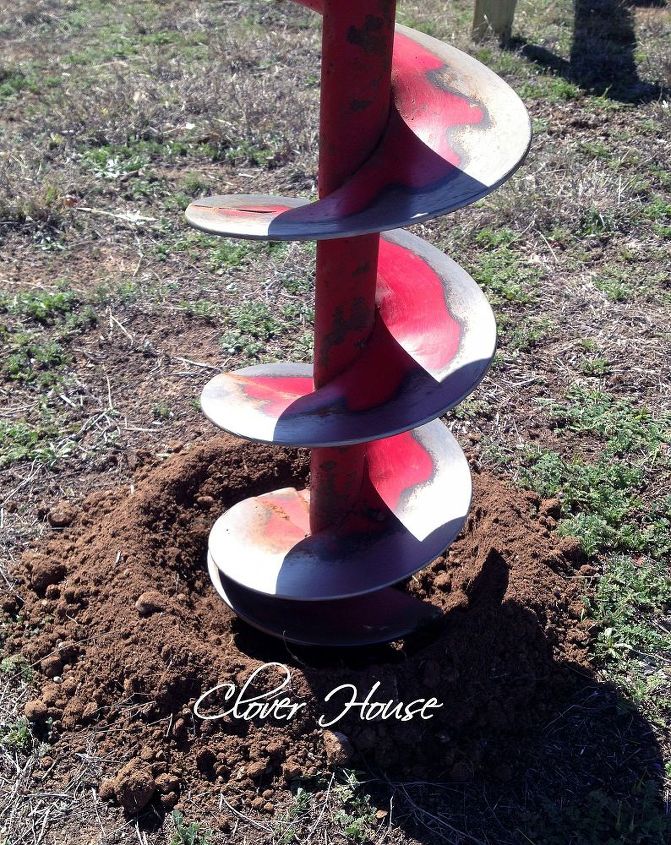
We're back with part 2 of our raised bed garden project. This week we show you how we dug the holes and set the legs in the ground with cement. We also ran into some problems that we had not planned for, but re-thought our plan and proceeded on. You can see all the details on our blog at the link below.
You can also see part 1 where we built the beds HERE: http://www.hometalk.com/diy/grow/raised-bed-gardens-part-1-1174546
You can also see part 1 where we built the beds HERE: http://www.hometalk.com/diy/grow/raised-bed-gardens-part-1-1174546
Enjoyed the project?

Want more details about this and other DIY projects? Check out my blog post!
Published March 24th, 2013 6:57 AM
Comments
Join the conversation
2 of 11 comments
-
You've made such nice raised beds, I hate to also chime in about using pressure treated wood. If you plan to grow edibles in them, you really need to shield the wood, put up a barrier, etc. from the soil. The plants will take up the toxins and your family will be eating that. If using, say, decking that's being replaced, then the toxins have already left. Also, if planning to grow veggies, some will want a lot more depth for roots - and can't penetrate that fabric any better than weeds. Lettuce is fine, but tomatoes will grow many, many feet down if allowed and forcing shallow roots will stunt the plant. So check root depth info (if you can find it) before planting in the beds - or just take a chance! You did a great job on the beds!
 Cheryl
on May 01, 2015
-
-
Such a lovely raised bed garden that is surrounded from wood and acts as a barrier.This way you can protect your garden from unwanted weeds.I liked your garden design and this project can inspire to everyone who loves gardening.Thanks for great DIY project.
 Elizabeth Sagarminaga
on Dec 31, 2015
-








Frequently asked questions
Have a question about this project?