


How to Replace Recessed Lighting With a Chandelier

Recessed lighting, can lights, canned lights, boring lights, call them what you will, but if you have a builder-grade house built any time in the past couple of decades you probably have them in your kitchen, dining room and definitely your bathroom and shower areas. But you don't have to keep your house looking like every other house in the neighborhood! You can just replace recessed lighting with a chandelier to give your place a little extra sparkle and whole lot more personality.
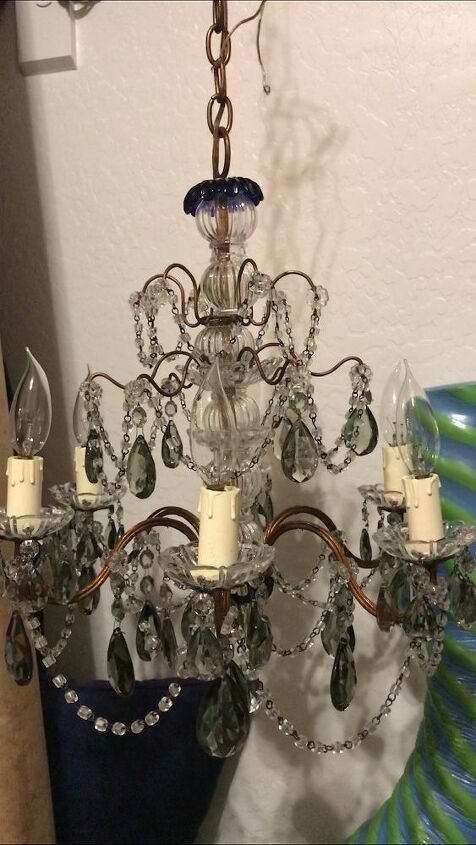
Here at casa de somethingpaintedwhite we love us some chandeliers! We have fabulous antique chandeliers in the dining room and in the office and seem to always have a couple sitting around being restored. So when we found this fabulous old rescue for sale we knew immediately that it would live over the tub in our bathroom to replace recessed lighting that just looks plain and boring.
Replace Recessed Lighting
If you're going to replace recessed lighting with a chandelier or pendant light, there are a few tools and supplies you're going to need:
- Chandelier or pendant light (duh)
- Screwdriver (I highly recommend a power drill with screwdriver bit)
- Recessed light converter kit
- Ladder (unless you have a really tall helper or really low ceilings!)
Pro tip: when working above the tub (or anything with a drain) make sure that you have the drain plugged or you run the risk of having screws literally go down the drain. Just sayin.
Before You Start
When working with anything electrical, make sure you know how electricity works. It'll literally knock you on your butt (or worse) if you don't know what you're doing! Seek the help of a licensed electrician if you aren't sure.
Make sure the power to the fixture you'll be working with is off. The best and safest bet is to turn off the switch at the breaker box.
Removing the Old Light
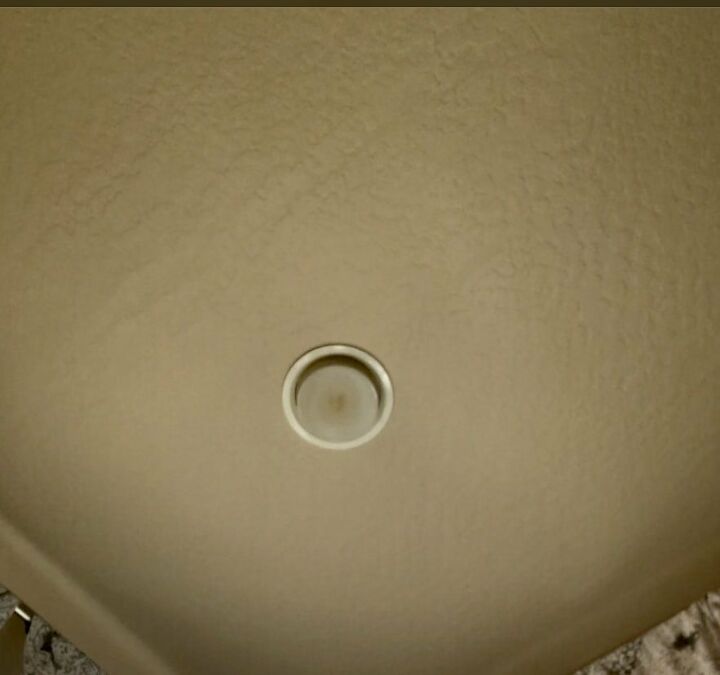
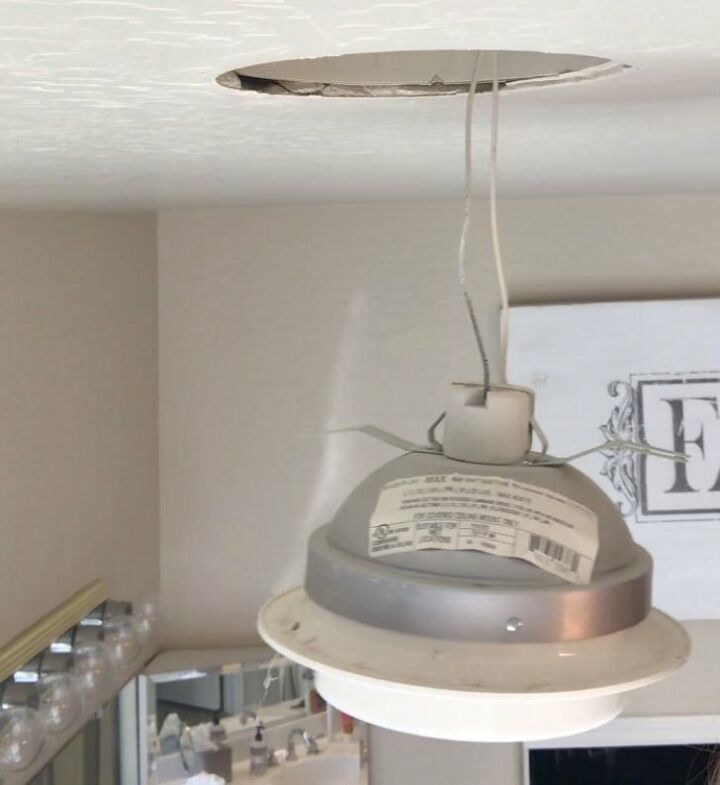
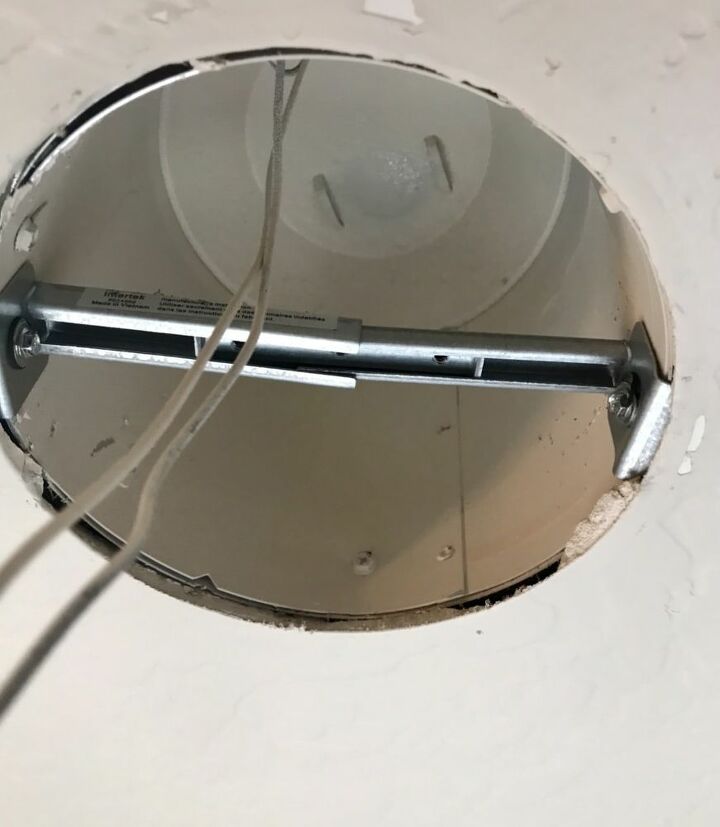
After the power is off at the light, put that ladder in the tub, climb up and remove the old can light. Typically they just pull down and out. Pop the cover off and take the light bulb out to remove the socket.
Prep the Install Kit
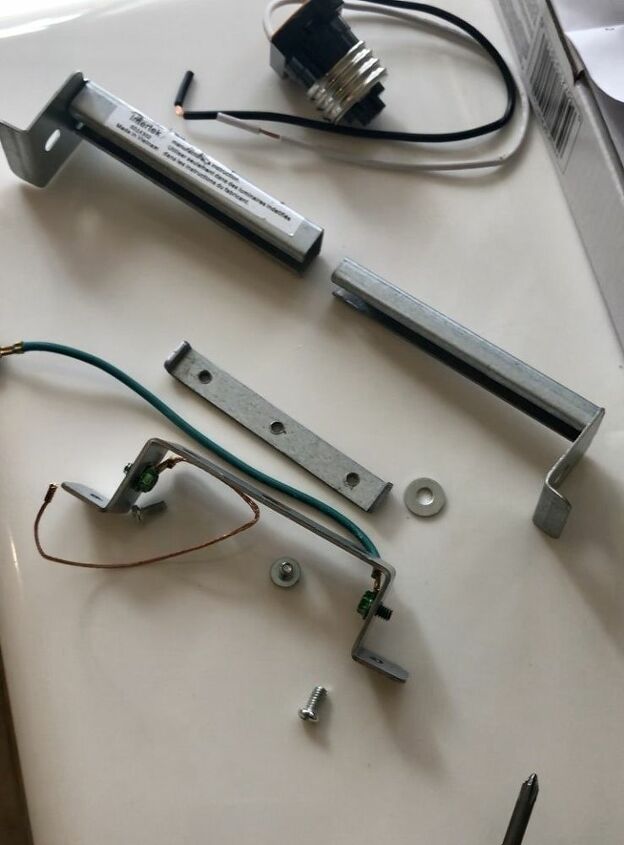
The adapter kit comes with a metal ring, a small medallion, a socket adapter, and a fixture mounting bar.
The first part of the install is installing the fixture mounting bar into the empty can. Before you install, you'll need to undo the 3 screws that hold it all together.
Using your drill and the self-tapping screws included in the adapter kit, mount the brace into the can. This is the toughest part of the whole process.
Once the adapter is installed, reattach the fixture mounting bar as shown below.
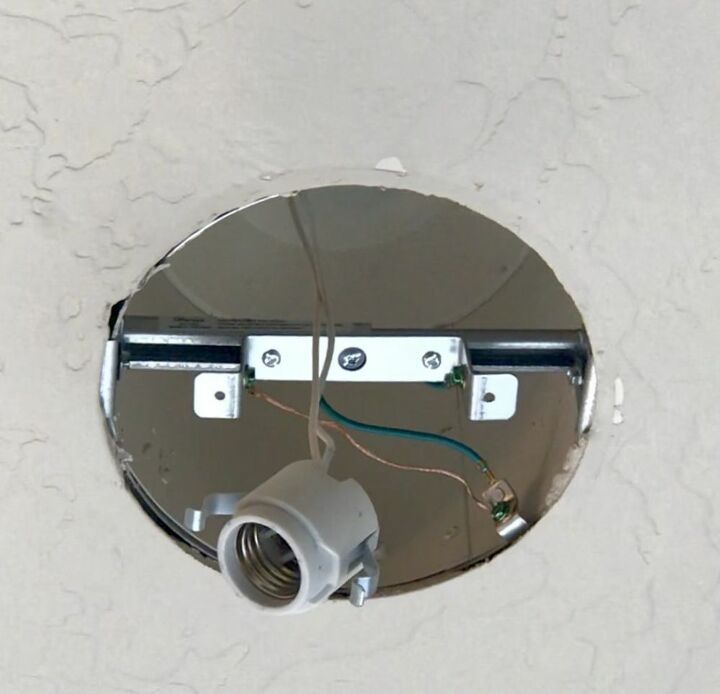
Screw the socket adapter into the existing light socket.
Hang Your Light Fixture
Your new (or used or antique... you do you) lighting will likely attach to the recessed mounting kit adapter using a crossbar connected to a medallion or cover.
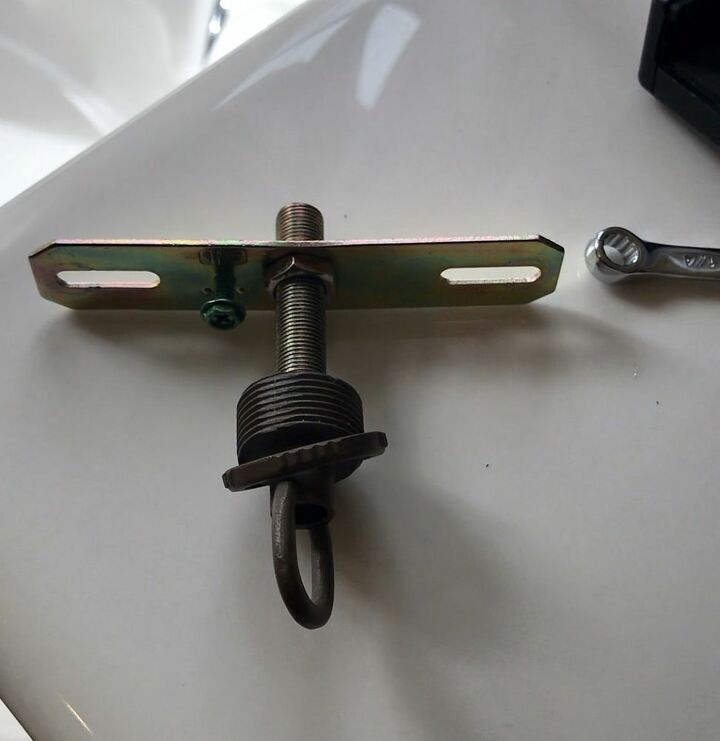
Depending on the size of your can (stop giggling) your crossbar might not be able to reach across the light fixture bar you used. That happened to me too!
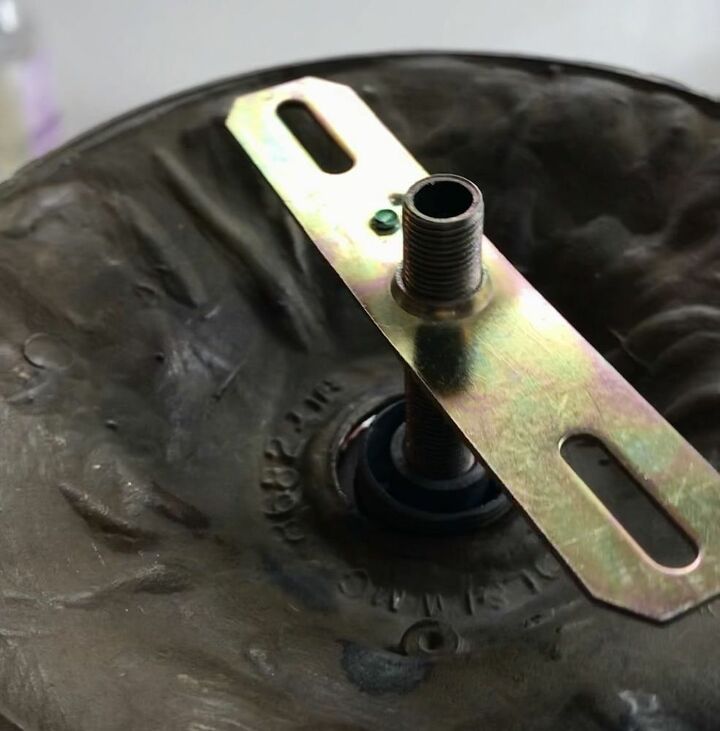
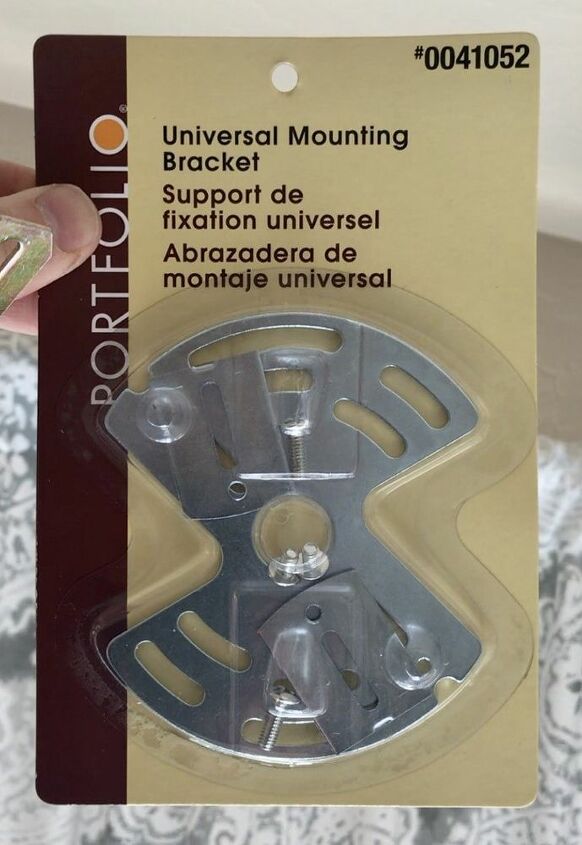
No worries... just pick up a universal mounting bracket. I got mine at Lowe's but you can get them at any hardware store or on Amazon.
Run the chain and wiring through the light fixture medallion and ceiling medallion.
Now thread your wiring from your light fixture up through the supporting rod and connect the ends into the wiring/socket adapter. Connect the chain and holder to the hanging rod.
Turn the power back on at the breaker box, and then you're ready to test at the switch.
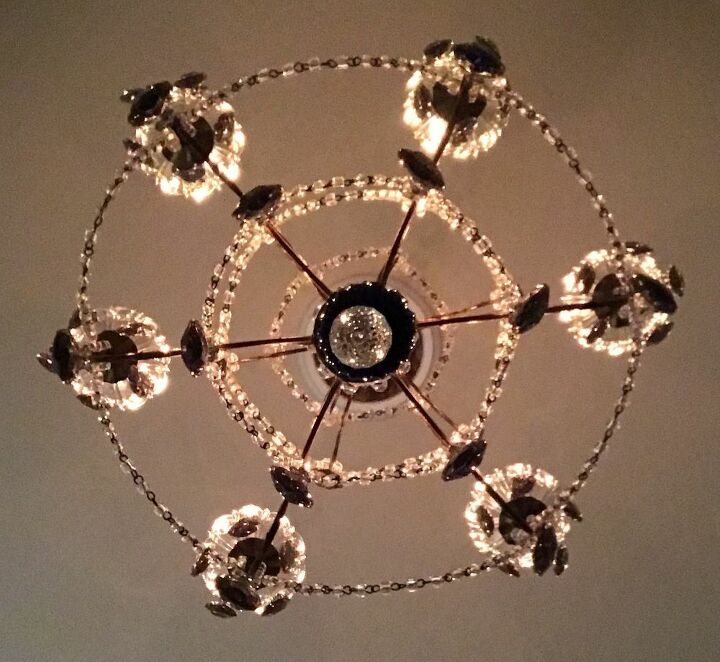
Voila!
If you connected everything as you should (and it's pretty easy), your lights will light up when you flip the switch.
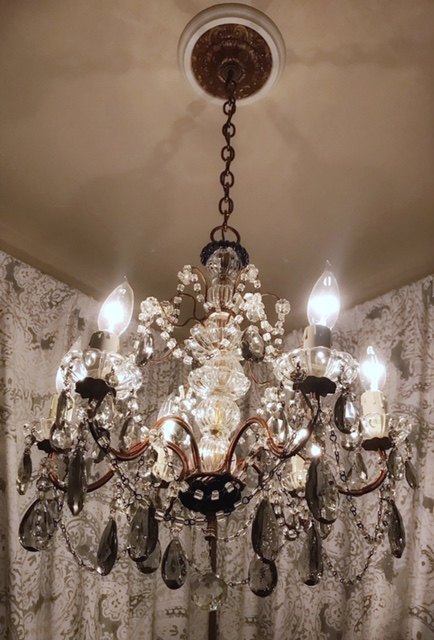
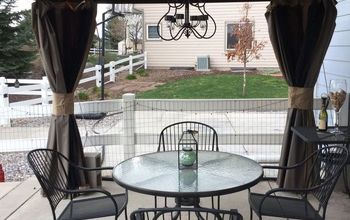
Its amazing how a chandelier changes the entire look of a room! Now I need to change the curtains to a solid fabric (most likely dropcloth) so that the chandy doesn't get lost in the pattern. :)
There's always another DIY on the horizon (aka, the list)!
If you'd like to see the other home improvements we've made, visit us at our blog www.somethingpaintedwhite.com. We would love to have you! You can also find us on Instagram @somethingpaintedwhite
Happy DIY'ing my friends.
~Cindy~
Resources for this project:


Comments
Join the conversation
-
I have an old chandelier that is dusty and the metal has lost its luster. Do you have any lessons on re-doing a chandeliers? Mine looks like this.


Frequently asked questions
Have a question about this project?
Absolutely goy-juss!! Do you think a simple ceiling medallion might complete the look? I grew up in a house built in 1900. Chandeliers everywhere. After a burst pipe flooded the house, they upgraded and did put medallions on the ceilings where the chandeliers hung. Only a few though. I was stunned by the change.
Anyway thank you for posting. It is a really pretty piece!