


Concrete Letters DIY

5 Materials
$25
1 Hour
Medium
This tutorial will walk you through how to make your own concrete letters to use as decor in your garden or wherever you’d like!You can find the complete tutorial for this at: https://curiosityness.com/concrete-letters/
{
"id": "6050099",
"alt": "",
"title": "",
"video_link": "https://www.youtube.com/embed/ClKmudAQc8w",
"youtube_video_id": "ClKmudAQc8w"
}
{
"width": 634,
"height": 357,
"showRelated": true
}
This video will walk you through how to make concrete letters
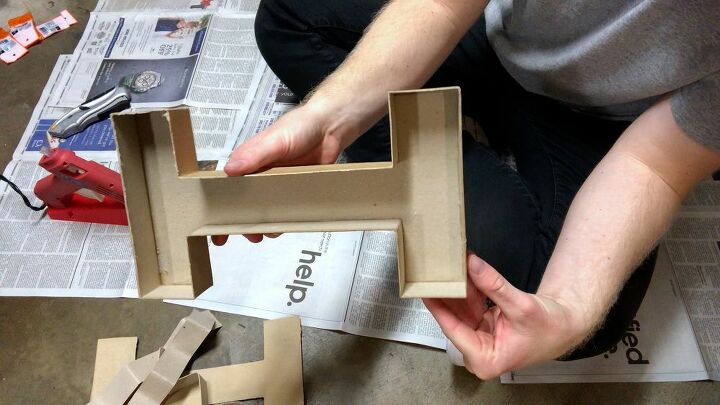
STEP 1: CONVERT CARDBOARD LETTERS INTO CONCRETE MOLDSTo convert your cardboard letters into molds to use for the concrete you’ll need to cut off either the front or back of the letter. Decide whether you want the front of your finished letter to be the top side or bottom side of the concrete mold. That will dictate whether you remove the front or back side of the letter.Use a knife to slice off the top layer of cardboard. Once you get it started it’s easy to just peel it back as a whole layer.
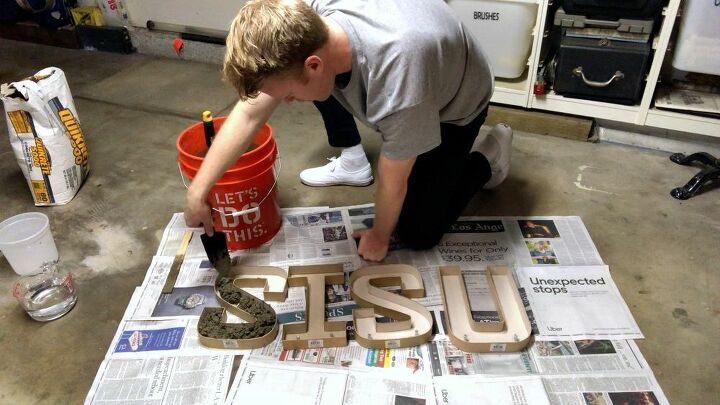
STEP 2: MIX & POUR THE CONCRETEMix the concrete according to the instructions on the bag. Make sure you have a strong enough mixing stick. I initially used a paint stirring stick which was a horrible idea and was definitely not strong enough.Scoop and pour the concrete into the cardboard letter molds. Try vibrating the molds to remove all of the air bubbles. And if you’re using the top side as the front for your letters, make sure you smooth it out and are happy with the finish. What you see is what you get. If you’ve never worked with concrete before don’t be afriad, this is a pretty simple project. This was basically my first time and things came out well!
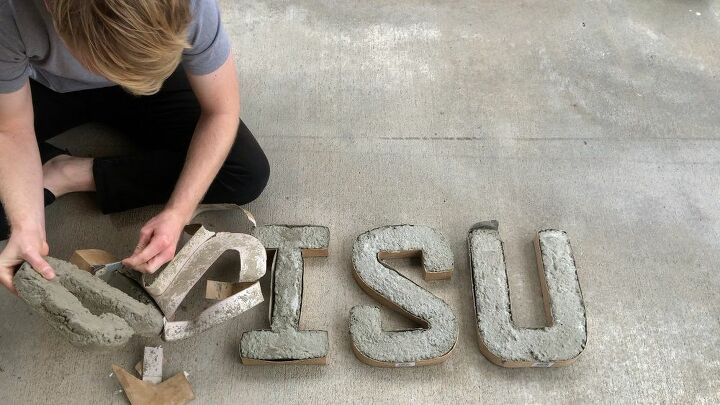
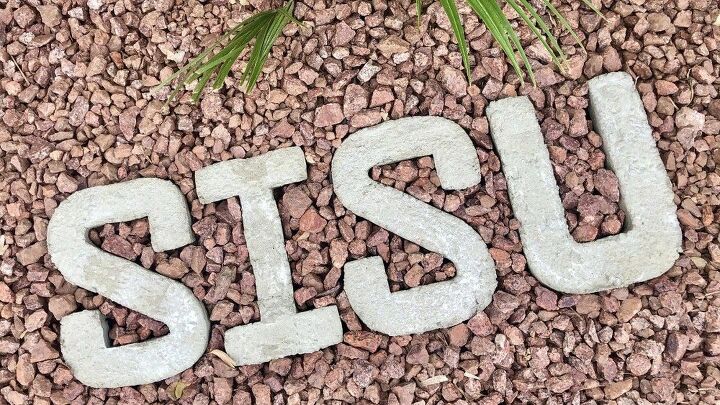
STEP 3: REMOVE LETTERS FROM MOLDSLet the concrete according to the instructions on the bag, probably about 48 hours.I actually let me first set of letters dry for 7 days which had the added benefit of allowing the cardboard letter mold to completely dry out too. This let me remove the molds withoutdestroying them so I could use them one more time. But just peel off the cardboard molds to reveal your concrete letters!
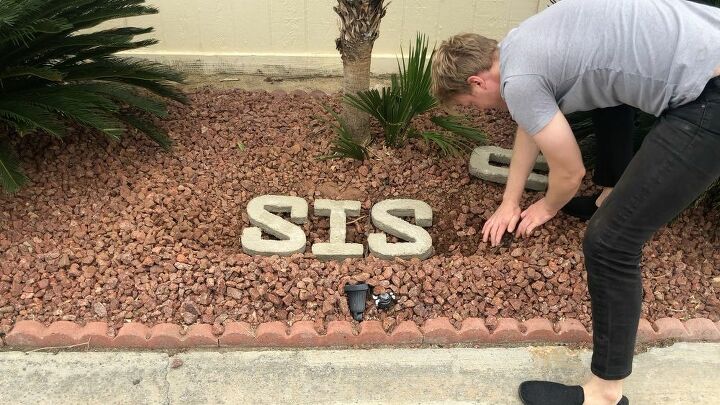
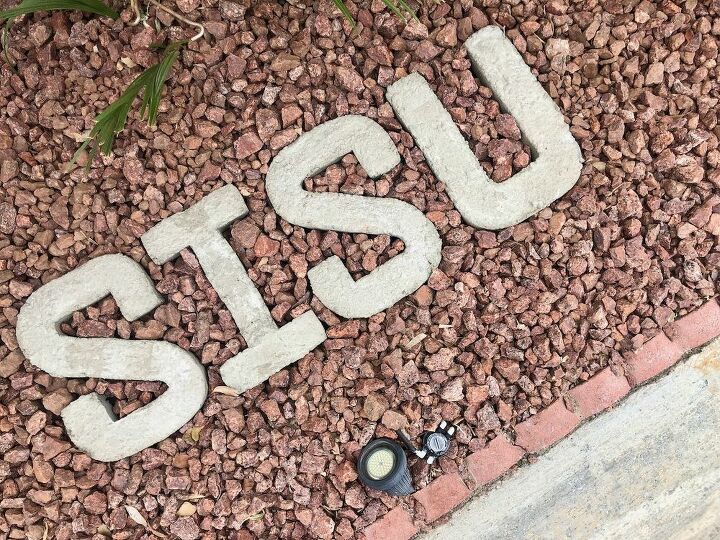
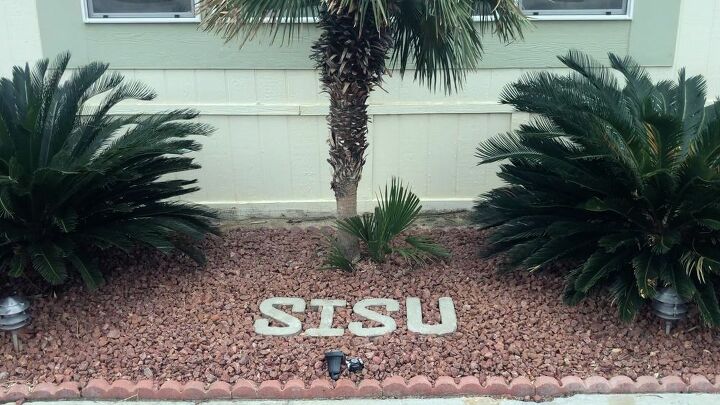
STEP 4: PLACE & ENJOY!Place your concrete letters however you’d like to display them.We chose to bury them down among our small crushed up rock. However, I think they’d also look good leaning up against a wall or staked into the grass. By the way Sisu is a Finnish concept described as stoic determination, tenacity of purpose, grit, bravery, resilience, and hardiness and is held by Finns themselves to express their national character. It is generally considered not to have a literal equivalent in English. This was a gift for my parents because they love the word sisu. We’re Finnish and we always had a sisu sign in our kitchen growing up. Please let me know your thoughts on this project, if you try it yourself, along with any ways to improve this design. – TravisP.S. I also host a podcast called Curiosityness! Every week I conduct a podcast interview with an expert about the most fascinating history, things, & people of our world. If that interests you, I encourage you to check out the Curiosityness podcast available for free at https://www.curiosityness.com/ And find me on Instagram @travderose: https://www.instagram.com/travderose/
You can find the complete tutorial for this at: https://curiosityness.com/concrete-letters/
You can find the complete tutorial for this at: https://curiosityness.com/concrete-letters/
Resources for this project:
See all materials


Any price and availability information displayed on [relevant Amazon Site(s), as applicable] at the time of purchase will apply to the purchase of this product.
Hometalk may collect a small share of sales from the links on this page.More info
Comments
Join the conversation
2 of 3 comments
-
Love the project and the word meaning.
I was thinking to get smoother finish maybe line letter with plastic wrap and spray with Pam.
-
After what the world has gone through this last year, more of us could use a SISU sign!
Thanks for sharing the project and information.


Frequently asked questions
Have a question about this project?