


Wooden Dish Tray/stand

I keep seeing these round wooden stands everywhere and I love them so much I thought I’d create my own version. I wanted mine to serve as either a stand for a kitchen centerpiece or a tray for displaying a beautiful spread for parties. It ended up being such a fun project! I hope you enjoy!
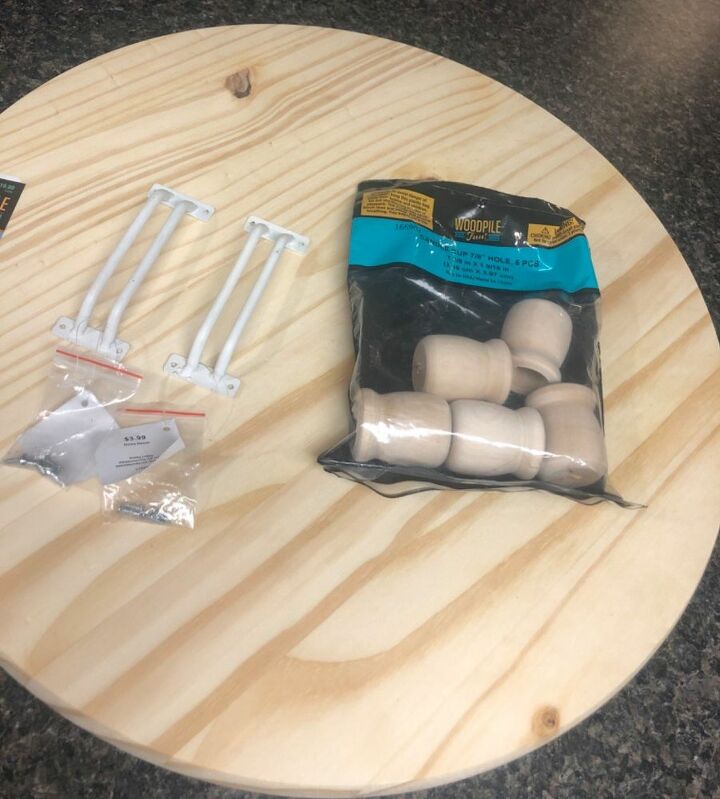
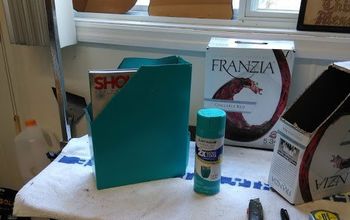
I was able to find a pre-cut 18 inch wooden disk at Hobby Lobby. I waited until all wood items were on sales and ended up only paying $10 for it! I then found these cute white handles and wooden legs to complete the look. I bought them on sale as well.
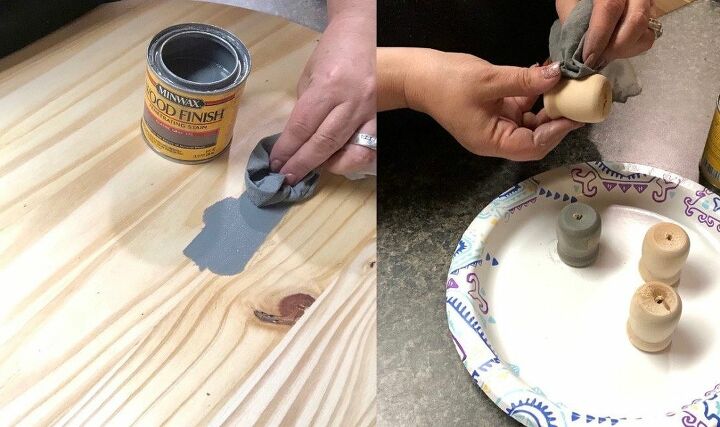
I decided to use a gray stain because it goes with the theme of my kitchen but any stain color would work. This particular stain is Natural Grey from Minwax. I simply rubbed one coat on with a tea towel for the desired look. I did the same thing to the legs.
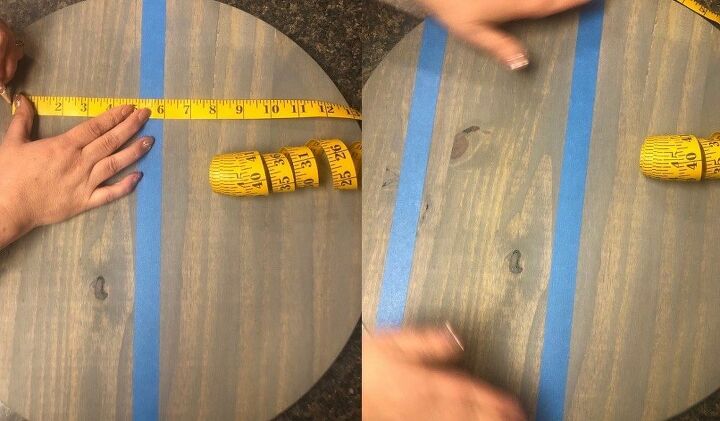
Once the stain had completely dried I chose a spot on my disk for the top of the white stripe. I put the first strip of painters tape about 8 inches from the bottom of the disk. Then to make sure the second strip of painters tape was exactly parallel, I measured and marked 5 different points that were six inches from the top of the first strip of painters tape. Then I laid the second strip down along all 5 points. This gave me a straight line parallel to the first.
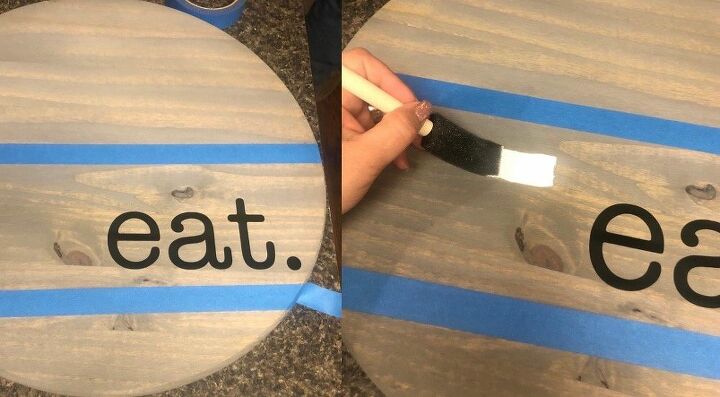
I used my vinyl machine to cut out the word “eat”. I placed the word to the right side inside the stipe area and painted the area white with acrylic craft paint.
Note: If you do not have a vinyl machine then you can print a word out on card stock, cut the letters out and trace around them on the paper side of the vinyl. Then trim the vinyl with scissors and place each vinyl letter onto the disk.
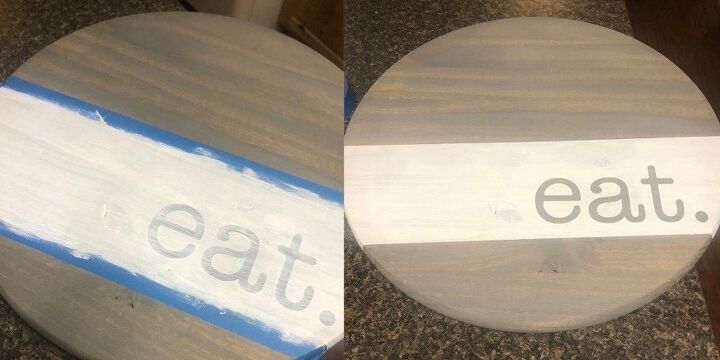
Once the paint was completely dry, I removed the painters tape and vinyl letters.
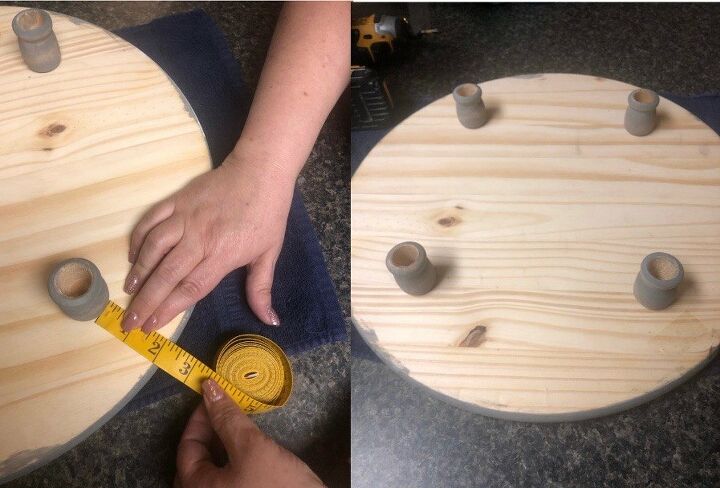
I then measured 4 points on the back of the disk and screwed the legs into the disk.
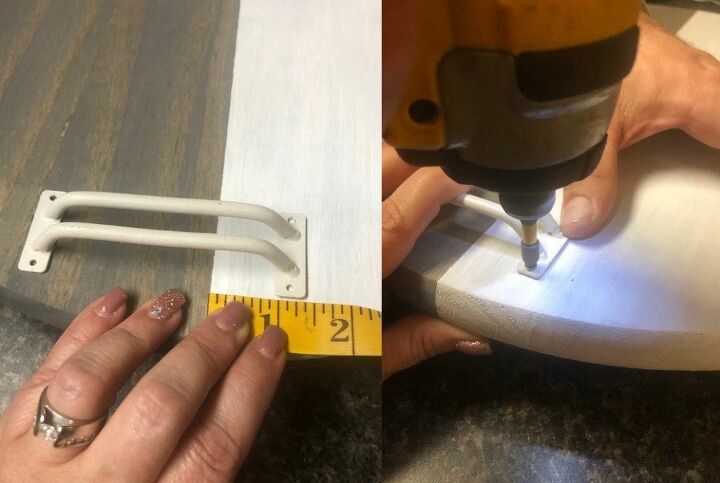
I added the handles by measuring carefully on one side where I wanted them and then repeating the measurements on the other side. I then screwed the handles into the disk.
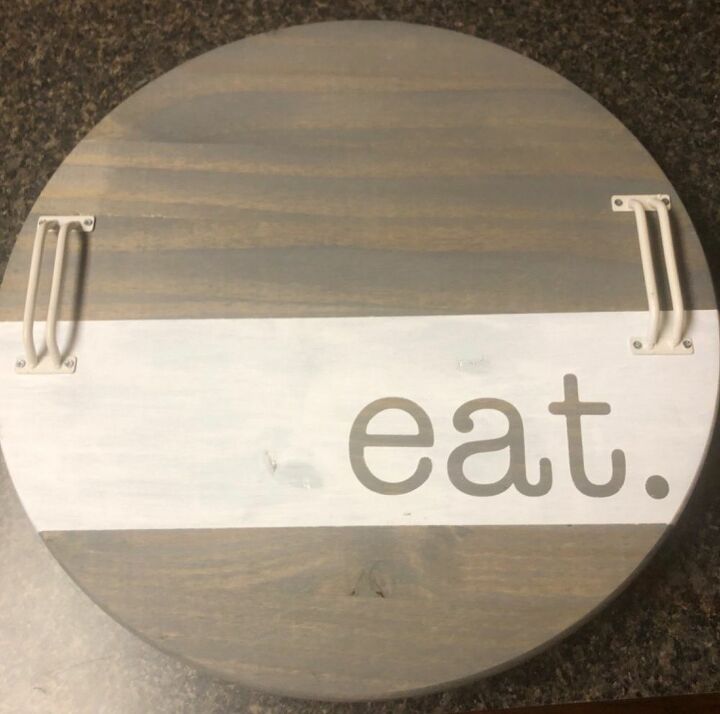
And here is the finished product!
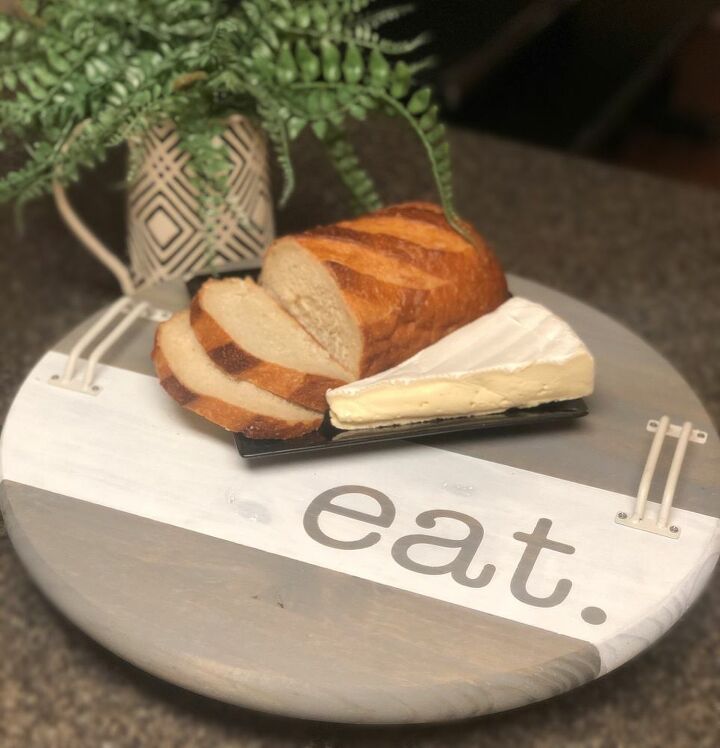
This piece works great as a serving tray as pictured above.
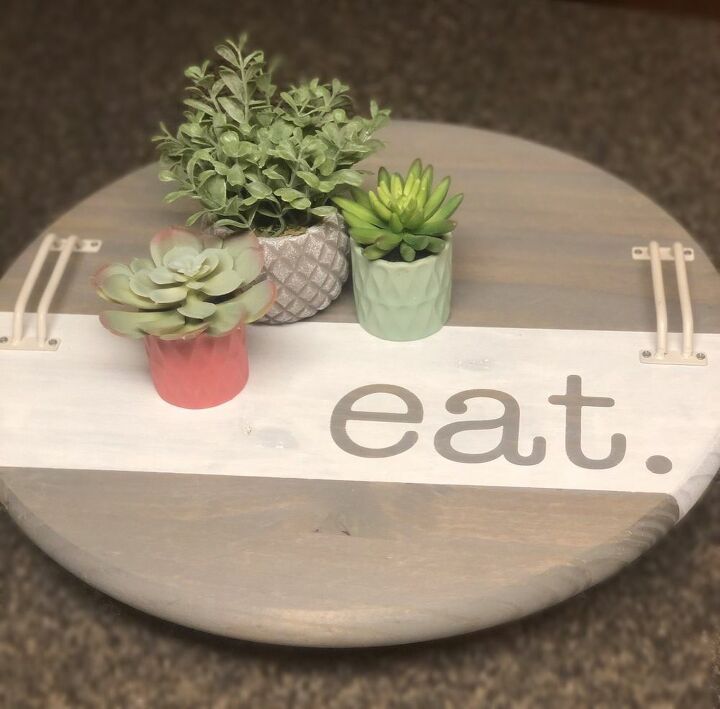
And also as a decorative centerpiece! What do you think?
Resources for this project:
See all materials


Comments
Join the conversation
-
Gorgeous! ❤️
-
Thank you!


Frequently asked questions
Have a question about this project?
Where did you get the feet?