


ANTHROPOLOGIE VASE DUPE-DIY CHALLENGE
This post may contain affiliate links. Click {{ HERE}} for full disclosure.
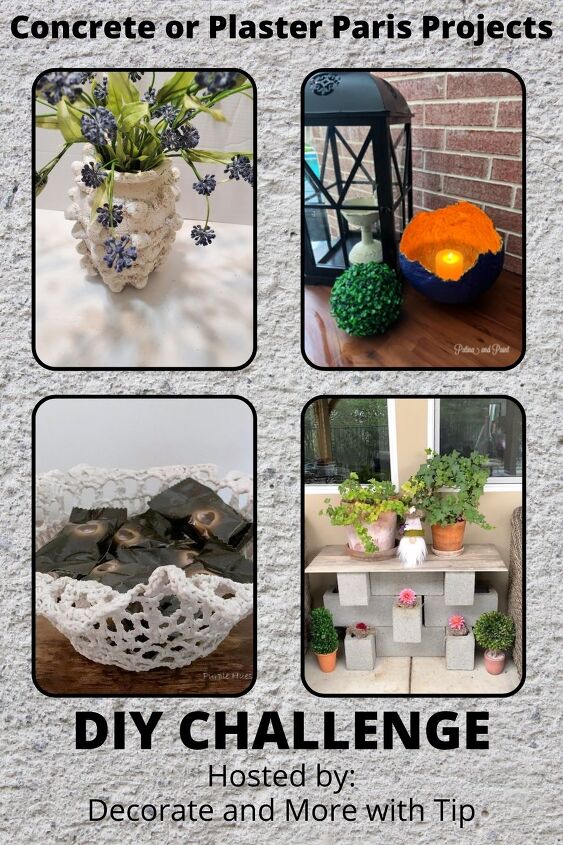
If you are here, you’re likely familiar with the DIY Challenge. But just in case you’re not, let me explain the DIY Challenge:
I’m Terrie and I host a Do It Yourself Challenge the first Wednesday of each month. Each month we have a different themed challenge, I gather up a group of friends to share things you can do yourself; it is a lot of fun reading the inspiration on this challenge. This month we are creating something with concrete or Plaster of Pasis. I will have the other blogger’s DIY project linked for you at the bottom of my page.
P.S. Don’t forget to check out my previous DIY Challenges – DIY CHALLENGE.
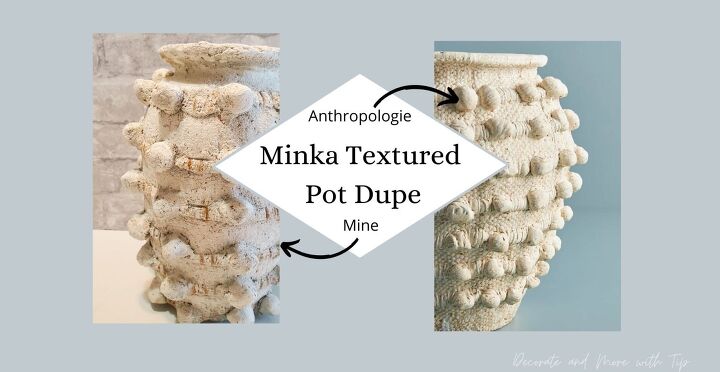
It’s been a while since my last dupe or knock-off, so today I am sharing how I took a vase and mortar to turn it to a popular Anthropologie pot.
Let’s take a close look at the Anthropoplogie’s Minka pot.
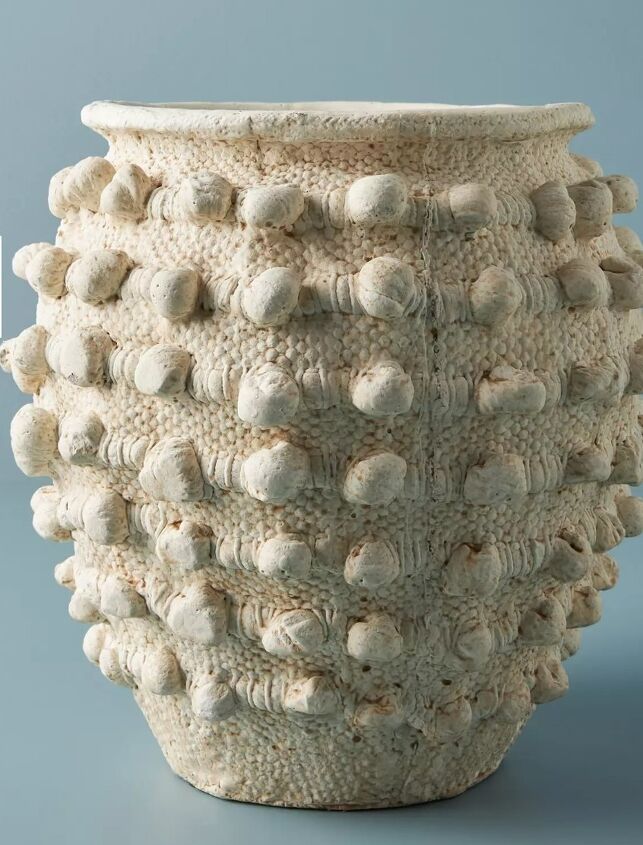
Their pot has a knotted typed ribbon with a mess look surface. It’s cream with the look of rust like coloring. Made out of cement and comes in four different sizes, extra small, small, medium and large.
Anthropologie Minka Pot Dupe
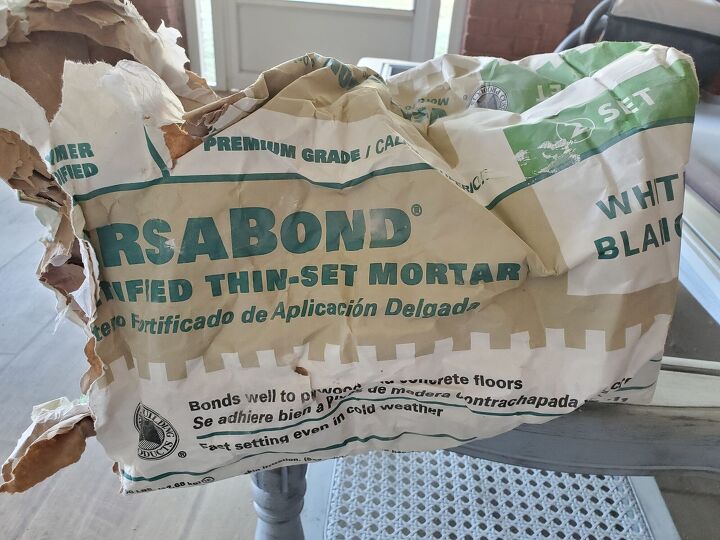
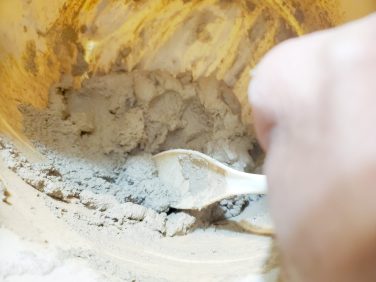
I am using mortar because the bag of concrete we had from our last project turned into a brick in the bag. So, instead of running to Lowe’s or Home Depot I grabbed a bag of mortar from a backsplash project we did in the past.
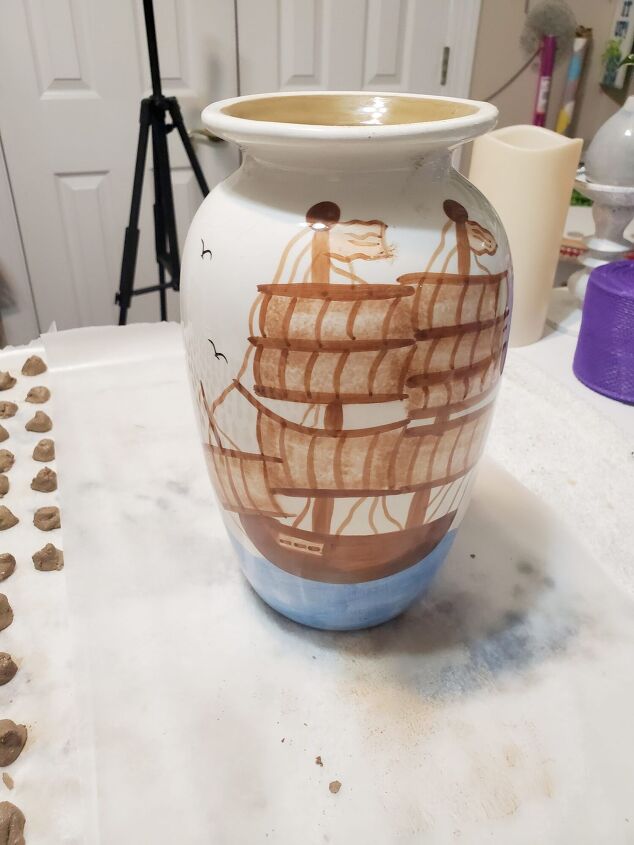
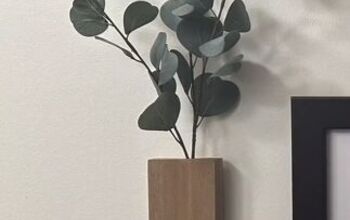
Todd had this vase given to him, so I decided to give it a makeover. It is the size of the medium Minka pot.
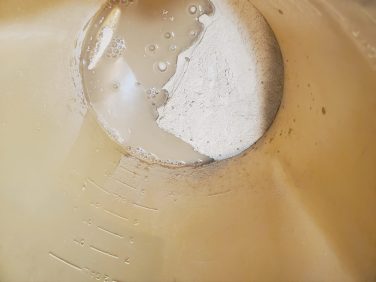
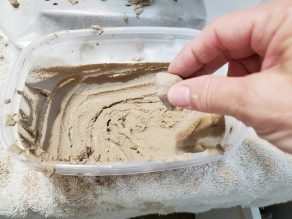
Started mixing my mortar with water, creating the mortar to the texture of peanut butter.
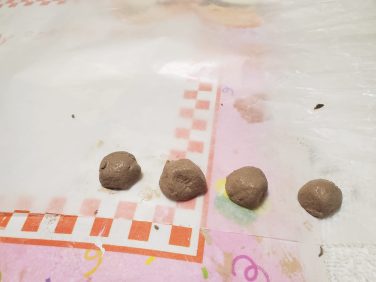
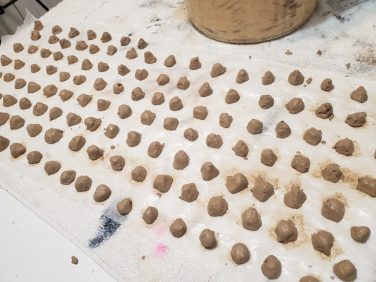
Making the knots on the pot –
For the knots, I am making little 1-inch mortar balls. I rolled the balls out and placed them on wax paper to harden. I made 54 balls.
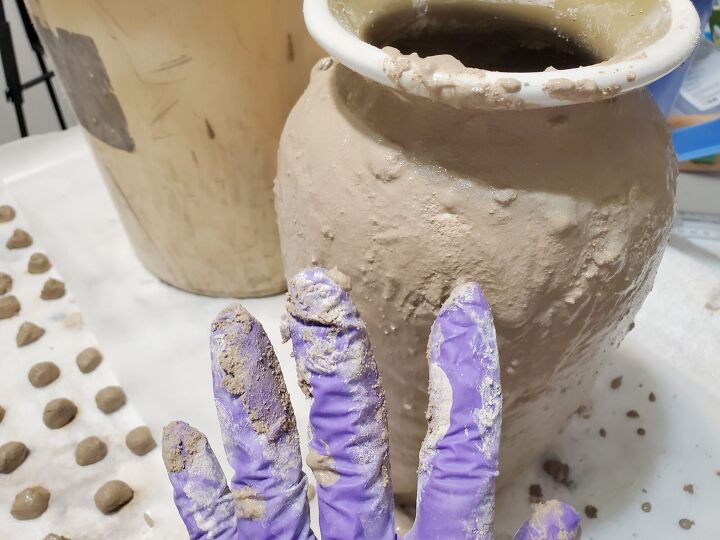
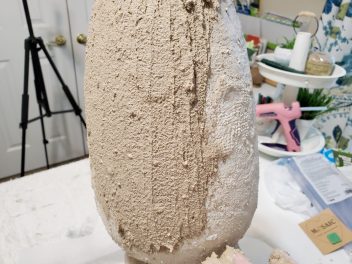
Coat the vase with mortar –
Next, I spread the mortar onto the vase in a thin coat. Letting the first coat dry for 12 hours.
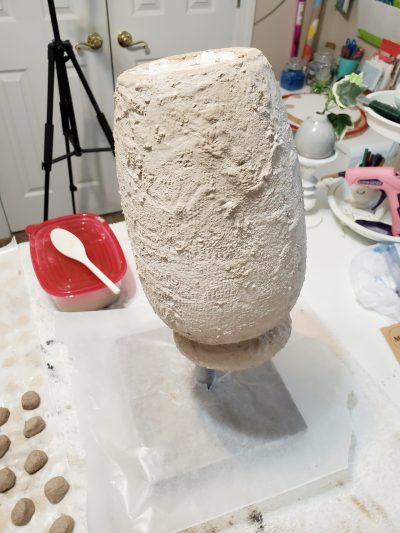
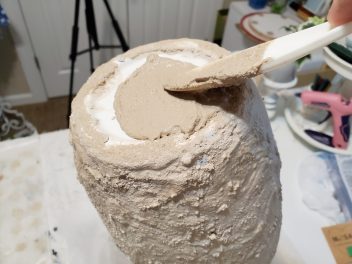
The second coat I turned the vase upside down and adding one more coat to the vase.
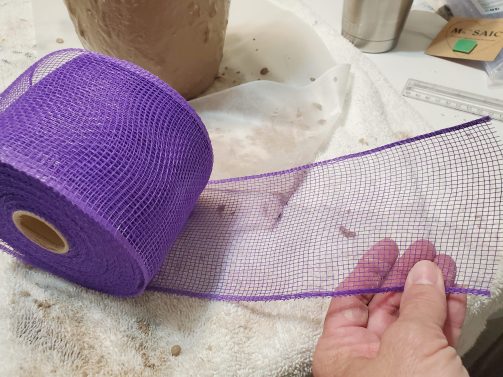
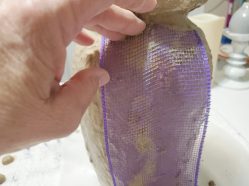
Creating the netting texture to the vase –
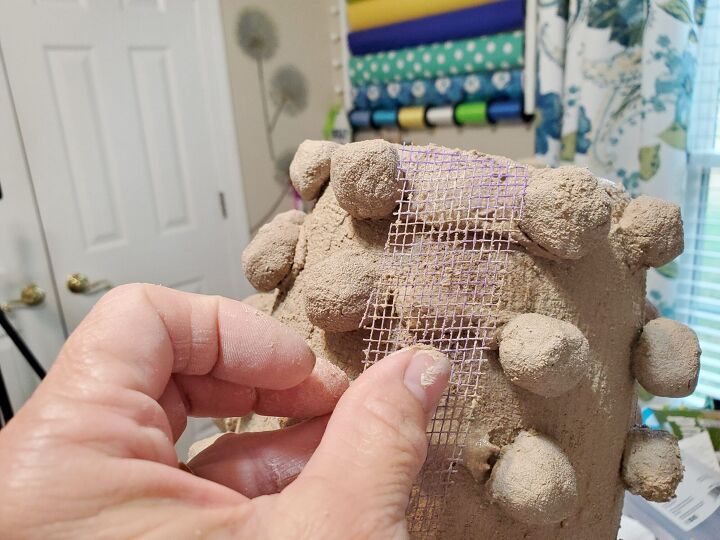
Once I had the second coat completely covered, I used a piece of mesh ribbon to give the vase a netting textured look. I pressed the mess ribbon on the wet vase.
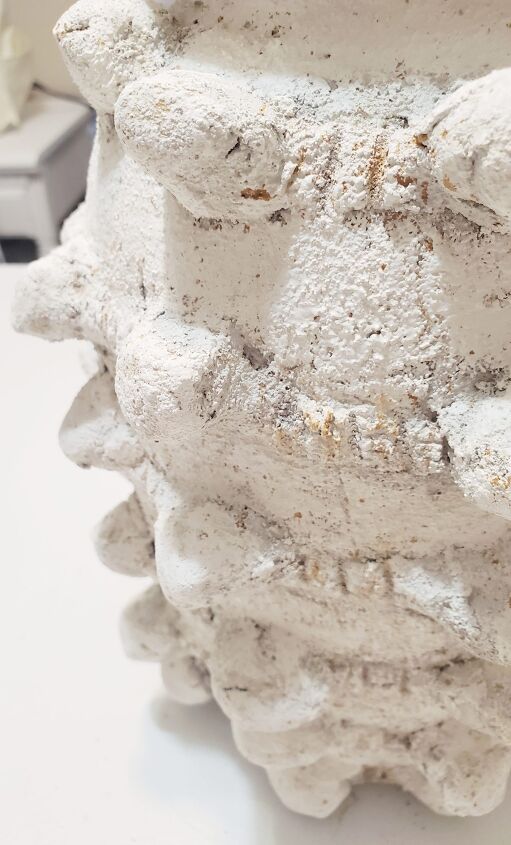
Adding the knotted ribbon look to the vase –
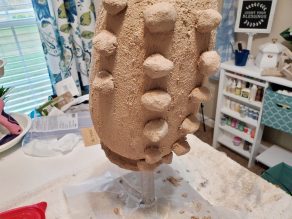
To add the mortar balls to the vase, I added more mortar to the balls and placed it onto the wet vase. Spacing each ball 1 inch a part.
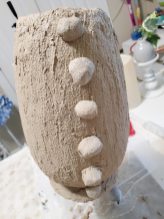
To create the ribbon look, I took the mortar and made a ribbon strip in between each ball.

Pressing the mess ribbon to give the strip a netting look as well.
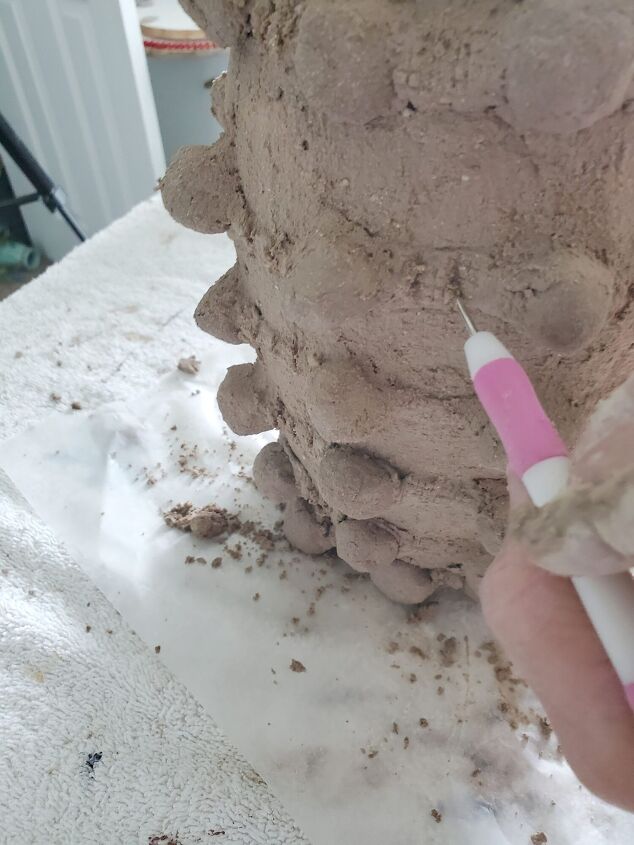
To add the thread details I took my punch knife and added lines to the ribbon.
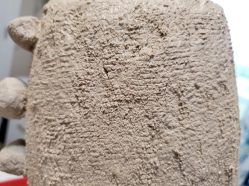
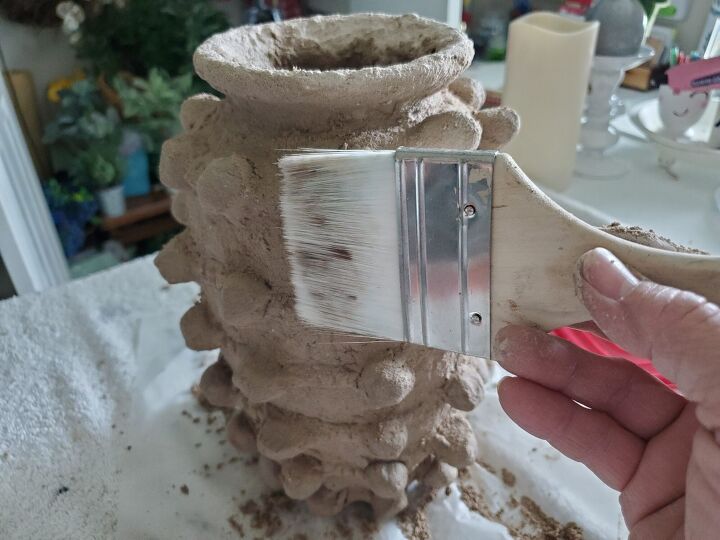
Let dry for 12 hours then took a chip brush and gave the entire vase a sweeping, I also took a damp sponge and cleaned the vase. Which after I did this it took the netting texture away. 🙁
Painting the vase –
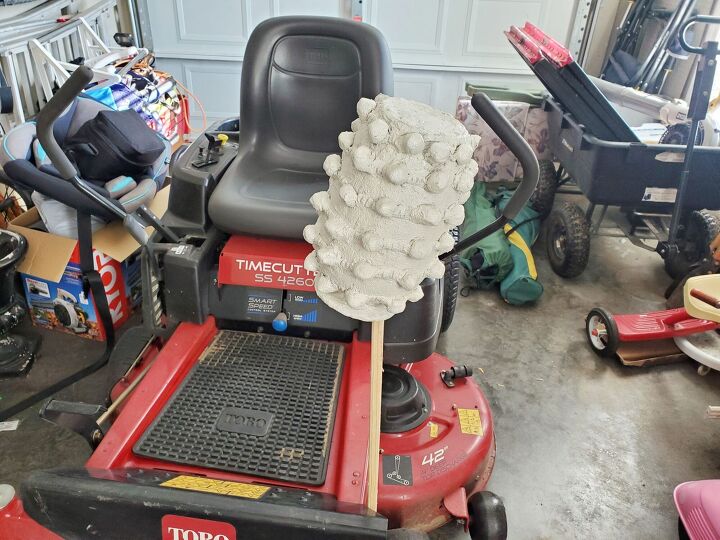
Giving the vase two coats of Rust-oleum Clamshell spray paint, first coat upside down and second coat standing upright. Letting each coat dry for an hour or so.
To give it the rust coloring I took Apple Barrel Classic Caramel flicking the paint onto the vase.
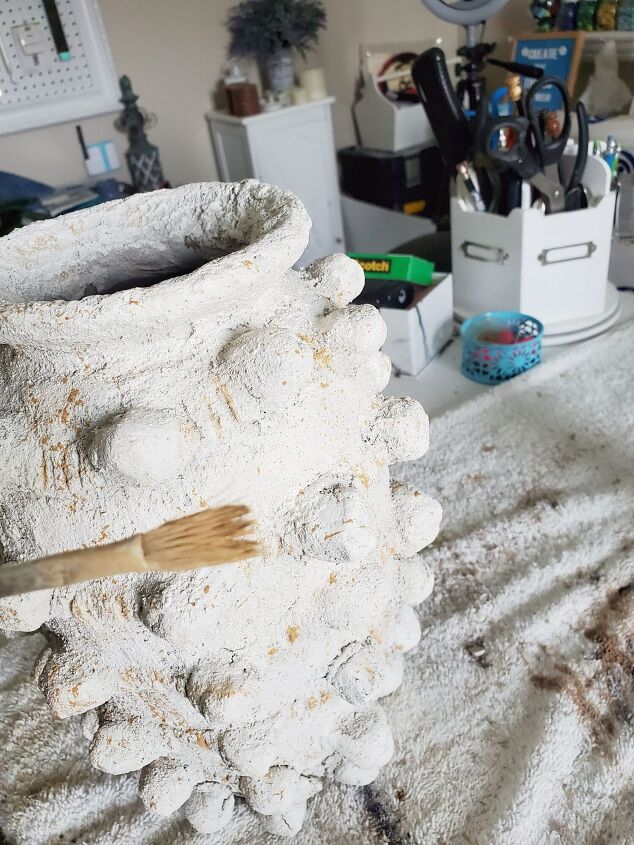
After the caramel spots dried, I dry brushed Apple Barrel Parchment to the vase.
Lastly, I spray one coat of Rust-oleum clear spray paint to the entire vase.
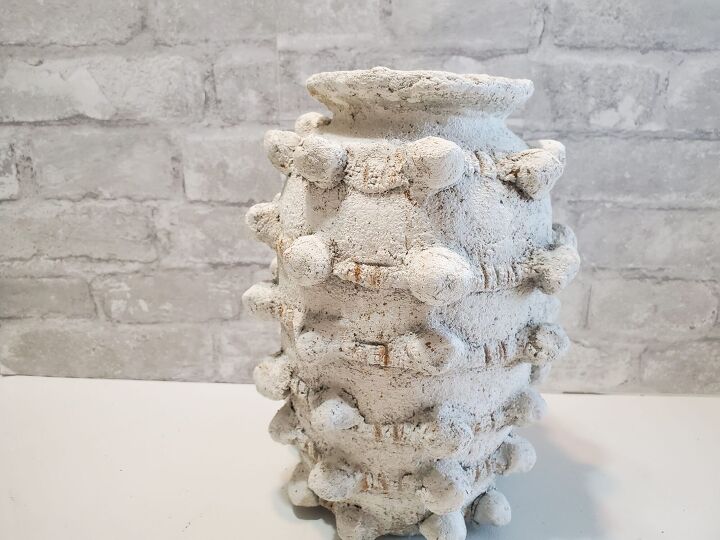
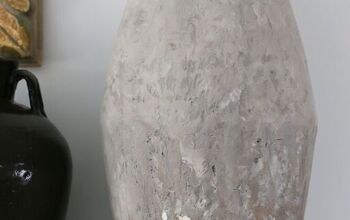
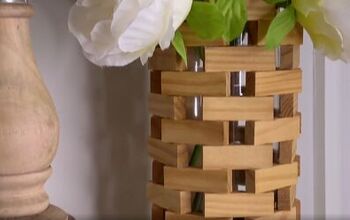
Although my vase doesn’t look exactly like the Anthropologie’s pot, I am so happy that it is a close runner up.
Resources for this project:
See all materials


Comments
Join the conversation
-
Actually, I like yours better!!
-
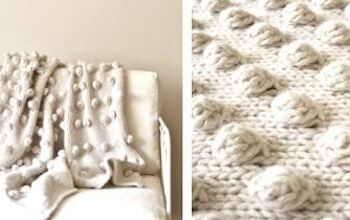
'Looks like the bauble stitch in knitting.


Frequently asked questions
Have a question about this project?