


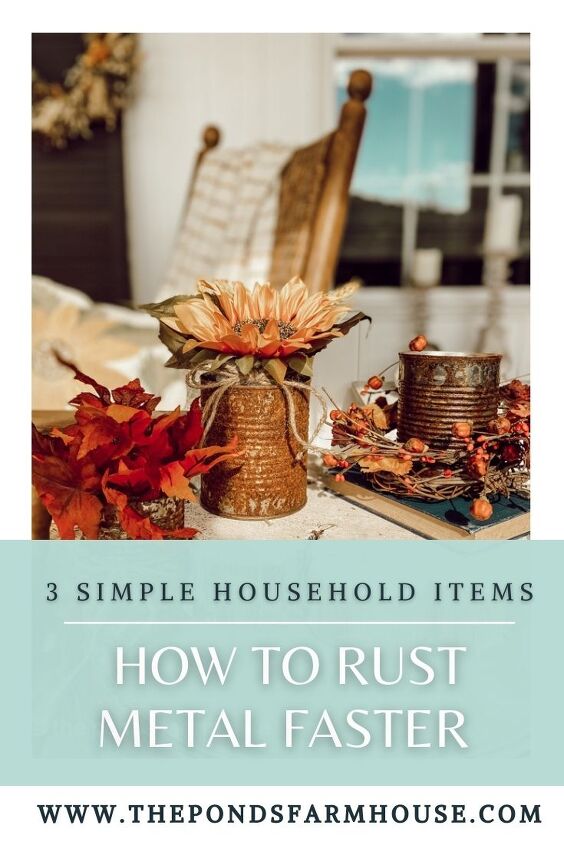
How To Rust Metal Faster
Do you like rusty, crusty vintage looking pieces? What if you have something new but want it to look old.How to Rust Metal Faster is a tutorial that will allow you to rust tin cans or any metal piece with just 3 household ingredients. You can turn a new metal piece into a vintage inspired treasure quickly.
I had a couple of tin cans that I had left outside and they rusted naturally over a period of time.
When I saw how cool they looked, I decided I’d like to have more rusty tin cans so I decided to attempt to Rust Metal faster.

Hometalk Recommends!
Want to save?
Get your 30-day free trial of Amazon Prime today before Prime big deal days on October 8-9th!
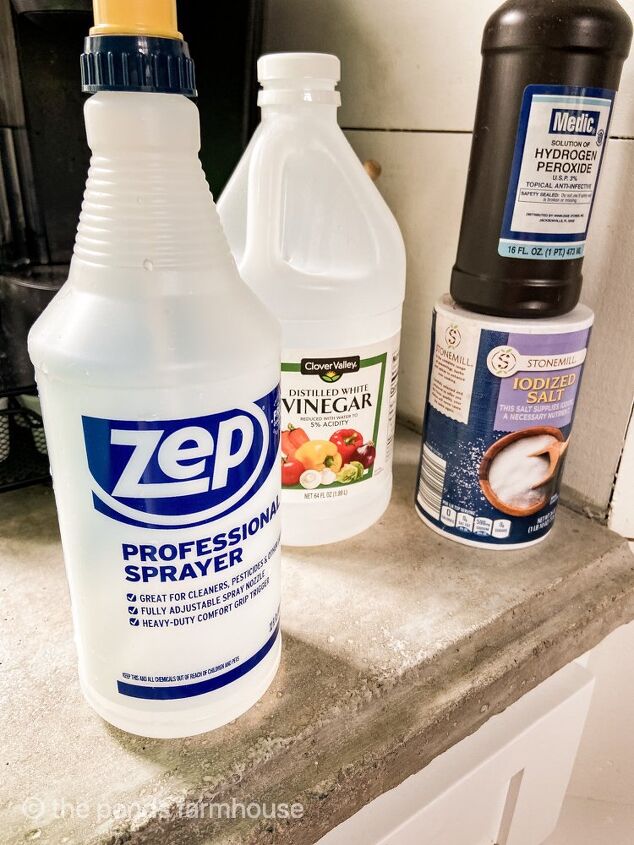
How to Rust Metal Faster Ingredients
- White Vinegar
- Hydrogen Peroxide
- Salt
- Spray Bottle
- Protective gloves
- Goggles
- Steel Wool
What I learned about rusting metal
First, I want to say that all metal will not rust as fast as others.
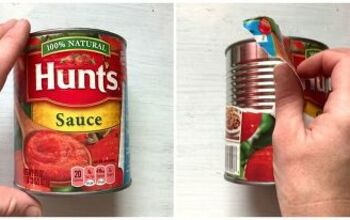
Especially items like tin cans, which may have a protective coating and if so, you will want to break the surface with sand paper or steel wool.
Note: I didn’t do this on my tin cans and therefore the process wasn’t as fast as I would have liked.
I also leaned that all tin cans are not created equally and therefore, some will rust much quicker than others.
Mix Ingredients to create rust on cans
First, add approx. 1 cup of hydrogen peroxide to your spray bottle.
Add approx. 3 tablespoons of vinegar and 2 tablespoons of salt.
Place cap on bottle and shake until salt is dissolved.
Be sure your metal is clean and if there are any oils, they have been neutralized. At this point your may want to break up the surface of your metal with steel wool.
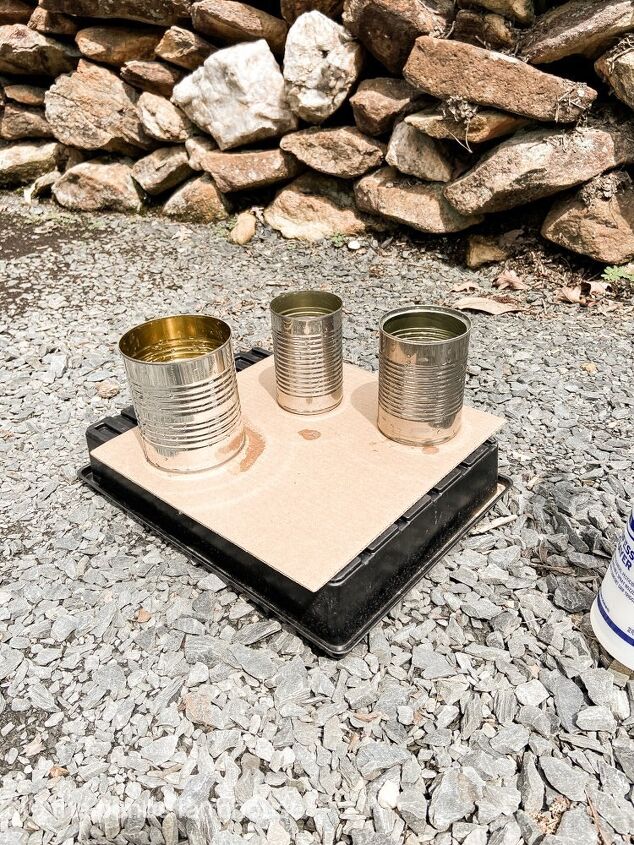
I recommend taking your metal outside and placing on a protected surface. I used a piece of cardboard and set it on the gravel drive.
You also want to protect your hands and eyes because the spray will splatter and the combination of ingredients will damage eyes and skin.
In addition, wear old clothing that you don’t mind damaging. The ingredients can stain or bleach fabric colors.
Spray to Rust Tin Cans
Completely cover your metal pieces or tin cans with the spray mixture and leave to dry. Leaving in the sun helps to speed up the process.
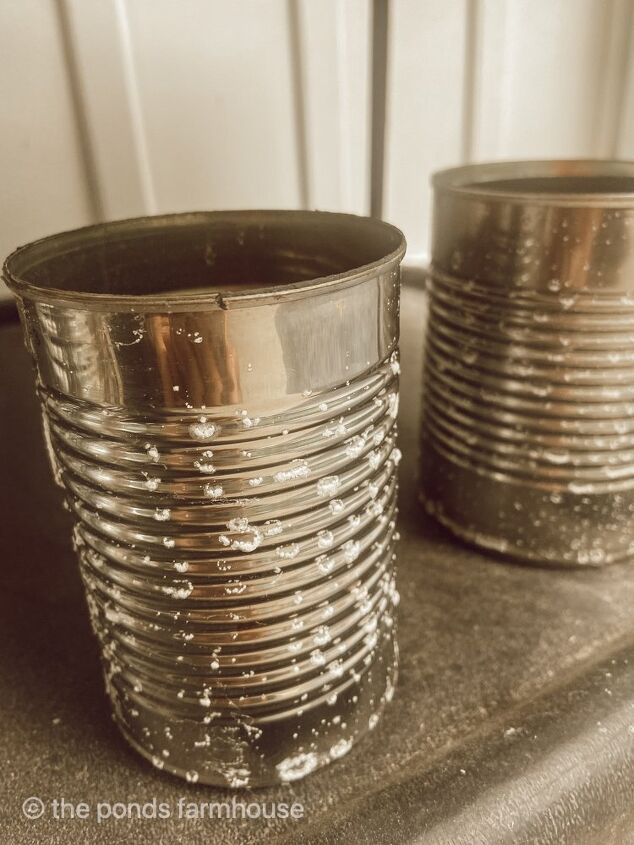
This is what my cans looked like after the first application and they were dry. I was less than impressed.
I knew it would be necessary to repeat this process several times.
Here is what the same can looked like after the second application. I was becoming a believer.
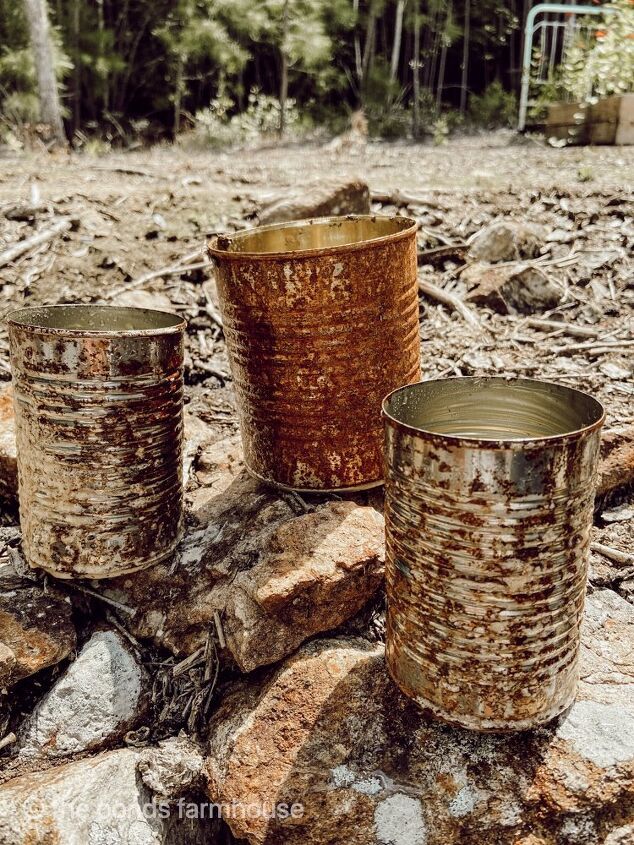
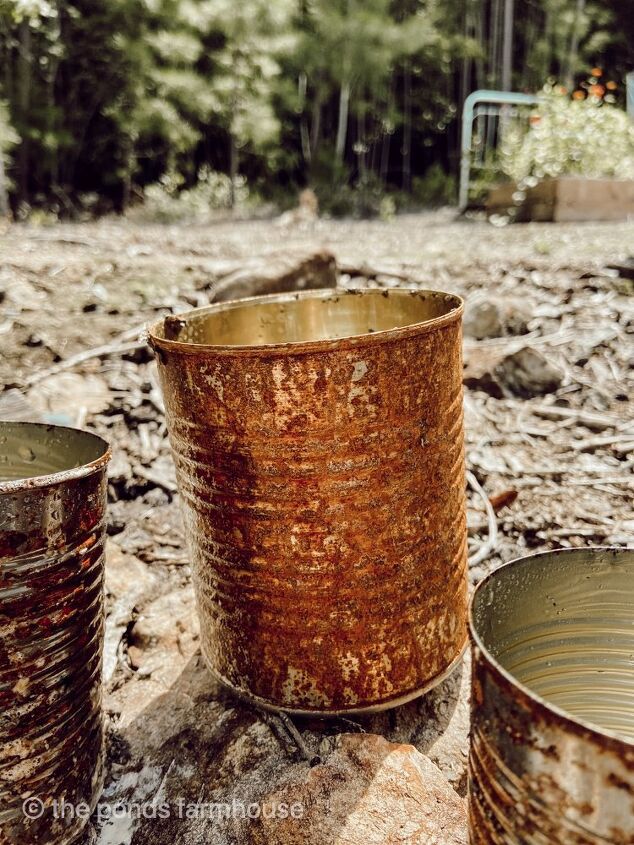
After 4 applications I was getting somewhere, but as I said above, not all tin cans are created equal and you can see what I mean below.
All 3 cans have received the same treatment but two are slower to show the results. It would have been a good idea to use the steel wool on these cans.
Next time I will know better.
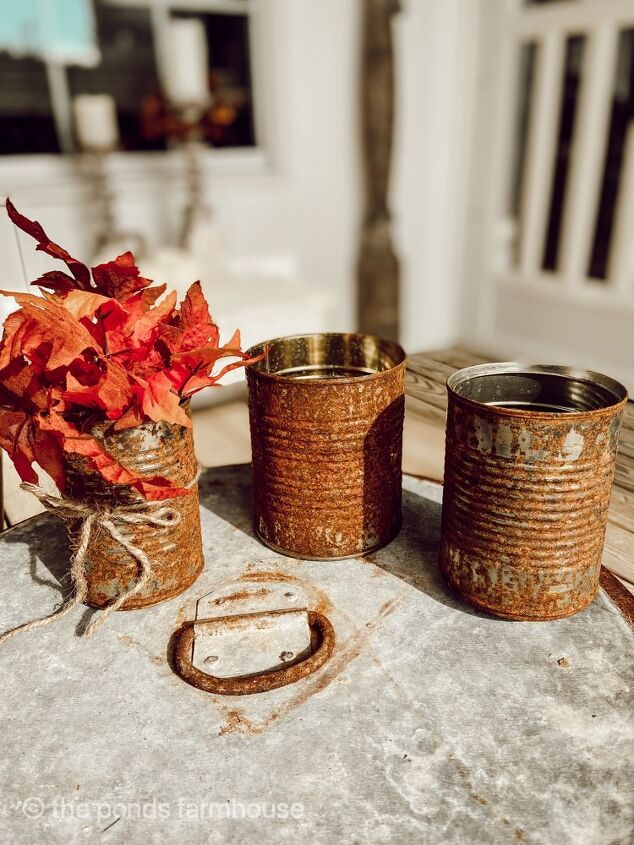
Because I plan to use most of these cans for an outdoor project, I didn’t continue to repeat this process.
I did apply one additional coat to the cans that showed less rust.
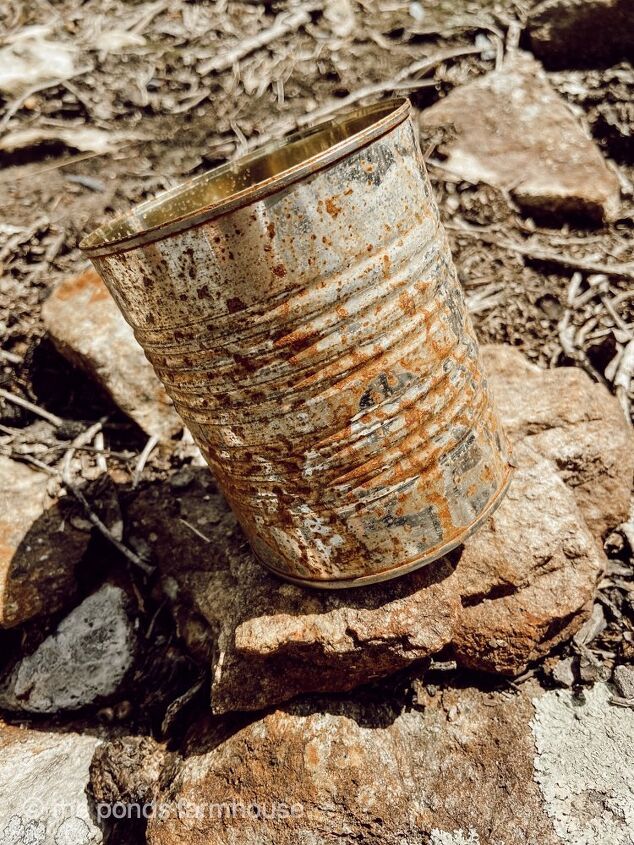
Because we had some rain, it took 4 days to get these results. I applied 4 to 5 applications to the cans.
I also left the cans out in the rain which also slowed down the process as the rain most likely washed away the mixture I applied.
My rating for How to Rust Metal Faster
I feel that I made some errors in judgement and had I taken the extra steps, I feel this process is an easy way to rust metal faster. It’s inexpensive and easy to do.
See these 10 Tips for Free Fall Decorating.
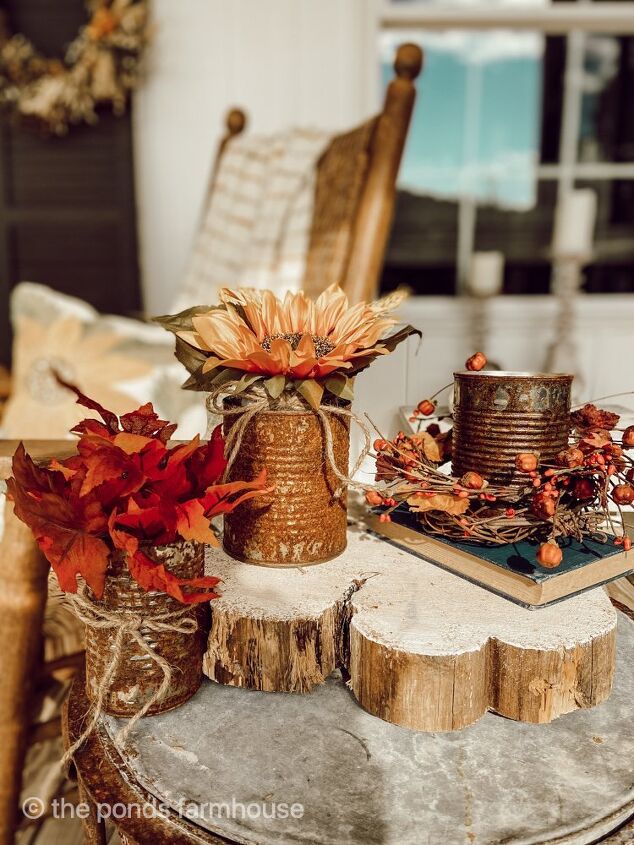
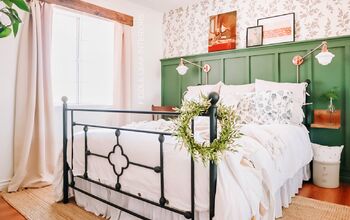
I love how the cans look alone but wait until you see what I did with them for a DIY Fall Wreath. Scroll down for a preview .
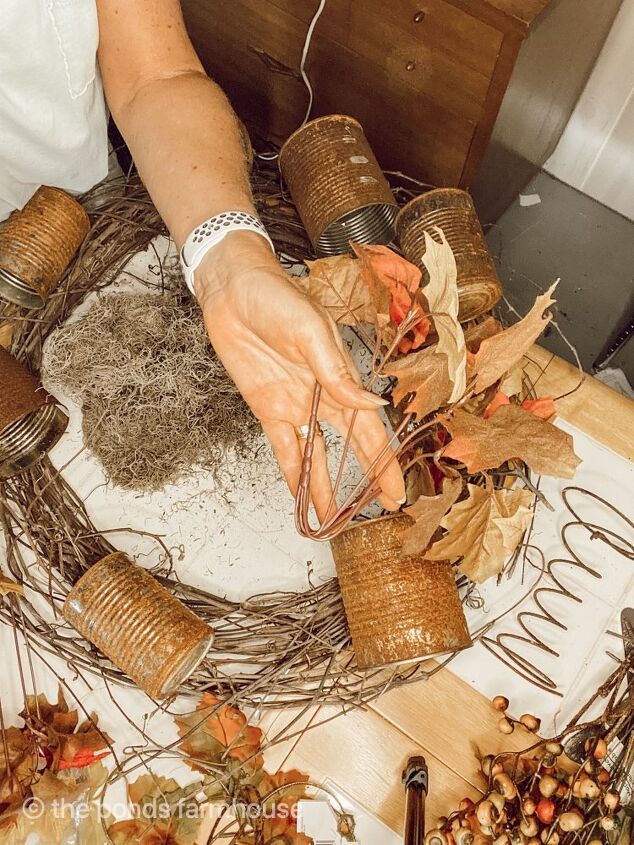
Here is a preview of my Rusted Can Project - Easy Rusted Tin Can Wreath
DIY home decor using repurposed tin cans
Resources for this project:
See all materials


Comments
Join the conversation
-
I get rid of rust as fast as I can because it's a corrosive that grows. I wouldn't recommend this. Remember the doctor telling you that you need a tetanus shot if you've stepped on a rusty nail? I suppose that would also be the case if you are cut by the tin can and now have an open would that rust may enter. Please be cautious.
-
Never mind the negative Nelly. It’s lovely. Rusty fences are especially popular here in Arizona.


Frequently asked questions
Have a question about this project?
I like the color of rust but not the texture. Doesn't it flake off the surface? After getting the rust on the can, is it possible to coat with a clear sealer to keep the color and organic pattern but not the danger of flaking off. Test this out!!!
Doesn't putting hydrogen peroxide mixed with vinegar combine to make a toxic mixture?
How do I get if bees