13 Totally Unique Ways to Dress Your Home for Fall
Looking to add some creativity and autumnal charm to your fall decor? Look no further! In this article, we've compiled a collection of 13 DIY projects that will inspire you to transform ordinary items into beautiful and unique decorations.
From concrete pumpkins and pumpkin kegs to pine cone wreaths and Tide Pod container pumpkins, these tutorials will guide you step-by-step to create stunning DIY fall decor pieces for your home. Get ready to embrace the season with these fun and budget-friendly fall crafts!
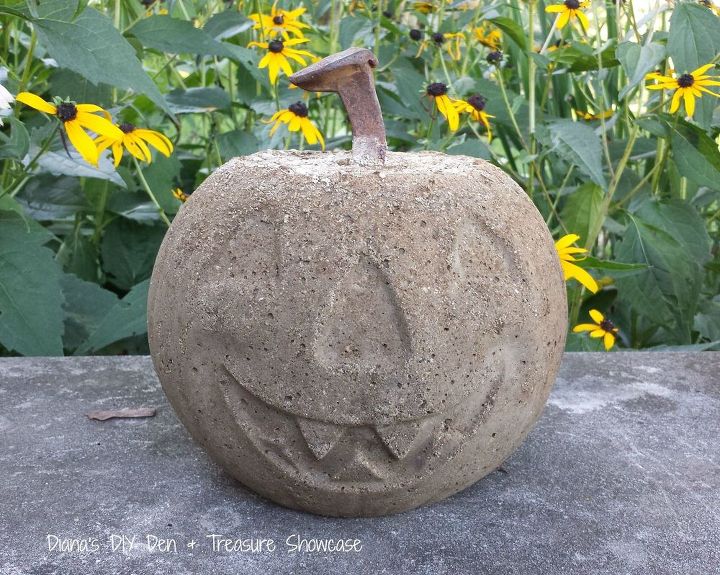
1. Concrete pumpkin
This project by Diana involves making concrete pumpkins using cheap plastic treat pumpkins as molds. The materials used are a mix of peat moss, perlite, and cement, with added color for a non-gray finish.
The mixture is filled into the pumpkins, with railroad spikes used as stems, and left to dry for a few days. The plastic molds are then removed, resulting in versatile pumpkin decorations that can be used from Halloween through Thanksgiving. Get tutorial here
2. Pumpkin keg
This project involves creating a pumpkin keg to serve drinks at events. You can customize it by painting or carving the pumpkin creatively or even using a different fruit like watermelon.
A keg-tapping kit is used to install a tap in the pumpkin, and your favorite fall drink can be poured into it. It's a fun and detailed idea for gatherings that will impress guests. Get tutorial here

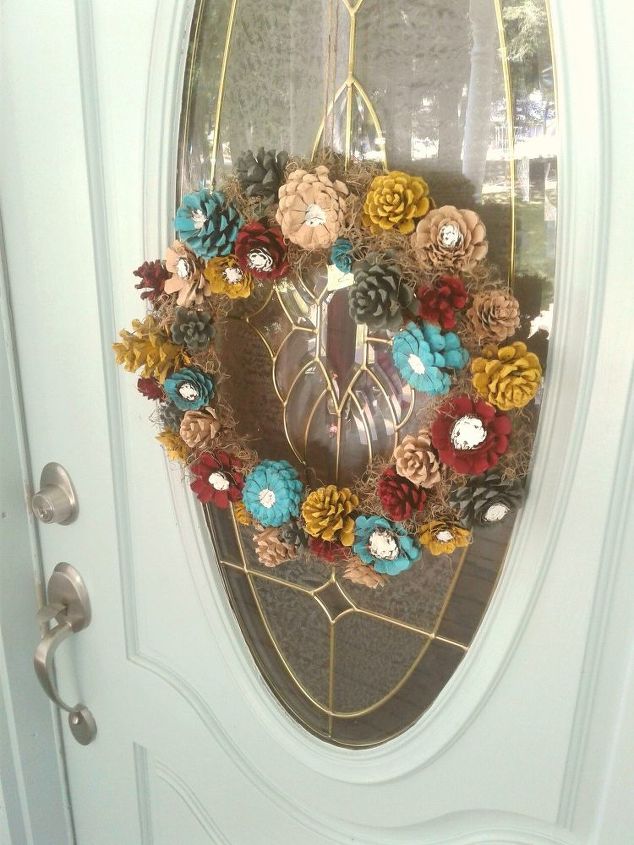
3. Pine cones flower wreath
Next, Jennifer collects pine cones and repurposes them to create a beautiful fall wreath.
The pine cones are dried out and cut into smaller sizes, and the bottom edges are trimmed to resemble flower shapes. The trimmed pine cones are then placed and secured onto a wire frame, either by twisting them or using a glue gun.
Acrylic paint is used to paint the pine cones like flowers, and Spanish moss is added for decoration. The finished wreath can be hung up and personalized to match the desired style, such as a beachy and fall-colored theme. Get tutorial here
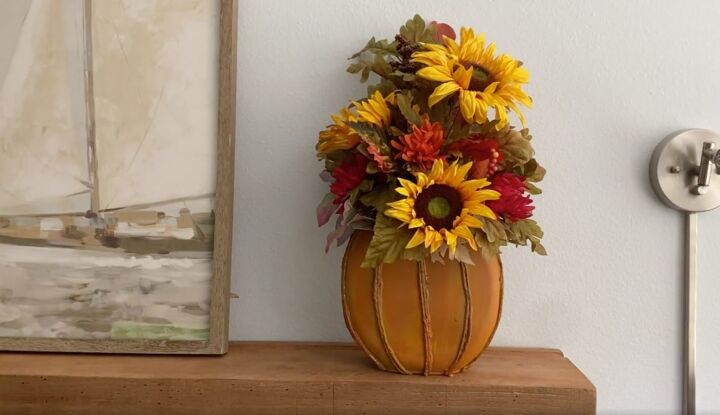
4. Tide Pod container pumpkin
This DIY project by Chloe involves repurposing a Tide Pods container into a pumpkin centerpiece for the fall season. The tutorial provides step-by-step instructions on how to prepare the container by removing the label and top piece.
String is added to give the pumpkin depth, and then the container is painted to resemble a pumpkin. Floral foam is inserted, and various fall flowers, foliage, and berries are arranged inside the pumpkin.
The end result is a beautiful fall arrangement that can serve as a centerpiece for the holidays. Get tutorial here
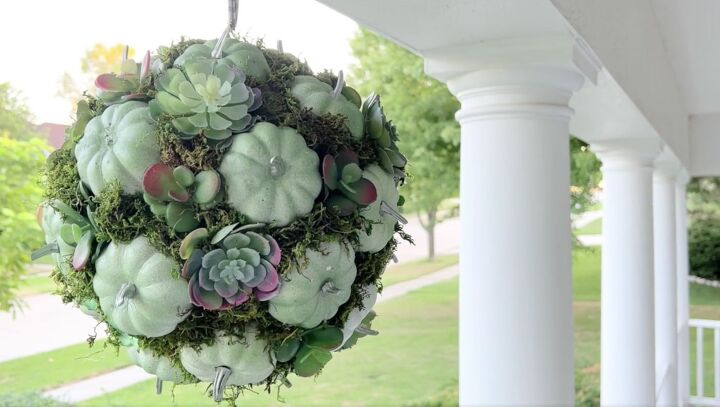
5. Pumpkin kissing ball
Sontata shows us how to make a pumpkin kissing ball using faux pumpkins from Dollar Tree. The pumpkins are spray-painted white and green, and their stems are removed and reattached after painting.
A tunnel is created in a styrofoam ball using an upholstery needle, and floral wire is fed through the tunnel to create a hanging loop. The pumpkins are then glued onto the styrofoam ball, along with succulents, and any gaps are filled with moss.
Finally, a ribbon is added for hanging, resulting in a beautiful pumpkin kissing ball that can be hung for decoration. Get tutorial here
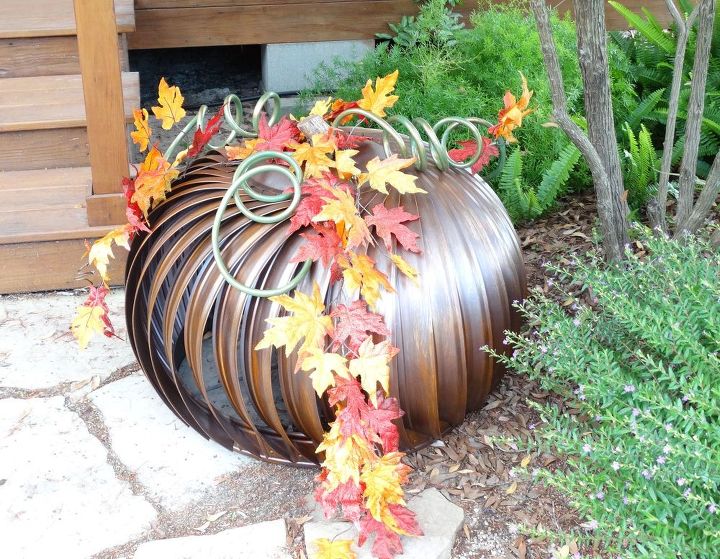
6. Roof wind turbine pumpkin
Can you believe that you can repurpose industrial-sized roof wind turbines into giant pumpkins for fall decoration?
The turbines are cleaned and spray-painted with metallic colors to create a pumpkin-like appearance. Dead vine pieces are used as stems, and coiled water hose sections are cut and shaped to resemble pumpkin vines.
Garland strands are sprayed with glitter and attached to the turbines using twine-coated wire and hot glue. The hose pieces are highlighted with gold paint for added effect. The finished giant pumpkins are placed around the yard for display. Get tutorial here
7. Hot Wheels pumpkin centerpiece
Next up is another pumpkin DIY made using surprising materials. Hot Wheels tracks from Dollar Tree are used to create a unique and inexpensive pumpkin centerpiece for fall decor.
The tracks are arranged in a circle with a wooden dowel inserted through them and secured with hot glue. The tracks are then bent and folded to create the shape of a pumpkin. The pumpkin is attached to a base, and floral foam is added to the center.
Fall flowers and a small branch are inserted into the foam, and a bow and leaves are added for decoration. The finished Hot Wheels pumpkin centerpiece is a fun and creative piece of decor for the fall holidays. Get tutorial here

8. Fall bike wheel wreath
This post shares a DIY project to create a unique fall wreath using an old child's bike wheel. The wheel is spray-painted and prepared by removing bolts, the tire, reflectors, and the center rod.
Artificial flowers, greenery, berries, and small pumpkins are attached to the wheel using zip ties and a glue gun. The finished wreath can be hung on the front door for a cheerful and non-traditional fall decoration. Get tutorial here

9. Hula hoop pumpkins
This post showcases a DIY project to create a hula hoop pumpkin for fall. Hula hoops are stacked together, secured with zip ties, and spray-painted orange.
Orange fairy lights are wrapped around the hoops, and a stem is created using wire. Additional fairy lights are added around the stem. The finished hula hoop pumpkin can be lit up at night, creating a festive and unique decoration. Get tutorial here

10. Rusted metal decor
This tutorial is on how to rust metal faster using household ingredients. Rachel suggests using a mixture of hydrogen peroxide, vinegar, and salt in a spray bottle to create a rusted effect on metal pieces. The results are super-autumnal and perfect for the fall holidays. Get tutorial here

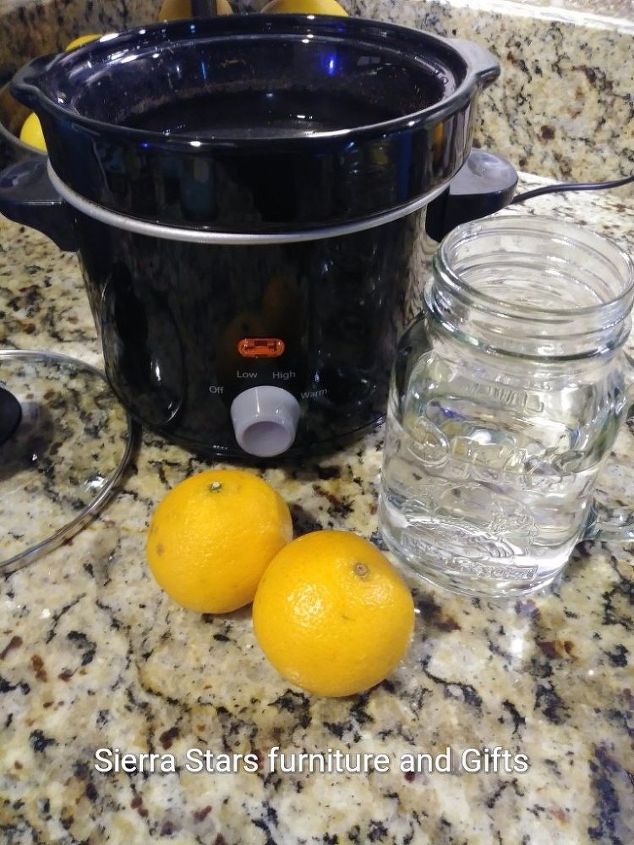
11. Fall pot potpourri
In this post, Beth shares her own version of a crock pot potpourri recipe to make the house smell wonderful. She fills a mini Crock-Pot with water and adds ground cinnamon, ground cloves, cinnamon sticks, and sliced oranges. The mixture is then simmered to release the fall-inspired fragrance. Get tutorial here
12. Faux fall tree
Who says trees can only feature in your decor at Christmas? In this project, Lisa shares how to create a faux fall tree using a fallen branch and cloth leaves.
She paints the leaves with muted fall colors and mists them with water for a softer effect. The branch is secured in a garden pot using foam and covered with burlap ribbon. Moss or bark trimmings are added for a natural look, and the leaves are attached either to sticks or directly to the branches using hot glue.
This project is fun, easy, and inexpensive; it's a simple way to add a touch of fall to a corner of the house. Get tutorial here

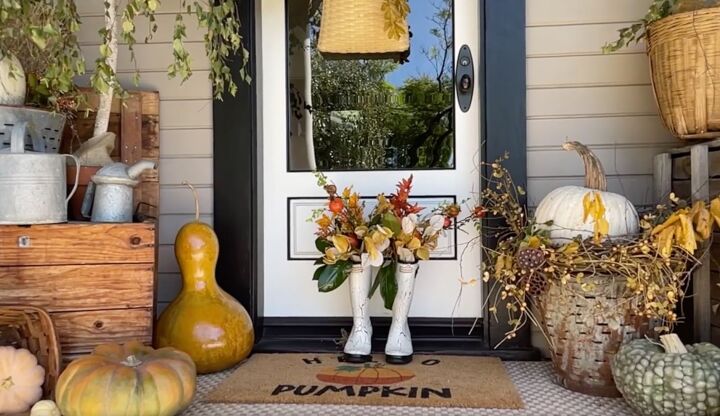
13. DIY Rain boot planters
In this DIY tutorial, the author shows how to transform old rain boots into eye-catching planters for fall.
The boots are first taped off to protect certain areas from paint, then crackle medium is applied for texture. An off-white mineral paint is used to create a crackled effect, and a top coat is added for protection.
After removing the tape, the boots are weighed down with bricks and filled with floral arrangements using faux foliage, berries, and other decorative elements. The final result is a cute and unique decoration for front porches or table centerpieces. Get tutorial here