


How to Make a Fall-Inspired DIY Hot Wheels Pumpkin Centerpiece
Who would have guessed you can create fall decor using Hot Wheels tracks from Dollar Tree? In this tutorial, I'll show you how to make a DIY pumpkin centerpiece out of kids' toys. This Hot Wheels pumpkin is an easy and inexpensive fall decor piece for the season.
This post was transcribed by a member of the Hometalk editorial team from the original HometalkTV episode.
Dollar Tree Hot Wheels tracks
To start this project you will need some Dollar Tree Hot Wheels tracks and they come in packs of two. You want to get four packs of these.
Other tools and materials:
- Hot glue gun
- Wooden dowel
- Base
- Floral foam
- Fall flowers and leaves
- Small branch for the stem
- Ribbon
1. Place the narrow side facing up
We want the narrower side facing up for this project.
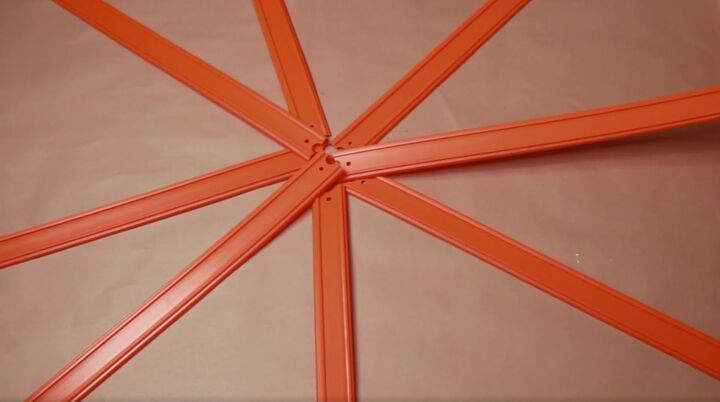
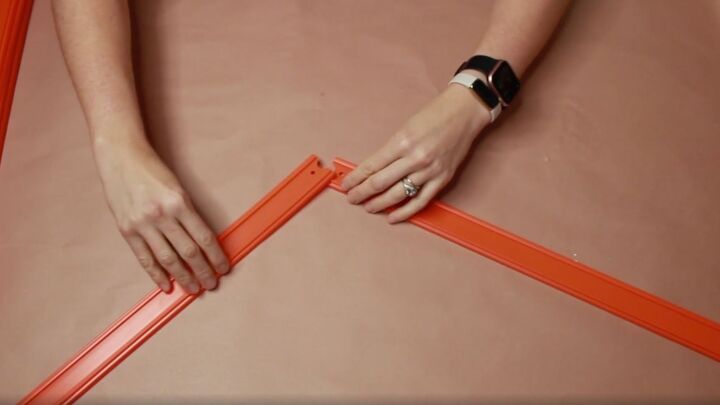
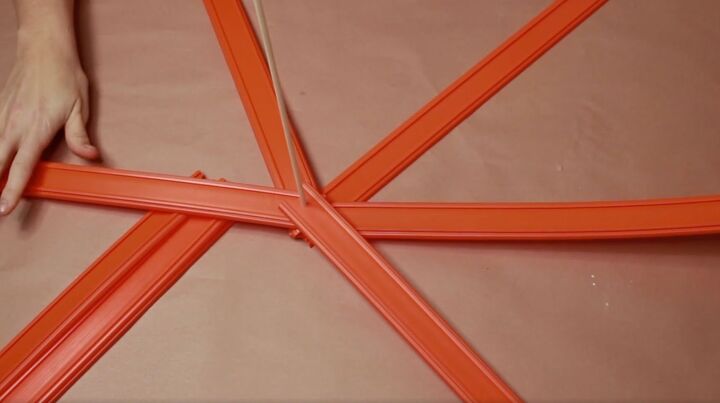
2. Arrange the tracks in a circle
Start by placing them around in a circle.
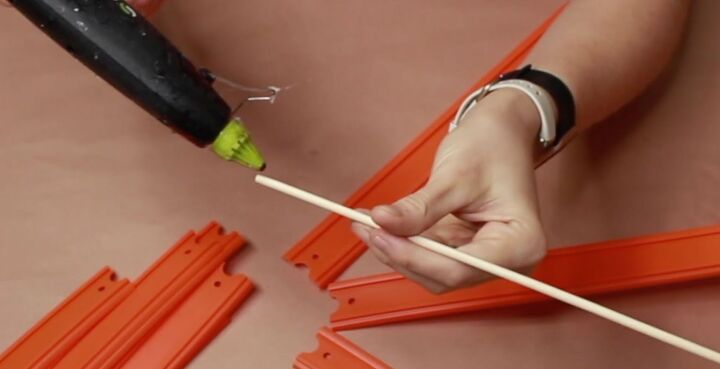
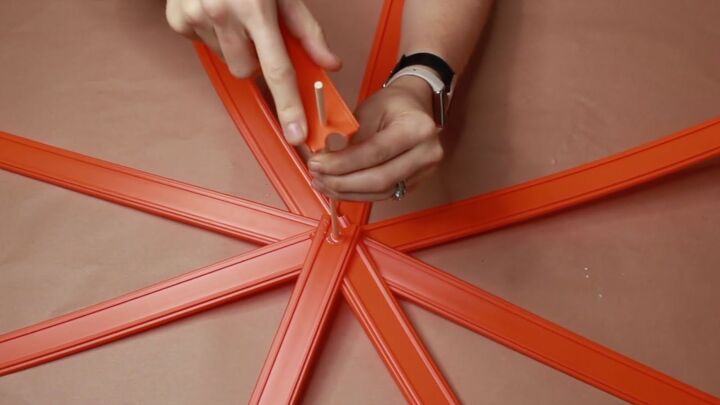
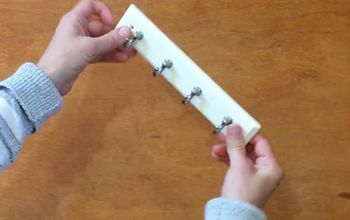
3. Glue a wooden dowel to the tracks
Next, I’m going to be taking a small wooden dowel and I'm going to put a little bit of hot glue around the bottom.
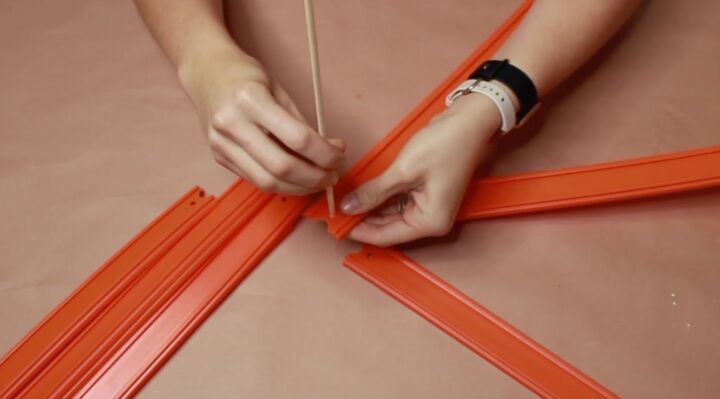
I'm going to then push it through one of the holes.
4. Slide the tracks onto the dowel
Once the glue is nice and dry, I’m going to add to it. I'm going to just slide each one onto the dowel until they are all on. You'll notice that depending on what direction I want these tracks to go, I'm kind of alternating back and forth with where I place them.
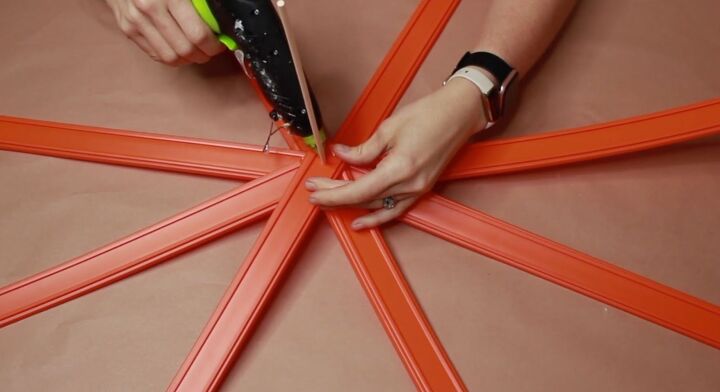
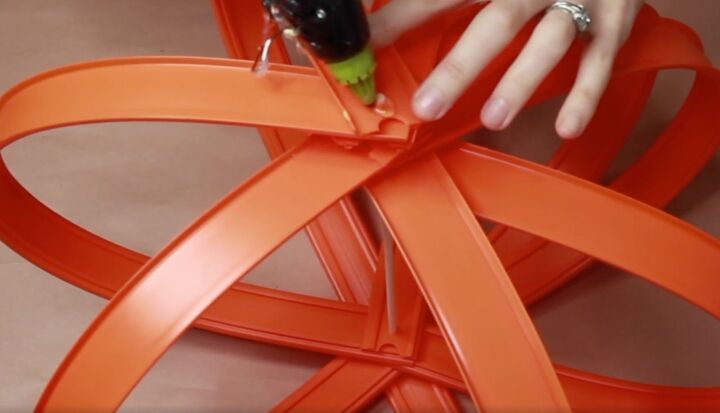
5. Add more glue
Now that they are all in place, we are going to do another little layer of hot glue to hold them in place.
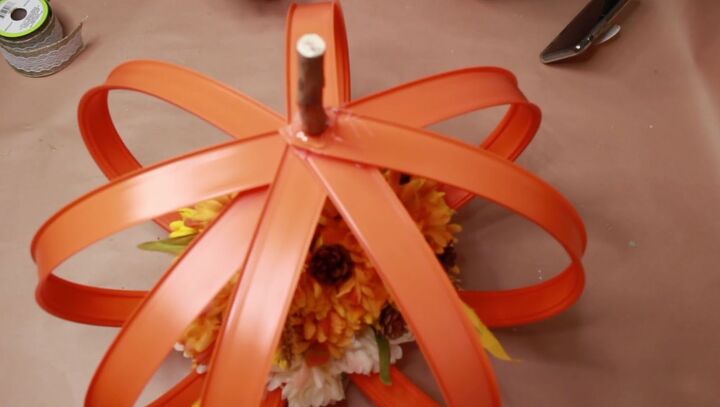
6. Bend and fold the tracks
Now that the glue has dried, we're going to be taking and folding the tracks over one by one.
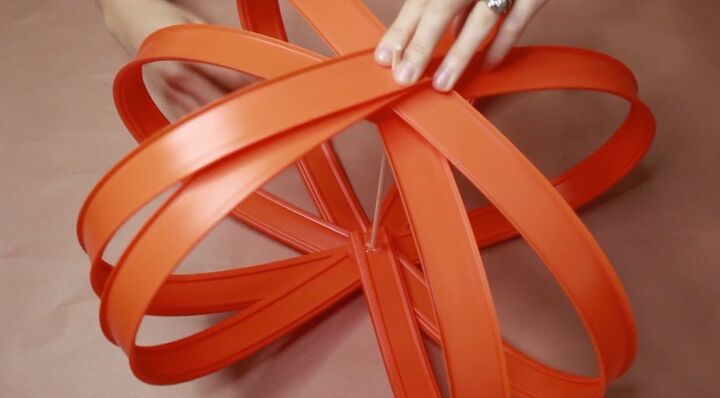
Once you have the tracks where you want them, you may have to move these around to kind of get the shape that you're looking to get.
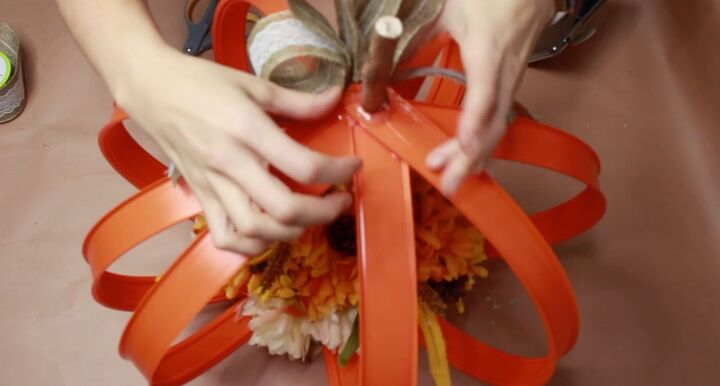
7. Glue the bent tracks in place
After they are arranged, you can put some hot glue on the top to hold them in place.
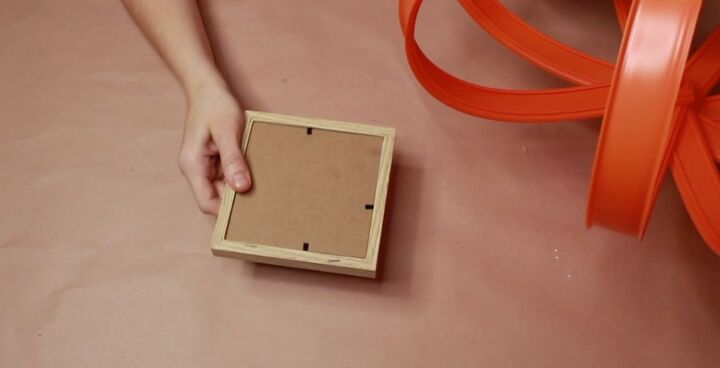
8. Attach the pumpkin to a base
To give the pumpkin a little more stability, we want to attach it to a base. I have an old frame I don’t need so used some hot glue to attach the pumpkin to the frame.
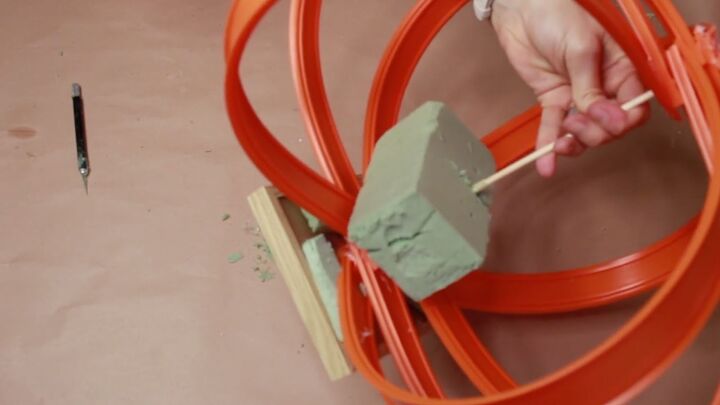
9. Add floral foam to the center
Once this is all adhered to the frame, we're going to add some floral foam to the center. I sliced a little slit into the center so that it would fit around the dowel.
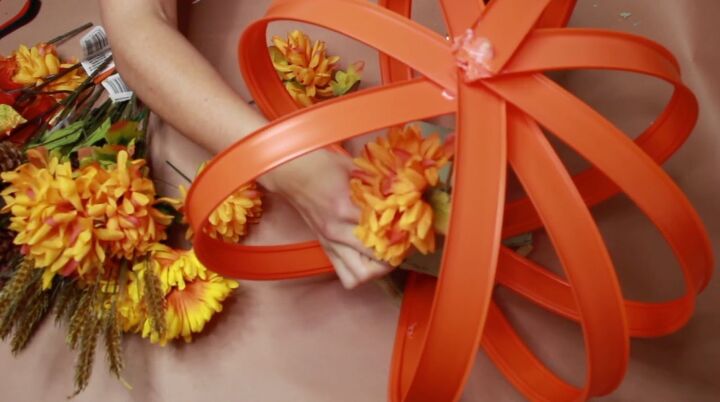
10. Decorate inside the pumpkin
To decorate the inside of the pumpkin, add lots of fall flowers and just stick them right into the foam.
11. Add a stem
Now we're going to be adding a stem to our pumpkin. I had a small branch that worked perfectly. Hot glue should keep it in place.
12. Add a bow
To cover up the glue around the stem, make and add a big bow. I used hot glue again to hold it in place.
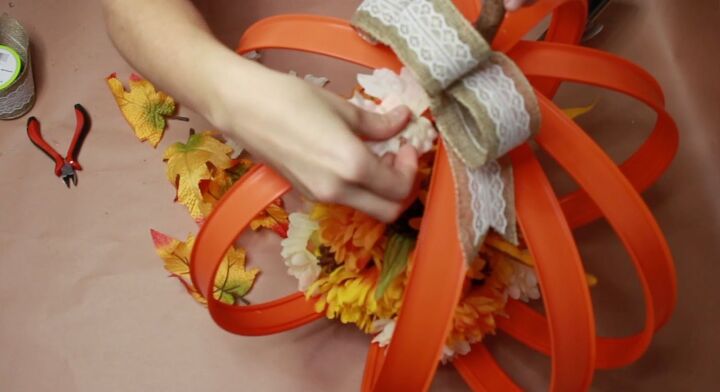
Finally, add some autumn leaves to finish off the top.

DIY Hot Wheels pumpkin centerpiece
Here is my Hot Wheels pumpkin centerpiece. I really think it turned out great, and it was super easy to make and very inexpensive. It makes a great centerpiece or just great tablescape decor in your home for any of the fall holidays.
What do you think of this DIY Hot Wheels pumpkin centerpiece project? Let me know in the comments below.
DIY fall ideas
Resources for this project:
See all materials


Frequently asked questions
Have a question about this project?