


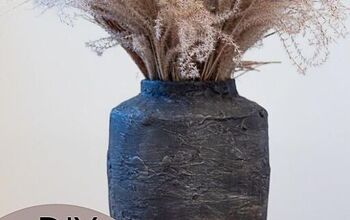
How to Make a DIY Bubble Vase Using Pool Noodles
Don’t spend a fortune on a large, unique vase. Head to the Dollar store to pick up a few things and make one yourself.
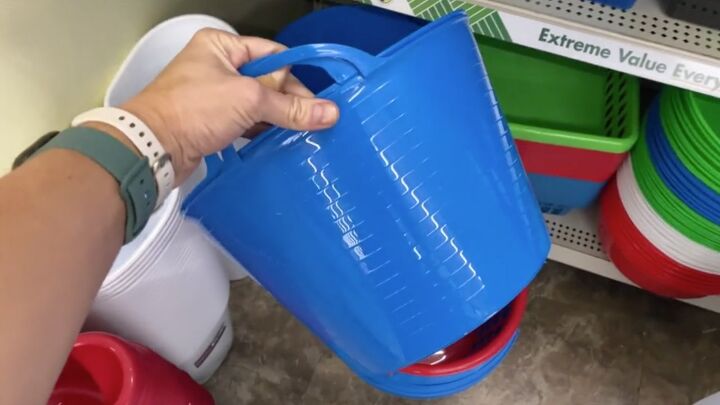
To start this project, I went to the Dollar Tree and picked up two large buckets.
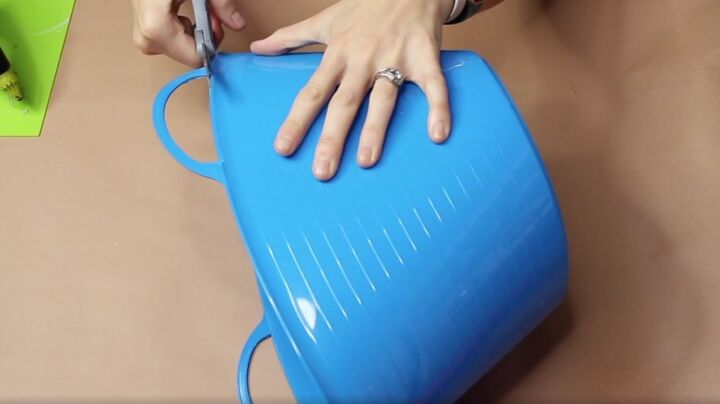
I cut the handles off both so that they are flat all around. I was able to do this with a normal pair of scissors because this plastic was pretty thin.
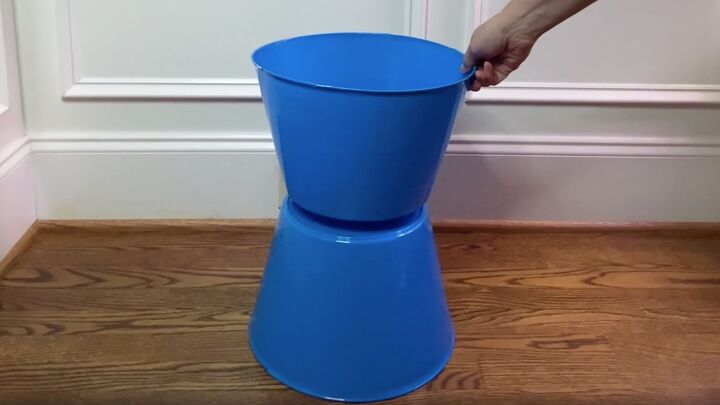
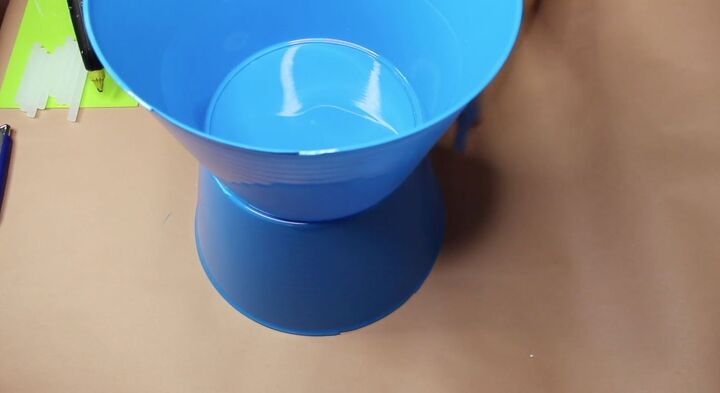
With the handles cut off of both of my buckets, I flipped them over so that they were base to base to glue them together.

To attach the buckets together, I used hot glue. Make sure the bottom is covered completely with hot glue.
Then I had to work pretty quickly because this glue sets pretty fast, and turn the other bucket on top and hold them in place until the glue dries.
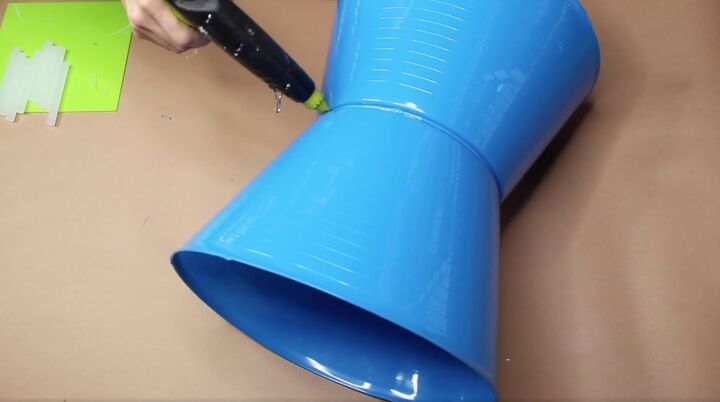
Once the glue set, I wanted to reinforce the bases so added more hot glue to the seam.
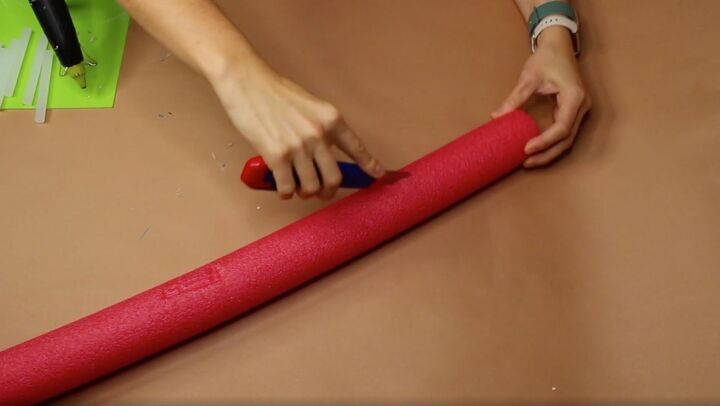
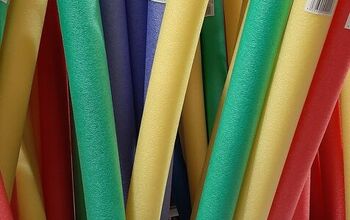
Next, I needed to get the pool noodles ready so made a slice down the length of the noodle with a straight-edged knife. Make sure to cut away from you so that you're not risking the possibility of cutting yourself.
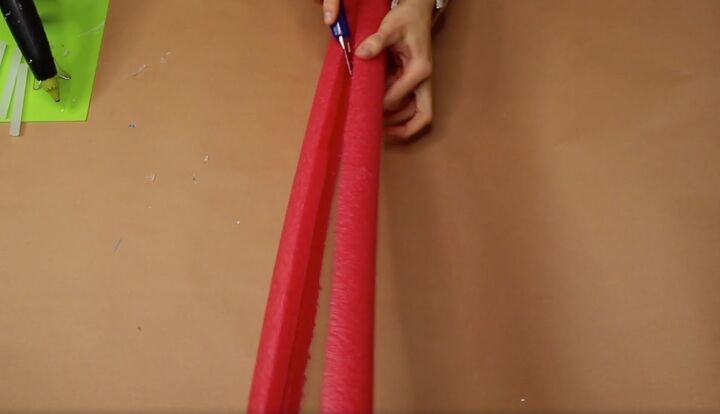
Then I turned the noodle over and sliced the other side so that there were two halves.
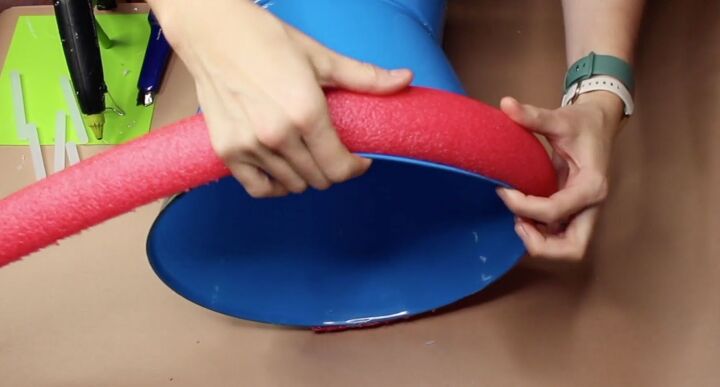
Now that I had two separate pieces, it was time to attach them to the buckets.
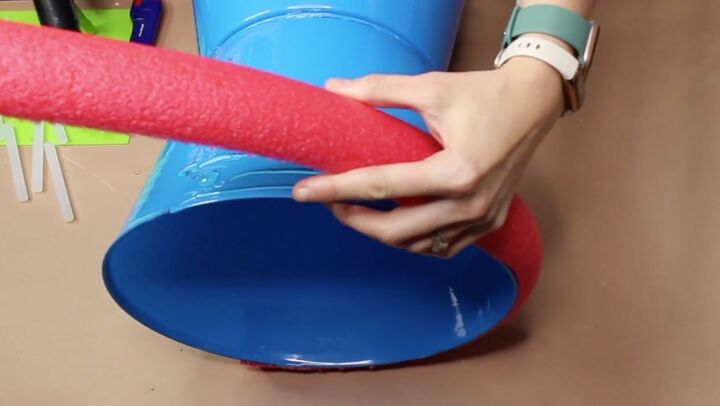
I used a lot of hot glue to apply them and then held them in place to allow the glue to dry. This takes a little bit of time so don’t let go too soon.
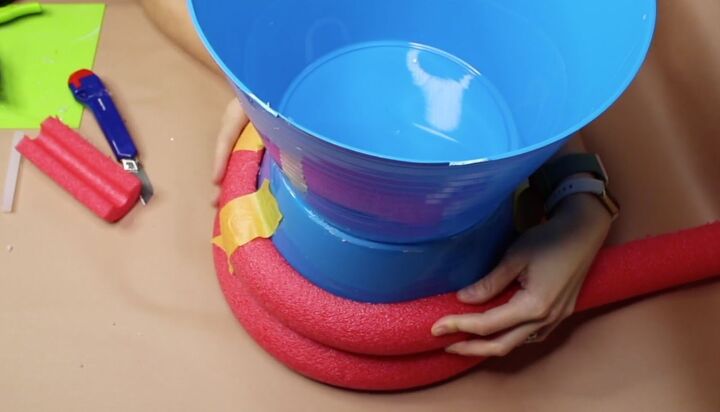
I added glue and a pool noodle for each row and started using painter's tape to hold them in place while the glue was drying so that I could get the next noodle ready.
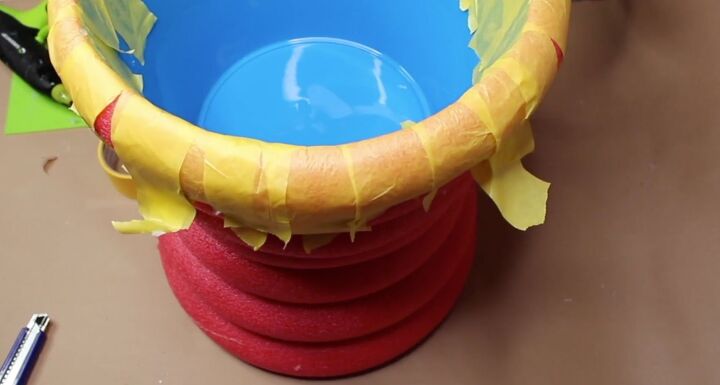
When I got to the top of the bucket, I used painter's tape and folded it over the lip to hold the top noodle in place while I worked around the edge.
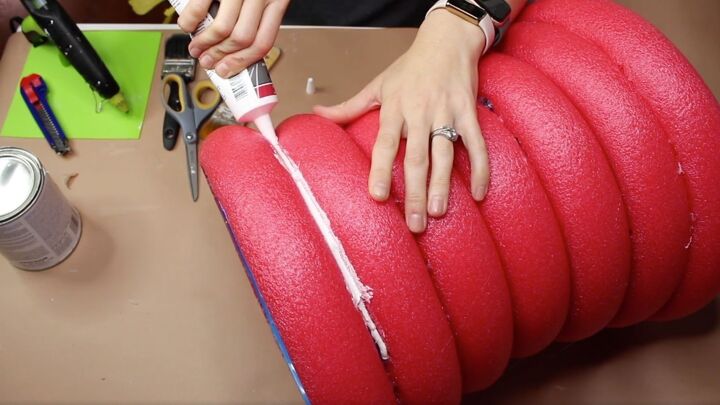
I used caulk from the Dollar Tree to fill in the indentations between my pool noodles. I wanted there to be as little of a gap as possible so I thought it would be a really great way to seal them.
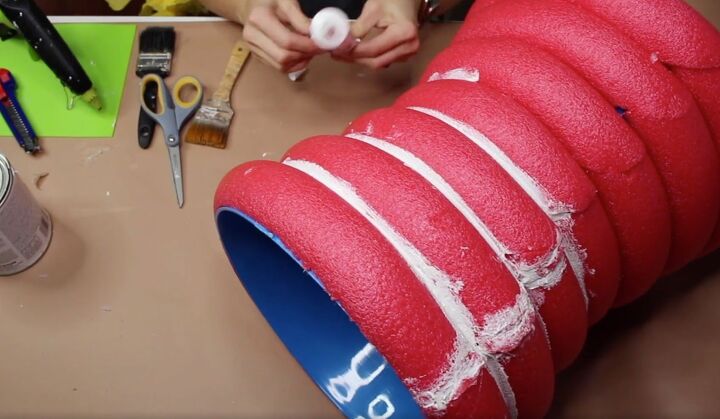
I did this to all of the seams between the pool noodles and where they joined together using my finger to smooth it out. I then left it overnight to dry.
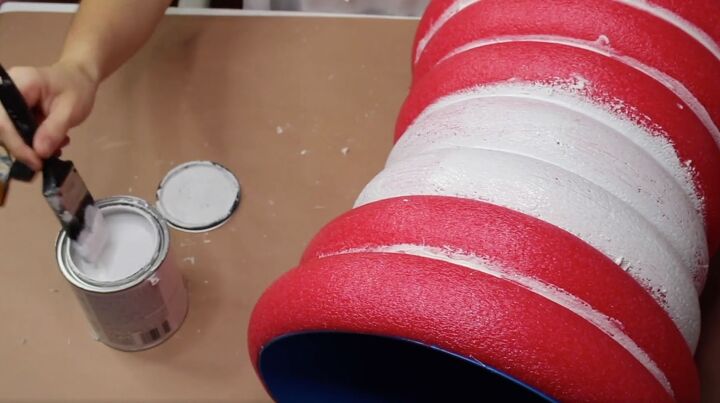
The next day the caulk was fully dry so I painted the entire thing white.
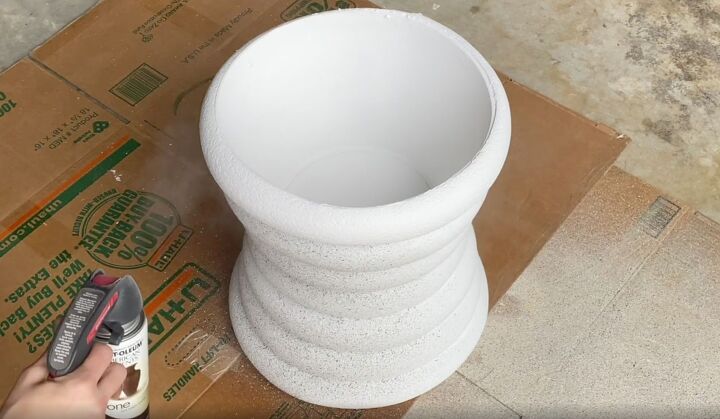
After the paint was dry, it was time to finish it off with some Rustoleum Stone Spray. I did this outside because it can be a bit messy. Spray in nice even coats all the way around the entire project, giving it plenty of time to dry before you flip it over to try and paint other parts of it.
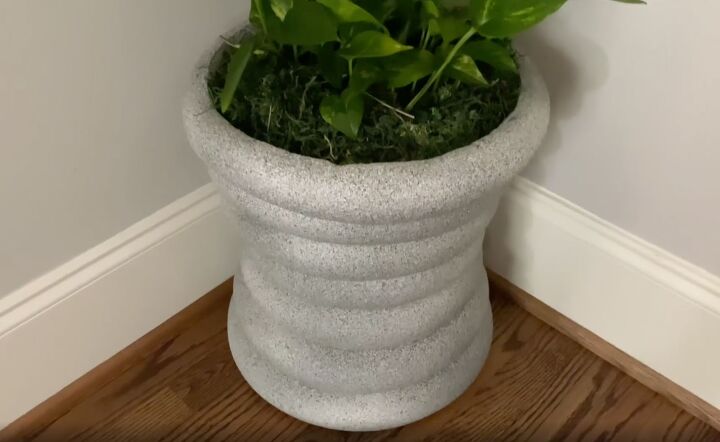
Here is my finished planter. I'm really happy with how this turned out. I think it looks great in my home and I hope you feel inspired to try this project.
More Pool Noodle Ideas
Resources for this project:
See all materials


Comments
Join the conversation
-
The planter looks good. I will try for the front porch. If it is stolen , not much lost financially. Thanks for sharing.
-
Brilliant idea! Is it heavy enough not to blow over? We live on the east cost in Britain and it ges VERY windy! Thanks for sharing 😊


Frequently asked questions
Have a question about this project?
How much did all the supplies cost?
What about drainage for the plant?
What about drainage for the plants or are they fake.?