


How to Paint With a Tanning Mitt: Simple Streak-Free Hack

In this step-by-step tutorial, I'll show you how to paint with a tanning mitt. Are you tired of struggling with paint brushes and rollers, trying to achieve that elusive streak-free finish? Look no further!
These affordable tools, typically priced around $6, can help you achieve a flawless look while effortlessly contouring to any shape and reaching tricky nooks and crannies. Just remember to wear a glove under the mitt to prevent paint seepage.
Let's dive in and transform your painting experience!
Tools and materials
- Tanning Mitt
- Gloves
- Paint
- Paint Tray and Roller (Optional)
Steps
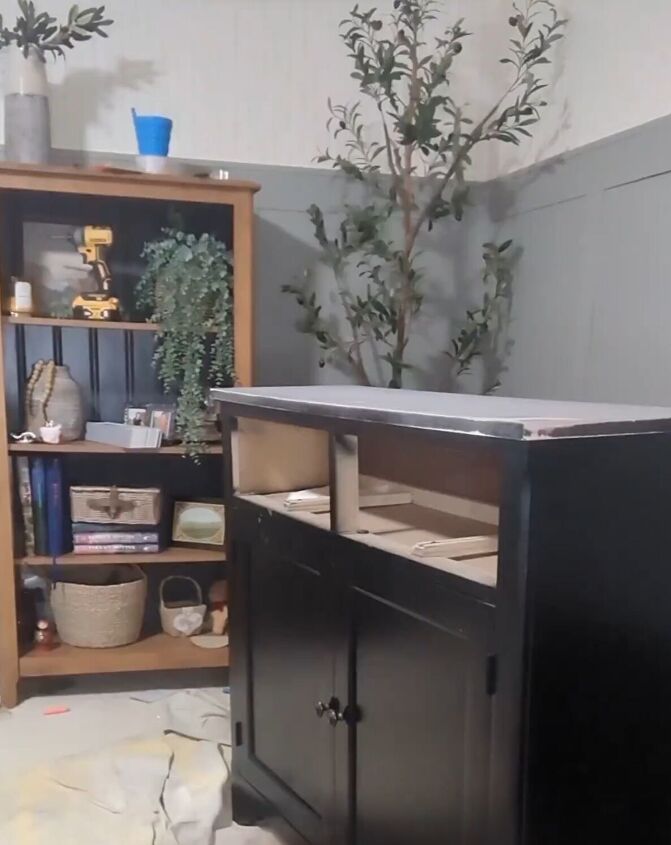
Step 1: Prepare Your Workspace
Start by preparing your workspace. Lay down drop cloths or newspapers to protect your floors and surfaces from any accidental paint spills. Ensure good ventilation in the room by opening windows or using fans if needed.
Step 2: Put on Your Gloves
Before you start, put on your disposable or reusable gloves. These gloves will keep your hands clean, as the paint will seep through the tanning mitt.
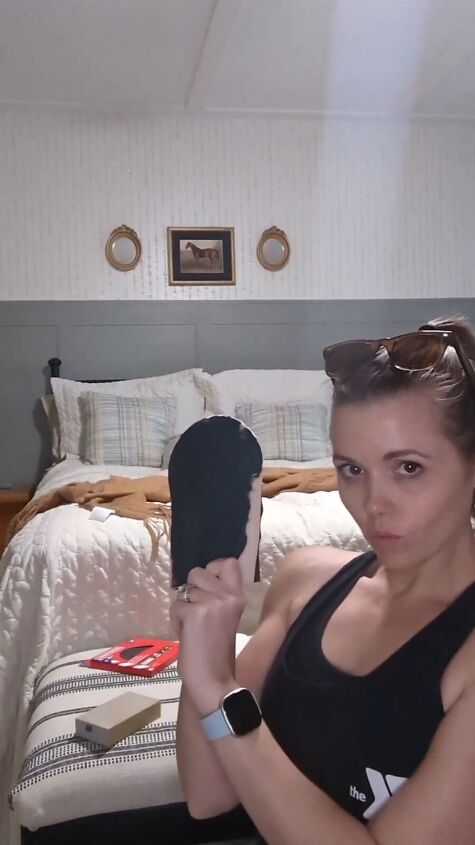
Step 3: Insert Your Hand into the Tanning Mitt
Slide your hand into the tanning mitt, ensuring it fits snugly. The soft surface of the mitt should be facing outward.
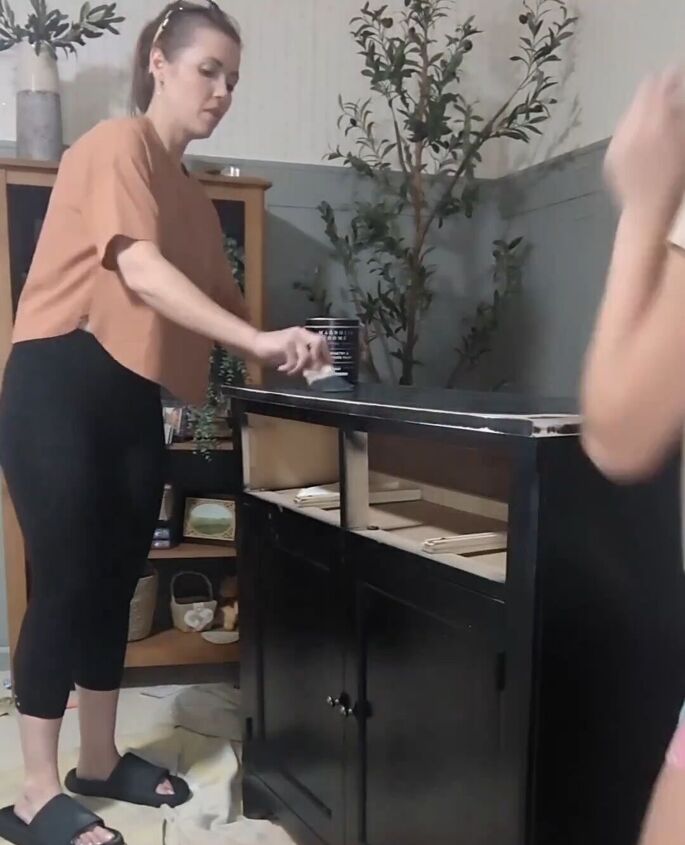
Step 4: Apply Paint
Pour some paint in small sections onto whatever it is you’re painting.
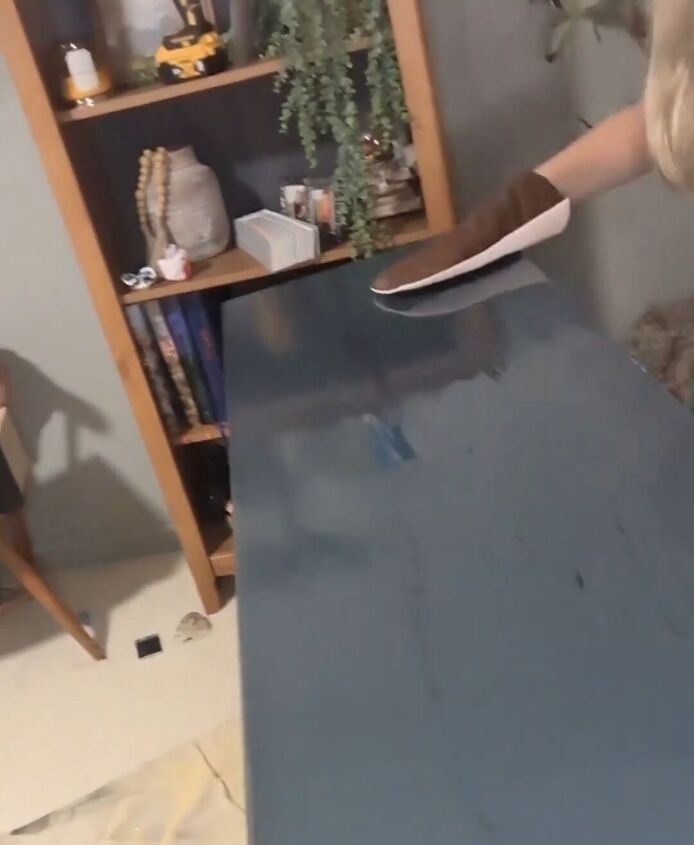
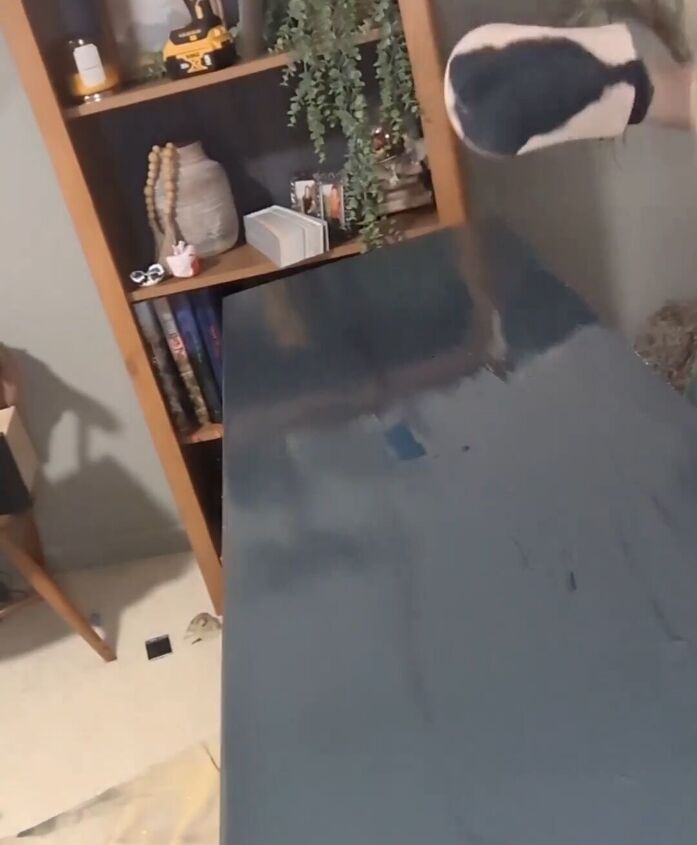
Step 5: Start Painting
Use your mitted hand to smear the paint over your desired surface. Use smooth, even strokes, applying moderate pressure to ensure the paint adheres properly. The mitt's flexibility allows you to contour to any shape easily.
Step 6: Touch-Ups and Details
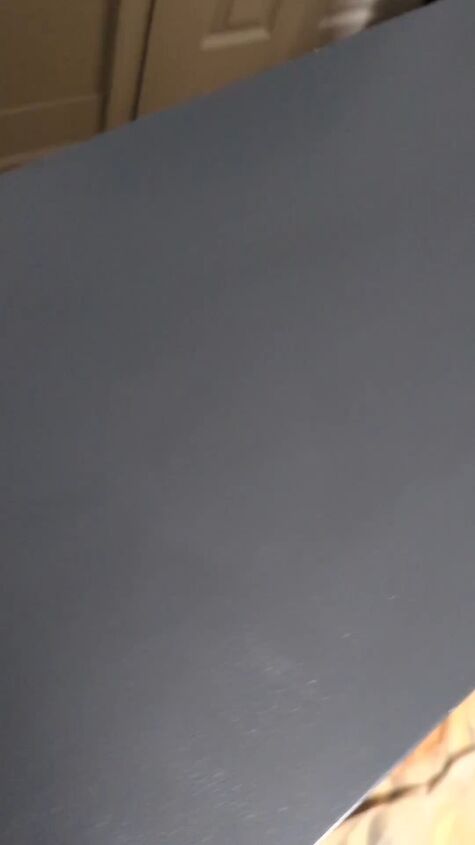
The tanning mitt excels at touch-ups and detailed work. Use it to paint edges, corners, and any intricate parts of your project. The soft material will help you achieve a streak-free finish.
Step 7: Allow to Dry
Once you've completed your painting, allow the paint to dry according to the manufacturer's instructions. This usually takes a few hours to overnight, depending on the paint type and conditions.
How & why to paint with a tanning mitt
Congratulations! You've just learned how to achieve a streak-free paint finish using a tanning mitt. Say goodbye to the hassle of brushes and rollers, and say hello to a more effortless and professional-looking paint job.
With a tanning mitt and a little practice, you can transform any painting project into a breeze. Enjoy your beautifully painted surfaces, and don't forget to clean and store your tanning mitt for future use.
Leave me a comment and let me know if you love this hack as much as I do. Happy painting!
Follow @home.by.hand on Instagram for more DIY ideas.


Frequently asked questions
Have a question about this project?