


How to Paint Fabric With Chalk Paint
Let me just say that Annie Sloan Chalk Paint is like a miracle substance… am I right?! I swear there is nothing it can’t do! But let me back up, because even I had my doubts with this project – painting our fabric bed frame! It was a DOOZY for sure! But fun!Come hang with me on my BLOG for more projects and home decorating inspiration!
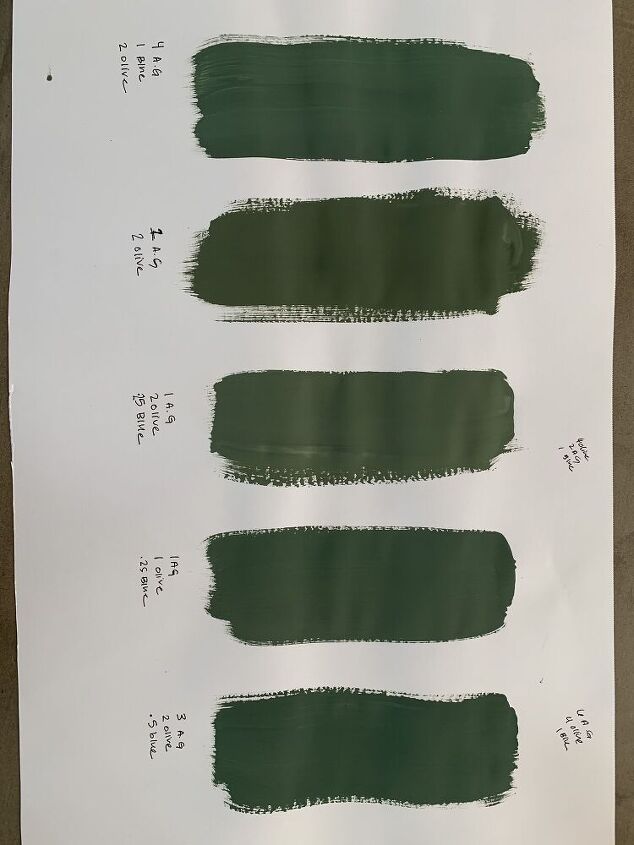
Step 1: Prep your space. We always lay down plastic tarps under any painting project. Given this was our bed frame, we also removed the mattress, box springs, and everything under the bed.Given the prevalence of DOG HAIR in our home, I also spent some time vacuuming, lint rolling, and vacuuming some more to remove as much dog hair as possible from the fabric! If needed, tape off any areas of your project you don’t want painted with painter’s tape.Step 2: Mix your paint. You can use a traditional Annie Sloan Chalk Paint color, or you can create a custom color like I did. I mixed several different options and painted them onto a large piece of paper (with the mixture notes so I would remember later).I mixed Annie Sloan Antibes Green, Olive, and Louis Blue to make the perfect Sage Green color!
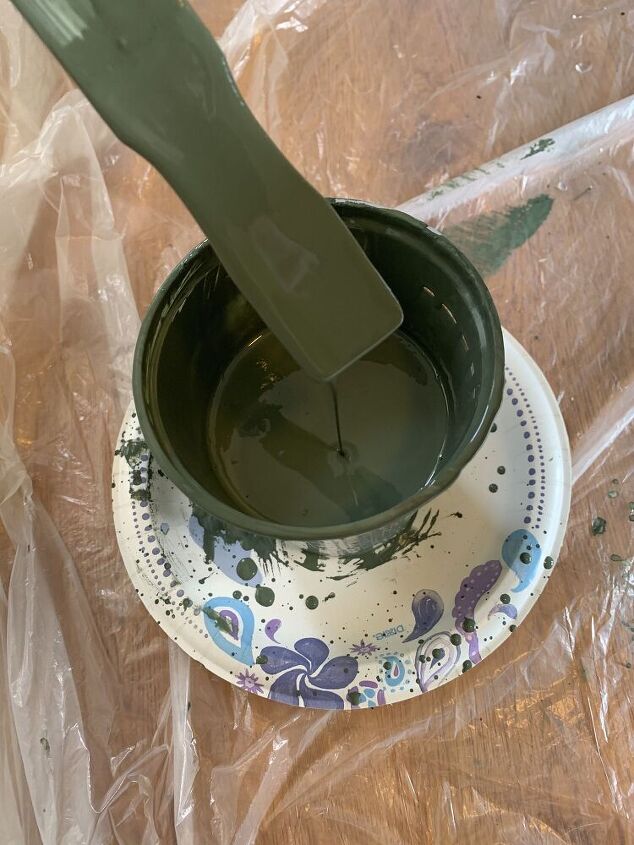
Step 3: Water down your paint so that it becomes fairly runny. I recommend 1 part paint to about .75 parts water. Mix well in a plastic container that is easy to carry and dip your brush into.
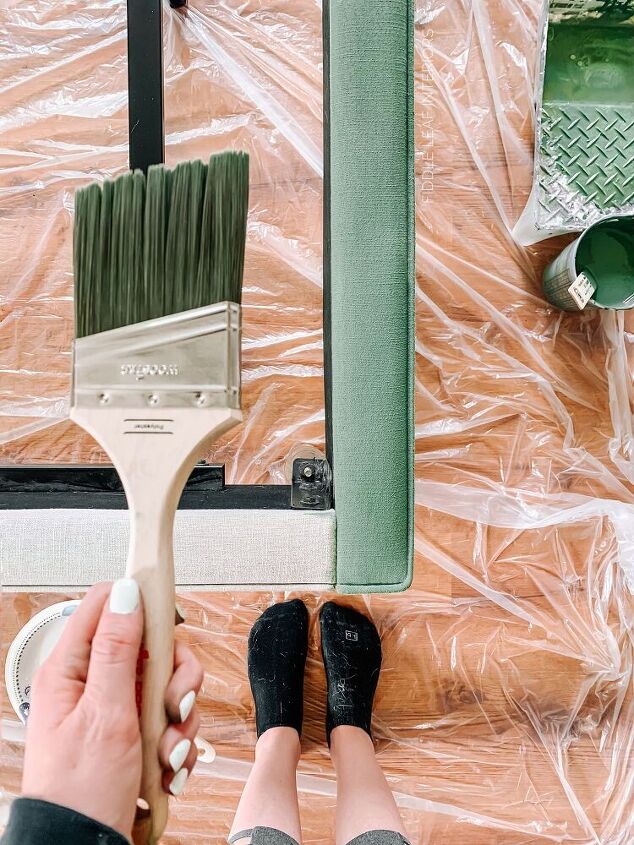
Step 4: Fill another plastic container or spray bottle with water. You can either spray down your fabric, or use a clean brush to “paint” on water to wet it down. I personally preferred using the brush. It kept the water more contained and I felt I had more control. You want your fabric to feel wet to the touch, but do not oversaturate. I suggest working in sections as well. For me, that meant wetting down each side rail separately, then painting. Then wetting down a third of the headboard, then painting (next step), before moving on.Step 5: After wetting down a section of your fabric, use your angled brush to paint on your watered down paint mixture. Think of this like STAINING the fabric, not to much like painting. Don’t overdo it. A little should go a long way because the fabric is wet AND your paint is very watery. Resist the urge to try to even things out on the first coat. Just paint the entirety of your project, then allow to dry for about 2-3 hours.
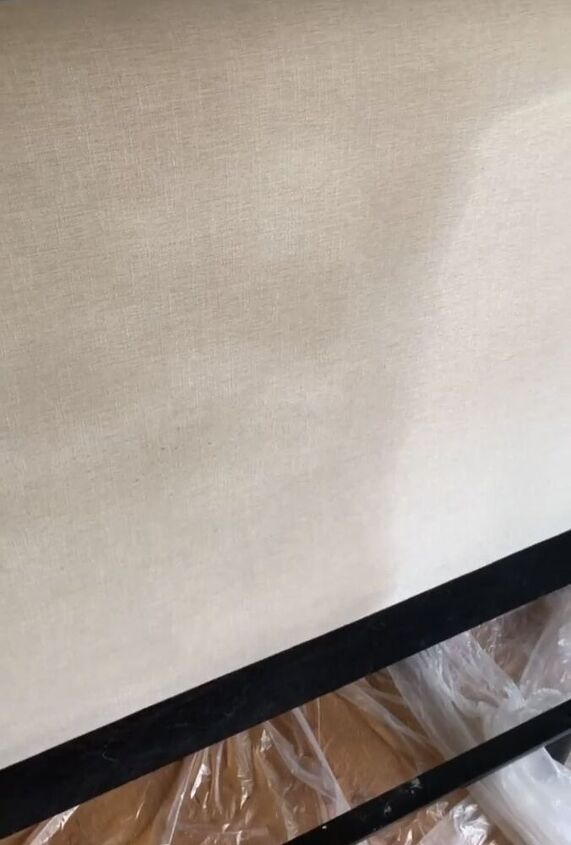
PRO TIP: If you are able, paint your project horizontally – it will help prevent some of the crazy streaking you see below. I could have turned the entire bed frame up onto it’s head, but we just didn’t have that kind of room. That said, the paint will definitely dry more evenly.PRO TIP: Be sure to mix your paint with a stir stick regularly if you created a custom color. The colors tend to separate if the paint sits for too long.Many tutorials advise waiting 24 hours between coats, but this is NOT necessary. Annie Sloan herself recommends just waiting until your project is dry to the touch before moving on.
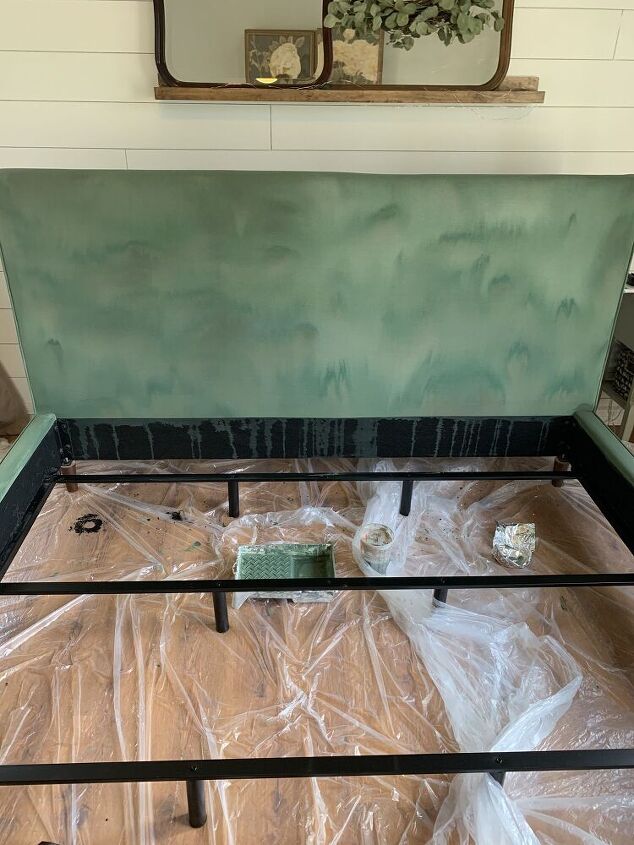
(The first coat might look a bit scary... don't worry!)
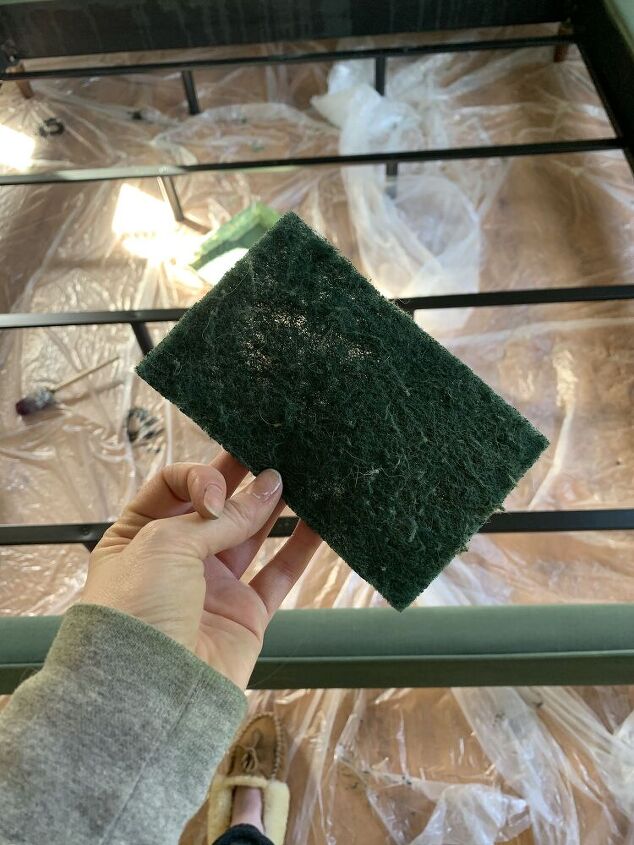
Step 6: Test an inconspicuous area of your project with 180 grit sandpaper. I could not use sandpaper on my fabric because it created pilling. Instead, I used a Scotch Brite pad. which worked great. But be sure to test the Scotch Brite pad on an inconspicuous area as well. If for some reason it is damaging your fabric, I’d suggest using a medium-hard bristle brush instead. Sand your entire project lightly with whatever works best, sandpaper or a Scotch Brite pad. Then wipe down with a damp old, but lint free, rag.(The sanding helps your fabric continue to feel like fabric and not get so built up with paint that it gets crusty!)
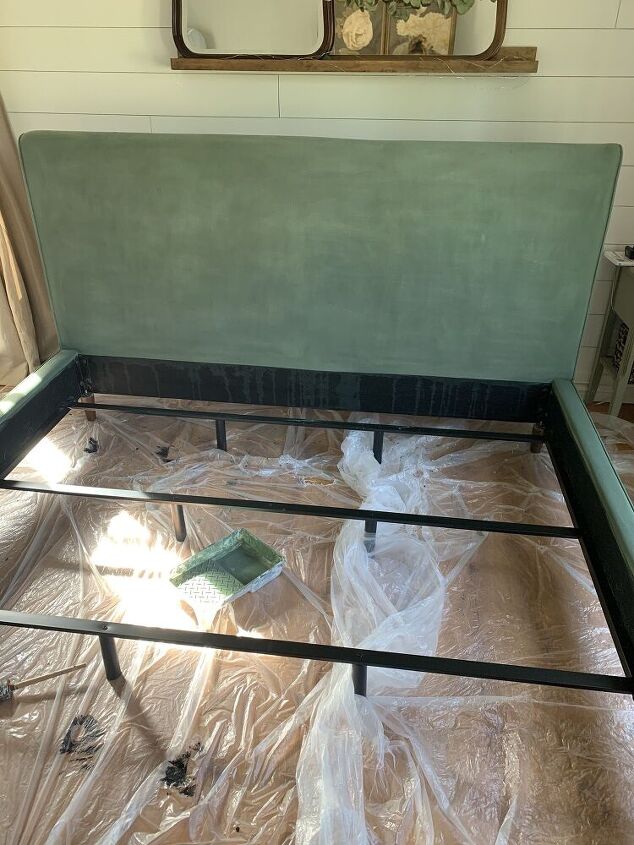
Step 7: Repeat step 5, painting a second coat of watered down paint onto your project, working in sections. There’s no need to wet down the fabric with water this time. Allow to dry again for 2-3 hours, or until dry to the touch.Step 8: Repeat step 6, and sand your project with whatever material works best for you.
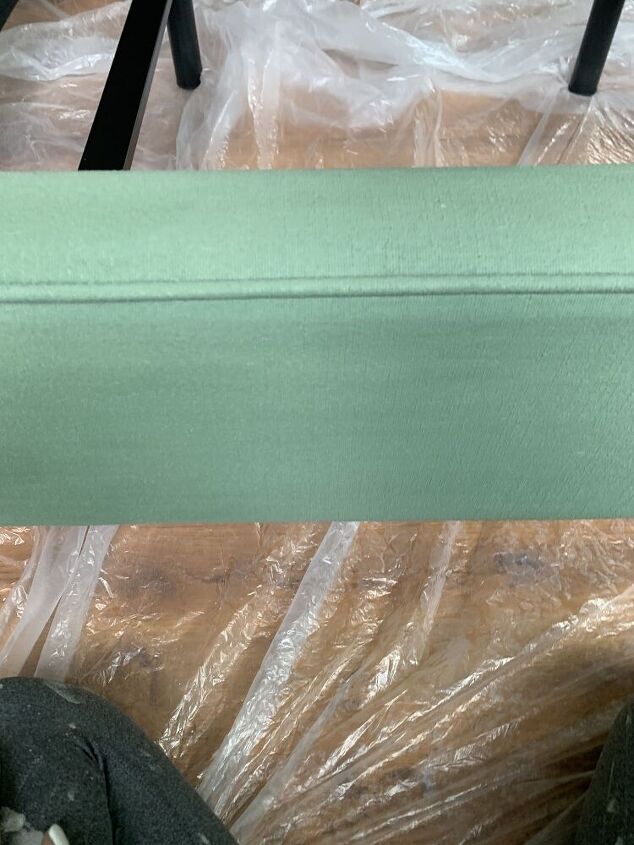
Step 9: IF NEEDED, you can repeat the paint/sand process one more time, but I do not recommend any more than 3 coats MAX, and 2 is really better. You can always touch up a few areas if needed after the second coat, and then sand those once they are dry. The sanding also helps even out any unevenness in the color of the paint, but it likely will NOT be perfect. ANd that’s okay – most hand dyed fabric also has slight variation in color and tone. I think it adds character and vintage charm!
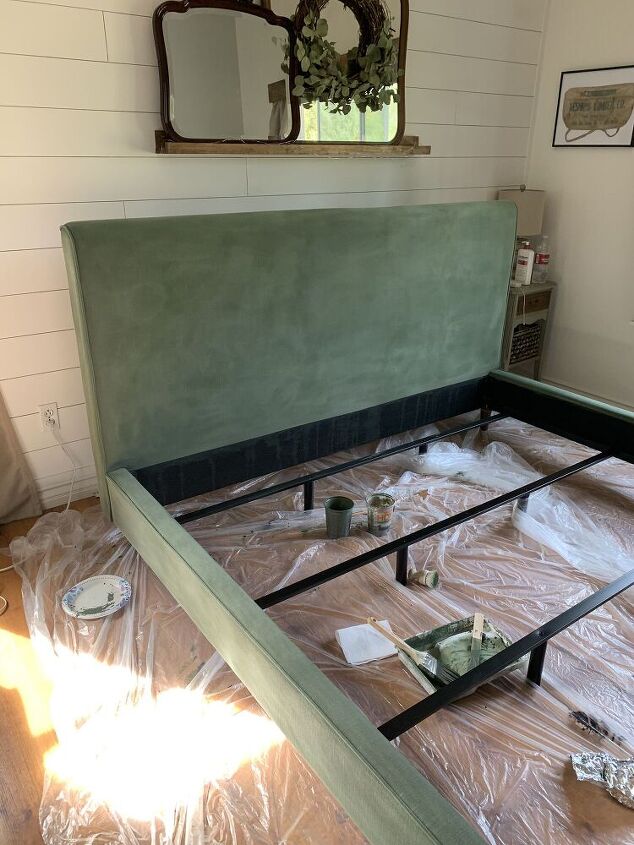
Step 10: Allow to dry about 12-24 hours. Then buff on your favorite clear wax** with a lint free cloth. You want to get an even coat, but there’s no need to go crazy with the wax application. Again, work in sections and buff OFF the wax after it has been sitting for about 5-10 minutes. You are really just adding a protective layer onto your project, and giving it a kind of velvety appearance. It’s really beautiful.**Wax is not a MUST – you can always leave your project as is. But the wax not only protects your project, but it also projects you – any pesky leftover paint dust from sanding wont come off on you or your clothes/sheets if you wax! That said, if you choose not to wax, just be sure to go over your project several times with a clean rag to remove any paint dust. The paint itself will NOT transfer to your clothes once your project is finished.And that’s it! Put your room back together, and pat yourself on the back for taking the risk of painting fabric with Annie Sloan Chalk Paint! I love the new look of our bed frame, and it still feels like fabric and is super comfy! I love the slight variation in the coloring – like I said above, it almost looks like velvet now!
So tell me in the comments below – would you try this?! It was definitely a risk, but I’m so glad I did it!
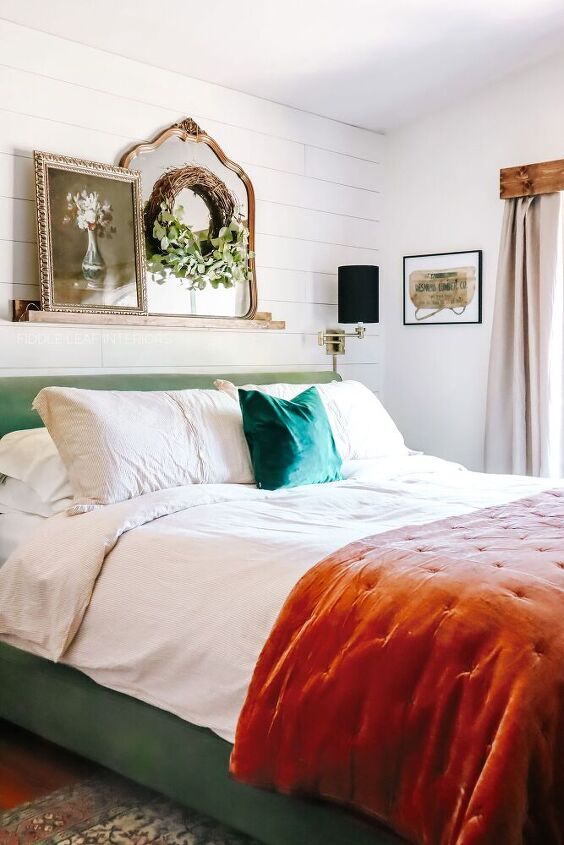
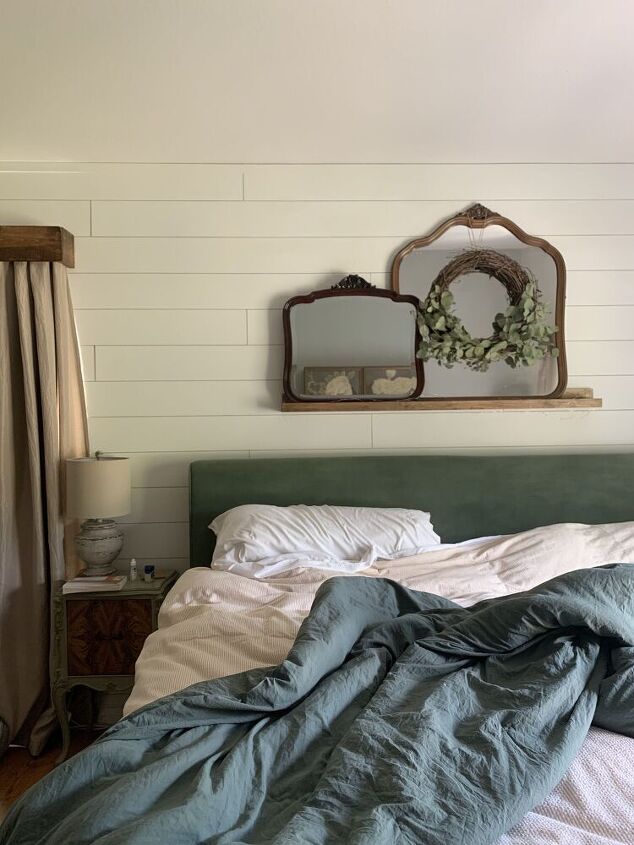
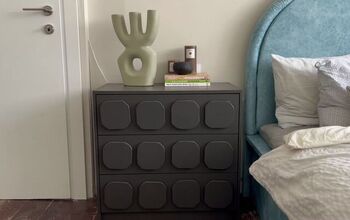
And painting the bed frame was just the beginning of the bedroom refresh! Now our bedroom looks like this, and we are IN LOVE!
(Hope to see ya over on my blog!!)
Resources for this project:
See all materials


Comments
Join the conversation
-
Wow! Nice work. Thank you for sharing.
-
Thank you ! I have been looking for ideas on how to do this for a long time. I have 2 hand me down red chairs I love. Scrubbing has not taken away years of use. I am going to try this soon. I am excited !! Your direction have been the best yet. Thank you !!


Frequently asked questions
Have a question about this project?
Question if this would work on dining chairs? Wondering if it would crack with sitting...??
We have a chocolate colored fabric couch. Can I paint it it a cream color successfully?
Can you use this on woven curtains?