


How to Make a DIY Apothecary Cabinet Using an Easy IKEA Hack

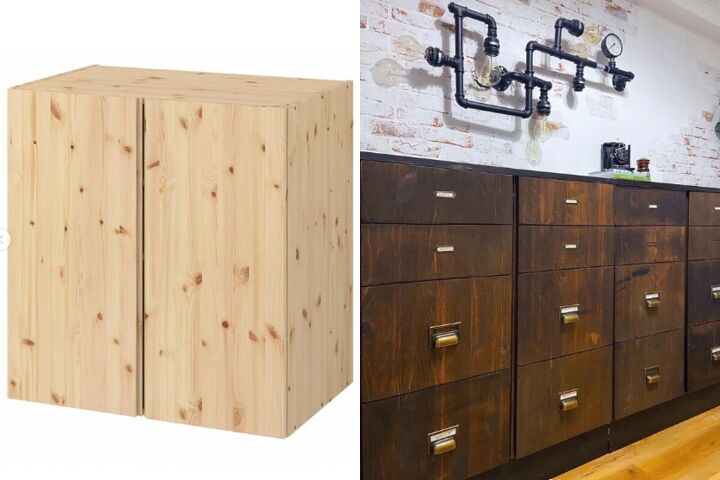
Today, we’re going to completely makeover IKEA cabinets and turn them into a trendy DIY apothecary cabinet. We’re starting with the IVAR Cabinet, then we’re only spending around $25 to jazz it up. Here’s how to make an apothecary cabinet on a budget.
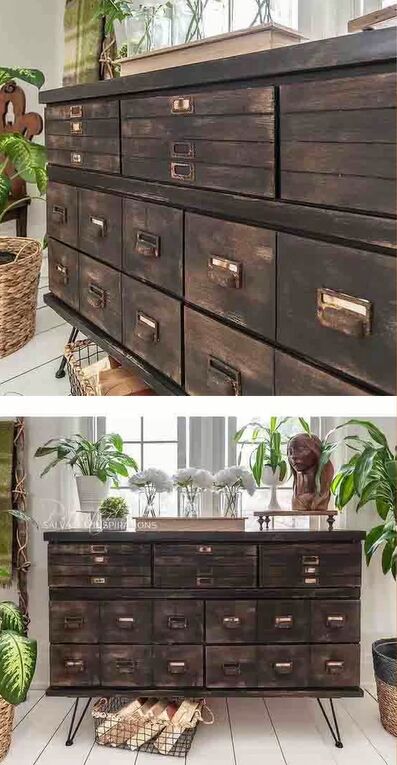
This is the vintage, rustic, witchy apothecary cabinet vibe that we’re going for:
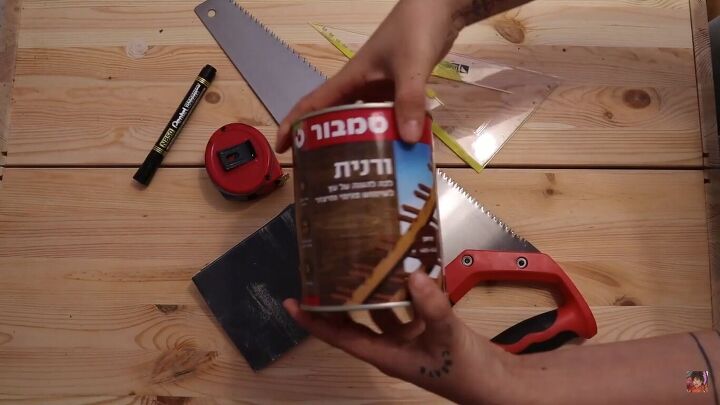
Tools and materials:
- IKEA IVAR cabinet
- Measuring tape
- Marker
- Handsaw
- Sandpaper
- Wood stain
- Rag or cloth
- Vintage-style hardware
- Drill
- Screws
- Hammer
- Nails
- Pieces of wood
- Paper
- Square ruler
- Coffee
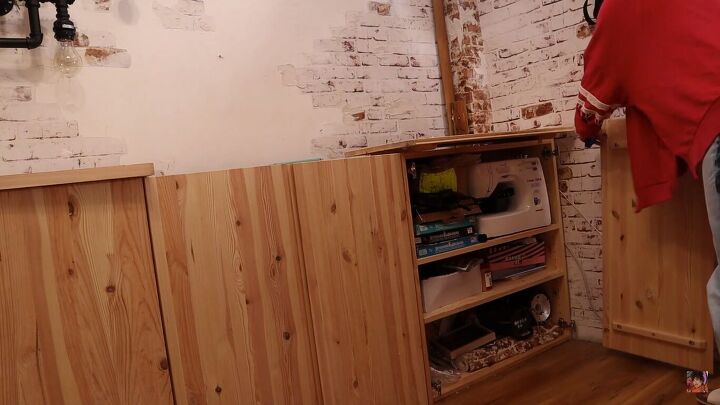
1. Disassemble the cabinet
If your cabinet is already built, then disassemble it first. As you can see, these cabinets are pretty basic.
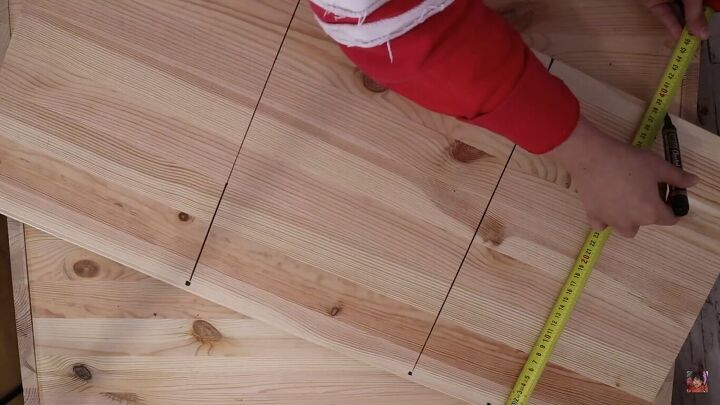
2. Cut the drawers
To create the drawers for the apothecary cabinet, we’re going to cut the cabinet doors. For the top drawers, measure 12cm down (4.7 inches) and for the bottom drawers, measure 36cm (14 inches).
Ok, so now we’re going to make grooves along those lines using a handsaw. But, don’t cut through the wood completely! We’re only giving the illusion of drawers. Take your time with this step and remember to get the grooves on the edges too.

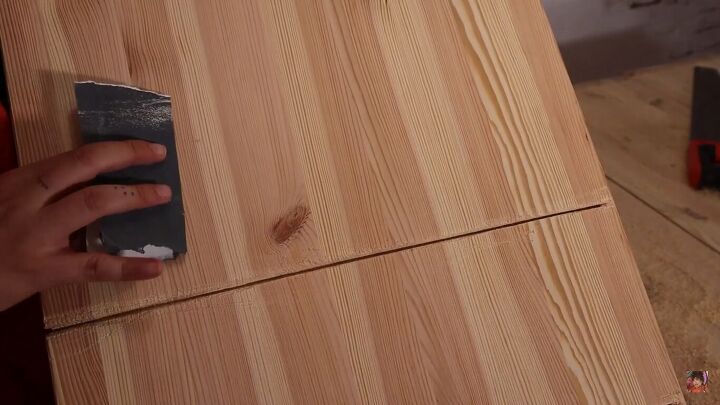
3. Sand
Sand the edges with sandpaper and get into the grooves for a clean finish.
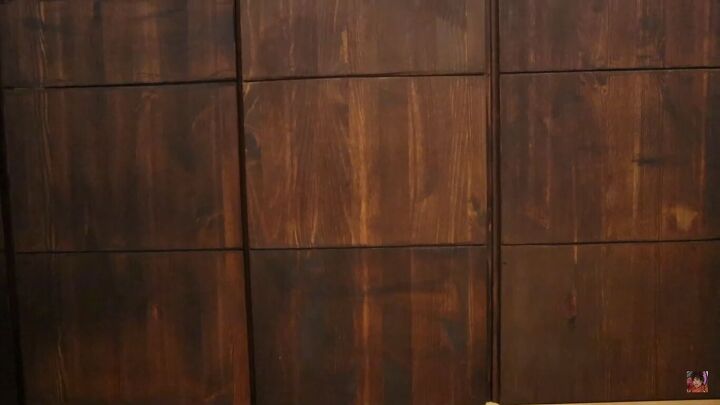
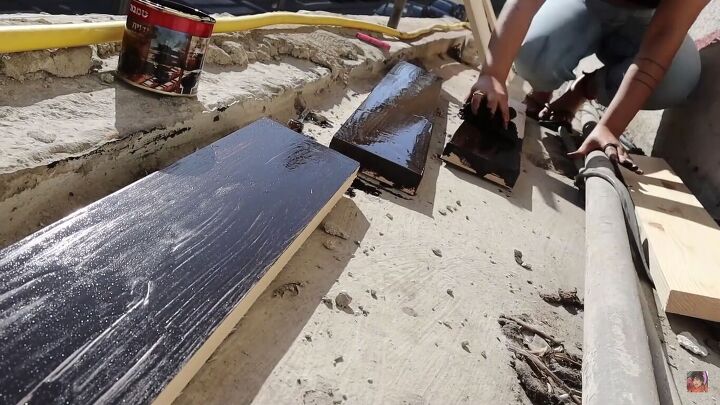
4. Stain
Now, we need to stain the wood for a darker, more rustic, look. Use a rag or cloth to apply the stain, rather than a paintbrush. Stain inside and outside the cabinets.
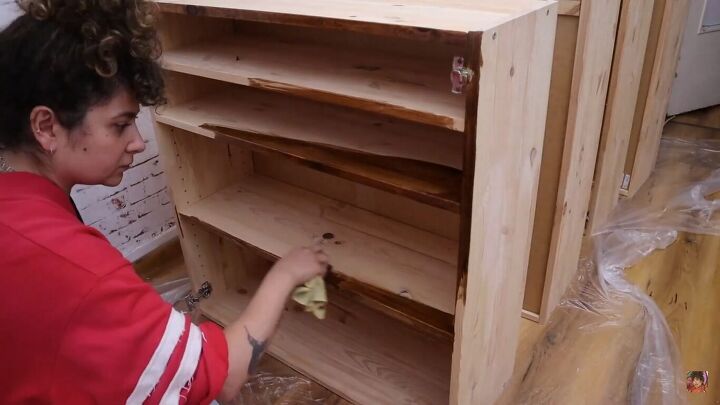
To make the drawers look even more realistic, concentrate the stain in the grooves to provide depth.

After the first couple of layers, start applying the stain more unevenly. This makes the pieces look more weathered and authentic.
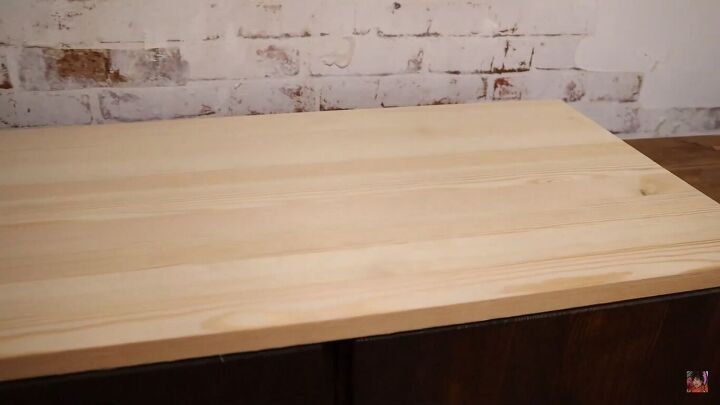
5. Create legs and a faux top (optional)
I have a lot of bulky DIY items to store, so I’m creating a faux top for my cabinets so that you can’t see all the junk I’m storing behind them.
I’m also adding planks of wood as legs.
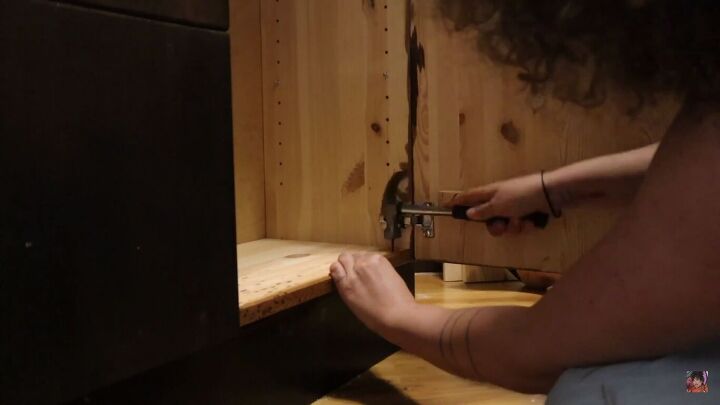
6. Attach the hardware
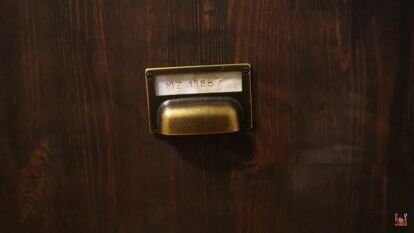
I bought vintage-looking hardware in keeping with the overall look. I measured where the drawer handles would go, taped them in place, then screwed them in.
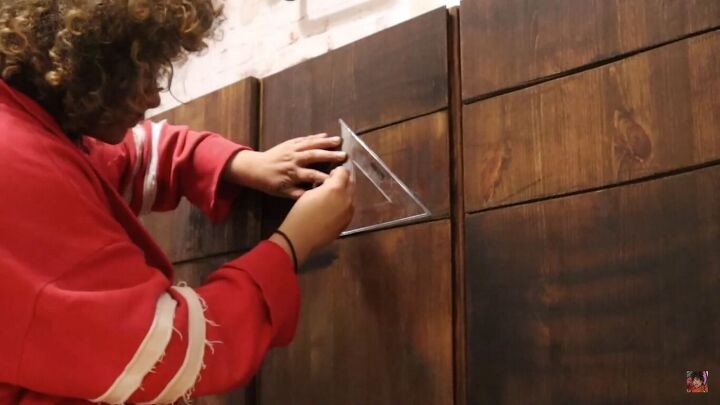
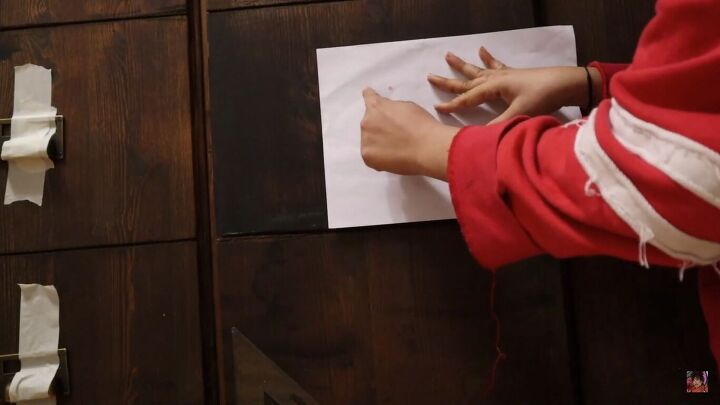
For the larger drawer handles, I needed to drill holes. So, I created a template by coloring in the grooves where the holes will go and printing them onto paper.
Next, I lined the paper up with the drawer edge so that the holes were right in the middle. I marked by pressing with a pen, then I could see where to drill holes and add screws.
7. Attach the legs
Assemble the cabinets, then nail the legs into place.
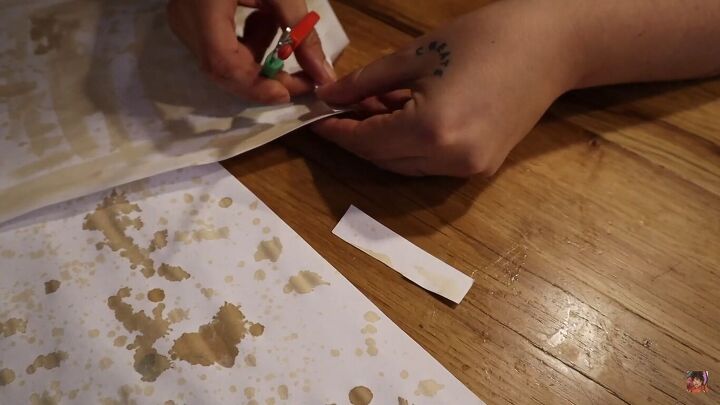
8. Make the paper labels
For the drawer labels, I took things one step further and stained my paper with coffee before cutting out the pieces. This adds to that vintage feel.
DIY apothecary table before & after

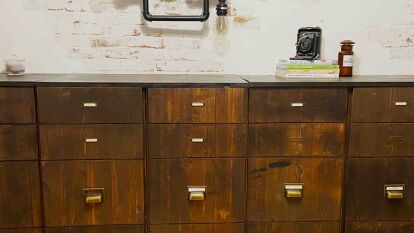
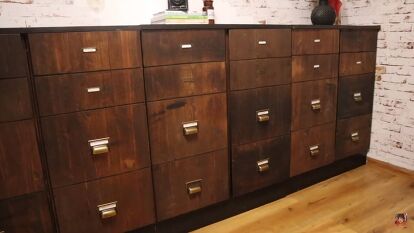
DIY apothecary cabinet
Here’s our finished DIY apothecary cabinet! I adore it! I think it’s one of the coolest things that I’ve ever made. What do you think of this IKEA cabinet hack? Let me know your thoughts and feedback in the comment section below.


Frequently asked questions
Have a question about this project?