


How to Make a DIY Cane Cabinet With Cool Art Deco Doors

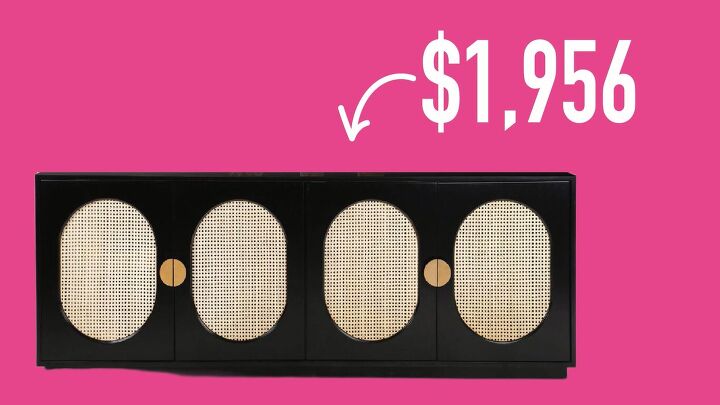
Here are some things you need to know about me: 1) I’m cheap. 2) I’m indecisive. That’s why today I’m making a DIY cane cabinet. Cane furniture is very trendy right now, but I don’t know if I’m still going to like it in 6 months’ time. And I’m certainly not going to spend $2,000 on cane cabinets to find out (see below for the jaw-dropping price tags).
So, let’s make some DIY cane cabinets for a fraction of the cost.
Cane cabinet inspiration


Tools and materials:
- Thrifted cabinets
- Drill
- Dowel
- Saw
- Cabinet handles
- Gold spray paint
- Table legs
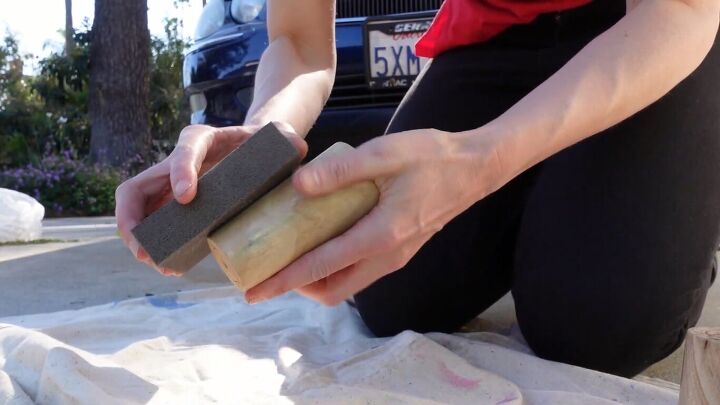
- Sanding block
- Plates
- Screws
- Primer
- Black paint
- Level
- Jigsaw
- Pencil
- Arch template
- File
- Tape
- Cane webbing
- Scissors
- Staple gun
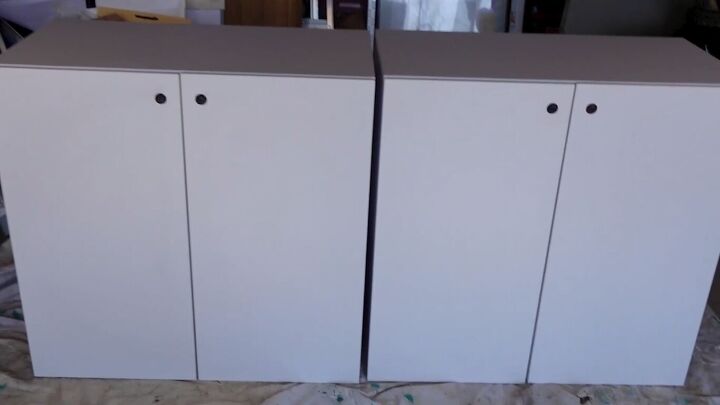
I bought these cabinets for $35 each off Facebook Marketplace.
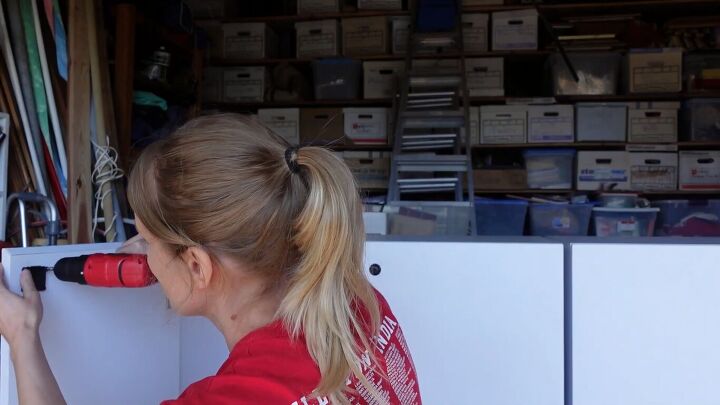
1. Take out the locks
These are fancy cabinets with locks on them, which we don’t want, so I’m removing the locks.
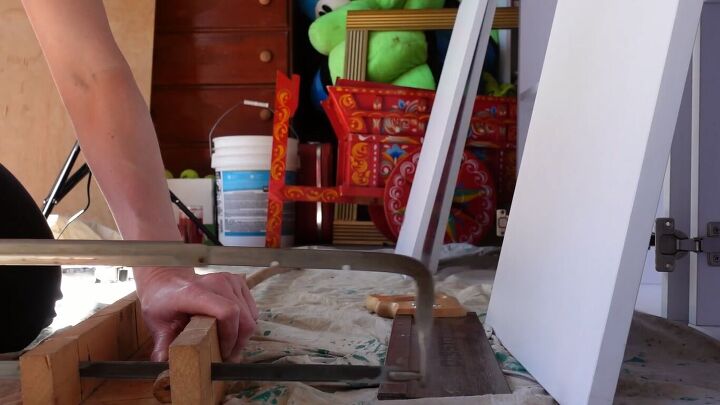
Luckily, I had some dowels the same size as the holes left by the locks, so I sawed off some pieces and used them to plug the holes.
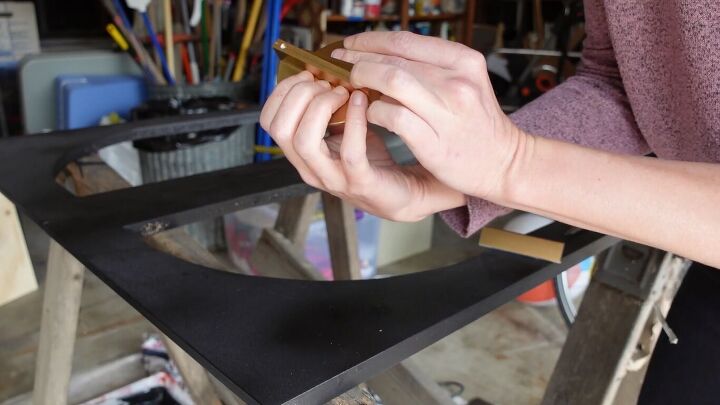
2. Paint the handles & legs
These are the handles I got for the cabinets. They came in rose gold, but I wanted more of a true gold, so I spray-painted them.
I also got some table legs. I’m sanding those down and painting them, too. (I tried spray-painting them black, but my spray paint was too old, so I’m just going to paint them at the same time as the cabinets).
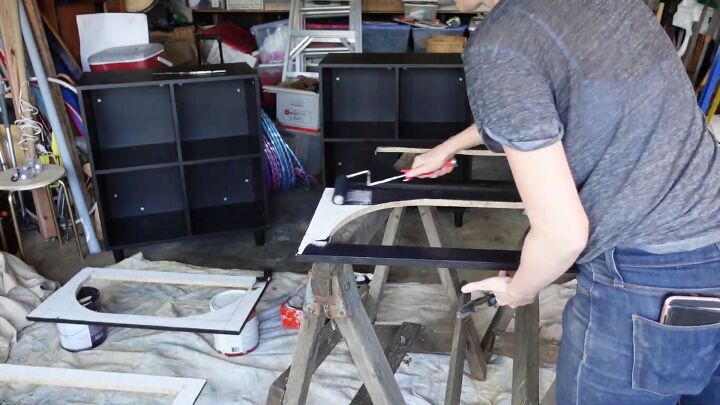
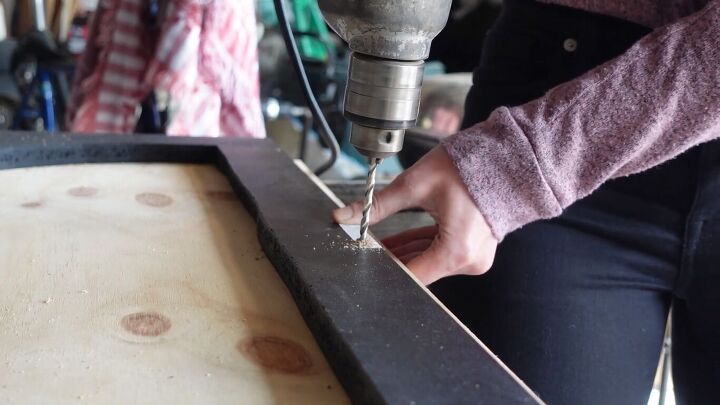
3. Attach the table legs
Next, I’m attaching the legs to the bottom of the cabinets, using some plates. I drilled pilot holes, then screwed the plates in place. This part was tricky.

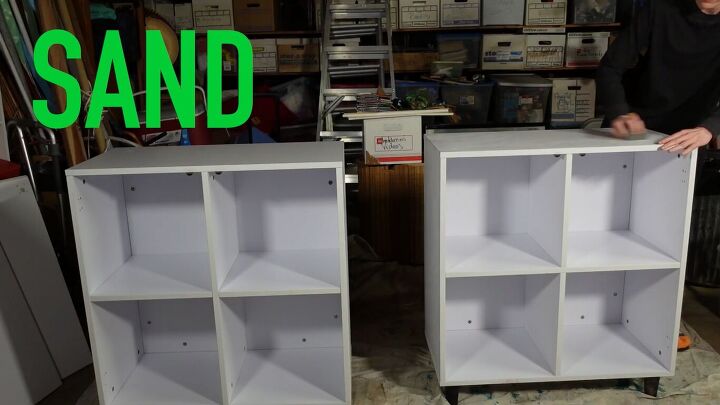
Can you paint laminate cabinets?
These cabinets are laminate, so they will not accept paint. Therefore, I needed to sand them, prime them, then give them two coats of paint.
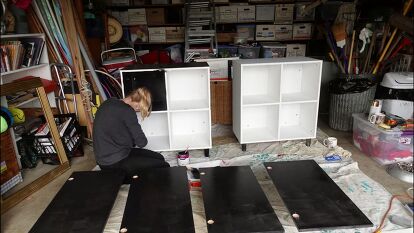
4. Paint the cabinets


5. Create the insets in the cabinet doors
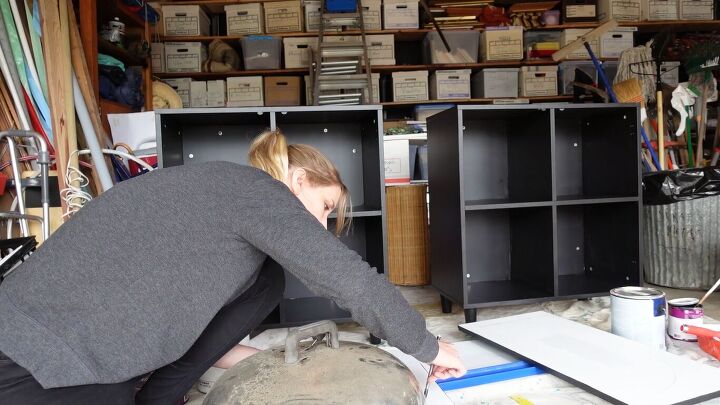
Now, we need to work on the doors. As you can see from the inspiration photos, we need to cut out insets in order to put the cane webbing behind them. That means I need to very precisely measure and cut these shapes out.
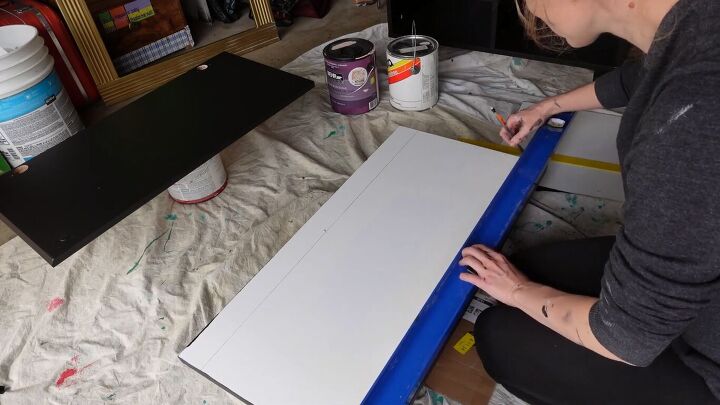
a) Draw the border
These cabinet doors have plugs, so I need to make sure not to cut into them in order to keep the structural integrity of the cabinet. To do this, I’m going to take a level and make sure I’m keeping the plugs intact.
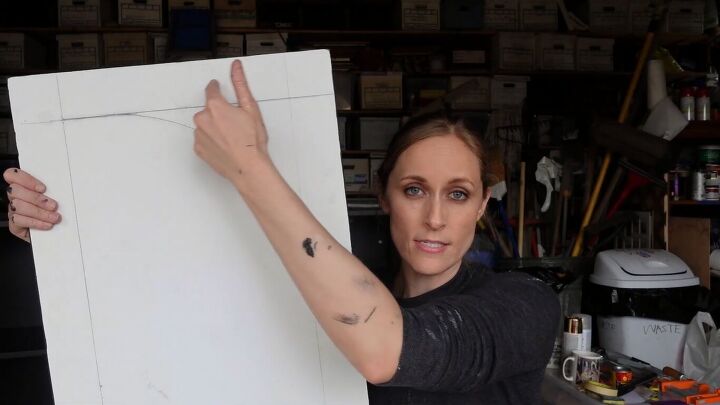
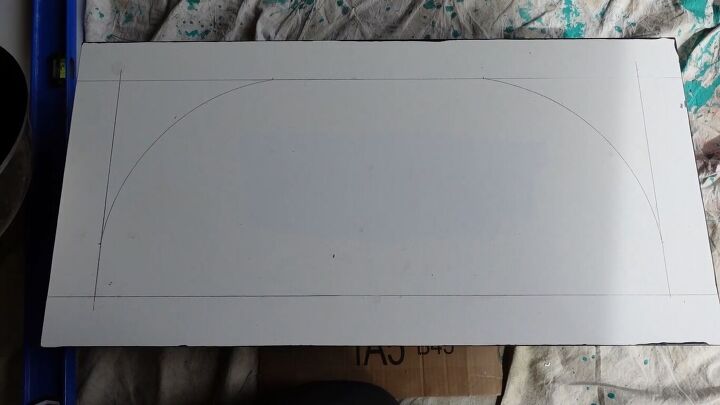
b) Draw the arches
Then, I’m using an old barbecue lid to draw my arches. I could have used a string and a pencil, or a paper template, but I found there was either too much variance or the shapes came out wonky.
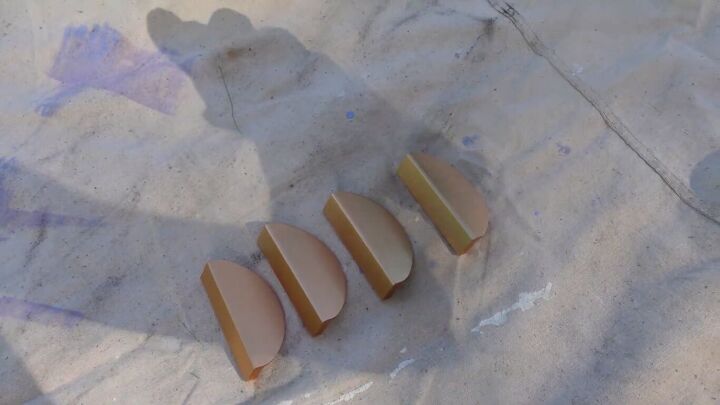
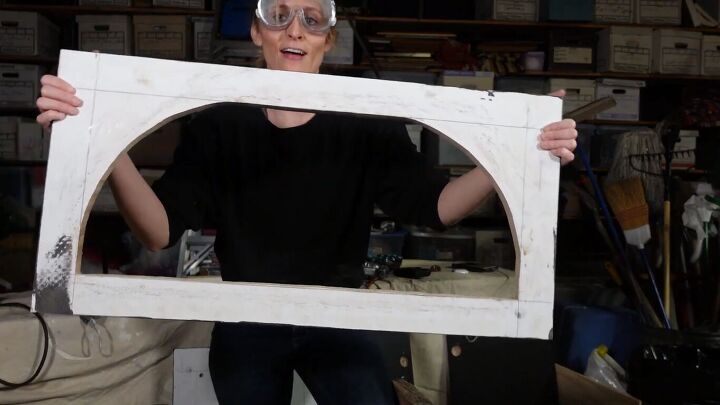
Here’s the perfect arch. Make sure you draw it the right way around - I definitely didn’t the first time.
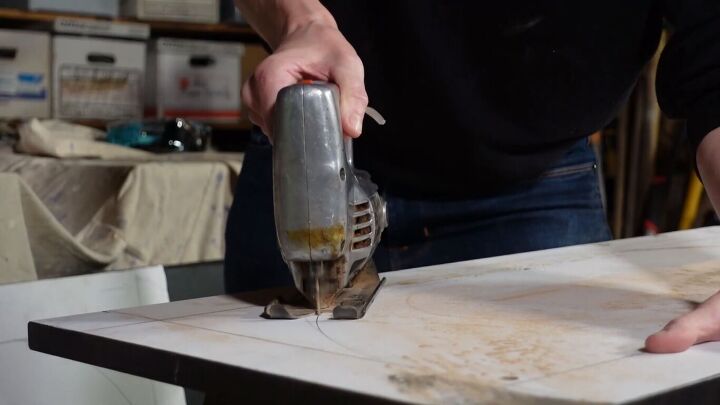
c) Cut the insets out with a jigsaw
Next, I have to cut out the inside entirely by hand, using a jigsaw, which is not the most precise tool. I’ve had so much anxiety about this—called my therapist, drew a tarot card, charged my crystals—and I’ve decided that the universe wants this for me. So let’s manifest clean lines.
Yes, she is beautiful!
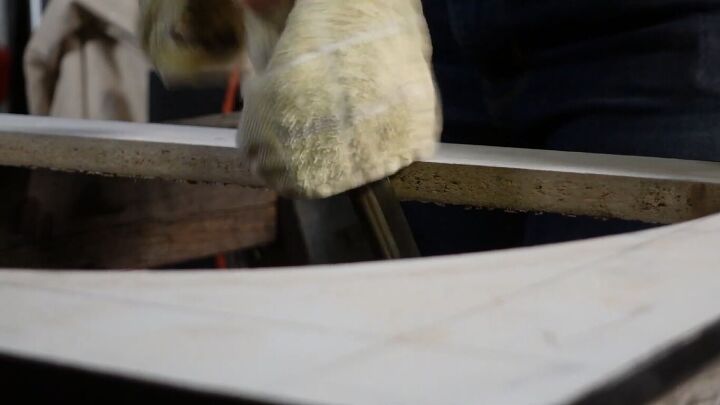
d) File
File down the imperfections.
e) Paint
Then, paint the cabinet doors.
6. Attach the handles
In a dream world, these handles would sit totally flush. However, the holes are a little too close to the edge, so they could rip off and mess up the wood. Therefore, I’m setting them further apart.
To do that, I placed some tape on the handle and poked in where the holes are.
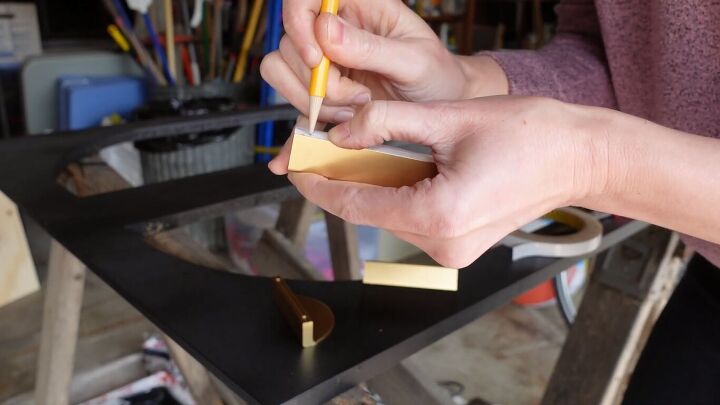
I used that piece of tape as a guideline for where to drill.
I left screwing the handles in until after I added the cane to the cabinet doors.
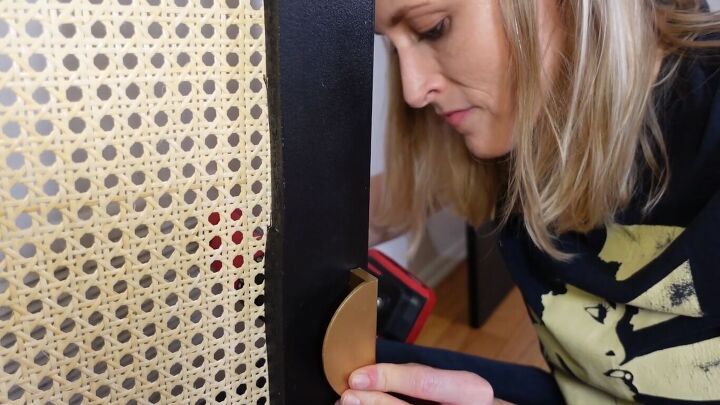
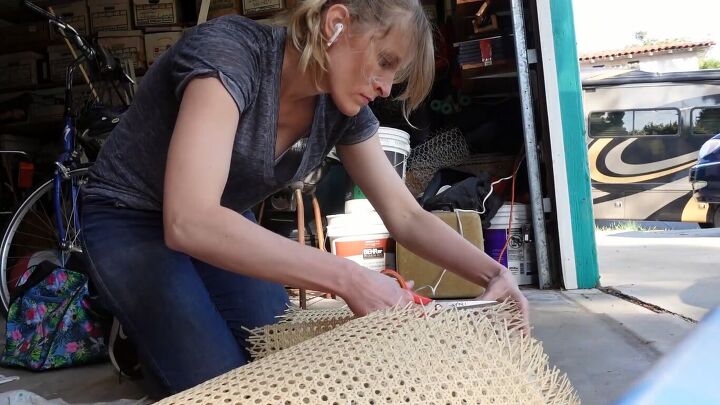
7. Cut & attach the cane pieces
I bought this roll of cane from a local business. I’m just cutting strips of the size and length of the cabinet doors.
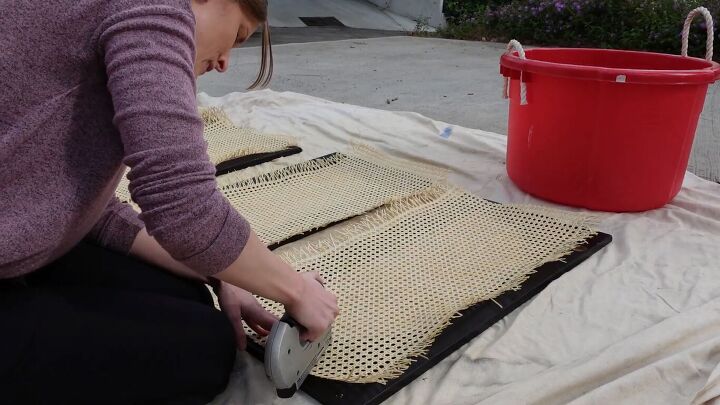
Now for the weirdest part of this project; we’re going to give the cane pieces a bath for 5 minutes. That way, when we staple them to the cabinet doors and they dry, they’ll dry really tight.

Note that the front side of the cane should be pretty and waxy, whereas the back is matte. Make sure to staple the right side down. Lay the cane pieces down, staple them, and keep the pieces as tight as possible.
Attach the doors back on the cabinets and you’re ready for the big reveal!
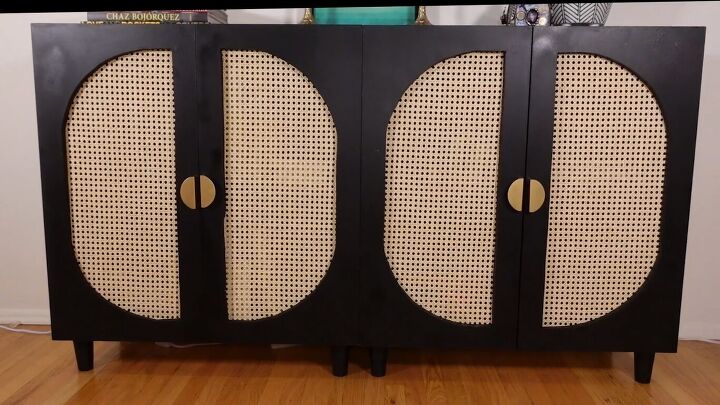
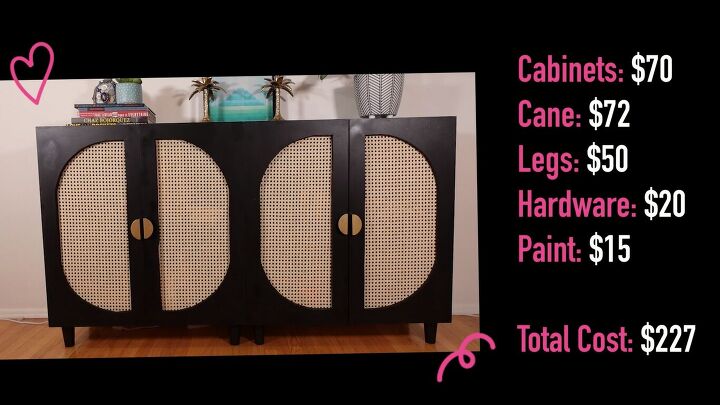
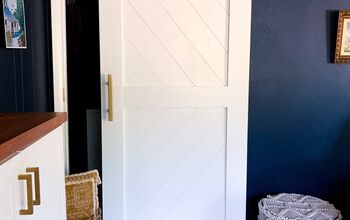
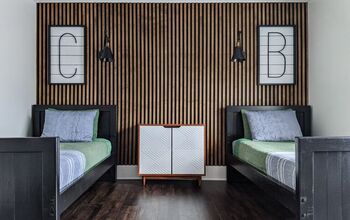
DIY cane cabinet
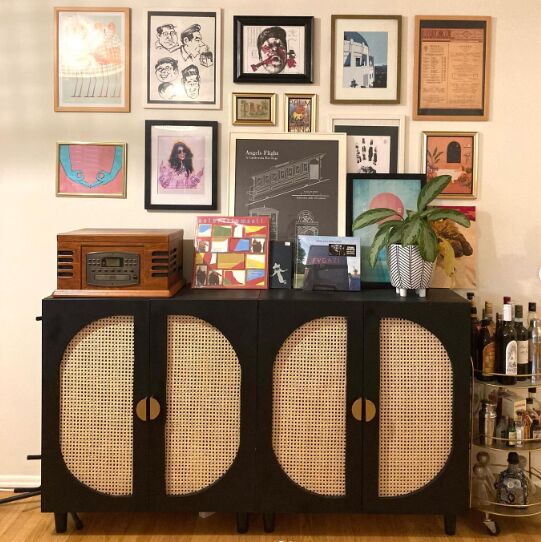
Here’s the finished DIY cane cabinet. As detailed above, this project cost me $227, which is a fraction of the cost of the $2,000 inspiration pieces. I love the look of these DIY cane cabinet doors and I hope you do too.
Let me know your thoughts on this cabinet makeover in the comments below.


Frequently asked questions
Have a question about this project?