


How to Paint a Surfboard With Spray Paint to Create Cool Decor

Today we're going to do a different kind of project because I’m going to show you how to paint a surfboard with spray paint. I bought this surfboard five years ago when I moved to Israel and I was so sure I was going to become an awesome surfer…
Of course, that didn't happen! I originally saw this surfboard on Facebook Marketplace for like $20. I ended up breaking the fins and never going.
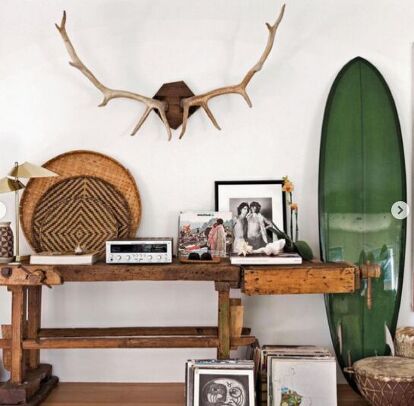
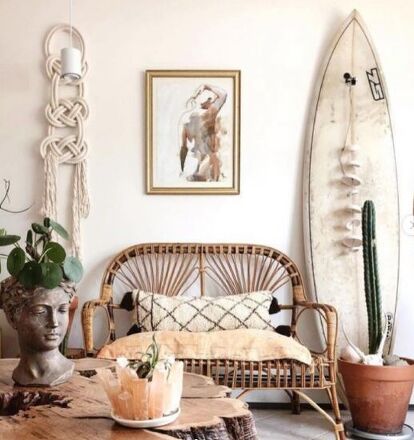
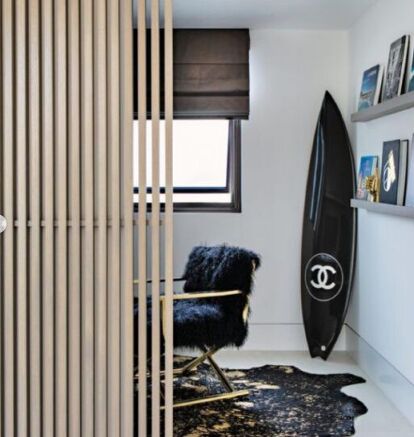
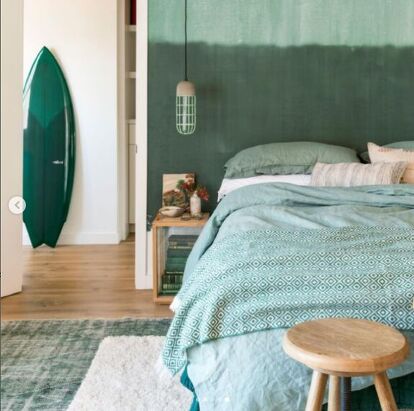
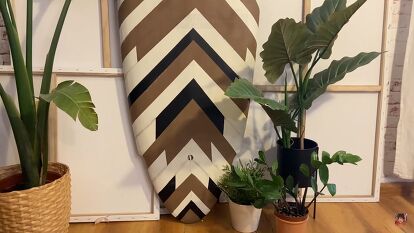
So, we’re going to make some painted surfboard art with a boho geometric print all over it instead! Keep reading for some totally tubular surfboard painting ideas!
Tools and materials:
- Old surfboard
- Wax remover
- Sandpaper
- Acetone
- Rag
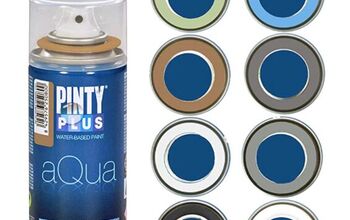
- Spray paint ( white, black, and brown)
- Pencil
- Precision knife
- Painter’s tape
- Paper plate
- Paintbrush
Surfboard painting ideas


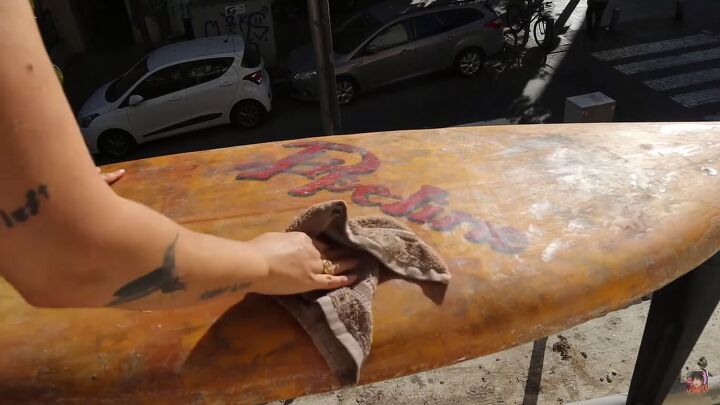
Before starting, let's take a look at the current situation of our board. It's covered in wax and has been damaged in several areas. There are a lot of repairs on it, so it's not smooth. This is basically the state of any surfboard that has been used.


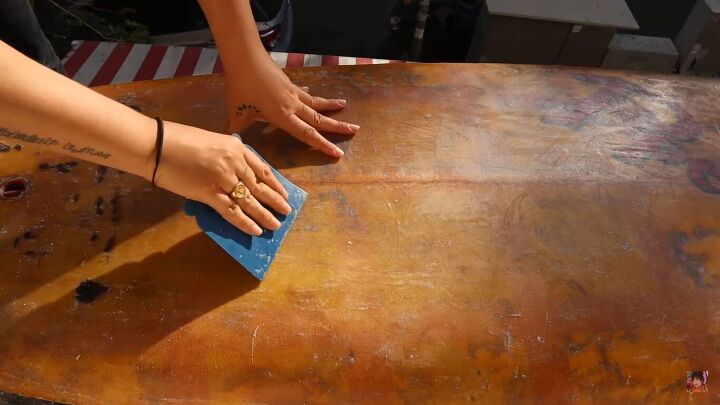
1. Scrape off the wax
Take out a credit card, bus pass, or anything in plastic if you do not have the official wax remover thingy that I'm using over here. Then, scrape all over your board until the wax starts popping off. It's going to take you a while; like, 10-20 minutes. depending on the condition.
You can also use this trick to make make your surfboard look new again!
2. Sand
Next, we need to go over the whole board with sandpaper to make it as smooth as possible.
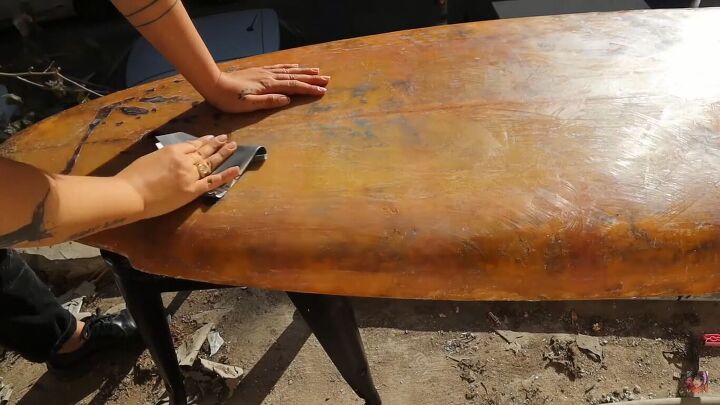
3. Apply acetone
The last step in this process is to apply acetone all over the board with a rag,
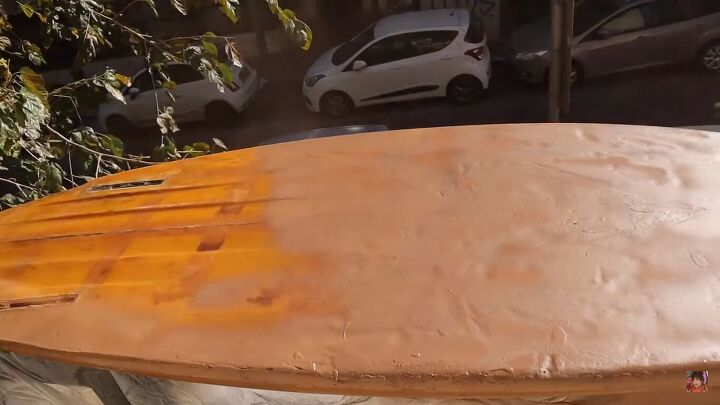
4. Paint the base
Once we’re done with the boring cleaning section of this surfboard DIY, we can get to the painting! You need: spray paint, a pencil, a precision knife, and some painter’s tape.
You can use whatever colors you like, but I wanted the board to look wooden, so I started with a brown base. Wait for one side to fully dry before flipping and painting the other side.
5. Apply painter’s tape
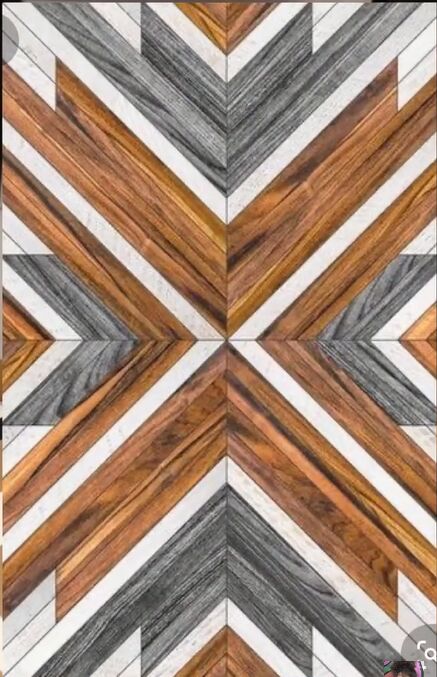
You can use your creativity here. I wanted a look like two pieces of wood together, so I created these diagonal lines.
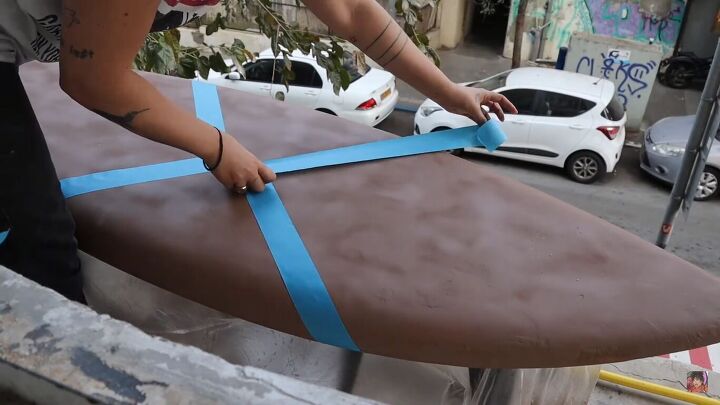
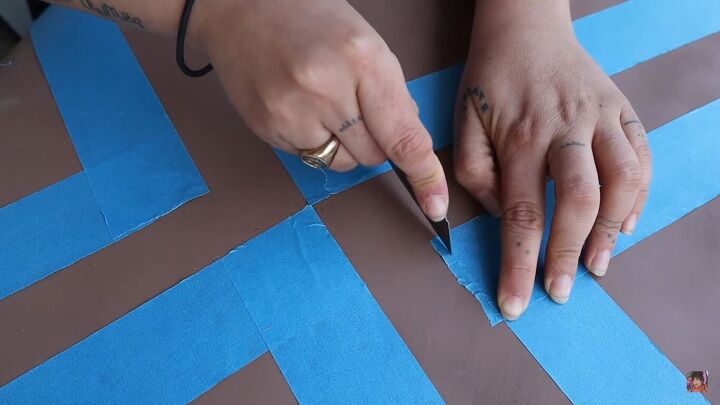
To get super-sharp lines where the tape pieces cross over, use your precision knife.
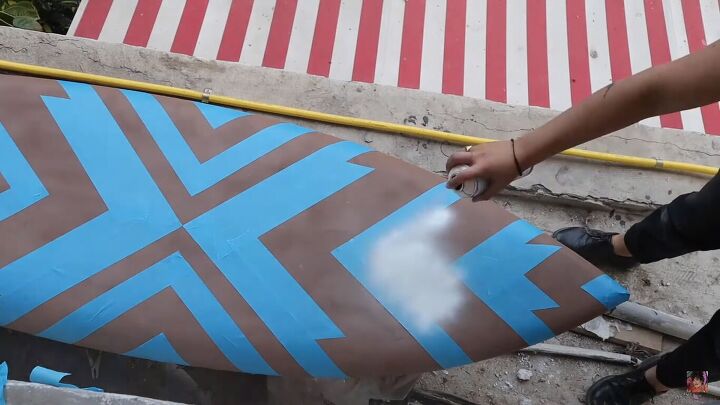
6. Spray paint over the tape
Next, apply your next color over the top of the tape. I went for white.
7. Apply a third layer
For the third layer, I’m going for black. So I went over part of the design with tape again, then applied the black spray paint. Remember that where you apply tape is the opposite of the design that you will create.
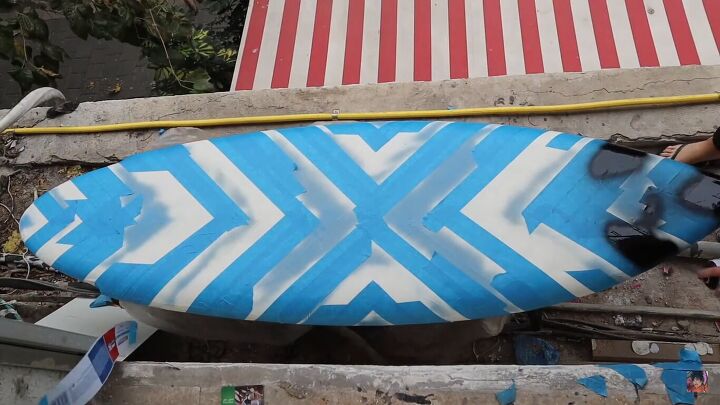
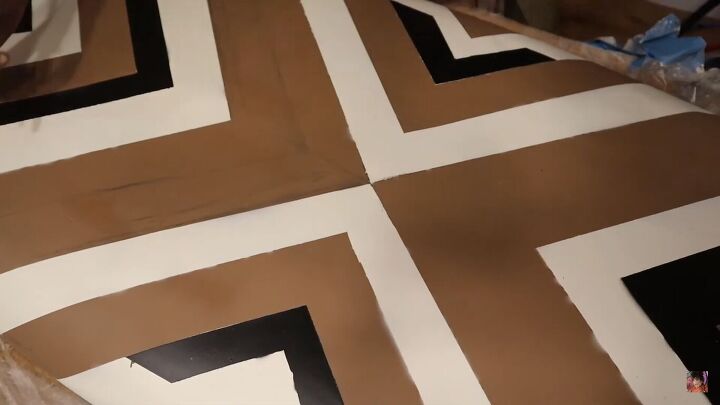
8. Peel off the painter’s tape
Now for the most exciting and satisfying part of the DIY; peel off the tape to reveal the design on the surfboard! Take off the tape as delicately as possible, but it’s ok if some accidents happen.

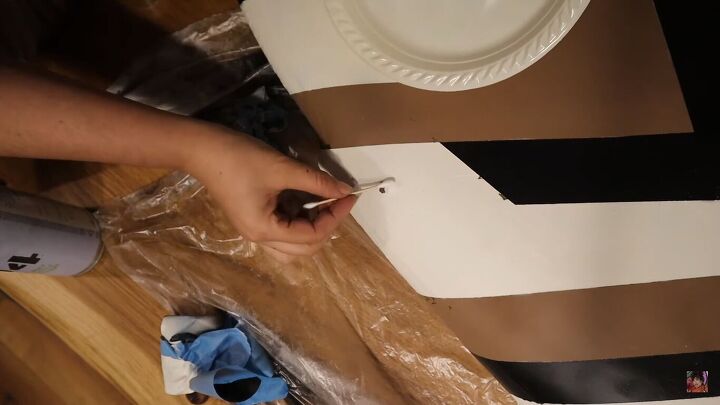
9. Touch up the imperfections
For areas where the tape didn’t work perfectly, apply some spray paint to a plate, and dab the area with a paintbrush to cover it.
10. Create the wooden design (optional)
Ok, so our painted surfboard is technically done, but if you’re like me, and you want to go the extra mile, you can create detail to make the design look authentically like wood.
Use a pencil to draw the “veins” of the wood. I did this with a black pencil, then smudged it slightly with my fingers. I also emphasized the areas where the corners meet, so it looks like two wood pieces coming together.
How to paint a surfboard


How to paint a surfboard with spray paint
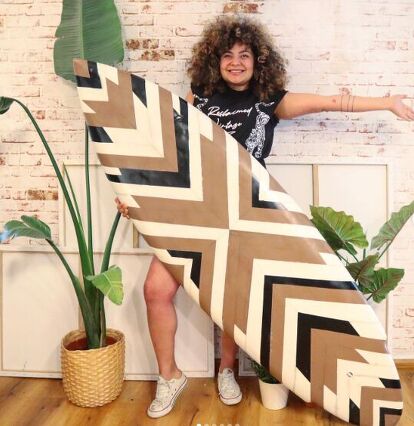
I’m literally shocked at how clean the sharp edges of the design were and I’m so pleased with the way this boho-inspired painted surfboard DIY project turned out.
I hope you enjoyed this tutorial on how to paint a surfboard with spray paint. Leave me a comment down below with what you would have done differently.


Frequently asked questions
Have a question about this project?