


How to Get a Restoration Hardware Finish
We both LOVE the Restoration Hardware style, but the price "YIKES" is out of our budget! We had been eyeing a bed at Restoration Hardware with that vintage coastal style and it was nearly $3000, but luckily we are DIY’ers and we have come up with a simple 3 step process to achieve their wood finish.
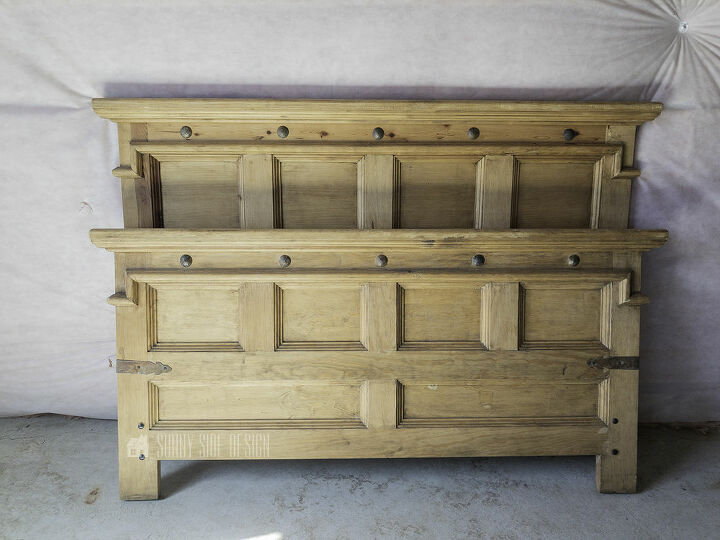
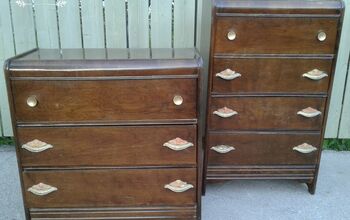
Steph bought this bed after graduation from high school. She was anxious to spend all that $ she was making! It was a solid pine bed with lots of rustic character which she loved at the time, however as her tastes changed, she married and got a more formal bedroom set. She hung onto this bed knowing that it was a good solid piece and maybe she would use it another time. Well that time is now!
Supplies we used:
- paint brush
- paint and varnish remover
- steel wool pads (medium grit)
- sandpaper
- old toothbrush
- paper towel
- vinegar
- white wax
- cotton rag (like an old t-shirt)
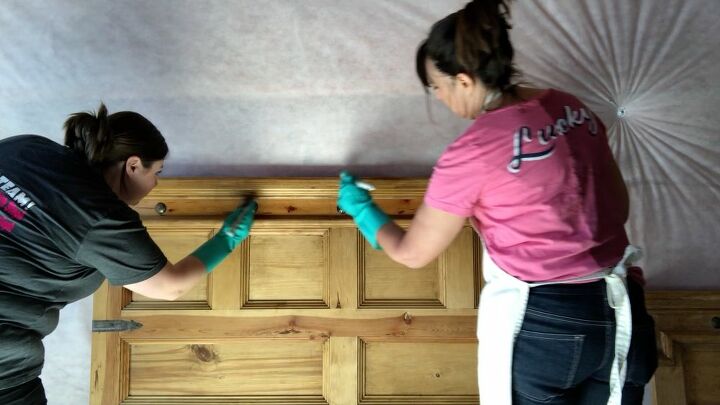
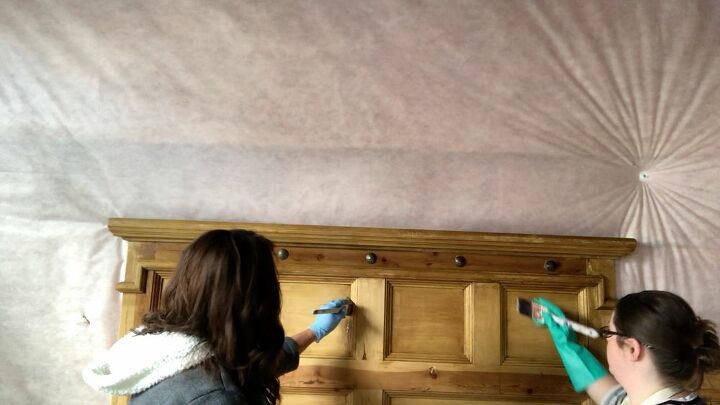
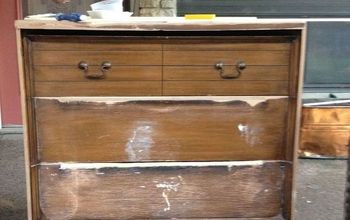
Step 1: Strip off the finish
We believed that the bed had a wax finish on it and knew that we would need to remove it in order to apply our stain. We used Jasco Paint and Epoxy Remover. I really like this product, it has a gel like consistency and clings to the surface which is very helpful if your project is vertical. When working with a chemical stripper always wear chemical gloves (it can burn your skin). Pour the stripper into a glass or metal container (it will eat right through plastic). Brush on the stripper with a paint brush, let it sit for 15 minutes while it dissolves the finish.
Be sure to check out the video we made of this process and follow along as this bed is transformed at the end of this post!
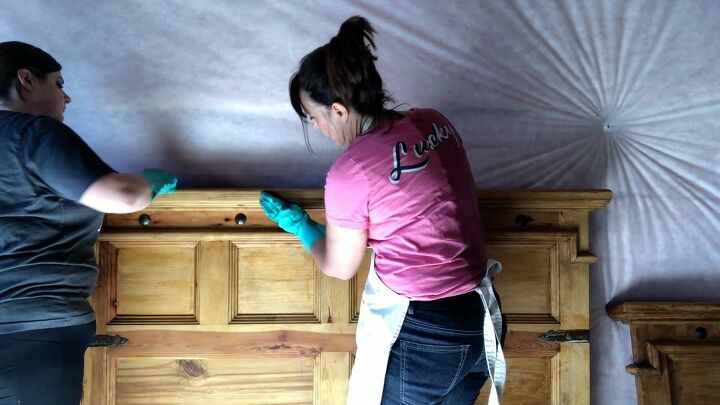
After about 15 minutes begin to remove the dissolved finish with steel wool pads. We used a medium grit. Rub back and forth with the pad, pulling off the finish. This method works really well for surfaces that have moulding and carved details. We used this method for the entire piece. I noticed that in some of the corner areas there was still some finish to remove. I wet an old toothbrush with the stripper and worked it into the corners, then wiped the area with a paper towel. Once the entire piece is stripped, wipe down all of the surfaces with a damp cloth, removing any remaining chemicals.
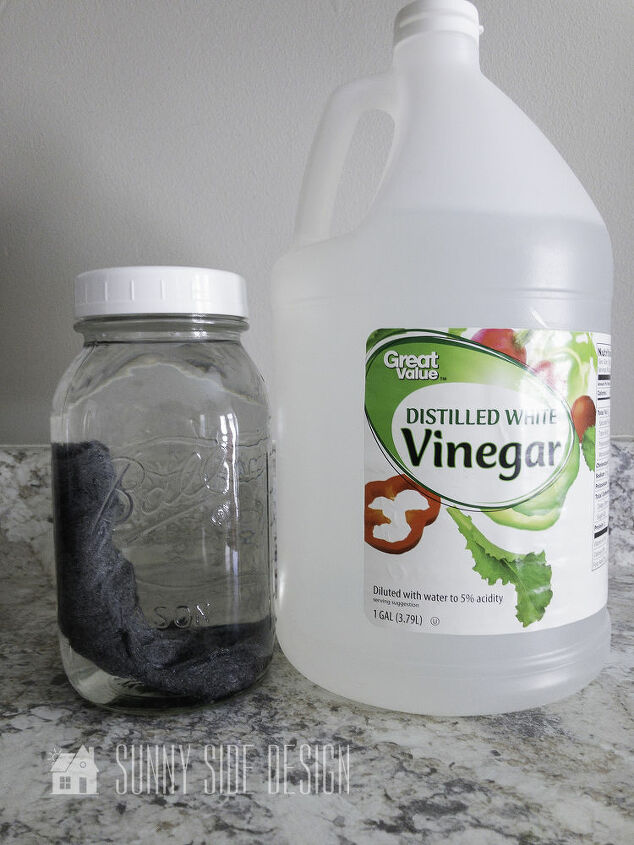
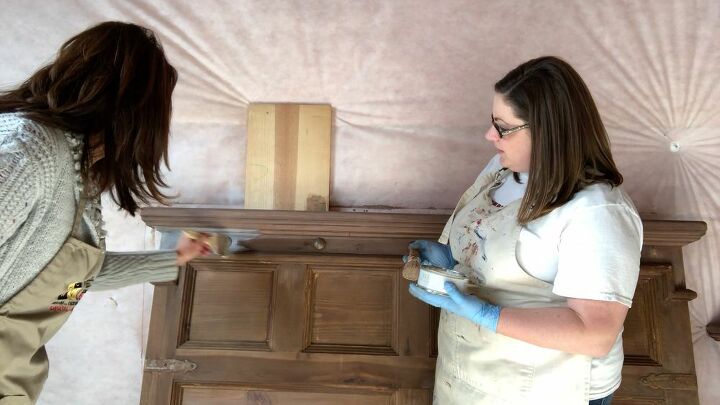
Step 2: Staining the piece
We used a natural stain which we made with vinegar and a steel wool pad. Fill a glass jar with vinegar and drop in a steel wool pad. Let it sit for a day or two. The steel wool pad will pretty much dissolve.
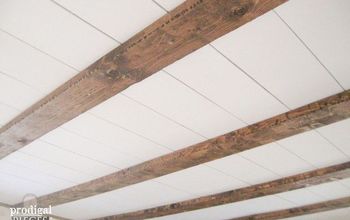
Using a brush, paint on the vinegar mixture onto the wood. It will look clear as you first apply it and in a matter of minutes the magic happens. You get this amazing weathered wood look!

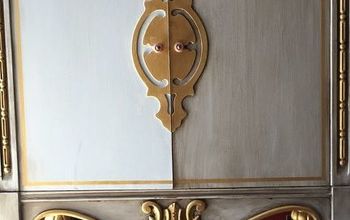
Step 3: Waxing – our final step
To achieve that great vintage, worn Restoration Hardware look we applied a white wax. We used the Behr white wax. Using a waxing brush apply the wax in a circular motion, pushing the wax into any grooves or crevices in the wood
We also wanted the wax to look a but streaky, so after the wax was applied we gently drug a chip brush (stiff and short bristled brush) across the wax, giving us the worn streaked look we were going for.

Once the wax has dried it is time to buff. I like to let it sit overnight, just to make sure the wax is all dry. Then buff, this can be done with a soft, clean cotton cloth (old t-shirt) or a buffer also works well.
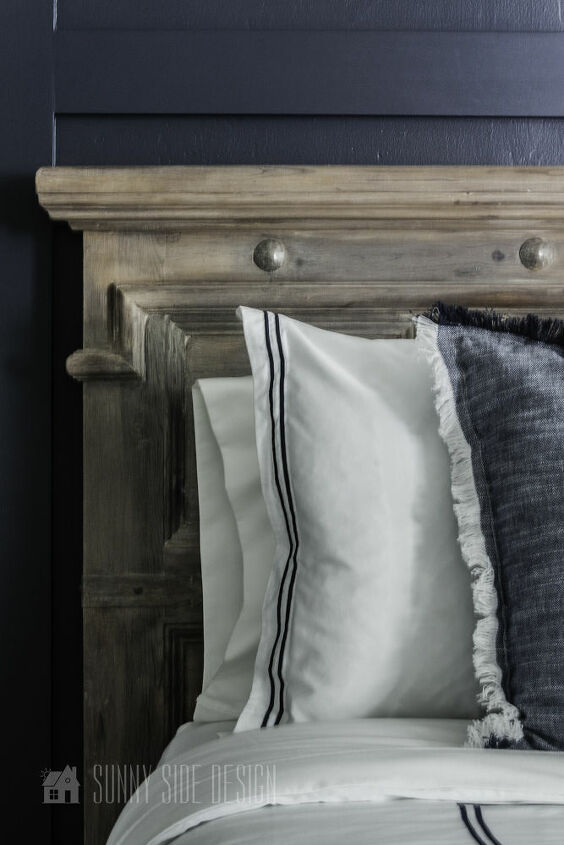
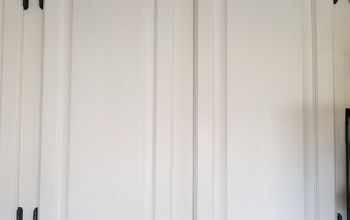
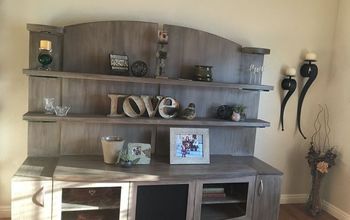
Here is the finished headboard! We are thrilled with the transformation! Do you love it? For more detailed instructions please check out the original post on our site. Link down below.
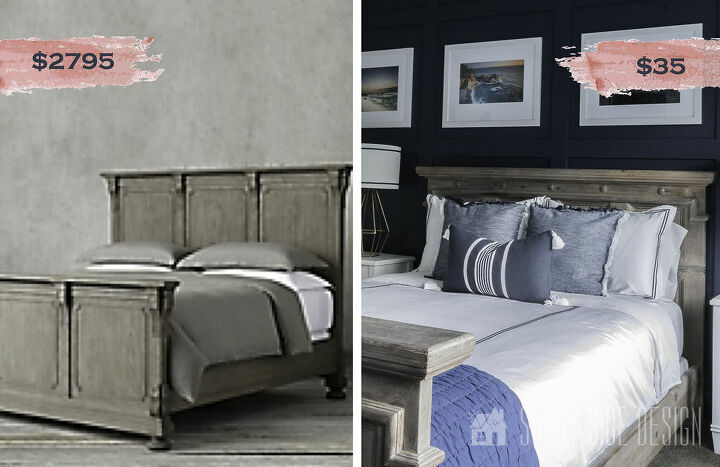
Take a look at the inspiration bed from RH on the left and the finish we achieved on the right. We think it looks fantastic and this project only cost around $35. Can you believe it? That is quite a savings from the nearly $3000 bed at Restoration Hardware!
Resources for this project:
See all materials


Comments
Join the conversation
-
You as well
-
It looks great now, but I honestly thought it looked great before.


Frequently asked questions
Have a question about this project?
This is beautiful. Did the steel sponge begin to rust in the vinegar? I'm finding that my stain is turning out more orange. I wonder if I had the 0000 steel pad completely immersed if that would've prevented the orange color. Any suggestions? Thanks for your time and sharing your talents.
How often do you have to re-wax? Is it used as a sealer? Beautiful finish.
I am confused about the steel wool pad resting in vinegar for a day or more....why? What does the steel wool do to the vinegar?