


Brunswick 1926 Radio Cabinet Turned Old World Wine Cabinet

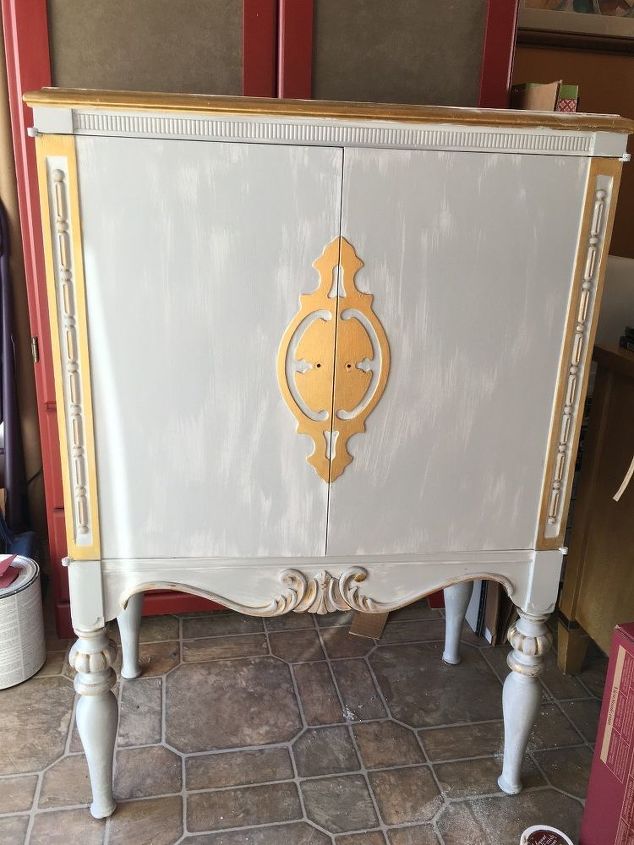
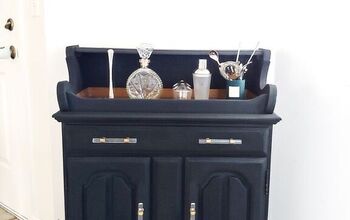
I found this cute little radio cabinet and knew it could be something more. It had been used as a TV cabinet and was dusty and dirty inside. I just loved the curves...
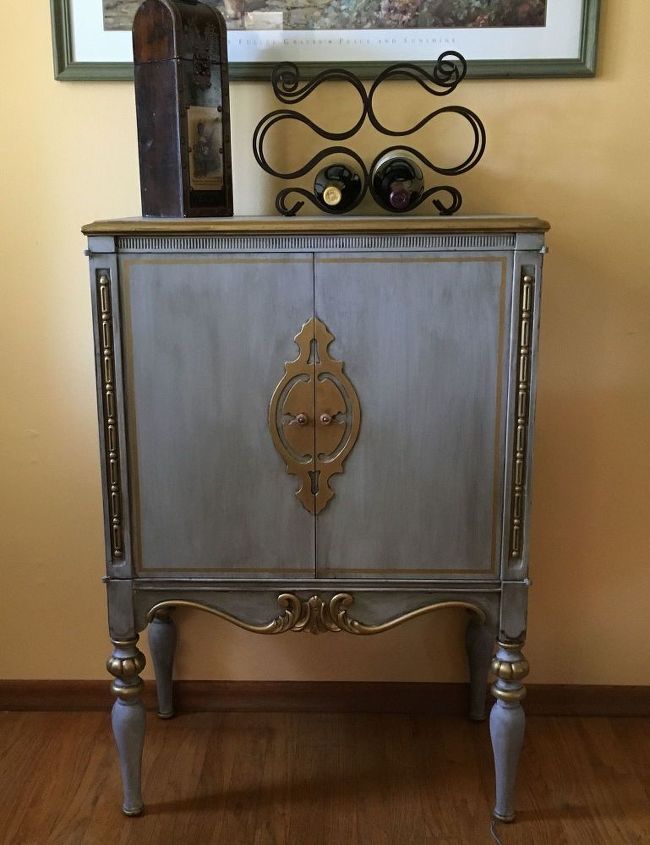
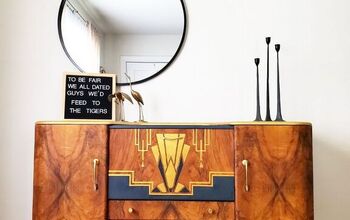
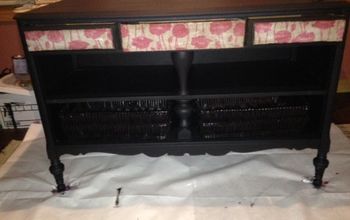
Finished Cabinet
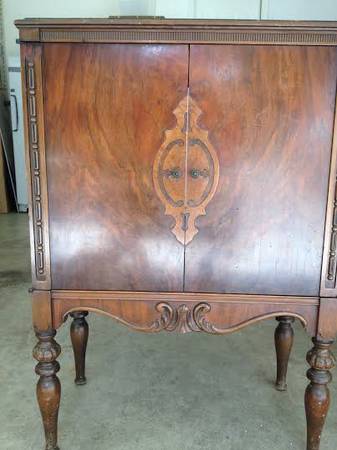
I fell in love with this little cabinet, which was just $20. It had some severe water damage on the top (likely from a planter's pot/water).
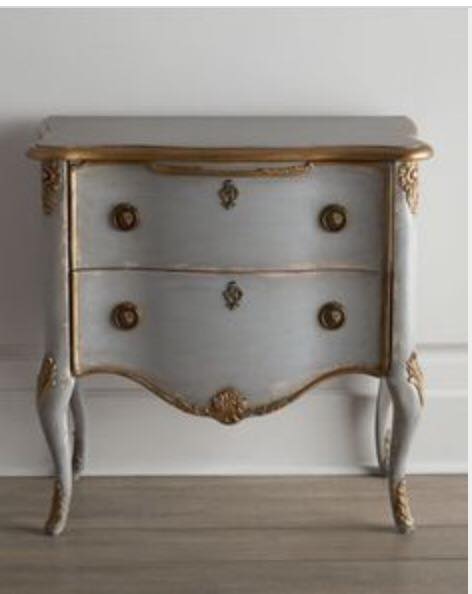
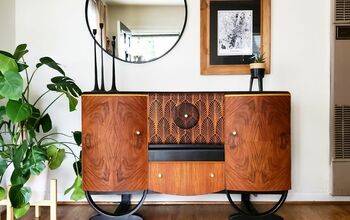
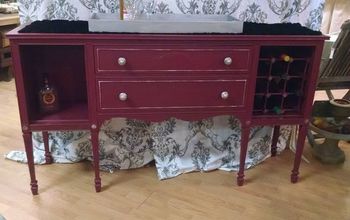
This was our inspiration piece, found on Horchow
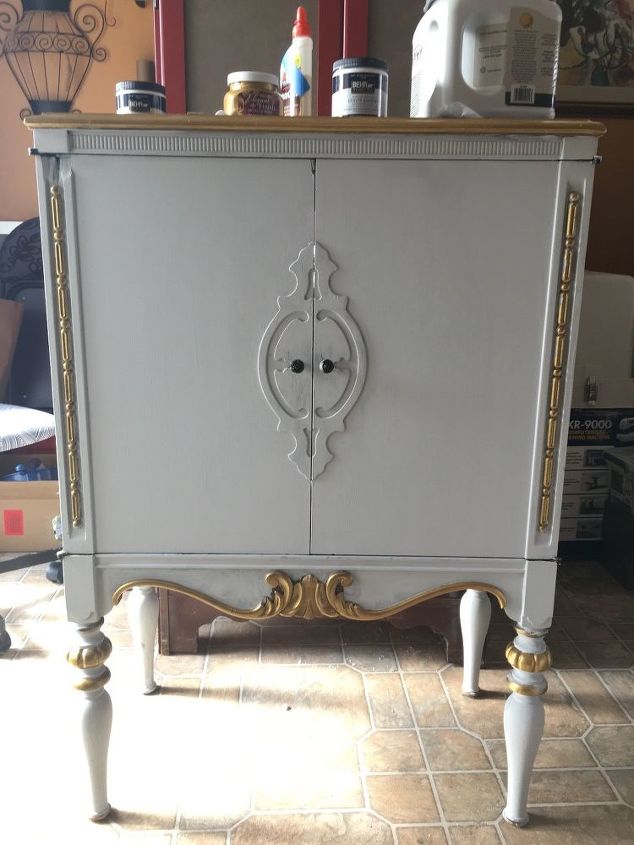
I painted two coats of Behr Loft Space as the base, then painted the raised details with DecoArt Elegant Finish Metallic Paint
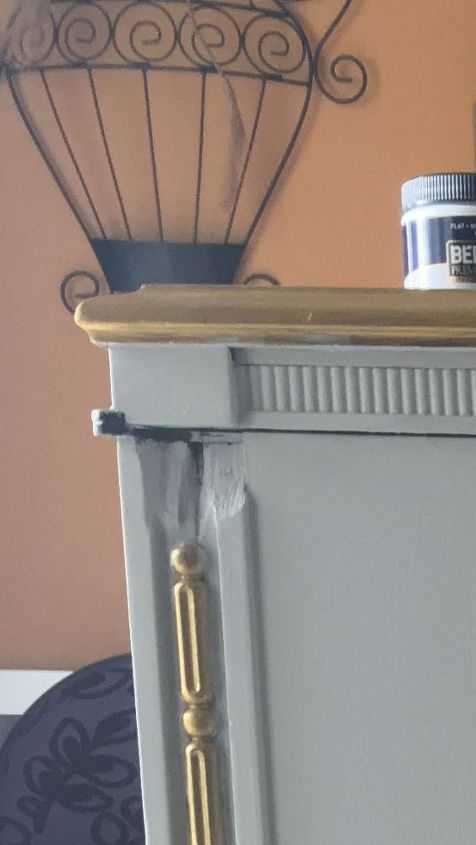
There was a huge chunk missing right where the hinge screwed down into the left door. It was somewhat camouflaged before I painted but stuck out like a sore thumb after paint. It also made the hinge loose, so I decided to fill it in and try to make it match the other side.
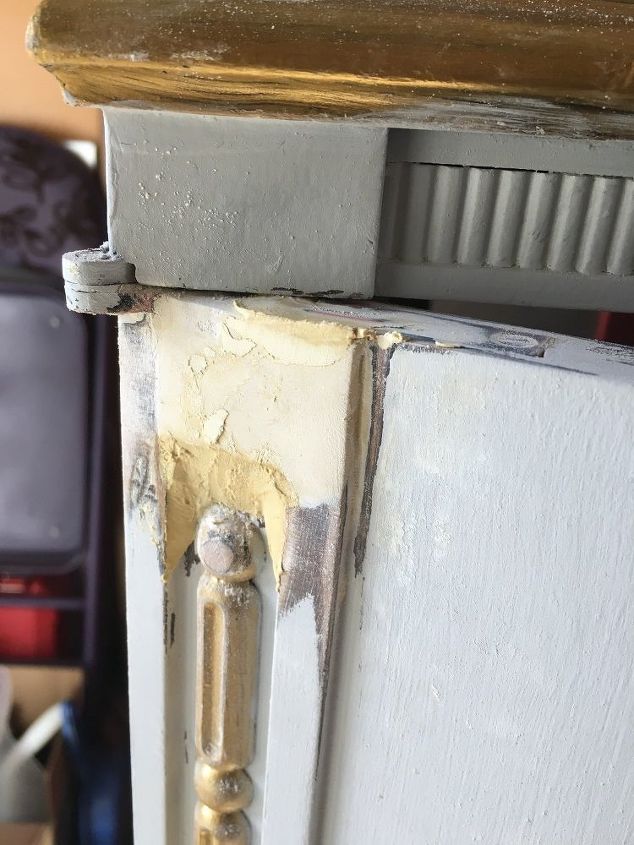
I made a paste of filler using Durham's Rock Hard Water Putty and made several layers to fill in the missing wood area; shaping as best I could to match the opposite cabinet door.
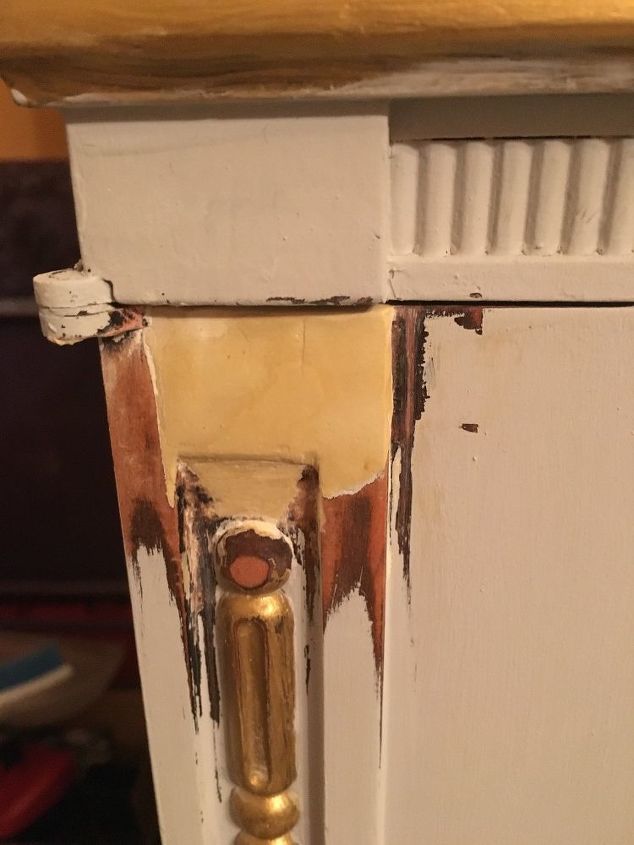
I inherited my grandfather's upholstery/furniture tools and I'll be darned if those 90 yr old chisels didn't come in mighty handy for this job! I measured down from the top of the right side cabinet door and start gently shaving and shaping the dried putty to mirror the other door.
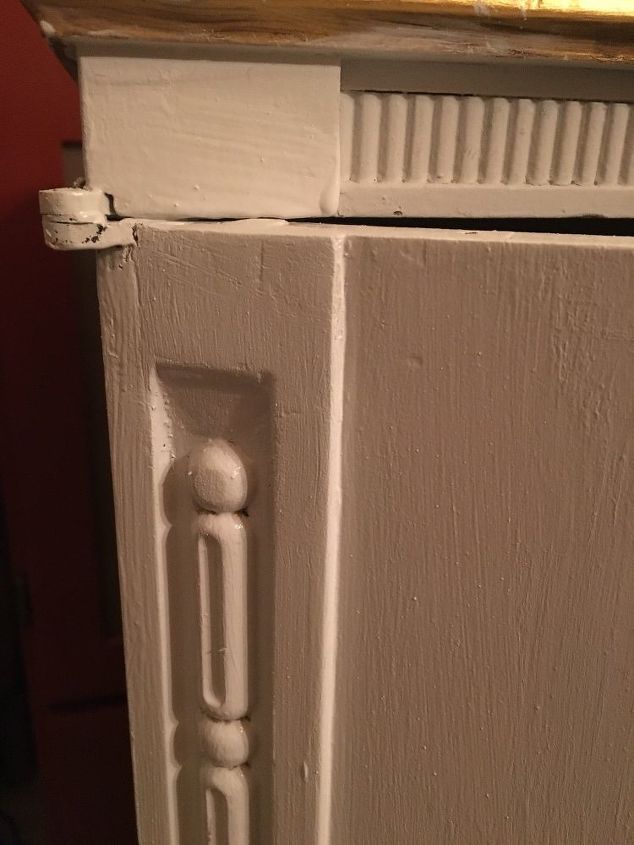
After painting over the filled in area, the repair was nearly undetectable and the hinge was now sturdy again.
I painted over all the raised areas with DecoArt Elegant Finish Metallic Finish acrylic, then dry-brushed the base coat (Behr Loft Space) with Behr Tin Foil.
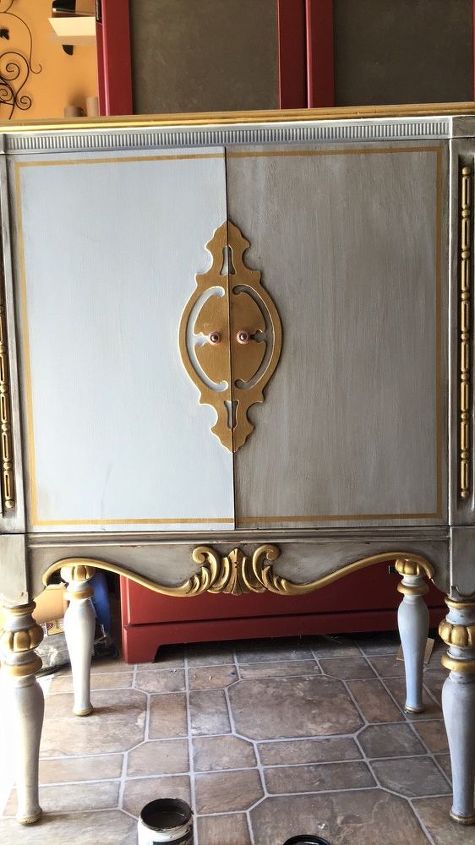
Not sure how the finish would look with glazing, I started with the lower detailed area first. I liked how it looked so kept going and glazed over the entire cabinet directly over the paint, without waxing or applying Polycrylic first. I've read that others prefer to wax or Poly first, as it's easier to control the glaze, but this is how I do it and it has to be done very quickly. I painted over small sections at a time with the glaze and had at least two wet rags handy to pull back the glaze right away. The amount of pressure applied when wiping away is critical to the final look so experiment first on a piece of scrap if you're nervous about this step.
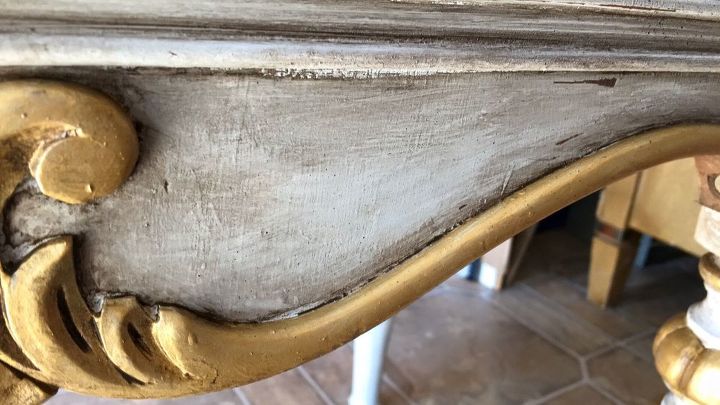
Close-up of the glazed lower detail
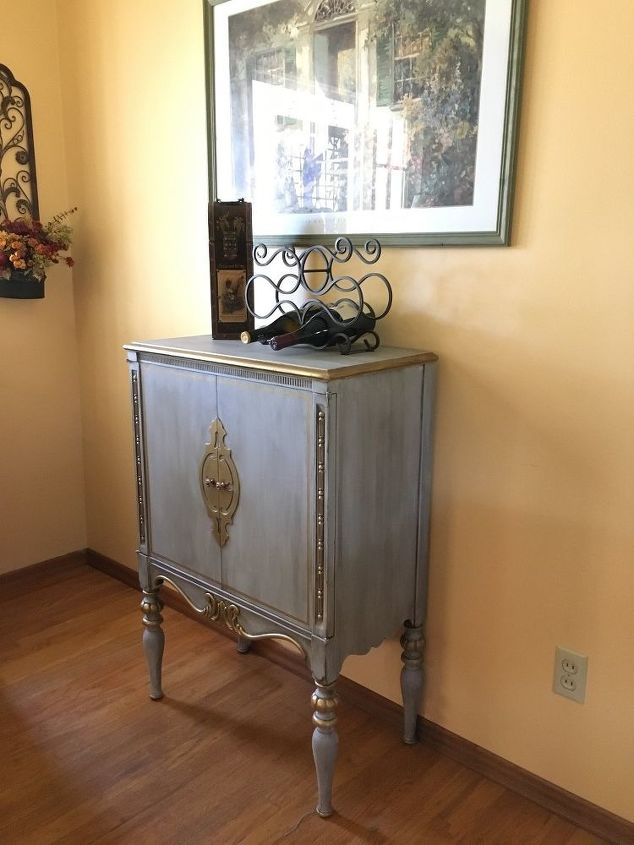
Finished Cabinet
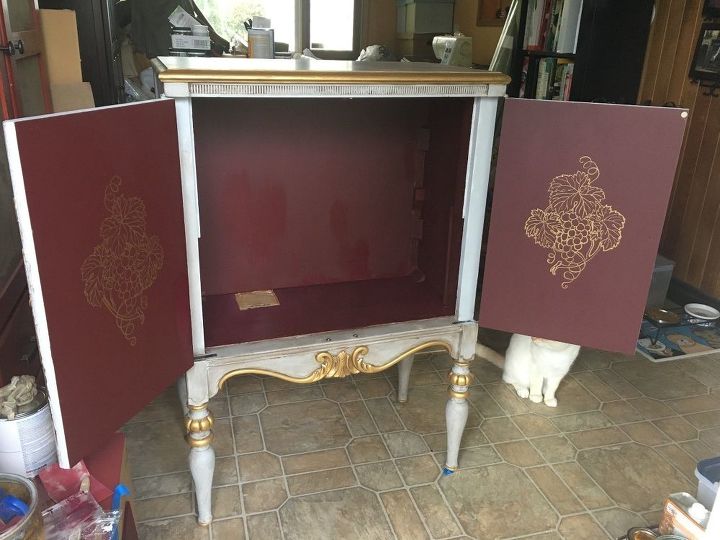
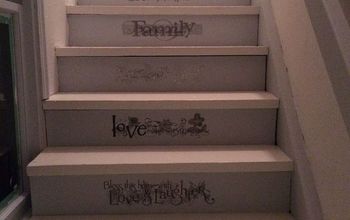
I painted the interior of the cabinet in Behr Divine Wine, then applied a graphic on each door by rubbing chalkboard chalk on the back side of my printed graphic, then tracing it onto the painted door. I followed the chalk lines with a Pentel metallic gold paint pen. The border was also done with a pen by using a yard stick and pulling the pen along the edge.
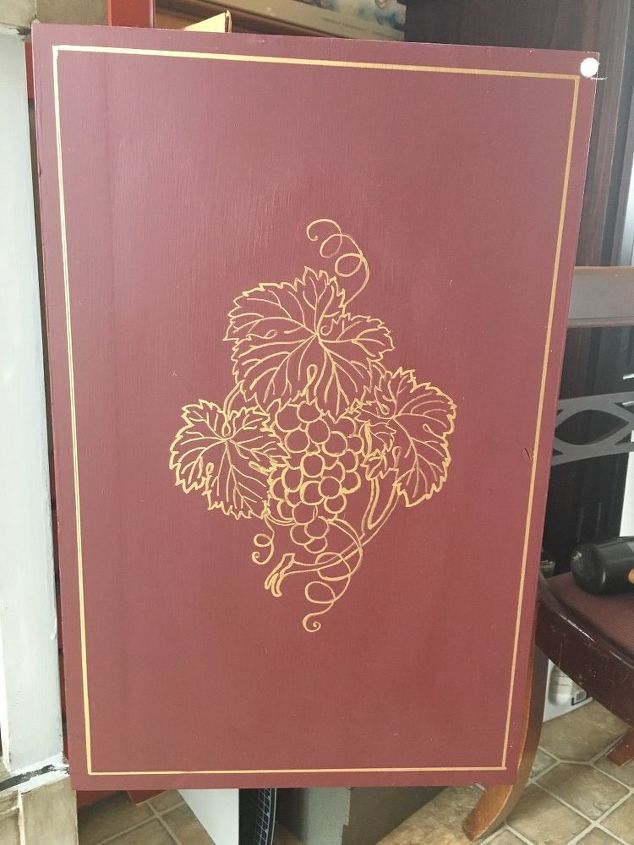
Close-up of one of the graphics
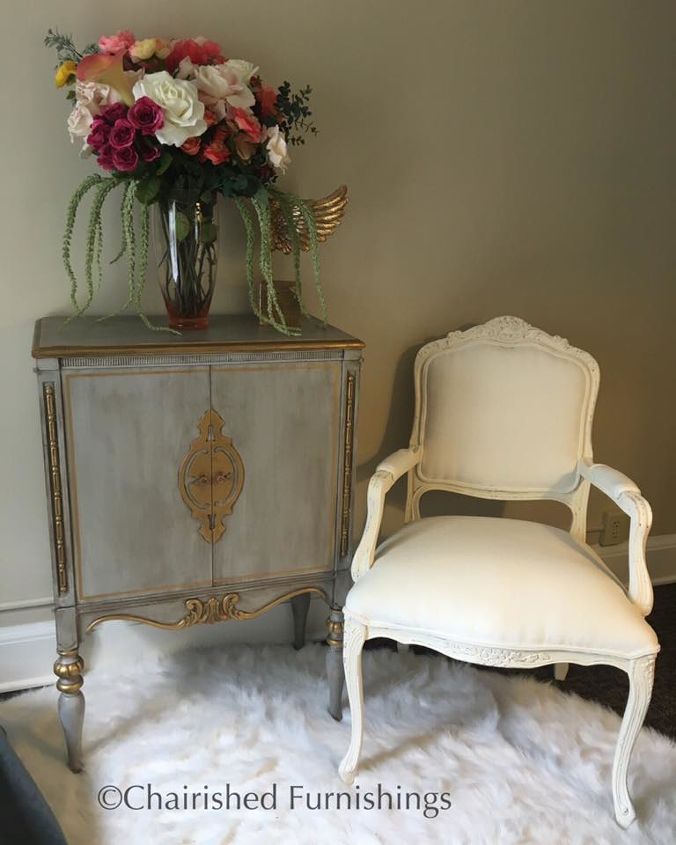
Finished Cabinet and Bergere Chair in client's studio (I did the chair too)
Comments
Join the conversation
-
Just BEAUTIFUL!!!! Your presentation looks like a high end magazine picture. You did an excellent job!
-
Fantastic putty work! That is not easy to make a match, and the fact that you used your grandfathers tools makes it even more memorable. I've got my dads and love working with them :) Terrific job with the colors. Looks like you paid big bucks for that gem. Well done


Frequently asked questions
Have a question about this project?