


How to Use Dollar Tree Solar Lights to Make Cute Fall Decor
Head to Dollar Tree and grab a vase, pail, and solar light for this beautiful fall decor idea. I'm going to show you how to make a solar lantern for your front porch. Let's get started!
This post was transcribed by a member of the Hometalk editorial team from the original HometalkTV episode.
Tools and materials:
- Vase
- Frosted glass spray paint
- Hot glue gun
- Pail
- Ribbon
- Faux leaves and berries
- Scissors
- White rocks
- Solar light
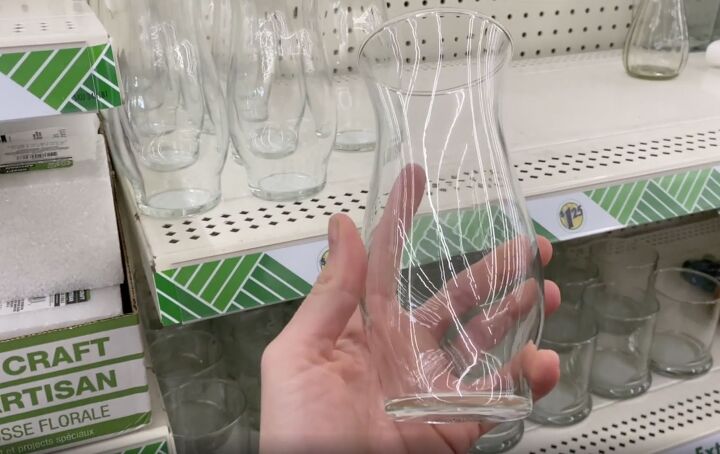
1. Paint the vase
We're gonna start this project with a vase from Dollar Tree. Choose one with a beautiful shape.
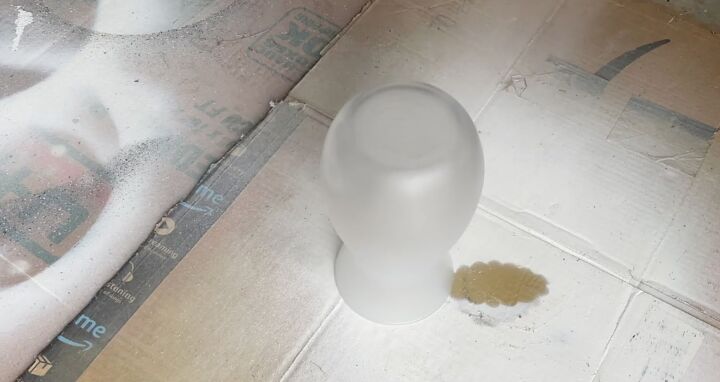
Next, we’re going to cover this entire thing with this frosted glass spray paint.
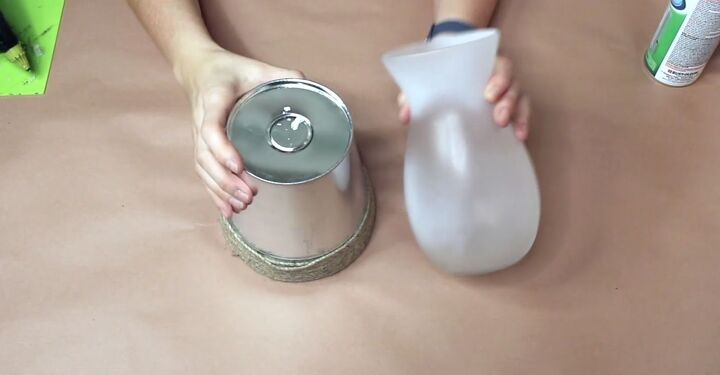
2. Glue the vase to the pail
Once the vase is dry, we are going to be using a pail from Dollar Tree and we are going to be hot gluing the vase on top.
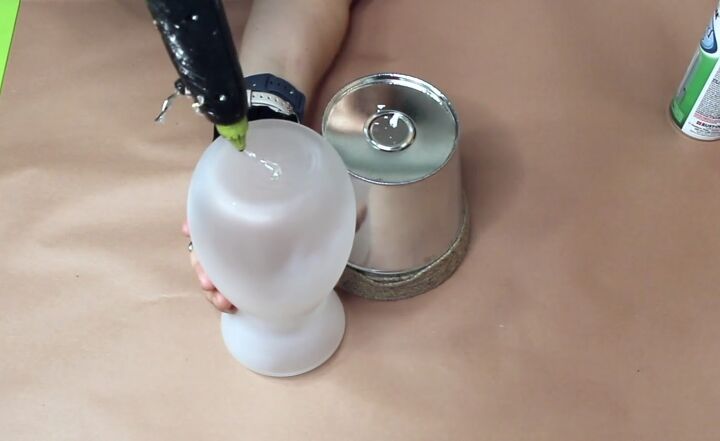
Using hot glue, cover the vase bottom and then stick it to the bottom of the pail.
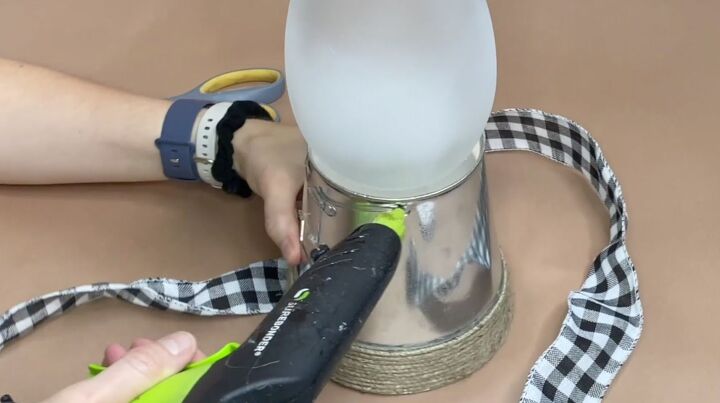
3. Add ribbon
Now we're going to cover the seam with some ribbon. Start by adding lots of hot glue to the pail near the vase bottom.
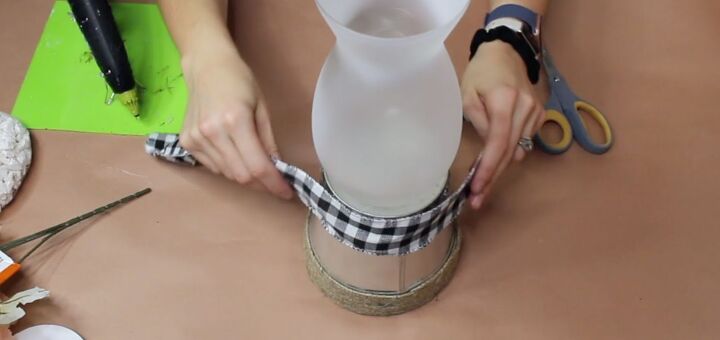
Then slowly secure the ribbon to the pail and also the vase; kind of covering the seam where they both connect, where we glued them together.
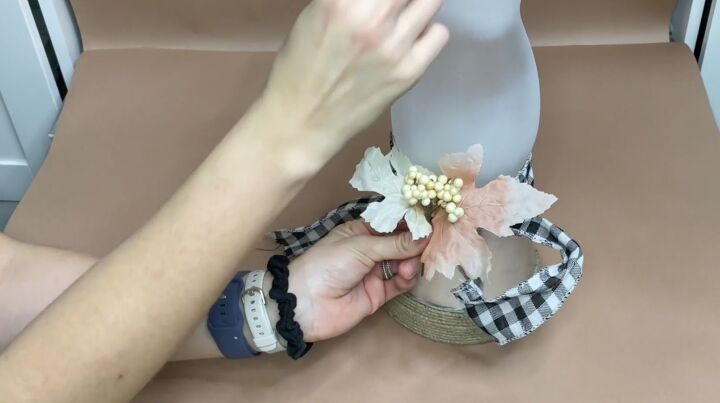
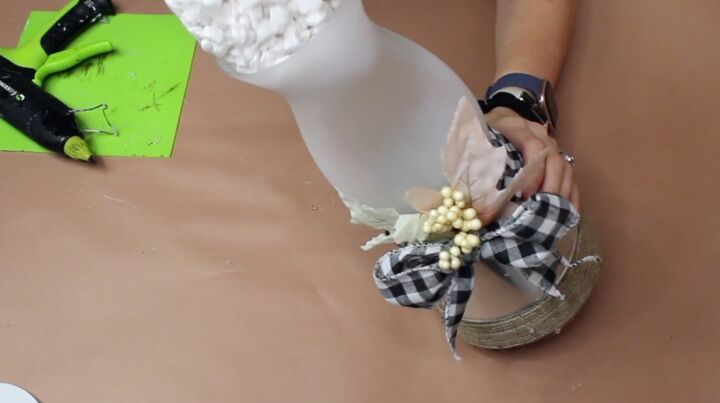
4. Decorate with leaves and berries
Next, add some fall leaves and berries to the front where the ribbon will be tied in a bow.
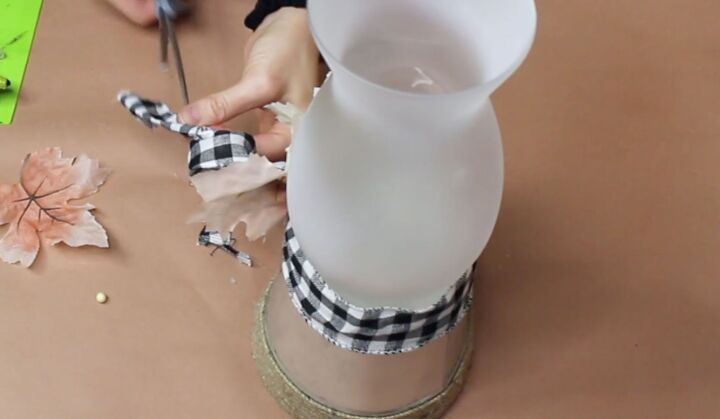
Once you are happy with everything, use your scissors to cut the ends of the tails of the ribbon to make it look really finished and pretty.
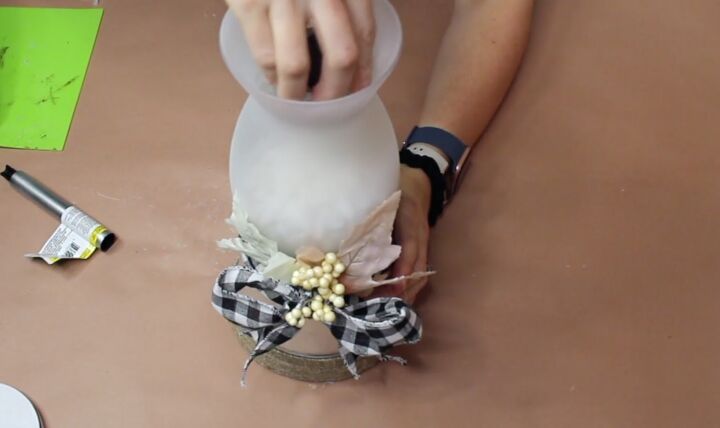
5. Fill the vase with rocks
To fill the vase, use white rocks and pour the entire back into it.
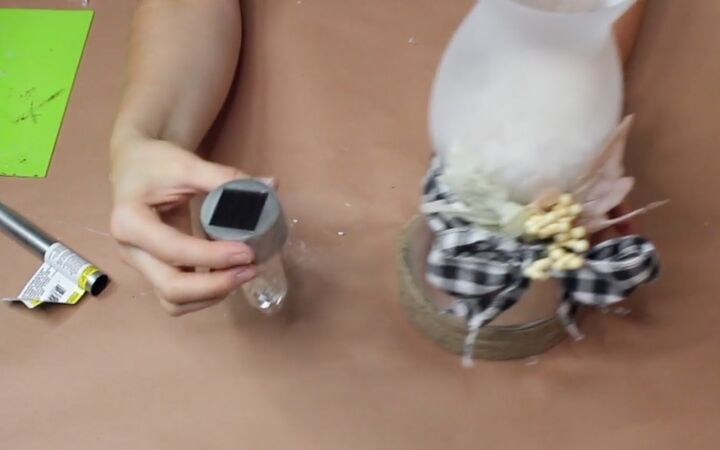
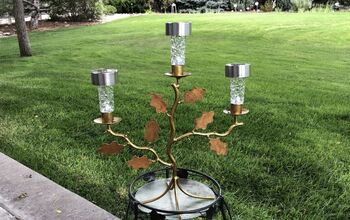
6. Add the solar light
Grab a solar light from Dollar Tree and separate the top from the bottom.
Take the solar light top and push it down into the rocks in the vase so that it stays in place.
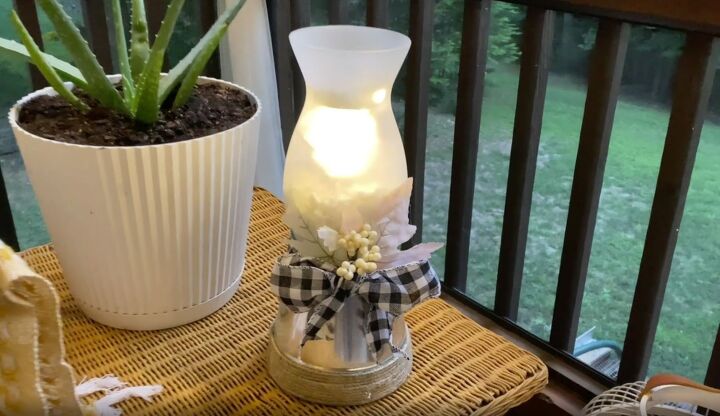
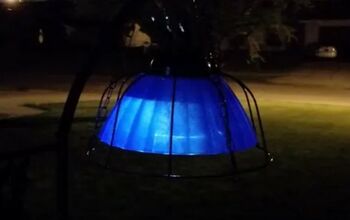
DIY fall lantern
Here's the finished product out on my screen and porch. I'm really happy with how it turned out. Make sure to give the solar light about 8 hours to charge and there you have it.
It's a beautiful, cute decorative solar lantern that is going to stay out on my screen and porch now for fall. What do you think of this DIY? Let me know in the comments below.
DIY fall ideas


Comments
Join the conversation
-
Very creative. Love it!!
-
you could use fairy lights inside the vase if u can find one with small battery pack


Frequently asked questions
Have a question about this project?
I think you meant to say screened-in porch.
With the solar light inside the frosted glass, does it take longer than 8 hrs to charge it?
Did the bucket one with the cover over the edge? It looks a little like rope/twine?