


Tips and Tricks for Perfect Crisp Lines When Stenciling

Here is a handful of my tips and tricks for getting those perfect, crisp line when stenciling!

Stenciling on your surface is one of the easiest ways to take your project to the next level!! It’s a great way to update and add value to your furniture or add a personal touch to your clothing. Stenciling on your walls is way less expensive than wallpaper and is awesome because it's your unique design!
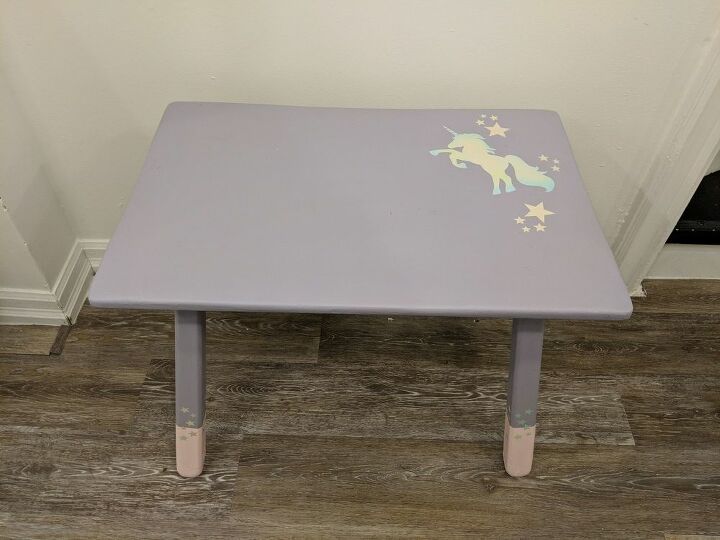
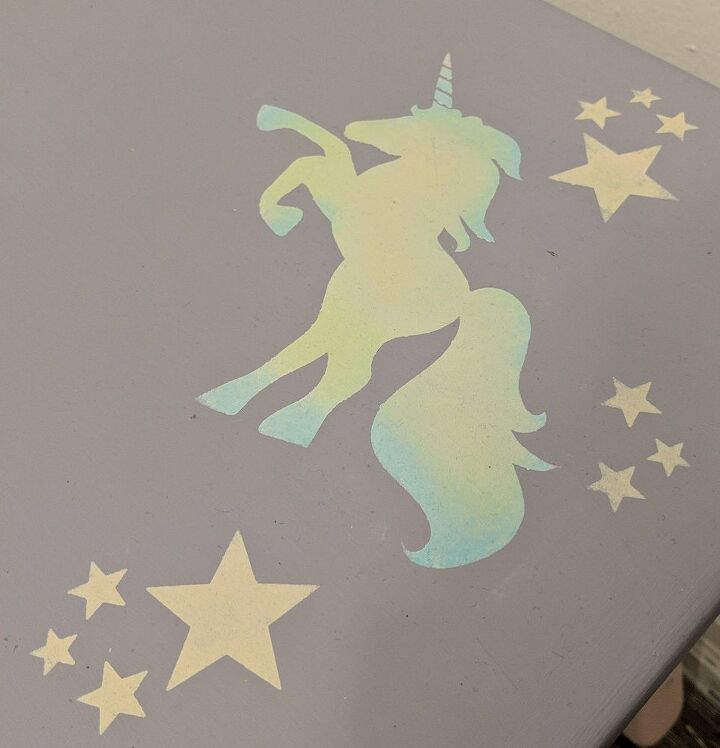
Stencils can be found online or in any craft or hobby store. I often pick up stencils when I spot them on clearance and just collect them for future projects. I found this adorable Unicorn stencil on clearance for just $1.75, and used it to add this ombre looking detail on a table my daughter and I painted in Lavender by House&Canvas Furniture Paint.
Here are my top stenciling tips that will have you stenciling like a pro in no time!
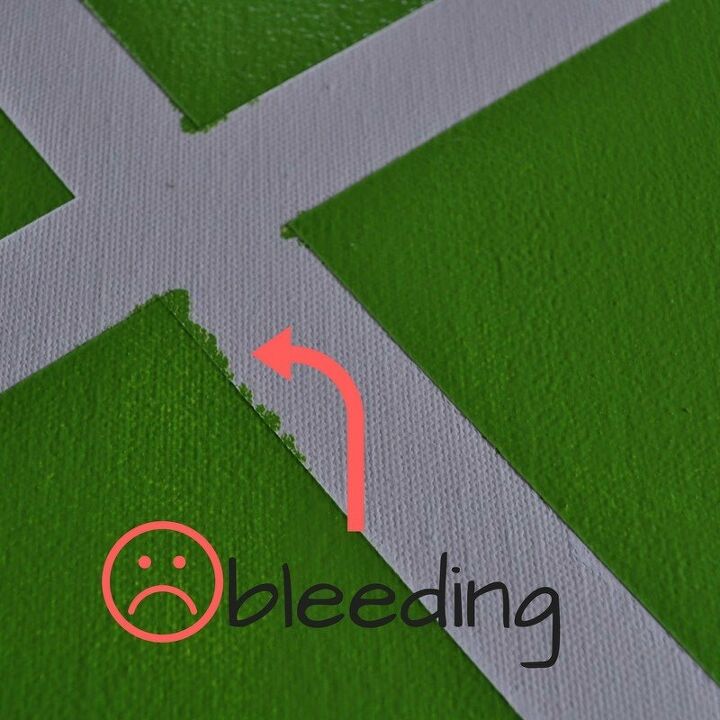
Tip #1 - Less is More!!
I've found the BIGGEST mistake people make when stenciling is having too much paint on their brush. This causes the paint to bleed under the stencil, leaving a mess.
When you dip your stencil brush in the paint, have a huge pile of paper towels ready and handy. Wipe off ALL excess paint from your brush.... and then wipe again! You want to have next to NO paint on your brush. If you take your brush and dab the back of your hand, it should feel dry and no paint should come off on your hand – this is essential in getting those perfect crisp lines.
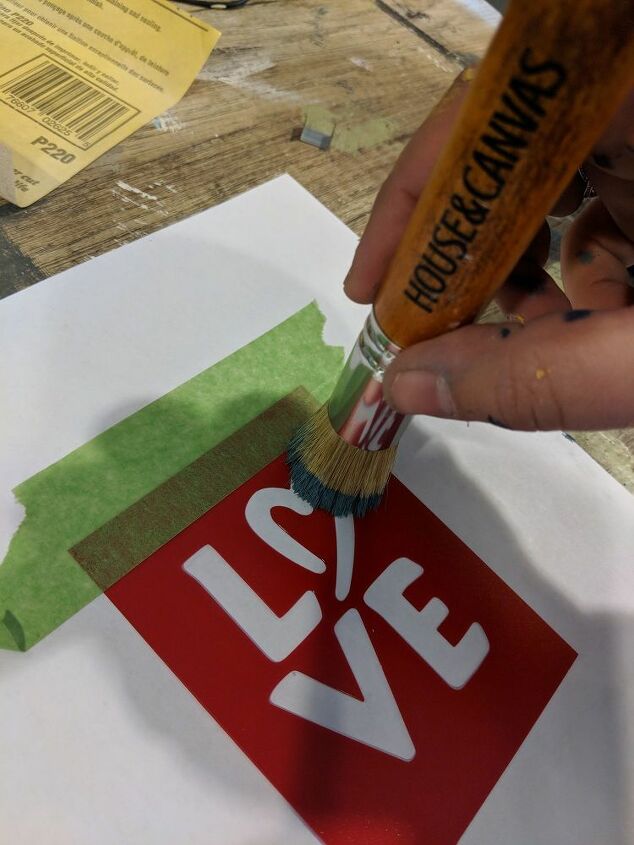
Tip #2 - Use the Stippling Technique
Some crafters swear by using a circular motion with their brush, but my trick is to always use the stippling method. Stippling is when you hold your brush completely upright, and quickly, but gently, dab your brush to the surface over and over. Because you have almost no paint on your brush, this is going to take a long time, but it's worth it.
Stenciling in a circular motion runs the risk of bleeding, and accidentally shifting your stencil. Try stippling in lots of thin layers instead.
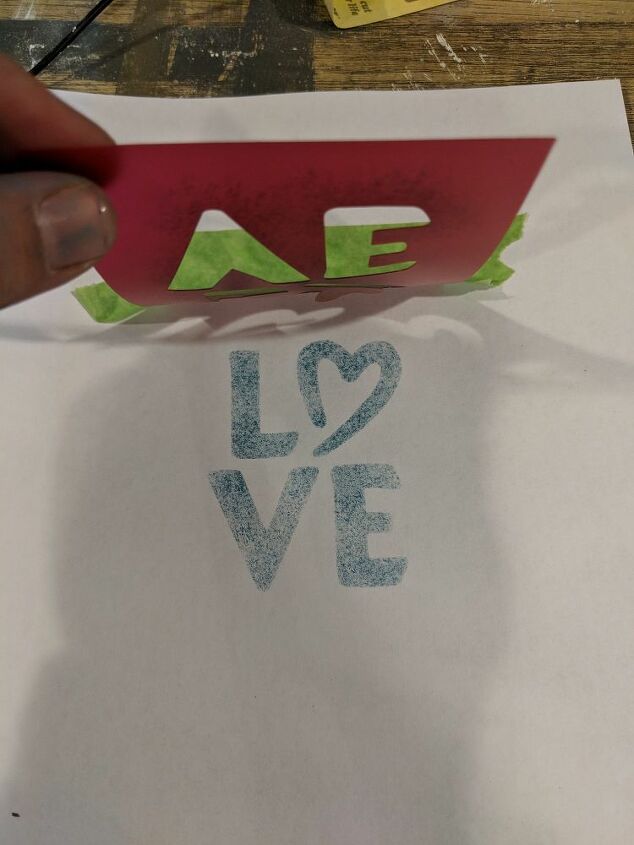
Tip #3 - Only tape down ONE side of your stencil
Taping your stencil down using painters tape makes sure your stencil doesn't shift while painting. When you place your stencil on your surface, only tape down one side. This allows you to take a peek at your work as you go, without having to pull up the stencil and try to re position in it in the exact same place.
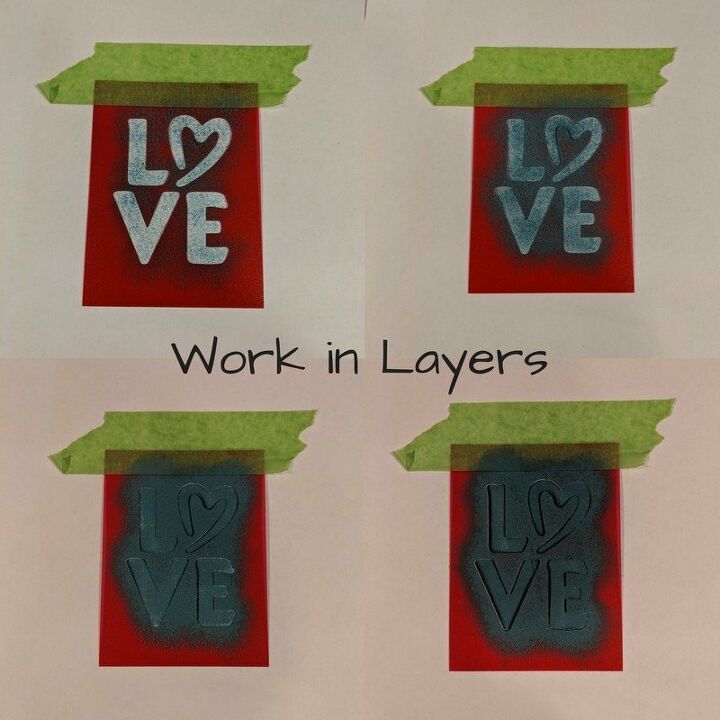
Tip #4 - Gradually Build Colour with Lots of Thin Layers
This last tip is by far the most important and will guarantee you those perfect crisp lines every time you stencil. Always work in super, super thin layers and slowly, gradually build your colour.
House&Canvas Furniture Paint dries SUPER quick, so doing a million thin layers is not as daunting as it seems. By the time you finish your first layer, the paint is dry and ready for the next layer. So just keep lightly stippling until you build the opacity in the paint you are looking for.
So, don't forget these steps:
1 - Little to no paint on your brush
2 - Stipple, stipple, stipple
3 - Lots of thin layers
And I promise you those perfect, crisp, clean lines when you stencil!
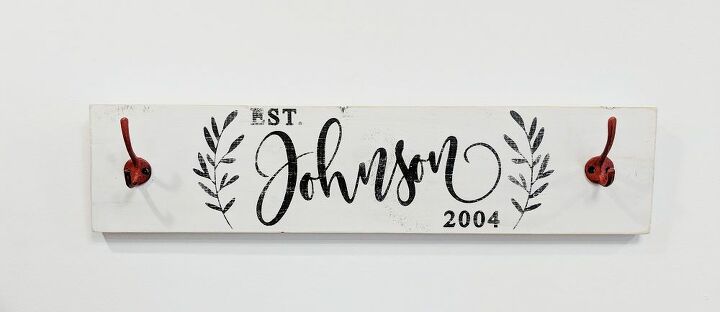
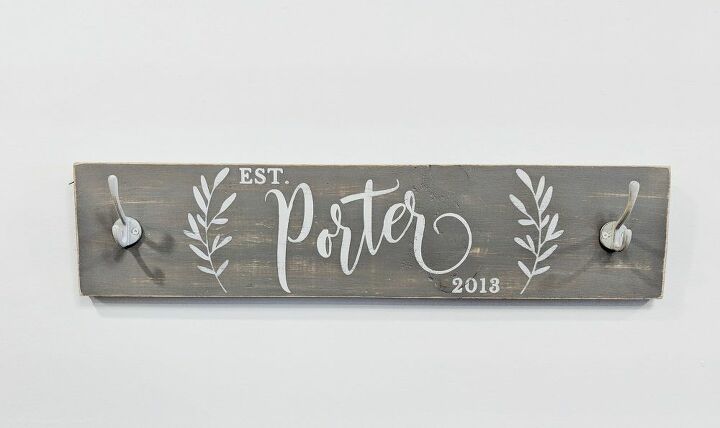
Here are a few stenciling projects I have done. Can't wait to see yours!

Comments
Join the conversation
-
I LOVE the layering technique, smart!
-
Super tip. Too many just slap on the paint. Love the layering. Takes a little extra time but the results are a great looking stencil job.


Frequently asked questions
Have a question about this project?