


How to Do a DIY Faux Limewash Technique, Step by Step

Welcome to this step-by-step tutorial on achieving a faux lime wash effect for your walls. This technique adds depth and character to your space, mimicking the timeless appeal of traditional lime-washed walls.
With just a few supplies and some patience, you can transform any room into a rustic haven. Let's dive in!
Tools and materials
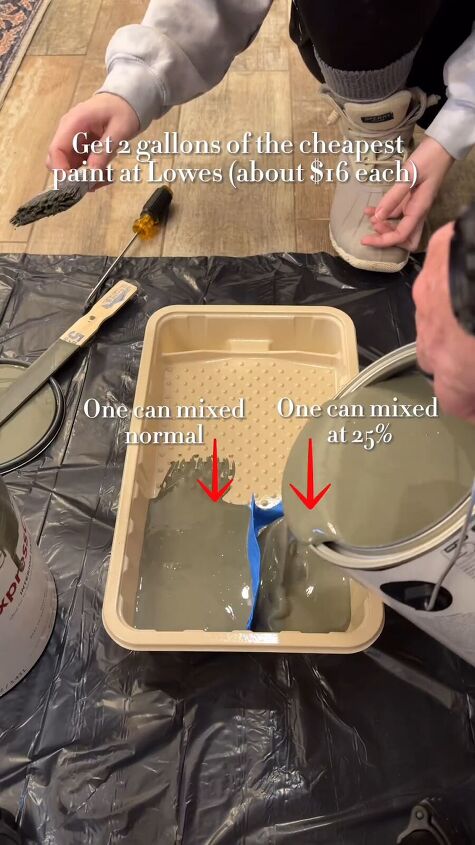
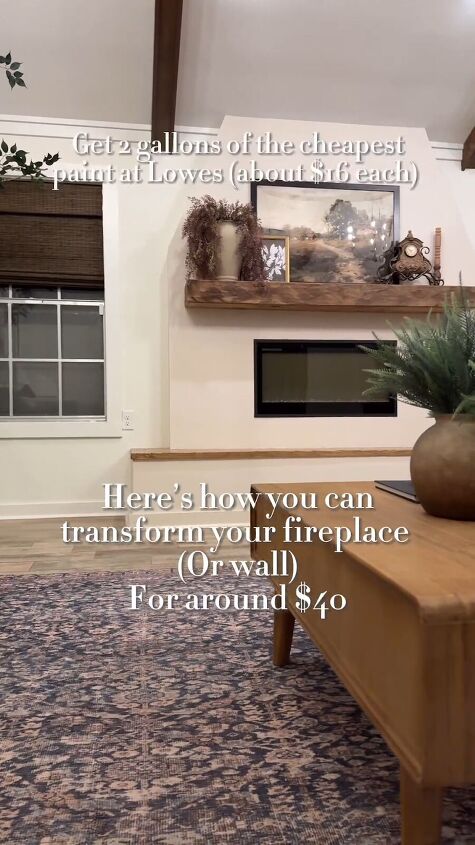
- 1 gallon of flat paint (mixed normally)
- 1 gallon of flat paint (mixed 25% with the same color as normal)
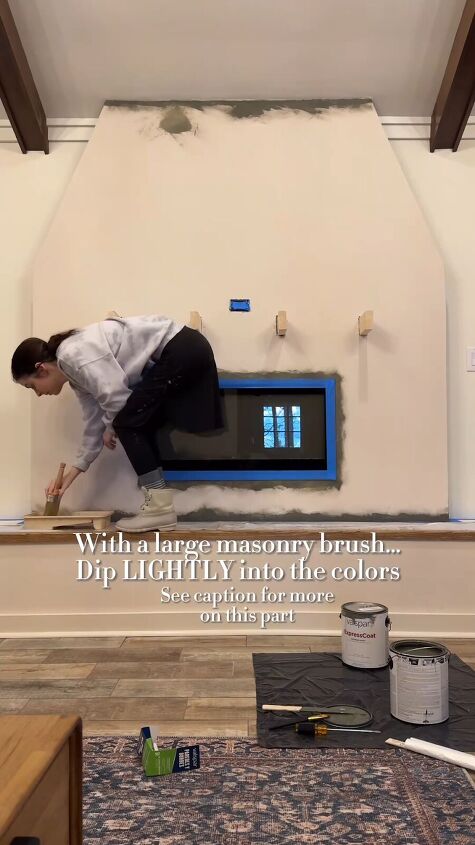
- 1 large masonry brush
- Paint tray
- Painter's tape
Table of contents
Step 1: Prepare Your Workspace
Begin by preparing your workspace. Lay down drop cloths to protect your floors and furniture. Use painter's tape to create a divider in your paint tray, ensuring that the two paint mixtures don't blend together.
Step 2: Mix Your Paint
Pour the normal color paint into one side of the paint tray and the 25% mixture into the other side. This setup will allow you to easily dip your brush into both colors while keeping them separate.
Step 3: Load Your Brush
Dip the tip of your masonry brush very lightly into the paint. It's crucial to avoid loading the brush with too much paint; you want it to be almost dry. The tape divider will enable the brush to pick up a little of each color.
Step 4: Apply the Paint
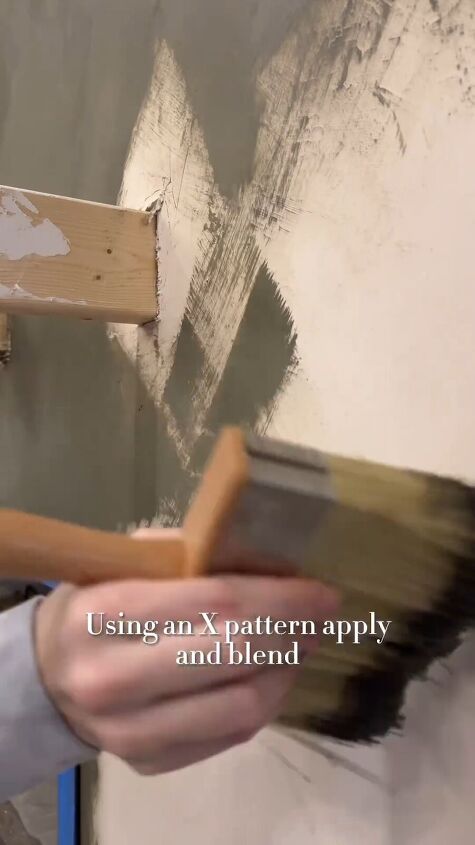
Begin applying the paint to your walls using an X pattern. There's no right or wrong way to do this—aim for a dynamic, varied pattern with plenty of motion. Blend out any hard lines as you work, creating a natural, washed-out effect.
Step 5: Build Layers
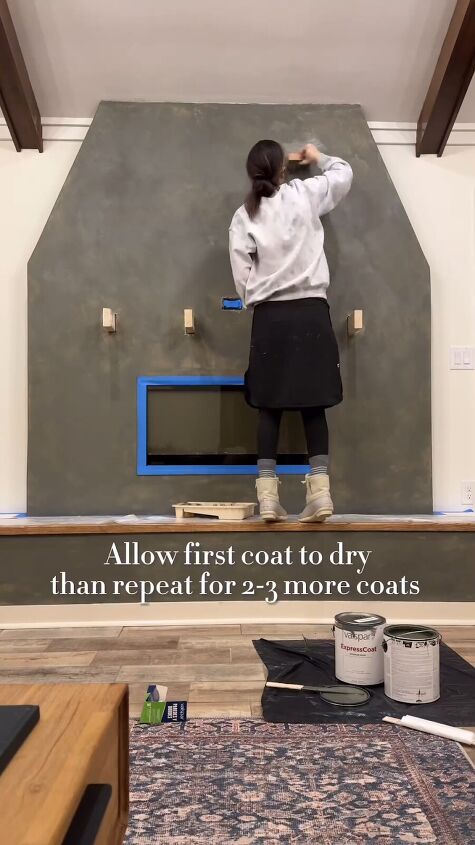
Allow the first coat to dry completely before applying additional coats. Depending on the desired depth of color and coverage, you may need to apply 2-3 more coats. Each layer will enhance the richness and texture of the faux lime wash.
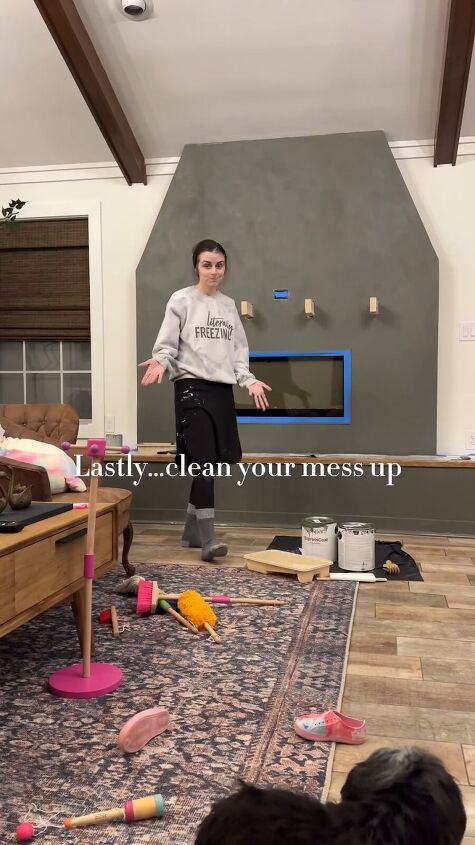
Step 6: Final Touches
Once you're satisfied with the coverage and appearance of your faux lime wash, remove any painter's tape and allow the paint to dry completely. Stand back and admire your handiwork—the walls now boast a beautifully textured, rustic finish reminiscent of traditional lime wash.

DIY faux lime wash effect
Congratulations! You've successfully mastered the art of creating a DIY faux lime wash effect. While this process may not be the quickest, the results are well worth the time and effort invested.
Whether you're aiming for a cozy farmhouse feel or a Mediterranean-inspired aesthetic, enjoy your newly transformed walls and leave me a comment to let me know if you’re pleased with the results.
Follow @hannah.is.home on Instagram for more DIY ideas.


Frequently asked questions
Have a question about this project?