


Converting a Hardwired Light to a Plug In

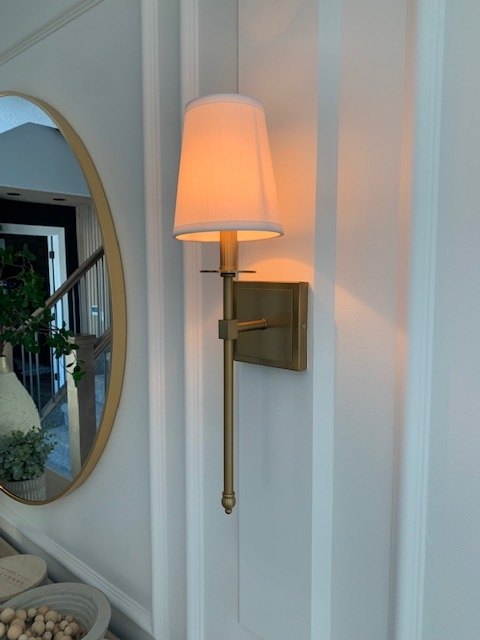
I had a spot in my home where there was no junction box for lights. I also fell in love with lighting that was hardwired and not plug in. I decided convert the lights to plug in so I could install them in the location of my choice. Follow along and I will show you how simple the conversion is.

Materials I used:
- Hardwired light
- 6' indoor extension cord
- electrical tape
- marrettes
- wire cutters (I used a knife)
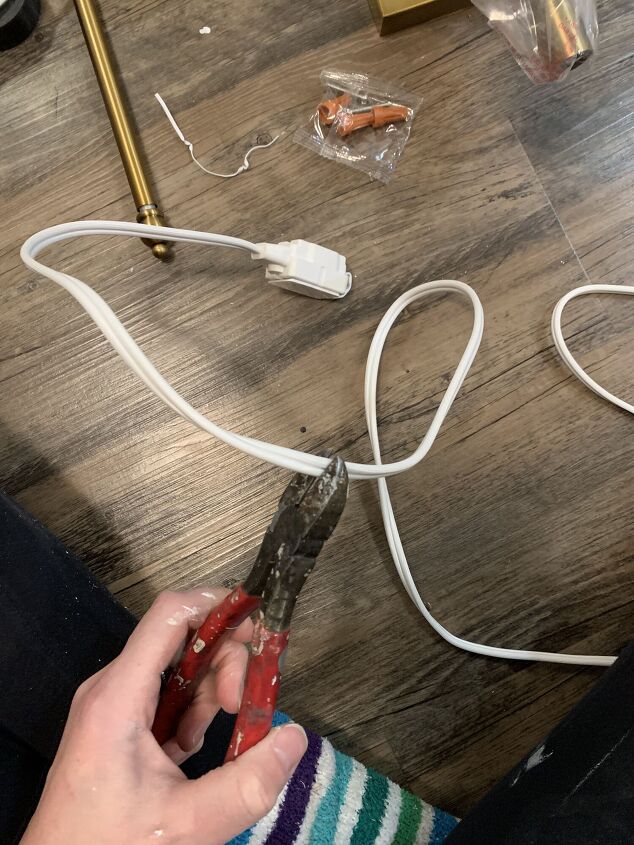
I determined the length I was going to need my cord to be based on where my light would be hung in relation to the plug in.
When you cut the cord, be sure to cut off the female end of the cord. This is the end that you would plug the prongs onto. DO NOT cut off the end with the prongs. You need this to be able to plug in your light.
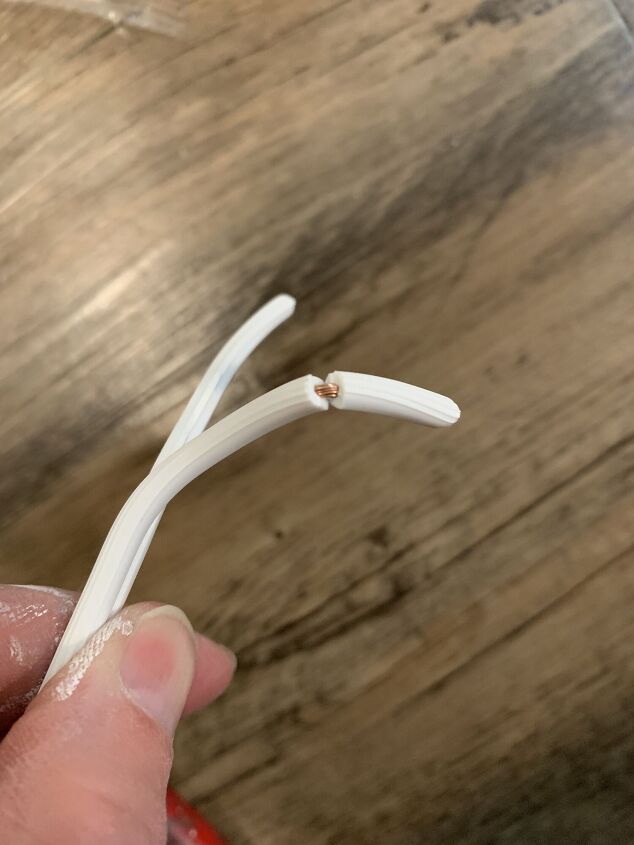
once you have the end cut off, separate the two strands a bit. You can easy do this just by pulling them apart with your fingers.
Then take your wire strippers, or I used an knife to score the plastic coating around the each wire.
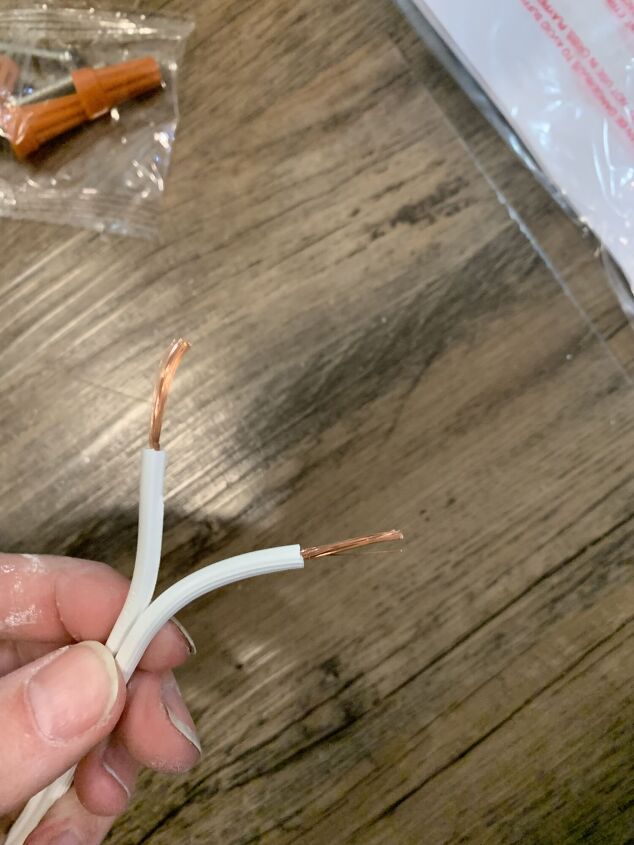
I usually expose the wires about 1/2” to 3/4”. Pull the plastic off to expose the bare wires.

Take the wires from your light and connect them to the wires from your extension cord by twisting them together.
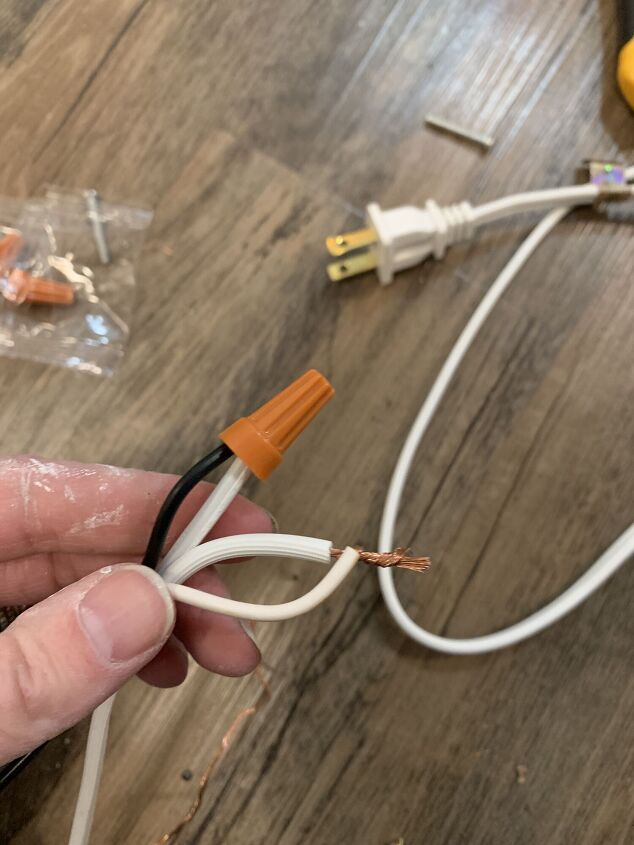
Twist a Marrette onto each wire until they feel tight.
I always tug at the Marrette gently to ensure its securely on.
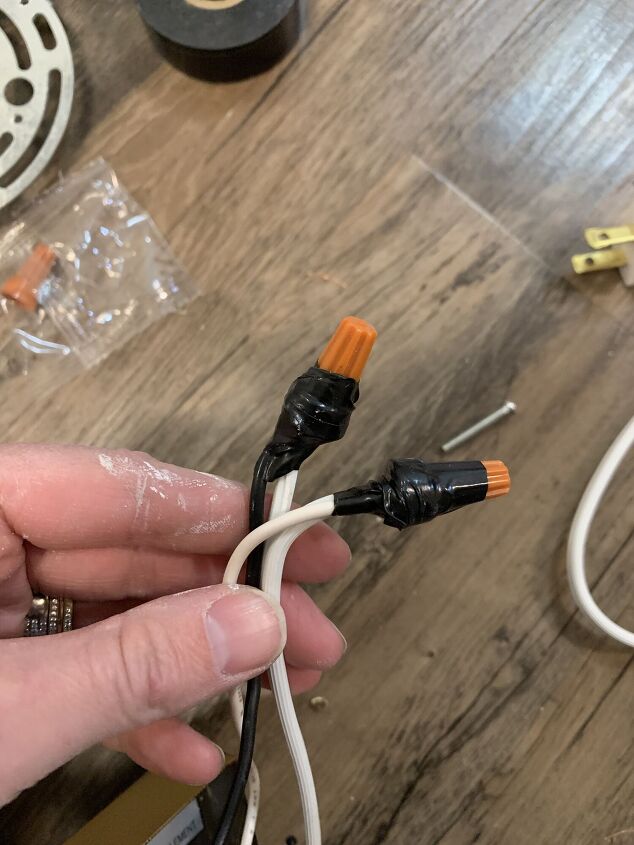
Wrap electrical tape around each marrette.
I may go a bit overboard on the electrical tape but I always it gives me peace of mind that my house won’t ignite in flames due to this wiring job. lol
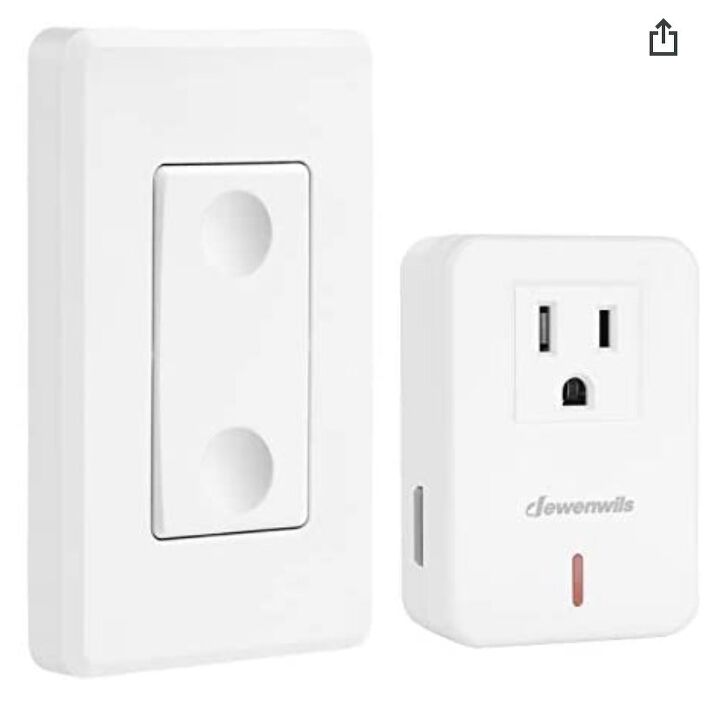
And that’s it. Now install your light where your want it. I didn’t want to have to physically reach down and plug mine into the outlet every time I wanted to turn it on so I got these off amazon and they work amazing. Now I just need flip on a switch and its almost like my light was hardwired.
Here is the link if you want to make a purchase
I hope you found this useful. I absolutely love that you can add lighting in essentially anywhere now. This conversion is so easy.
x
Amber
be sure to follow me on instagram to see the complete transformation of this space.
Comments
Join the conversation
-
Great tip. I've done this to a lot of lights. One thing to remember ...The wide prong on the plug connects to the white (neutral) wire on the fixture. The narrow prong (hot) connects to the black wire. The lamp will light if the connections are reversed but any part of the metal fixture can be electrically charged creating a shock hazard even when the lamp is turned off. All newer plugs and extension are polarized this way to prevent shock. The wire on extension cords going to the wide prong (neutral) have a groove along the length while the hot is smooth.
-
Another great option would be to use smart plugs. Smart sockets are devices that sit between regular electrical sockets and the connected device. So instead of plugging your coffee maker or TV into a wall outlet, you plug them into your smart outlet. Usually, these devices share the same basic functionality: control. This allows you to set outlets to turn on or off at scheduled times. Or, if you have a Smart Home like the Homey, you can connect them to various other smart home devices. This way, you can start your journey of automating your home. I bought smart plug amazon and was satisfied.


Frequently asked questions
Have a question about this project?