


How to Fill a Cabinet Crack in a Few Simple Steps

If you’re wondering how to fill a cabinet crack, I'll take you through a step-by-step process on how to effectively repair a cabinet crack using backer rod and caulk.
These simple techniques can make your cabinet look as good as new. So, let's get started on transforming that unsightly crack into a seamless finish.
Tools and materials
- Backer rod
- Caulk gun
- Painter's tape
- Putty knife or scraper
- Paintbrush
- Caulk (color matching the cabinet)
- Cabinet color paint
- Cloth or rag for wiping off excess caulk
Table of contents
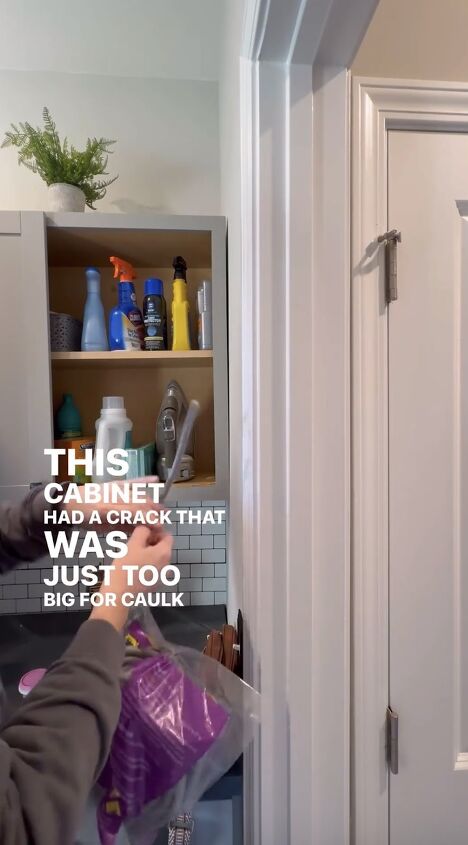
Step 1: Assessing the Crack
The first step in any repair project is to assess the extent of the damage. In this case, the crack in the cabinet was too substantial for conventional caulk.
To address this, I opted for an alternative solution – backer rod. This squishy tubing is an inexpensive yet effective way to fill larger cracks and is readily available at major hardware stores like Lowe's.

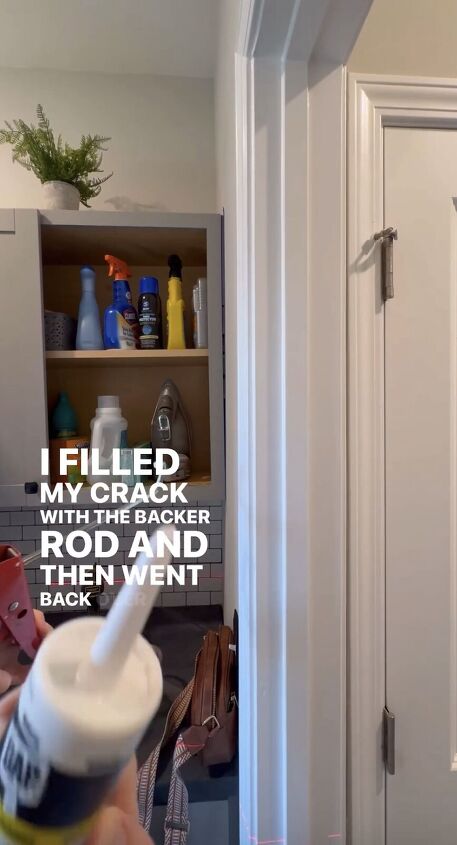
Step 2: Filling the Crack with Backer Rod
Begin the repair by filling the crack with backer rod. This flexible tubing provides a stable foundation for the caulk and ensures a lasting fix. Simply insert the backer rod into the crack until it's level with the cabinet surface.
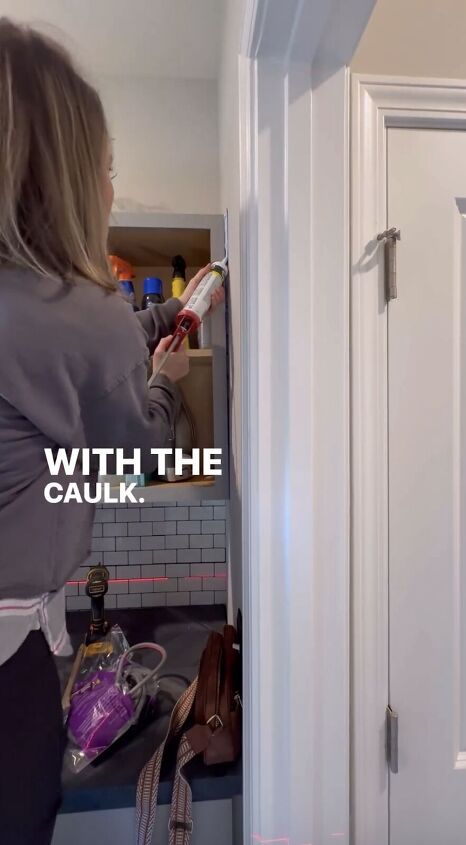
Step 3: Applying Caulk
Once the backer rod is in place, it's time to apply the caulk. Using a caulk gun, carefully fill the crack with caulk, ensuring even distribution. The backer rod acts as a support, preventing the caulk from sinking into the crack.
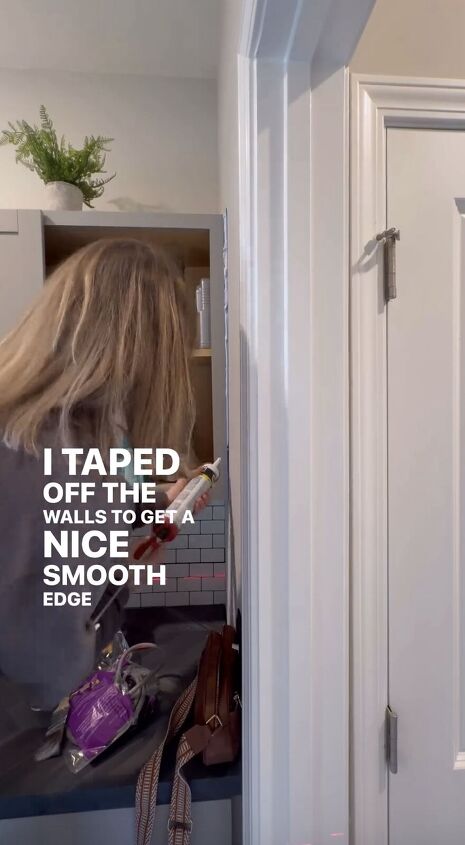
Step 4: Taping Off Walls for a Smooth Edge
To achieve a professional finish, tape off the surrounding walls with painter's tape. This step ensures a clean and smooth edge for the caulk application. Take your time to tape precisely, as it will significantly enhance the final result.
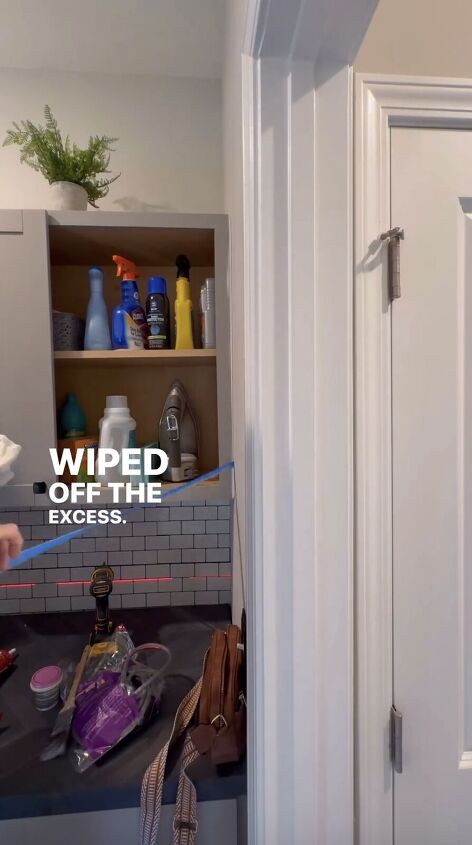
Step 5: Wiping off Excess Caulk
After applying the caulk, use a putty knife or scraper to remove any excess material. Wipe off the excess caulk with a cloth or rag, leaving a neat and polished appearance.

Step 6: Matching Cabinet Color
To seamlessly blend the repair with the rest of the cabinet, go over the caulk with the matching cabinet color paint. This step helps conceal the repair, making the crack virtually invisible.

How to fill a cabinet crack
By following these simple steps and using the right tools and materials, you now know how to fill a cabinet crack successfully and restore its aesthetic appeal.
Whether you're a DIY enthusiast or a homeowner looking to address minor damages, this guide provides a straightforward approach to achieving professional results. Add any tips you have in the comments below.
Follow @home.by.hand on Instagram for more DIY ideas.
Comments
Join the conversation
-
Actually that is not a crack but a gap between the wall and cabinet. The backer rod is a good solution to prevent using too much caulk to fill the gap. Using a too thick backer rod can widen the gap. All that's needed is anything to fill the gap just below the surface so the caulk won't sink into the gap. Stuffing paper towels, aluminum foil, strips of sponge would also work.


Frequently asked questions
Have a question about this project?