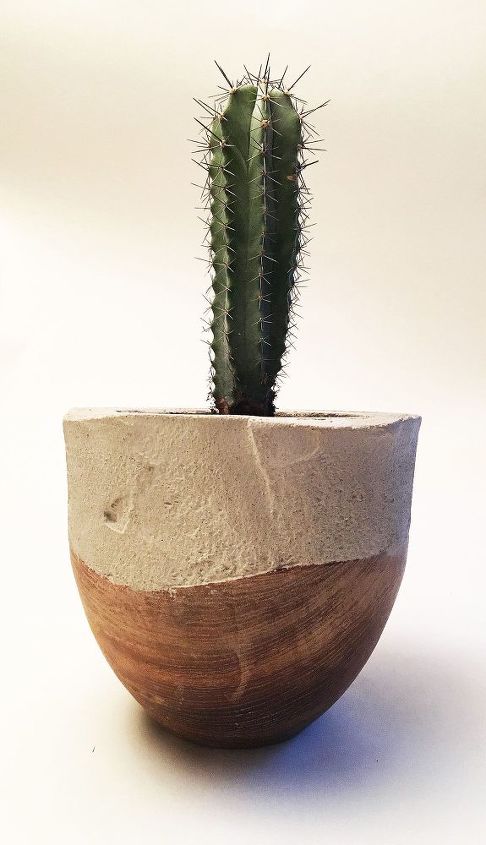
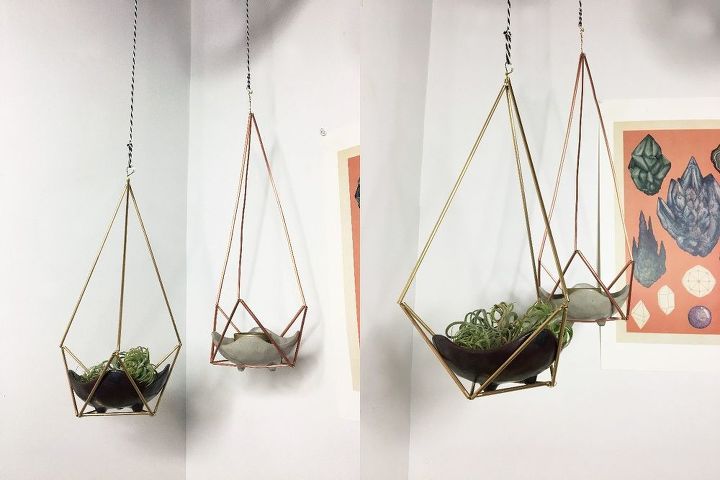
3 Gorgeous And Unique Ideas To Display Your Plants
Step 1: Trace the lip of a wooden bowl
Take any piece of paper large enough. Get tutorial here

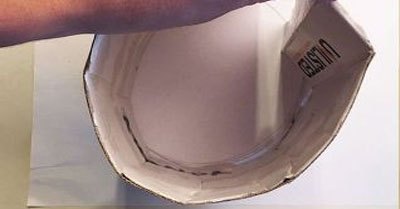
Step 2: Mold cardboard into circular shape
Tape the edges together to create a circular shape. Get tutorial here
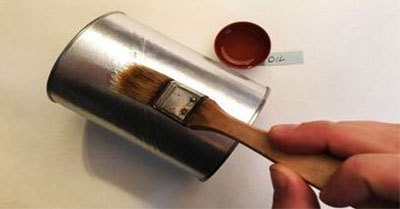
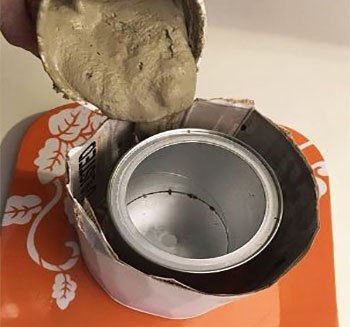
Step 3: Grease the sides of the two molds
Take or make a smaller diameter circular mold. Grease the sides of the molds that will touch the cement. Get tutorial here
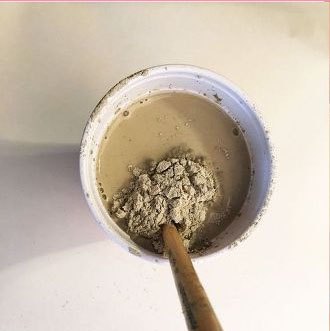
Step 5: Pour the concrete between the molds
Make sure that the cement is dispersed evenly. Set aside and allow to set. Get tutorial here
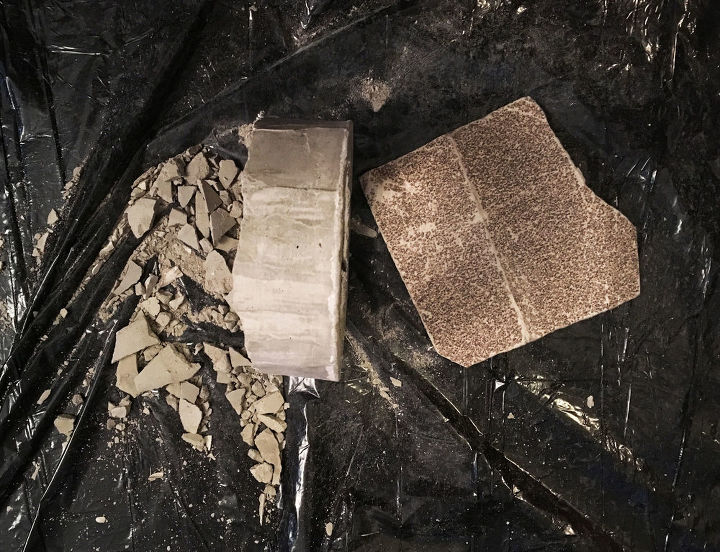
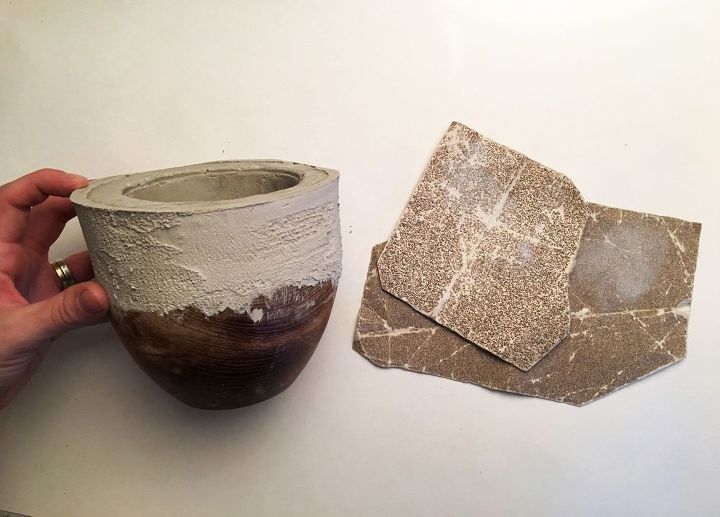
Step 6: Once dry remove the molds
Sand down any sharp edges. Get tutorial here
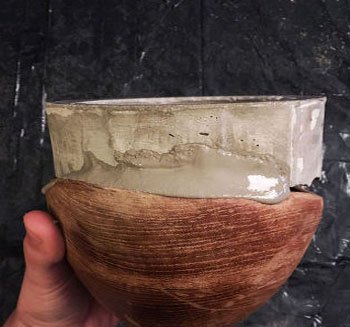
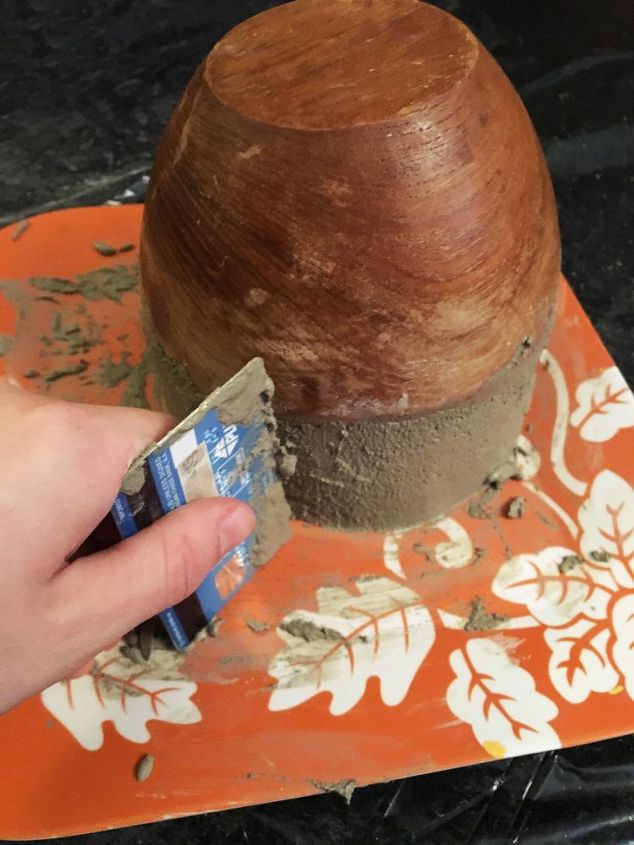
Step 7: Fix the cement ring to the bowl
Mix another batch of cement to seal the two pieces together. Get tutorial here
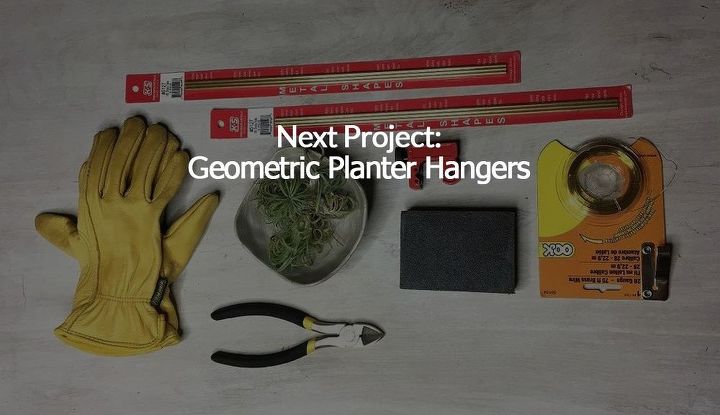
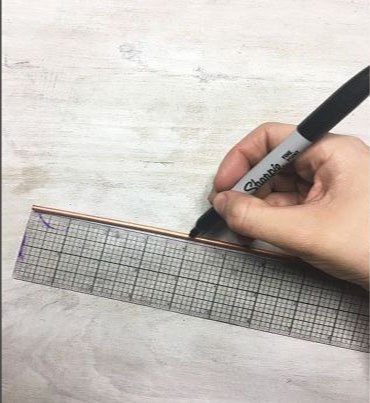
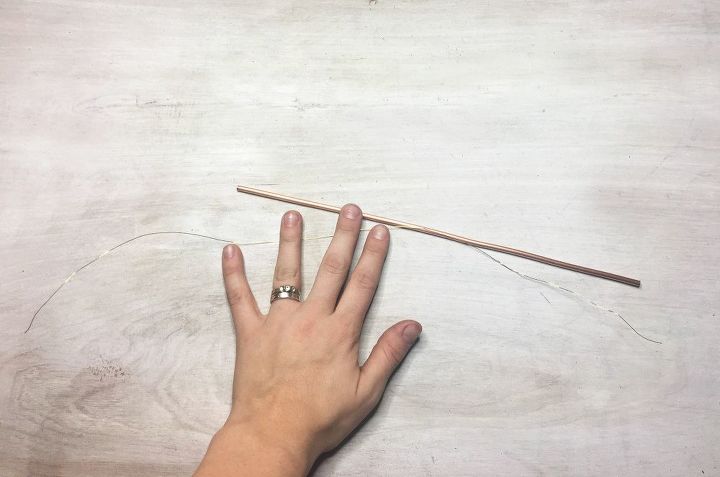
Step 1: Measure and cut 9 metal pipe pieces
You will need 3 pieces at 3" and 6 pieces at 4" in length. Get tutorial here
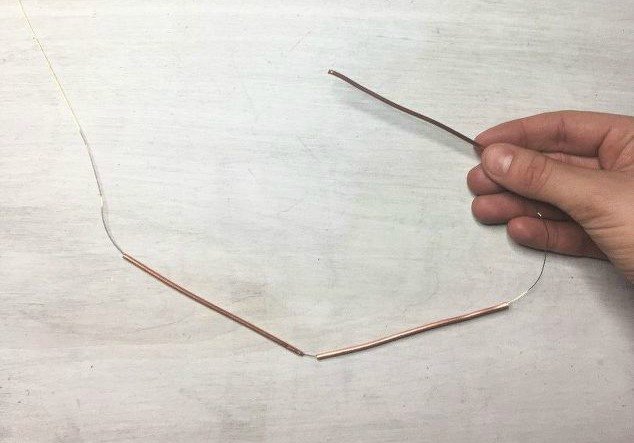
Step 2: Cut a long enough piece of wire
Cut a piece of wire long enough to feed through all of the 9 pieces you just cut with a good 2-3 inches extra. Get tutorial here
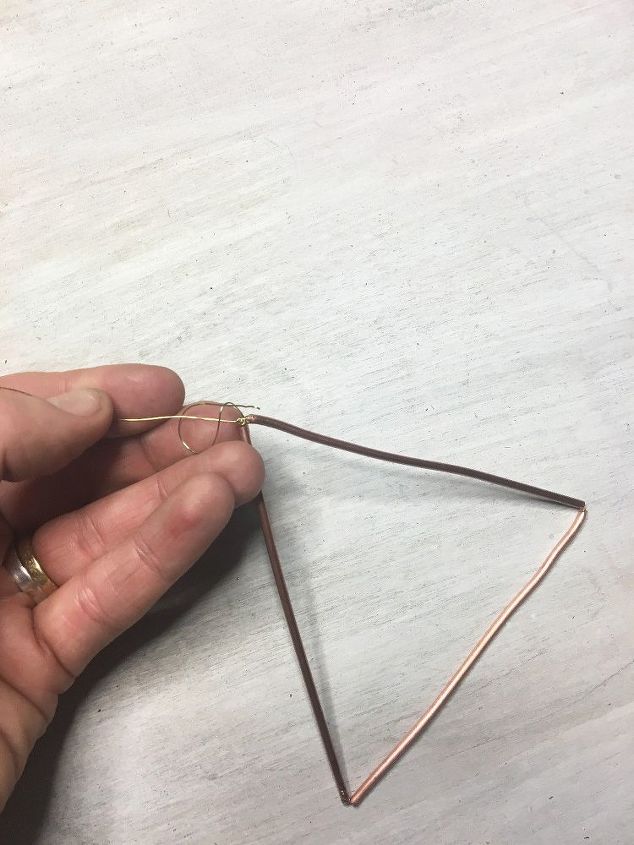
Step 3: Secure the pipes in a triangle
Twist the short end of the wire to the long piece sticking out the other end, securing the pipes together tightly. Get tutorial here
Step 4: String the wire to add more triangles
Twist the wire around one of the corners of the 3" triangle to create another triangle with the new pipe pieces. Get tutorial here
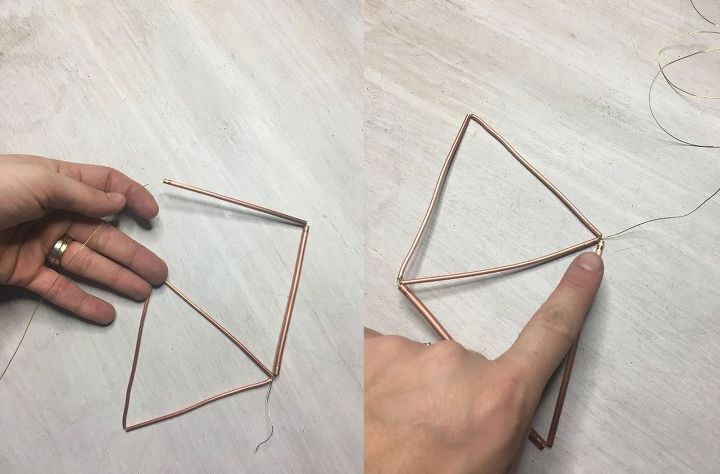
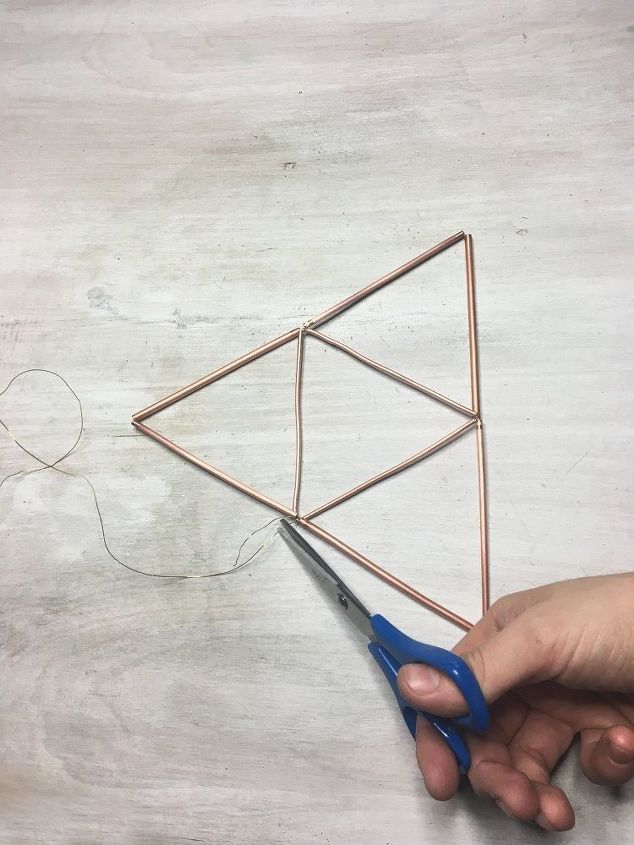
Step 5: Make last triangle and trim the wire
Feed the last two 4" pieces onto the wire and twist the wire once again to make the last triangle. Get tutorial here
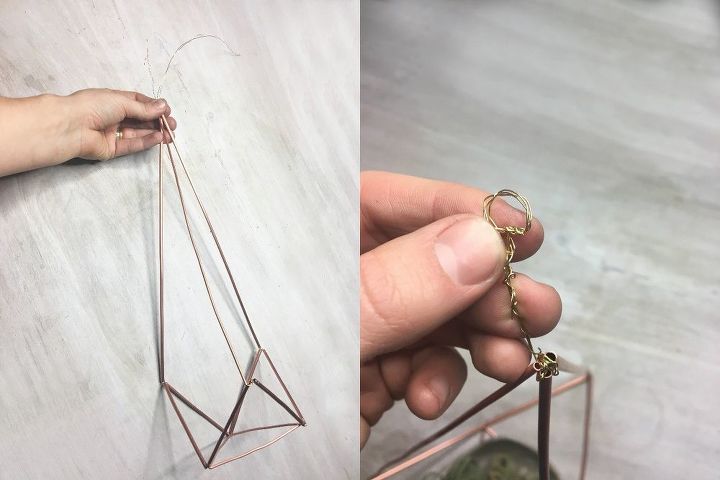
Step 6: Create the hangers
Cut a piece of wire for each of the 3 pipes, making sure each is 2-3" longer than the pipe. Get tutorial here
Step 7: Attach hangers to the triangle
Twist one end of each of the wires to one of the outer corners of each triangle. Make sure it is securely in place. Get tutorial here

Step 8: Make a loop with the wire ends
Gather the ends of the wires so that they come to a point and twist them in place. Get tutorial here
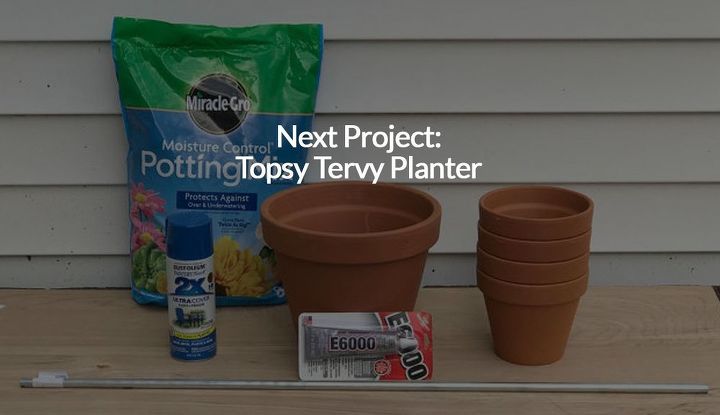
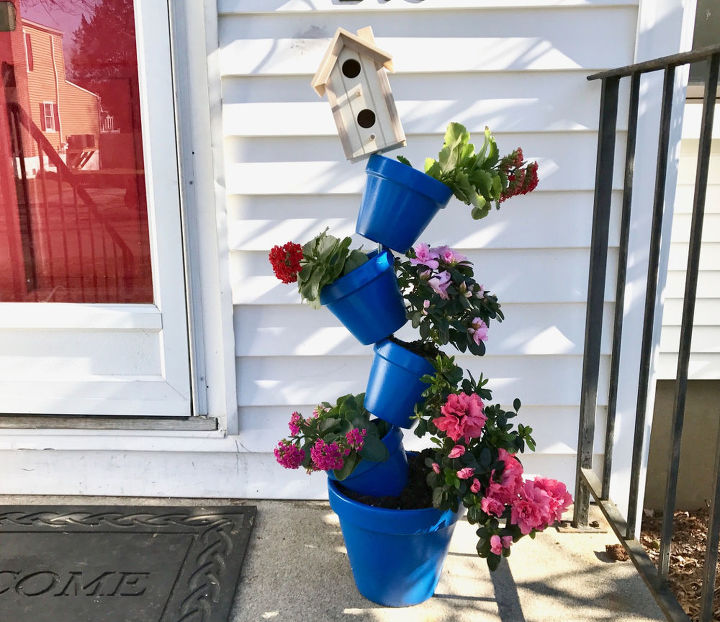
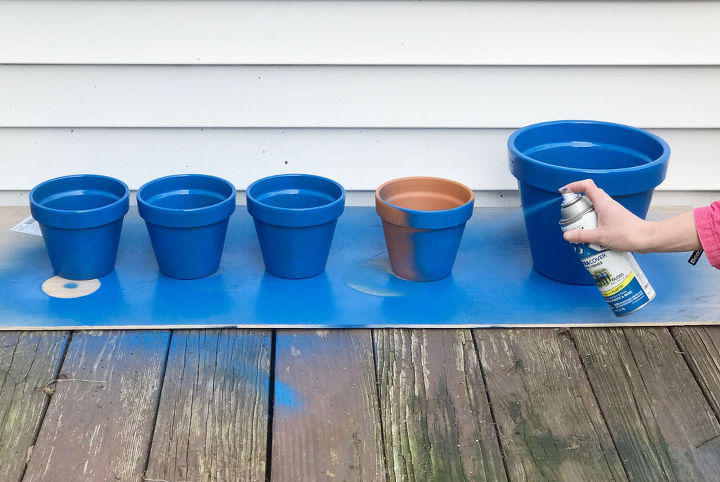
Step 1: Paint your pots
Think about a color that will really "pop"! Get tutorial here
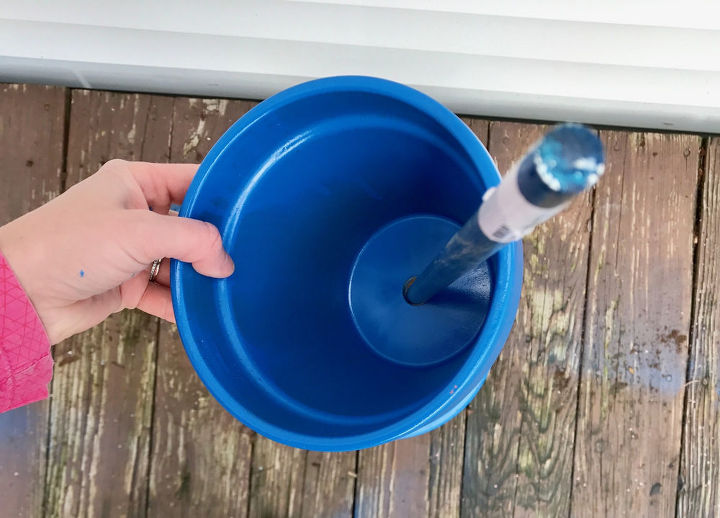
Step 2: Pack a pot with soil around a rod
Take a 10" pot and fill it with potting soil. Insert the metal rod into the center of the pot while you fill it. Get tutorial here

Step 3: Thread your second pot onto the rod
Take one of your 6" pots and thread the metal rod through the bottom base hole. Get tutorial here
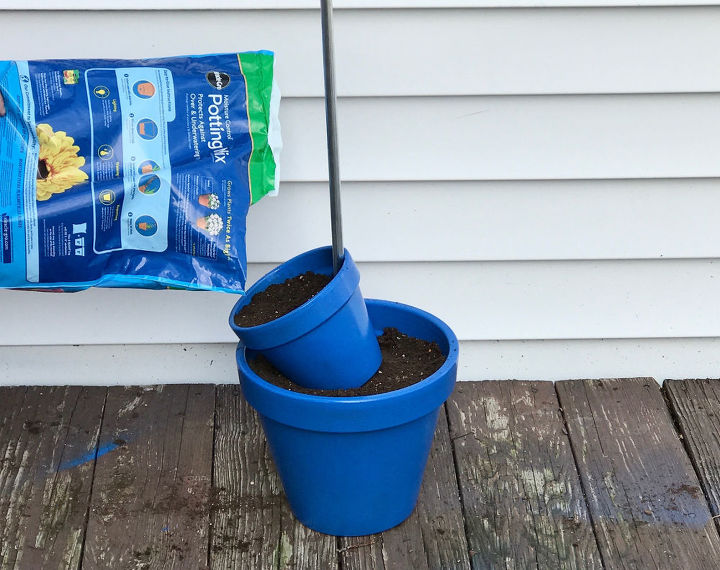
Step 4: Wedge and fill your second pot
Wedge your smaller pot into the soil, so it sits on an angle. Fill it with soil. Get tutorial here
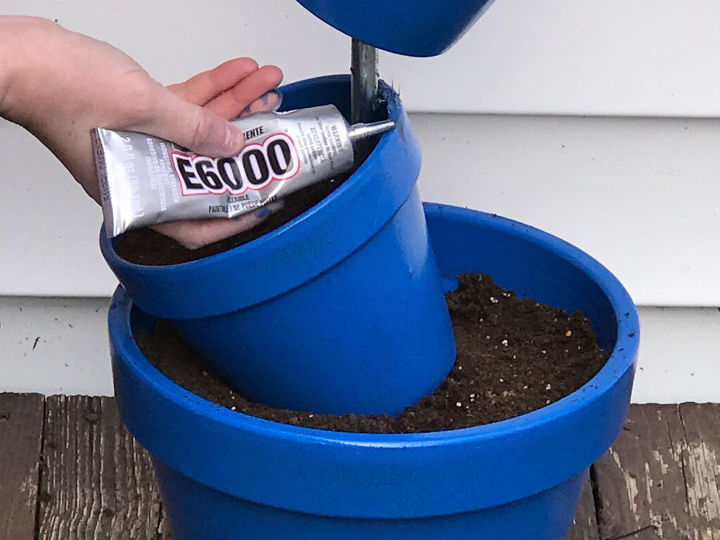
Step 5: Glue the edge of your pot
Using heavy-duty adhesive, glue the right outer edge of the second pot for where the third pot will lie. Get tutorial here
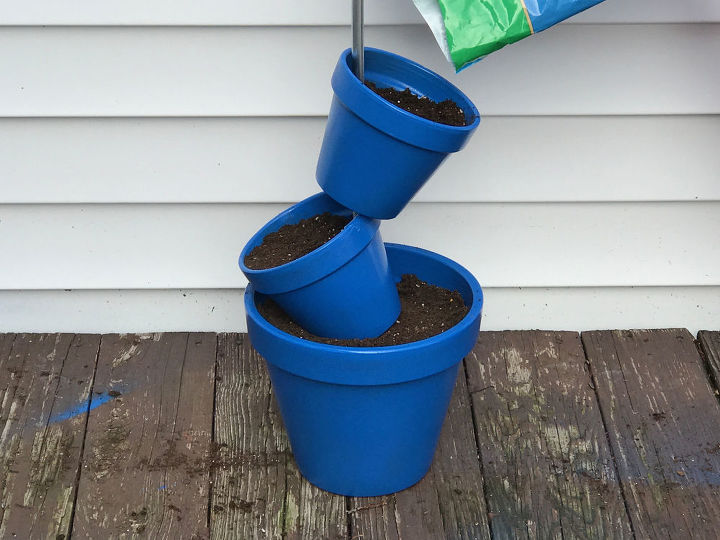
Step 6: Add the next pot and fill with soil
Continue the steps until you stack all of your pots. Get tutorial here
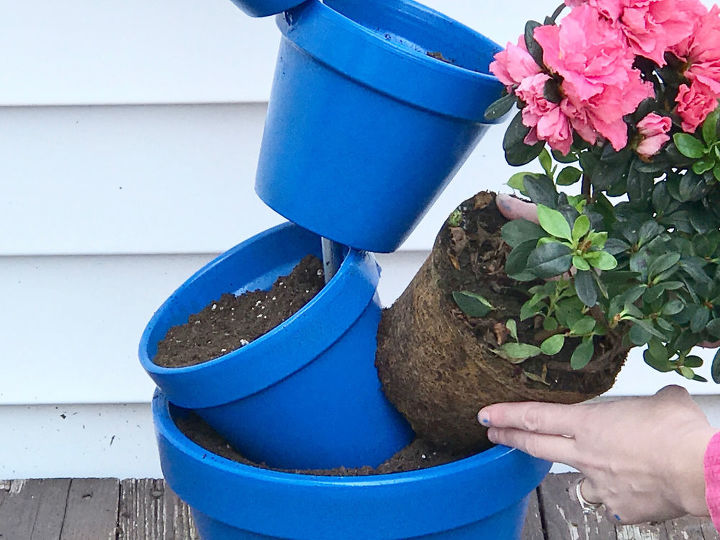
Step 7: Plant your flowers
You will most likely have to break up the root of the plant slightly to ensure they fit nicely into each pot. Get tutorial here
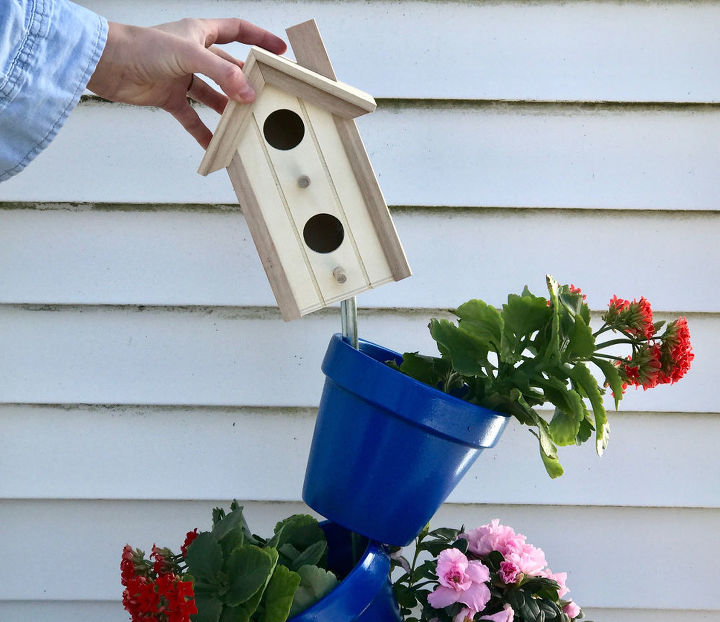
Step 8: Add a playful element on top
Use the extra length of the rod for a decorative element. You can change that element with seasons and holidays! Get tutorial here