Here Comes the Light! 3 Great Light Ideas
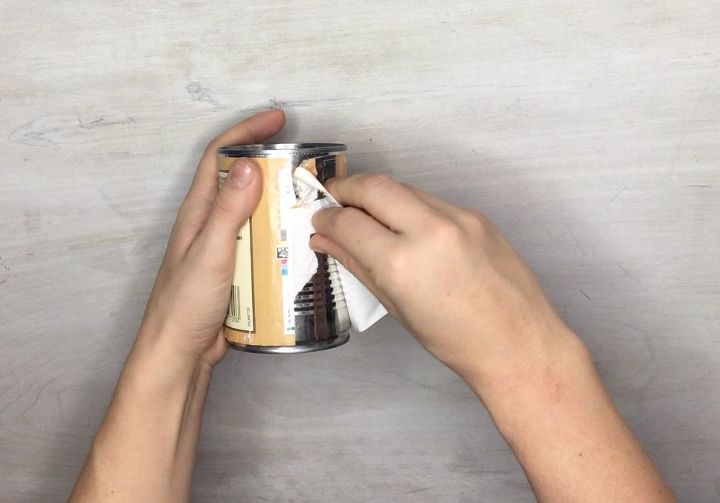
Step 1: Clean your tins
Remove the labels and sticky residue from your tin cans Get tutorial here
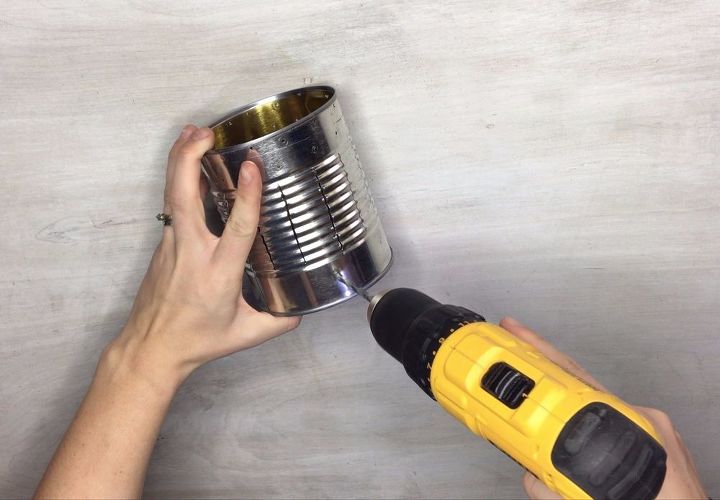
Step 2: Make slices through the can
The slices should be 3/4" apart from each other Get tutorial here
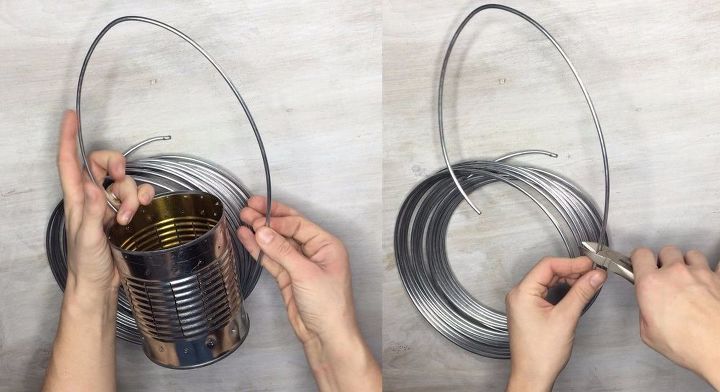
Step 3: Create a handle
Grab your thick metal wire and make a nice arc around the top of the can to make a handle Get tutorial here
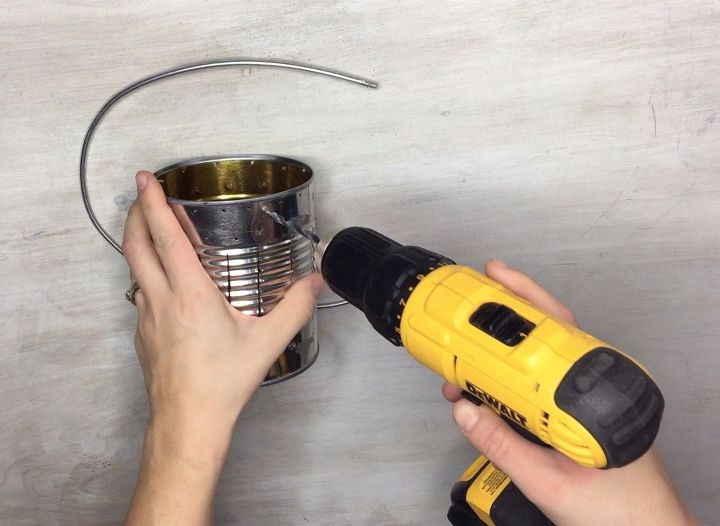
Step 4: Create two holes for the wire
Drill two holes at the top of the can directly across from one another that are large enough for the wire Get tutorial here
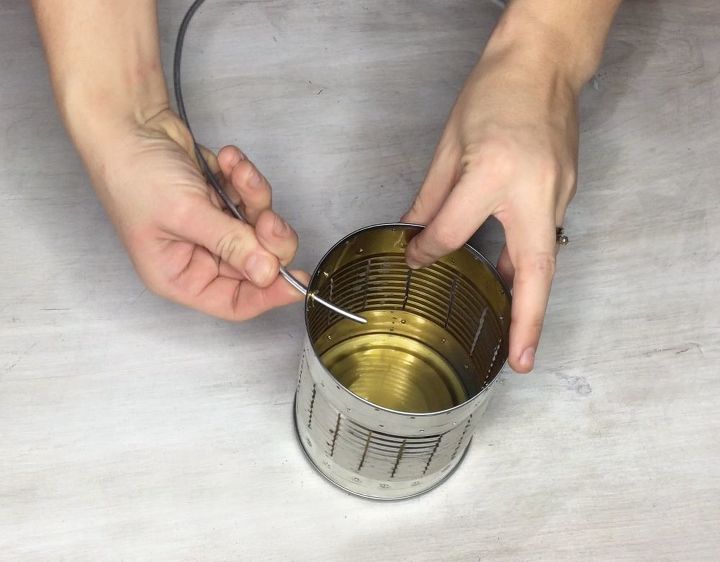
Step 5: Feed the wire through the holes
Feed one end of the wire through one of the holes Get tutorial here
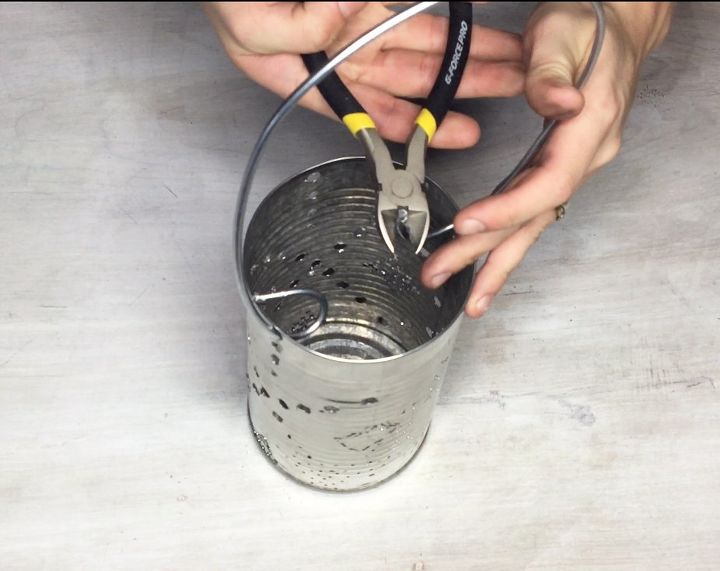
Step 6: Twist the wire
Use your wire cutters or pliers to curve the wire around the edge of the can so it secures the handle in place Get tutorial here
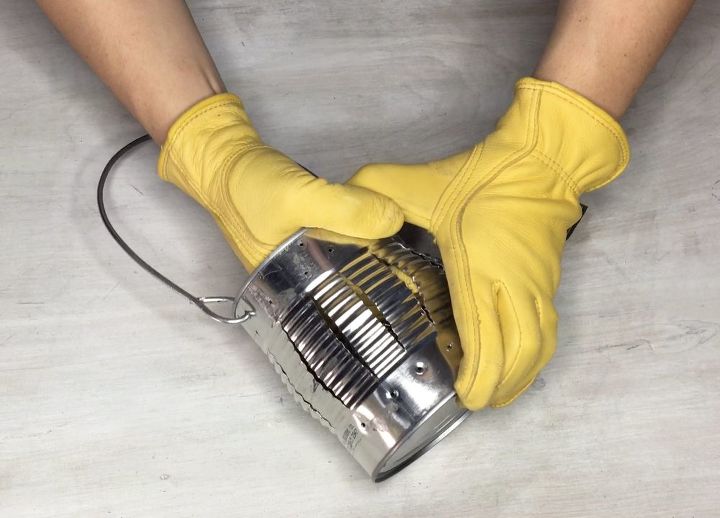
Step 7: Form the shape of the lantern
It's better to use gloves to avoid cuts Get tutorial here
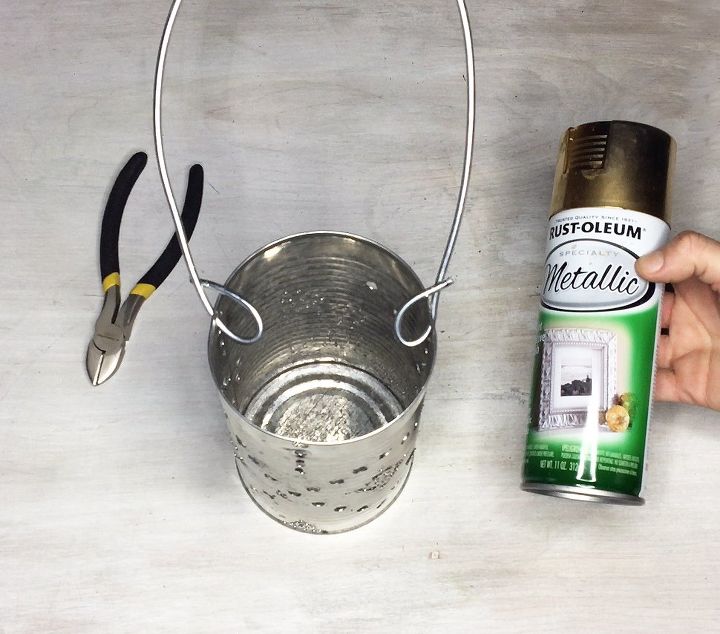
Step 8: Spray paint the lantern
If you want to add a little extra character to your lanterns, spray paint them the color of your choice Get tutorial here
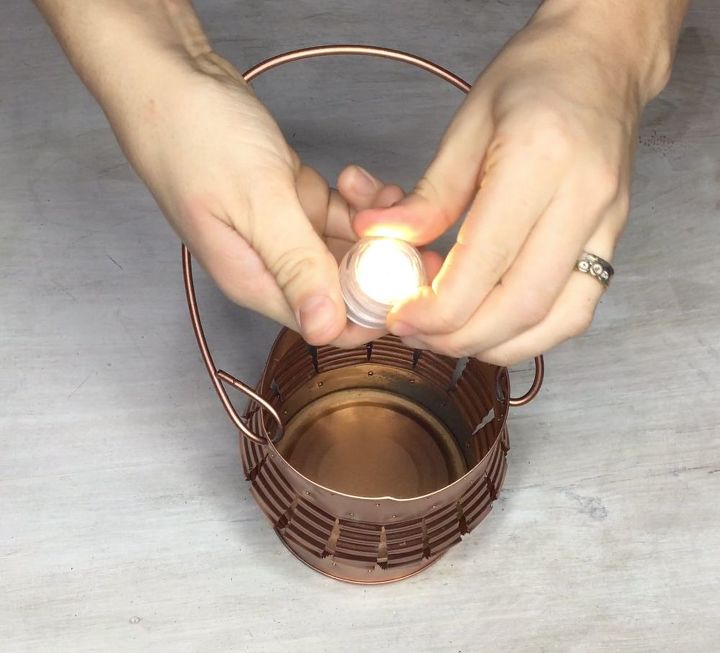
Step 9: Drop a light inside
LED lights are great because they're waterproof and much safer than regular wax candles Get tutorial here
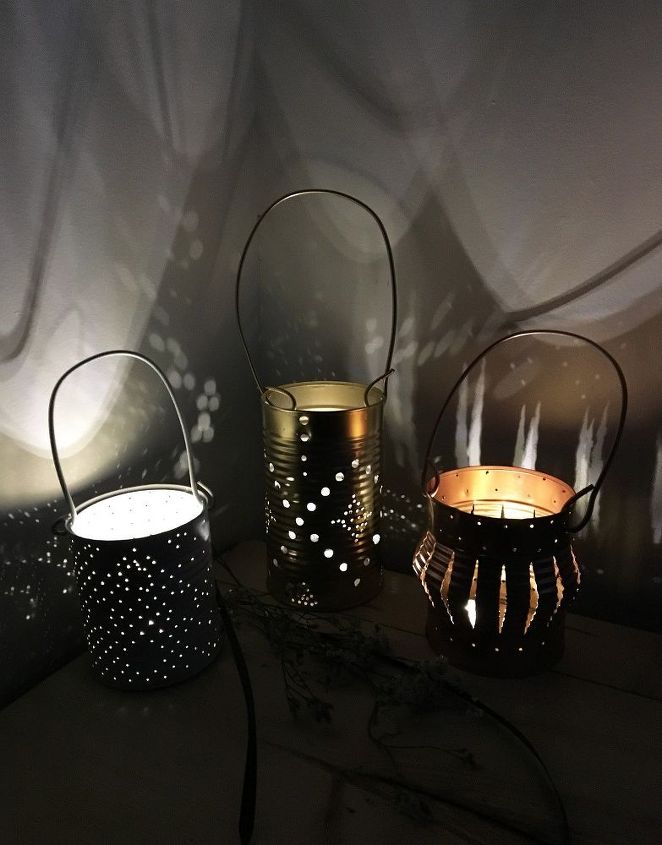
Step 10: Create more lanterns and patterns!
Look at all those designs cast on the wall! The possibilities are endless! Get tutorial here
Next: Tuna Can Turns into Tea Light Hangers
Are you ready? Let's get started! Get tutorial here
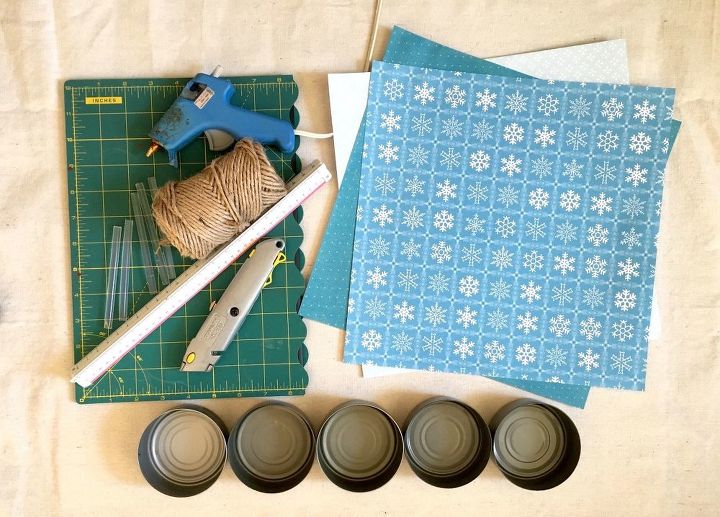
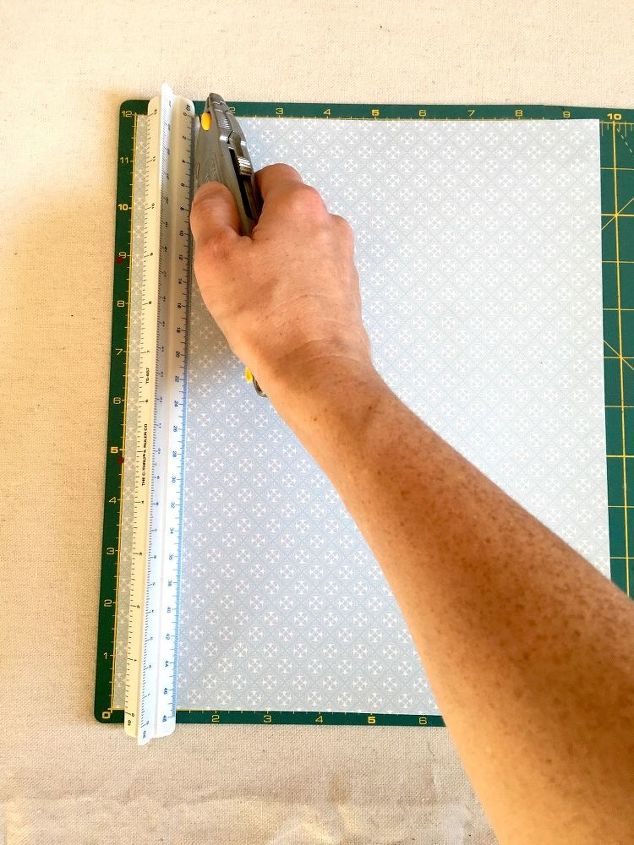
Step 1: Cut scrapbooking paper
Make sure your tuna cans are empty and clean Get tutorial here
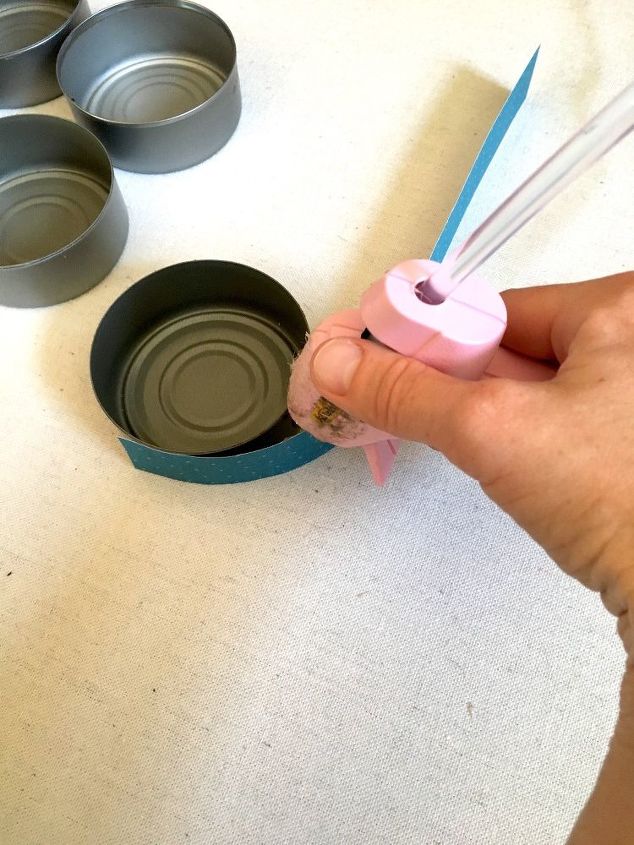
Step 2: Hot glue paper strips to cans
Add glue until the entire strip is glued to the can Get tutorial here
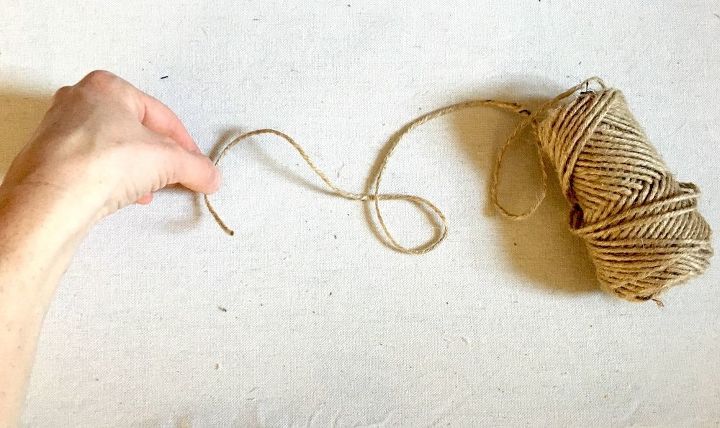
Step 3: Cut string to hang cans
Cut different lengths of twine to hang the cans Get tutorial here
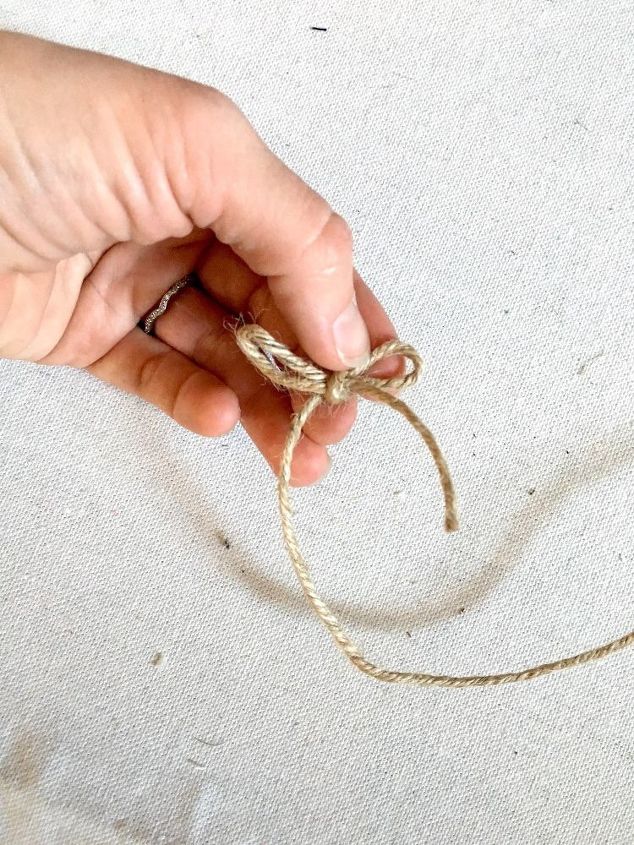
Step 4: Make a bow from the end of the twine
Make sure the bow is tied tight Get tutorial here
Step 5: Cut the bow loose
Cut an inch and a half to 2" or so. These to add an extra little touch to the cans Get tutorial here

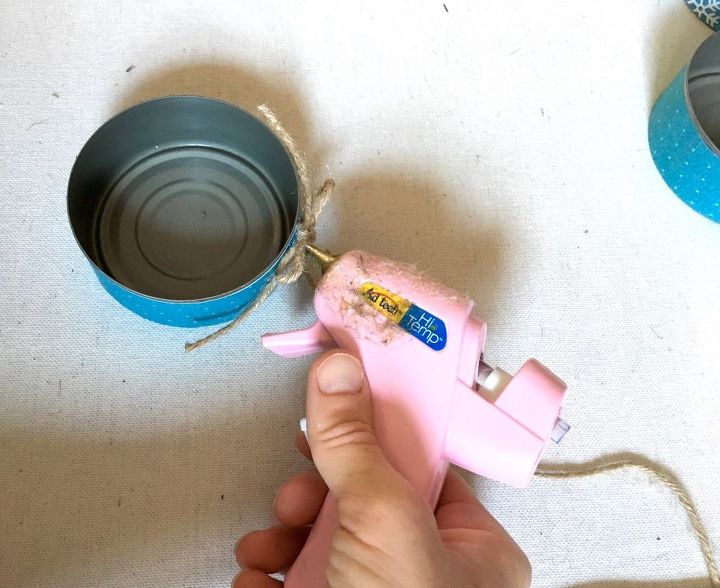
Step 6: Hot glue the bow to the can
Glue the end of the twine string to the can Get tutorial here
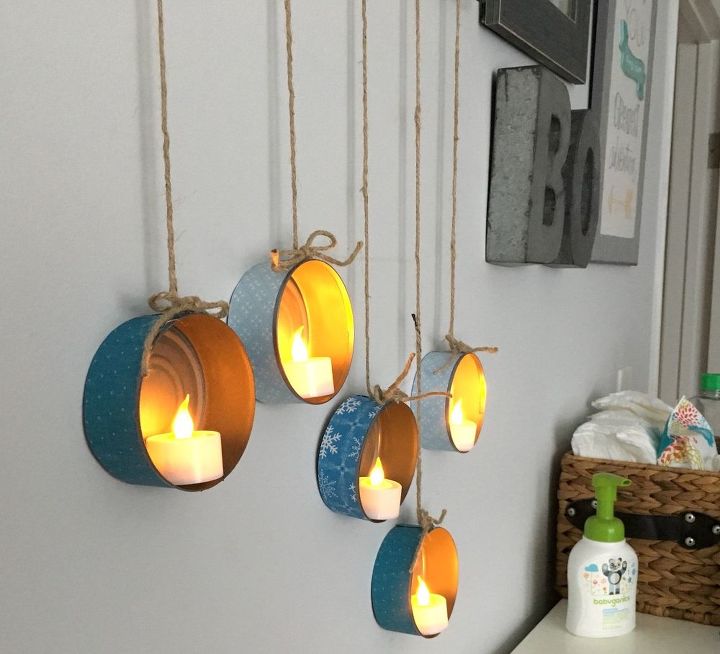
Step 7: Attach can to twine & add tea lights
Use electrical lights to avoid wax dripping Get tutorial here
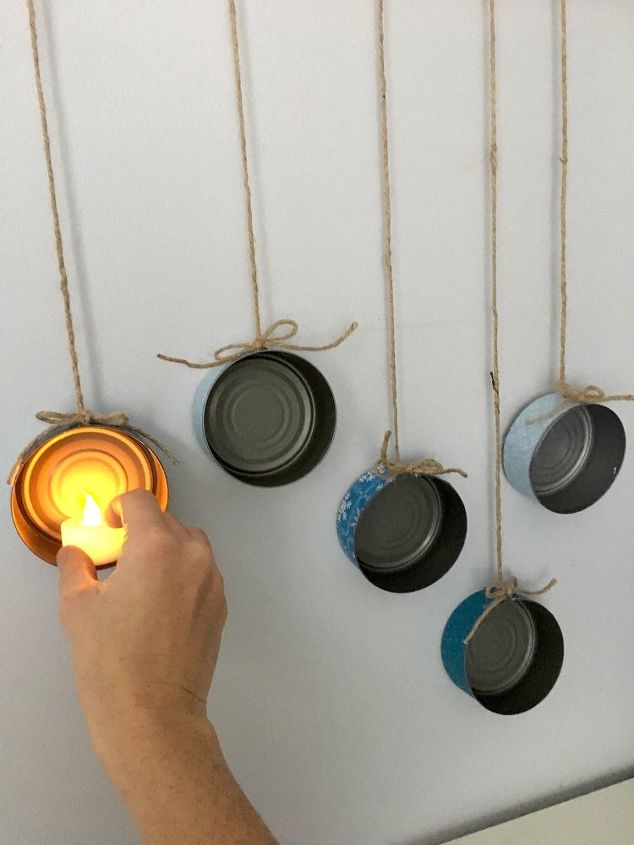
Step 8: Turn on the electrical tea lights
Now go ahead and make some more! Get tutorial here
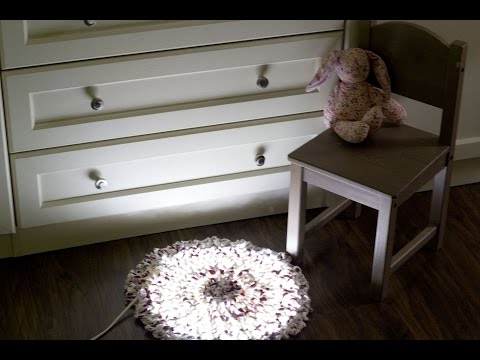
Next: Light Up Your Bedroom With A... RUG!
Instead of just buying a nightlight for the wall or desk, make a light up rug! Get tutorial here

Step 1: Start crocheting your rug
Start with crocheting a circle. If the circle itself isn't secure, make a few stitches to keep it together Get tutorial here
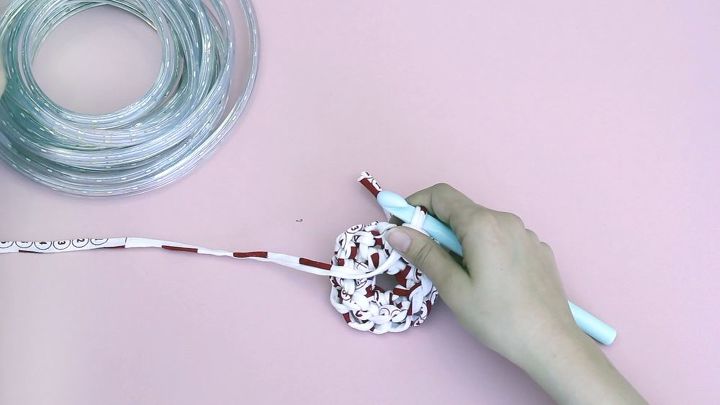
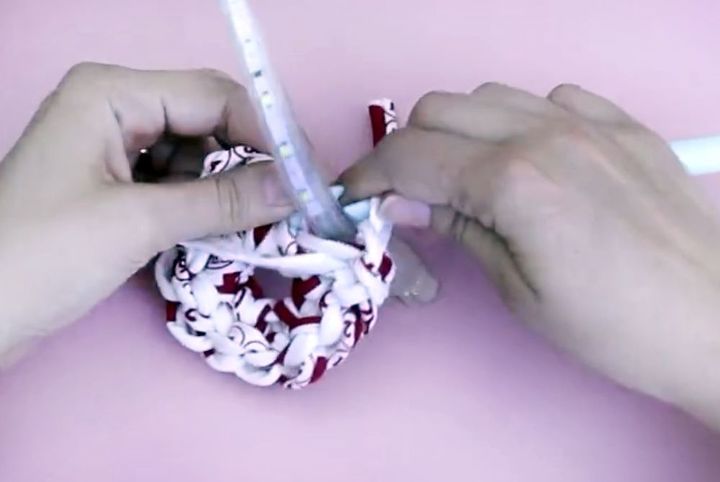
Step 2: Insert your rope light
Crochet at least 3 rows of your rug before adding the rope light Get tutorial here
Step 3: Finish crocheting the rug
This part goes much faster than you would think because the rope is thick Get tutorial here

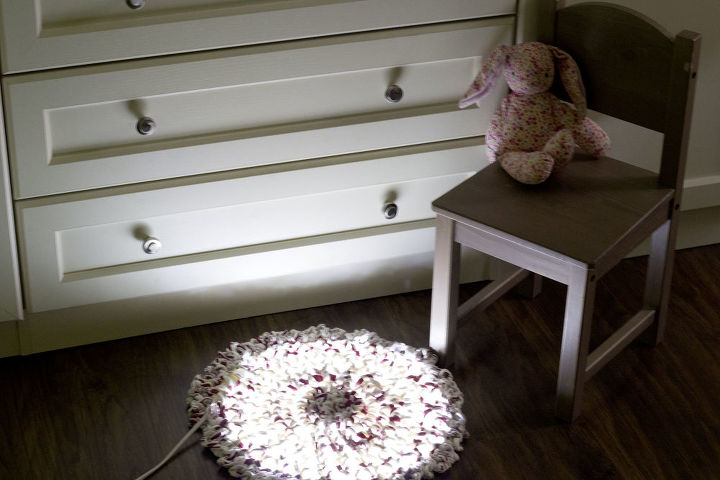
Step 4: Turn on the light!
Place your rug close to an outlet in your children's room and plug it in! Get tutorial here
Step 5: Watch the full tutorial
If you want to see how to crochet here's a link just for you https://www.youtube.com/watch?v=sLUaywX0-WE Get tutorial here