Step-By-Step: Turn Crates Into The Perfect Pieces For Your Home
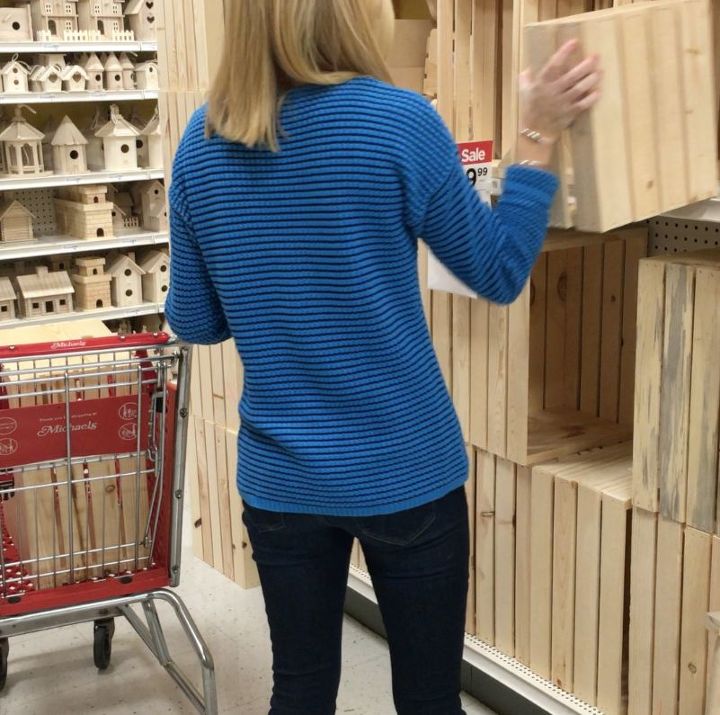
Step 1: Grab 1 regular sized crate & 1 small
You can grab your crates from Michael's! Get tutorial here
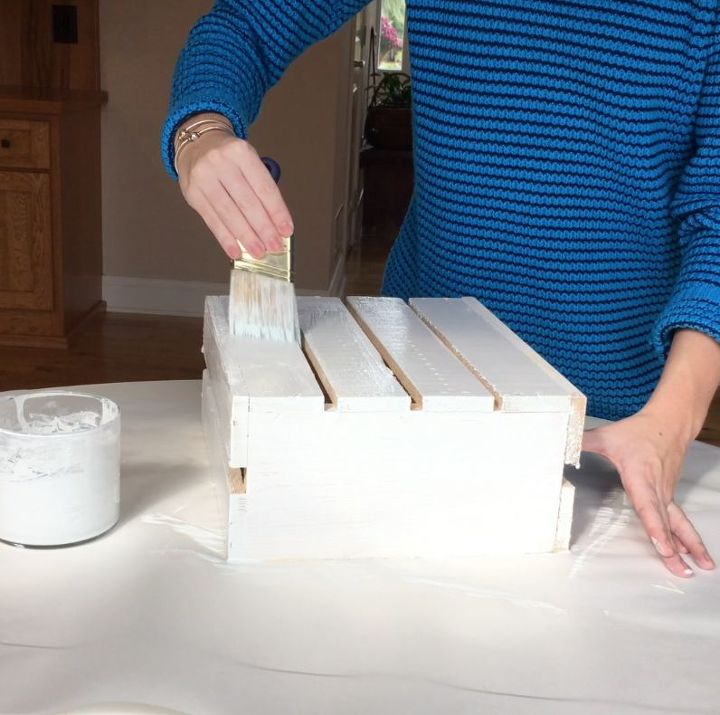
Step 2: Paint both crates
I painted both crates with off-white chalk paint to match the rest of my decor, but choose any color you like! Get tutorial here
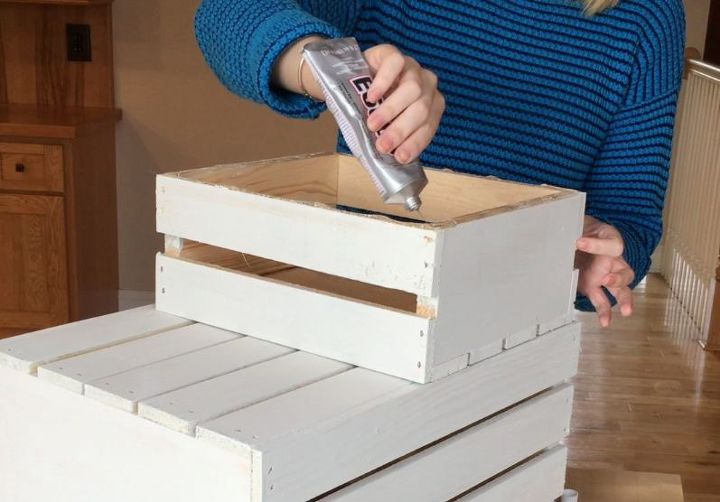
Step 3: Apply E600 to bottom of half crate
After your paint has fully dried, apply a thin layer of glue to the bottom of the smaller sized crate. Get tutorial here
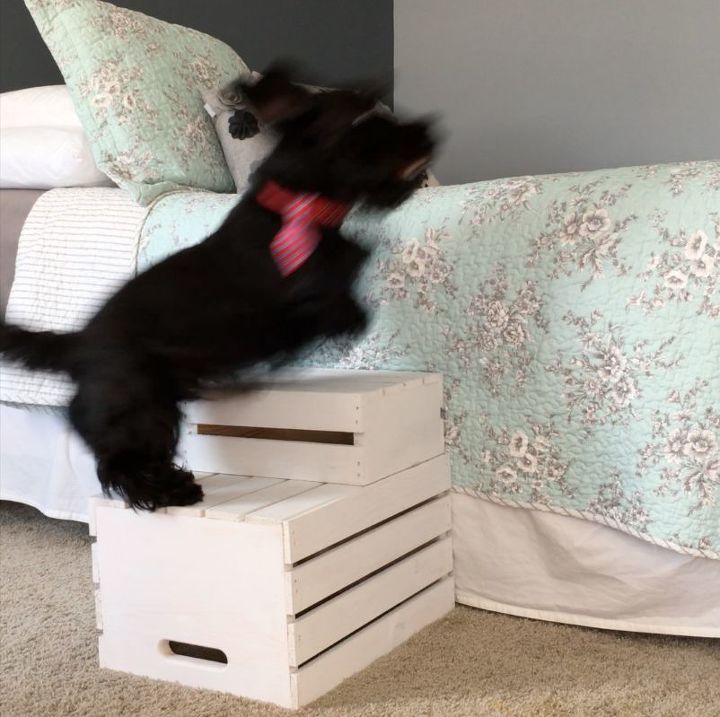
Step 4: Position on top of larger crate
Place the smaller crate on the larger one creating a step stool. Get tutorial here

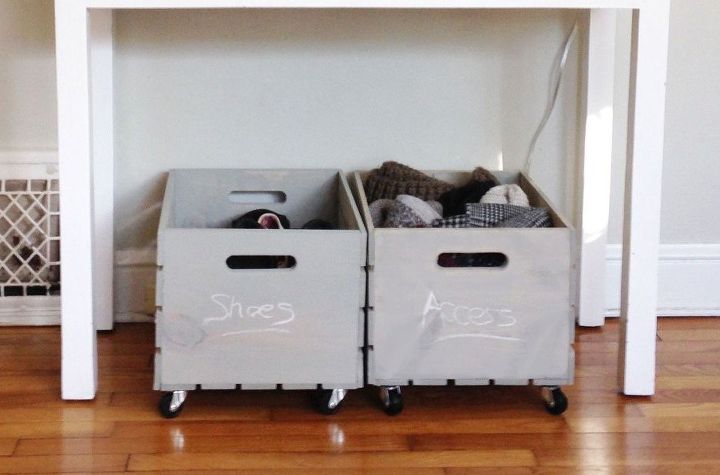
Next: Storage Crate On Wheels
Are you tired of stuff piling up around the house? You're going to love this DIY project! Get tutorial here
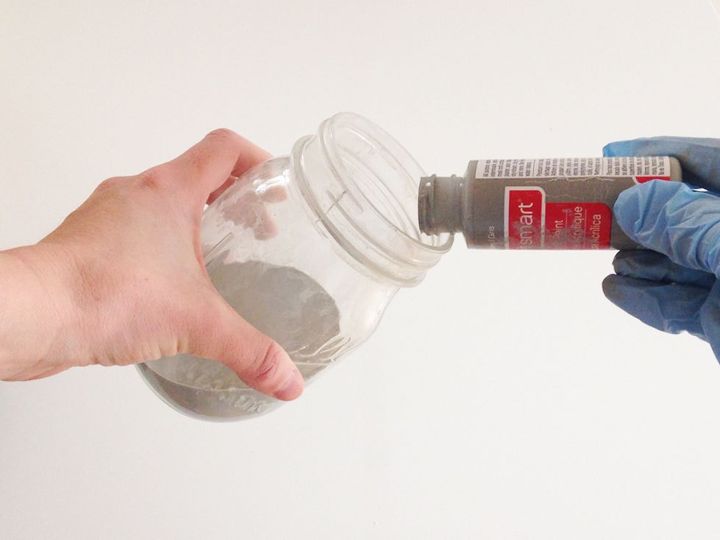
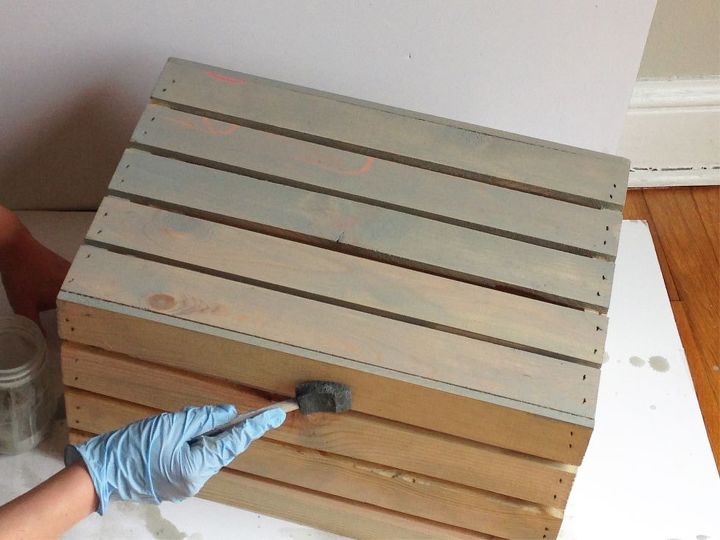
Step 1: Mix your paint
You can paint your crate any way you'd like. I created a simple wash by mixing acrylic paint with some water. Get tutorial here
Step 2: Sand & prep your crate
Using sandpaper, file away any rough edges and brush away the debris. Get tutorial here
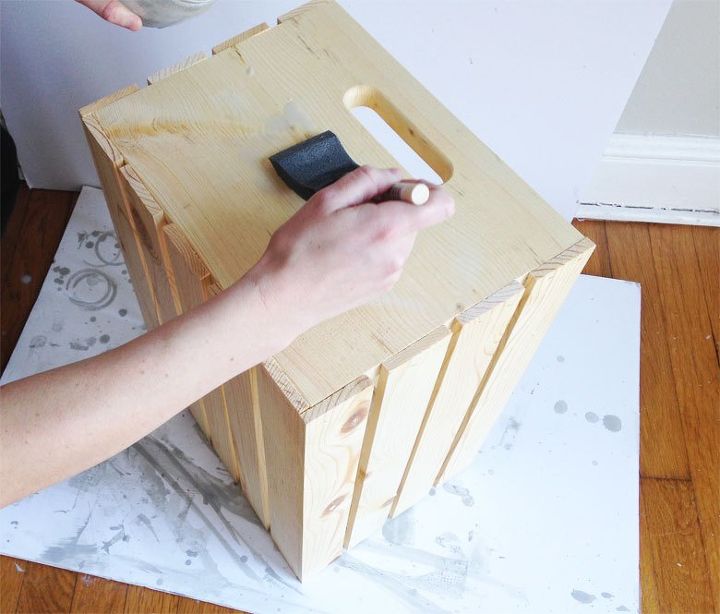
Step 3: Paint away! Apply 2 coats
I like working with a sponge brush as opposed to a bristle brush for this project to avoid unsightly brush strokes Get tutorial here
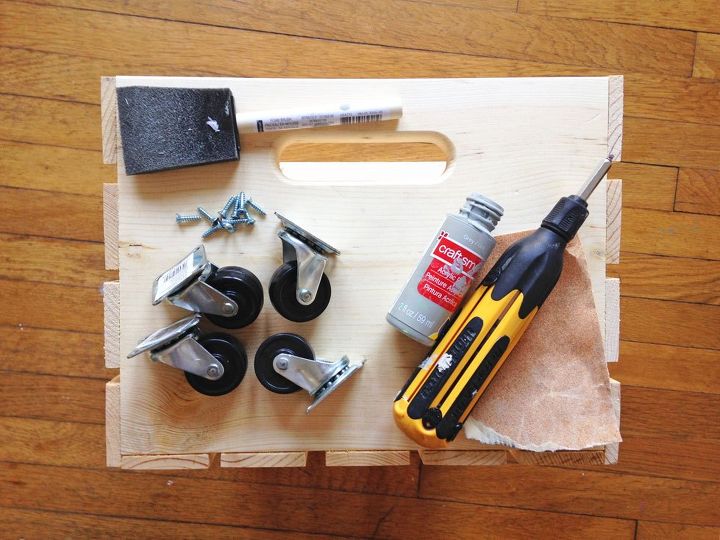
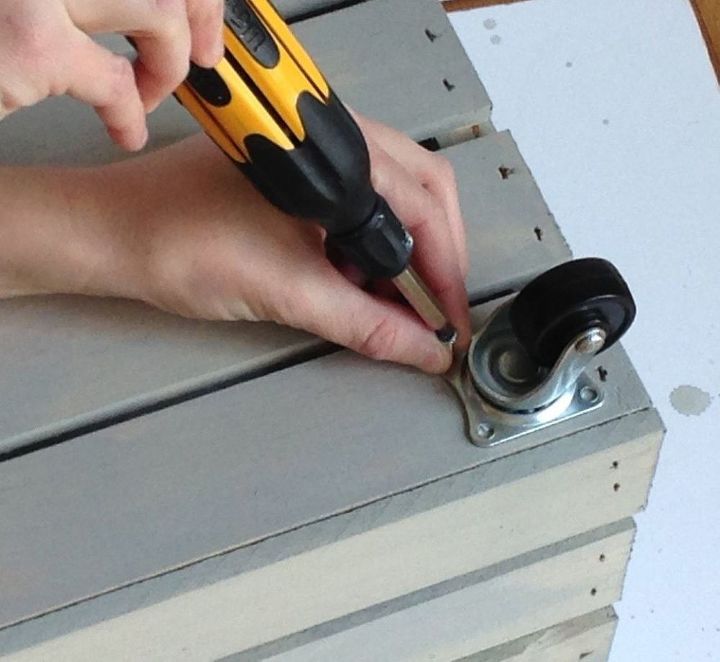
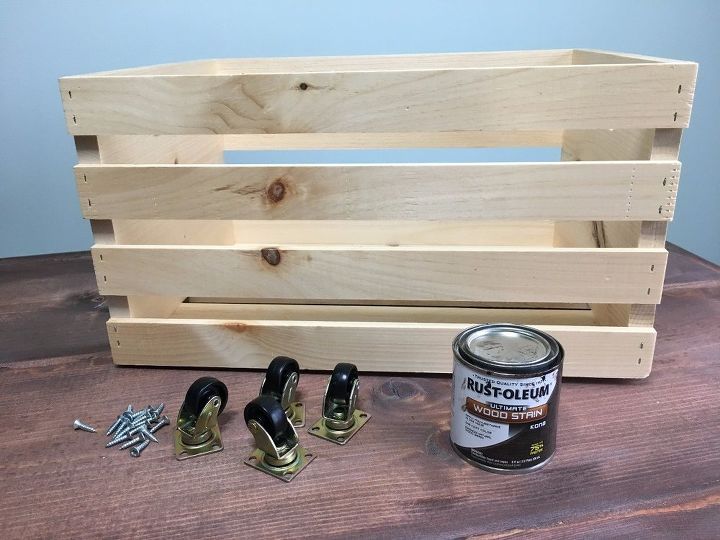
Step 4: Add the wheels
Screw in four caster wheels at each corner and get ready to roll... Get tutorial here
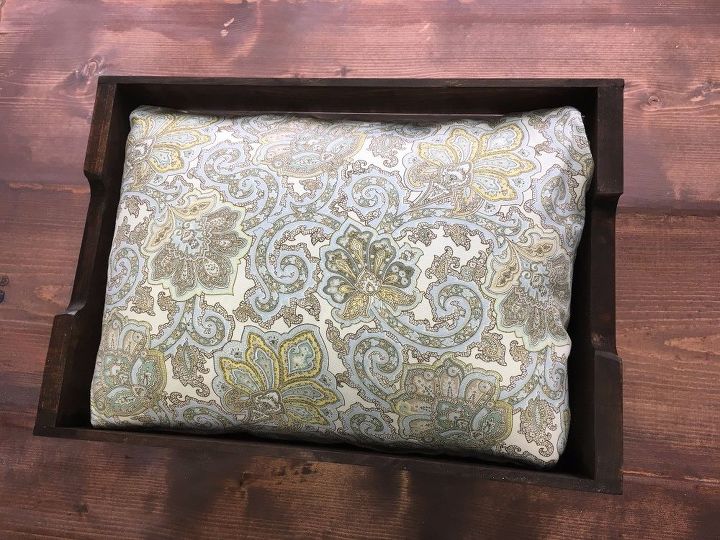
Next: Build An Easy Hidden Ottoman
Make yourself an ottoman - the perfect addition to your patio! Get tutorial here
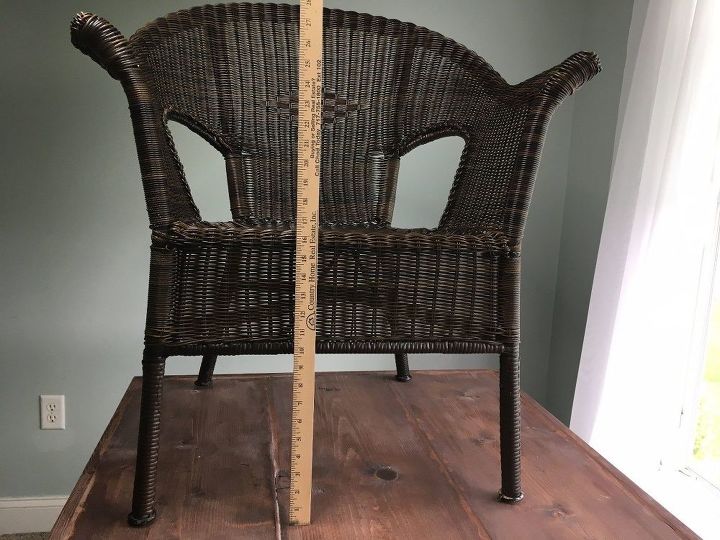
Step 1: Measure height & width of chair
This is where you will store the ottoman when you're not using it. Get tutorial here
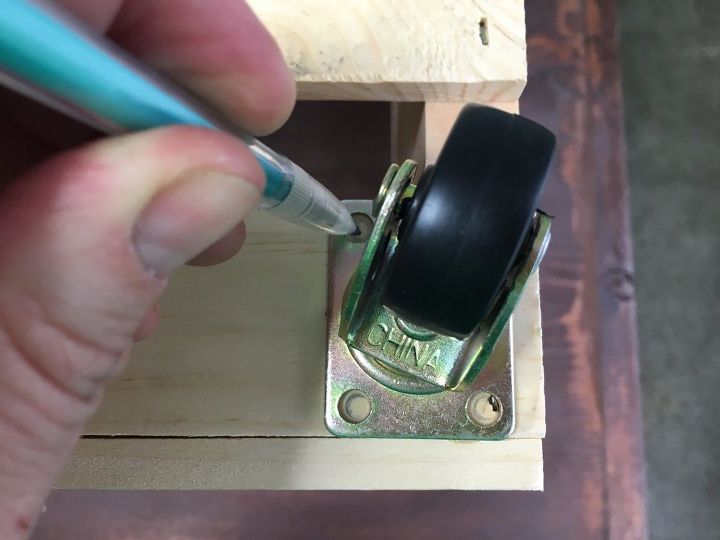
Step 2: Attach caster to one corner of crate
Turn the crate upside down and attach one caster to the corner using the screws. Get tutorial here
Step 3: Measure from bottom of caster
Including the caster in your measurement, measure from the bottom of the caster to the height of the underneath of your chair. Get tutorial here
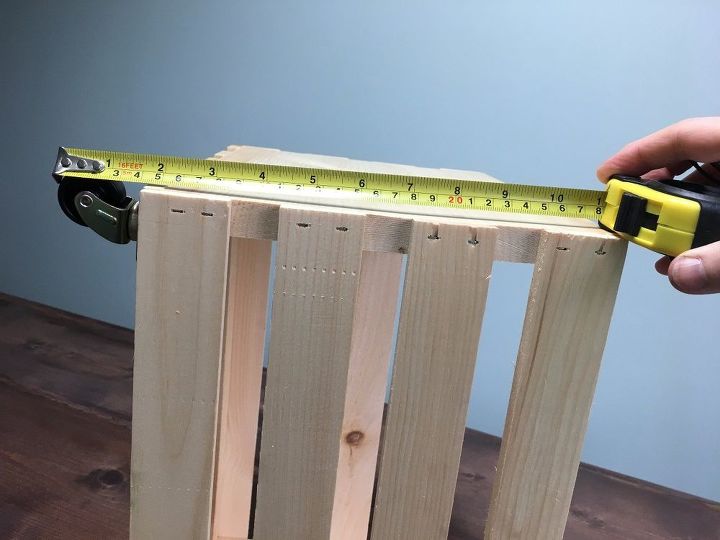
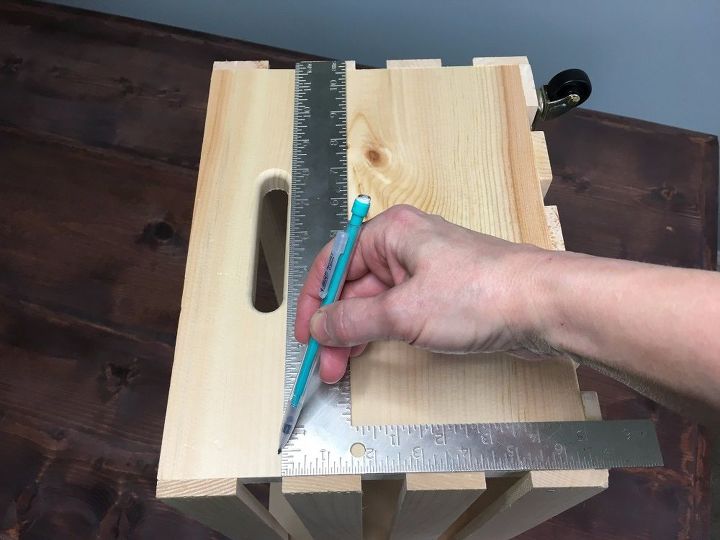
Step 4: Mark the height and cut excess wood
Mark the height, draw a line and remove the excess wood/crate using a saw. Get tutorial here
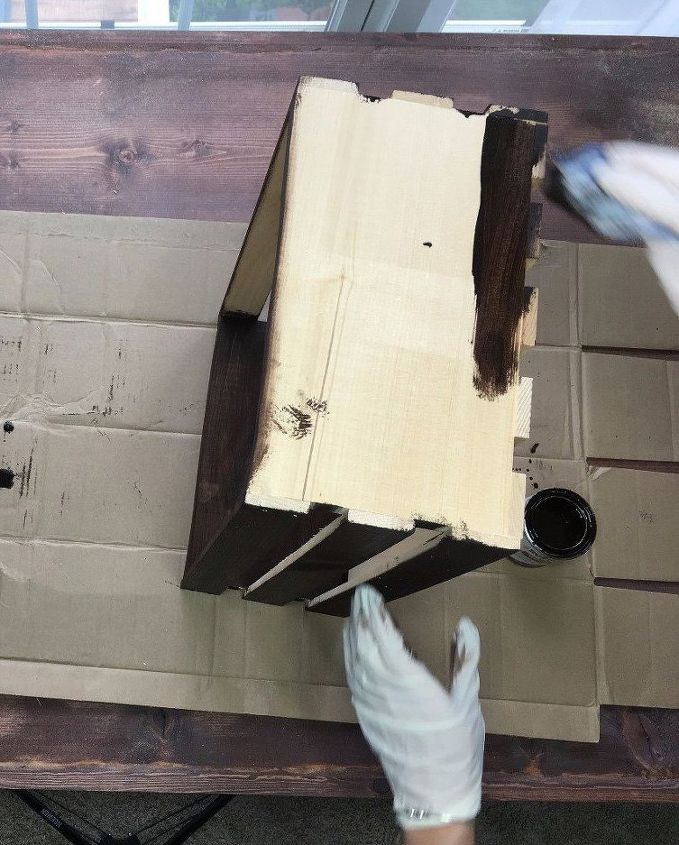
Step 5: Remove caster & stain crate
Remove the caster, sand and stain the wooden crate. Allow to dry. Seal the crate using a wood sealer. Get tutorial here