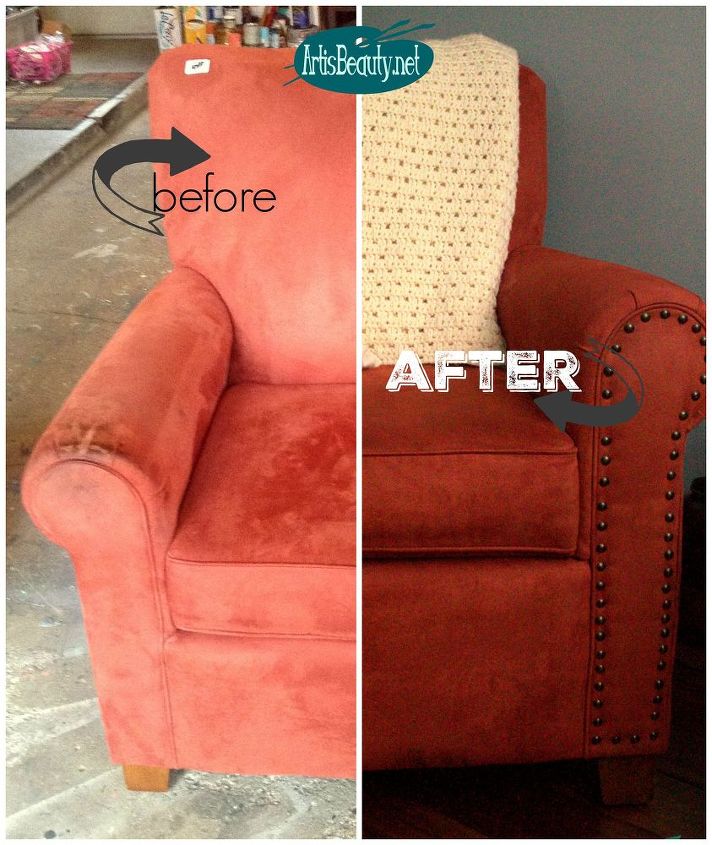
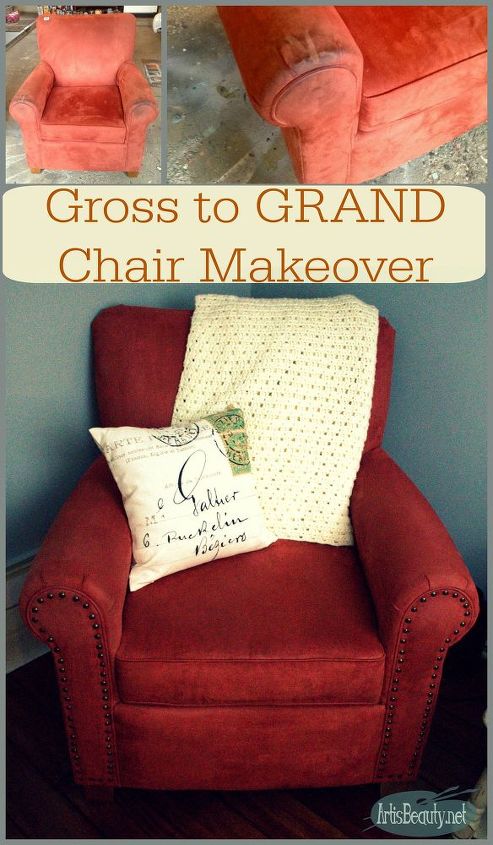
From GROSS to GRAND. Arm Chair Makeover

Art is beauty
by Art is beauty
2 Materials
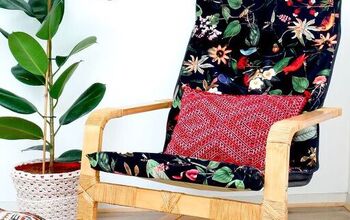
After having an internal argument in my head about whether or not to buy this gross chair, I finally did. Come see how I transformed this gross disgusting chair into something I am proud to have in my home.
tacks
Hello again my BEAUTIES!


Now I know I promised to show you my kitchen makeover this week, but


the time has gotten away from me and I haven't had time to do all the post editing


and everything that it entails so I thought I would hold you off with something a little different


for me, FURNITURE wise.
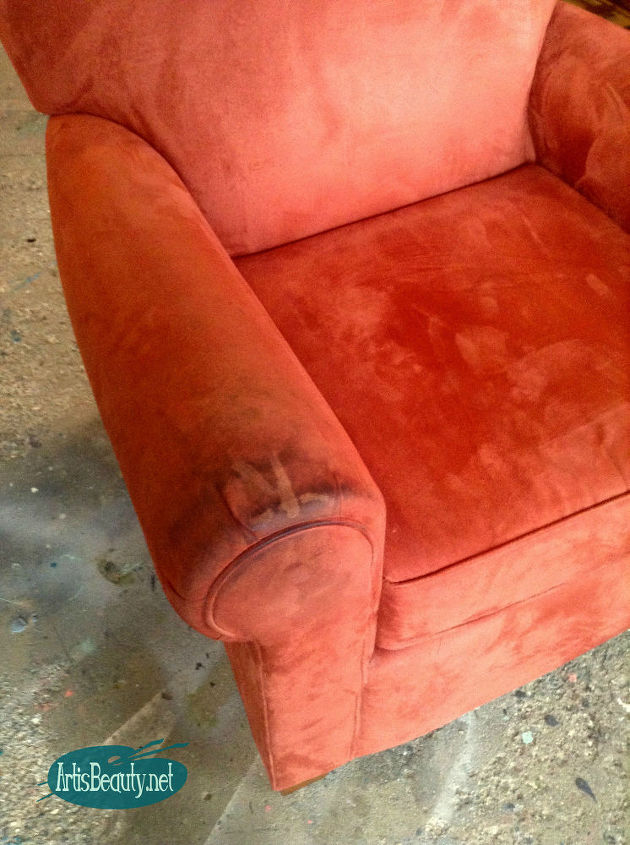
One day at Goodwill (this is how most of my stories begin LOL)


I saw this chair sitting there.


The arm were as you can see DISGUSTING!


I walked past the first time because I couldn't get past the arms.


But then something called me back.


OH, I know what it was!


THE PRICE TAG!


It had a price tag of $10 on it.


Our thrift stores and Goodwills NEVER sell anything for $10.


So I circled around the chair again and gave it another look.


The rest of the chair was in perfect shape.


BUT OH, those arms...YUCK.


I contemplated again, with a running dialogue in my head.


"it's only 10 bucks"


"but what if you can't get that nasty stuff out?"


"Still; its only $10 bucks"


"but I could buy a bottle of wine with $10 bucks!"


(just kidding I just thought of that argument)


"well if it doesn't come clean you can always PAINT IT"


"dang girl, you are right; I could totally paint it"


YOU GET THE DRIFT :)
So I BOUGHT IT!


I mean seriously..You saw the previous train of thought!


It was a no brainer. :)


I brought it home and grabbed my steam cleaner and cleaned the HECK out of it!


I mean...I worked up a sweat steam cleaning that sucker.


As you can see; it came out awesome.


It was so clean it looked brand new.


But you know me, NEW is boring.:)


I wanted it to have a little more UMPH!
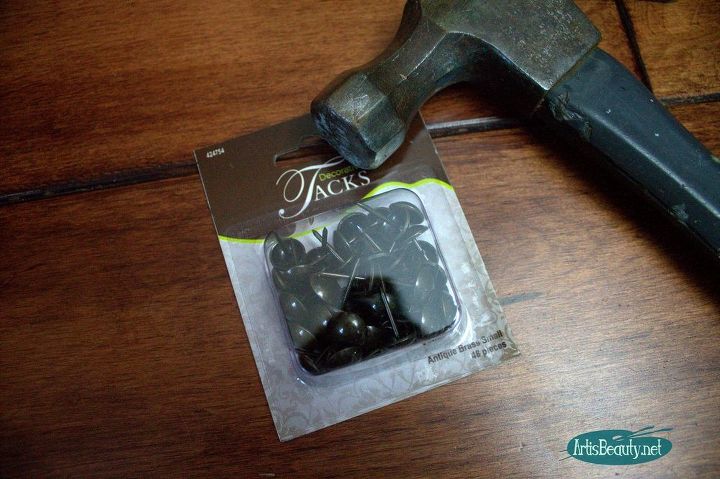
I decided this would be the perfect place to use some of the upholstery tacks I had picked up at my craft store.


I had a coupon too, so that made them even cheaper.


About $1.40 For a package and I use about 2 packs.
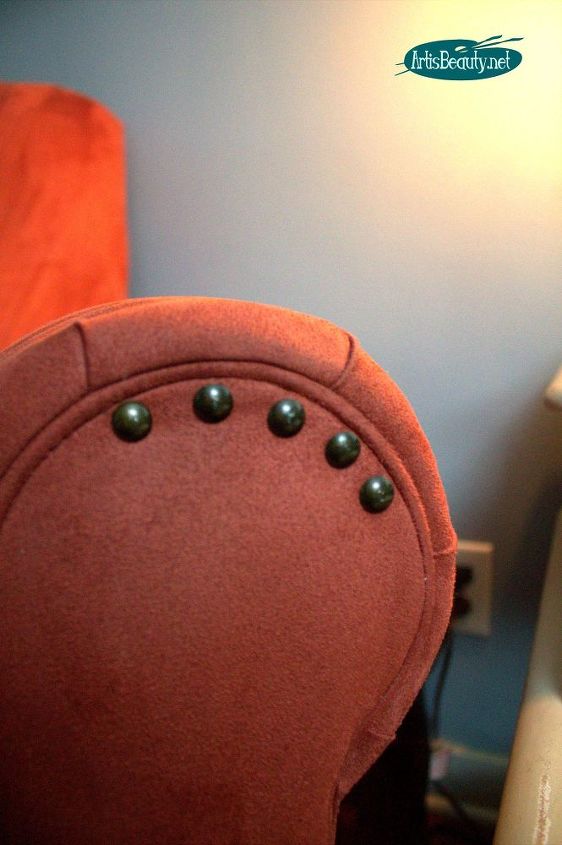
Basically using my finger width as a measurement for spacing I just lightly tacked them in place


around the fronts of the arm of the chair.
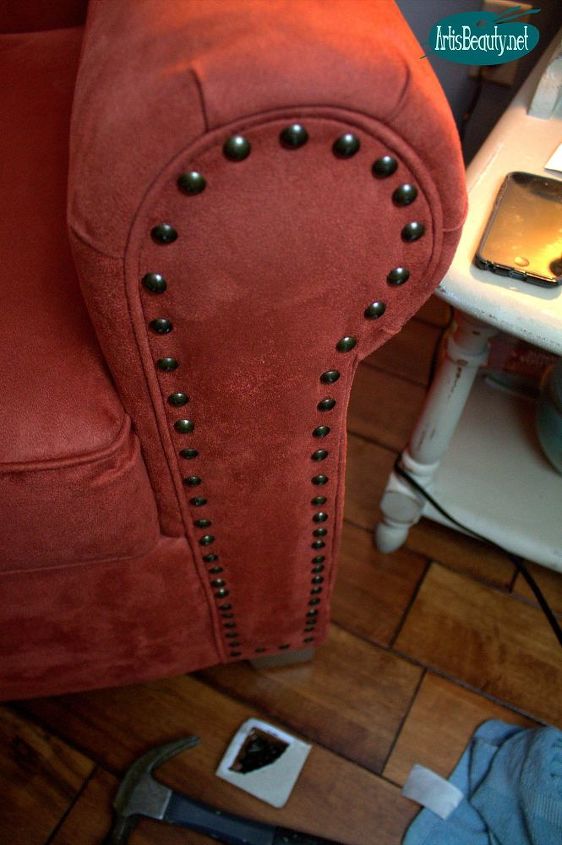
I finished up one arm and moved on over to the next one.
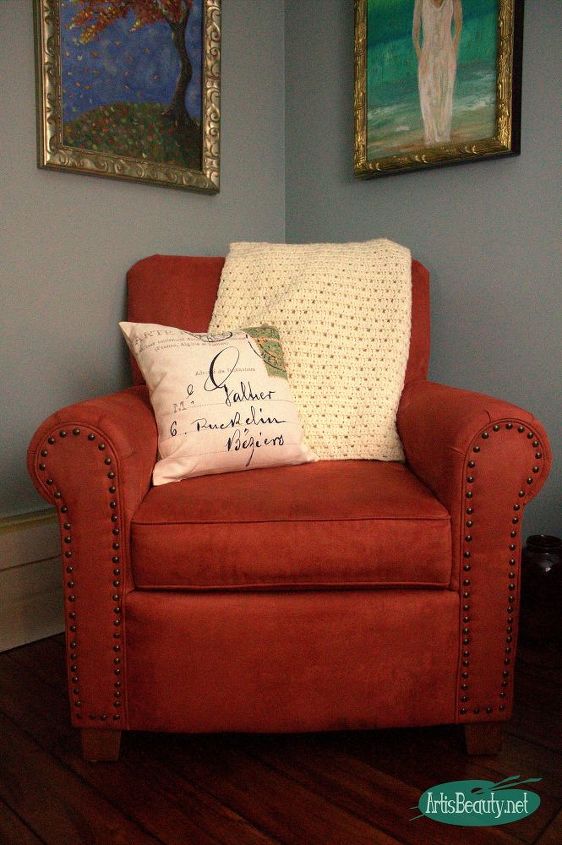
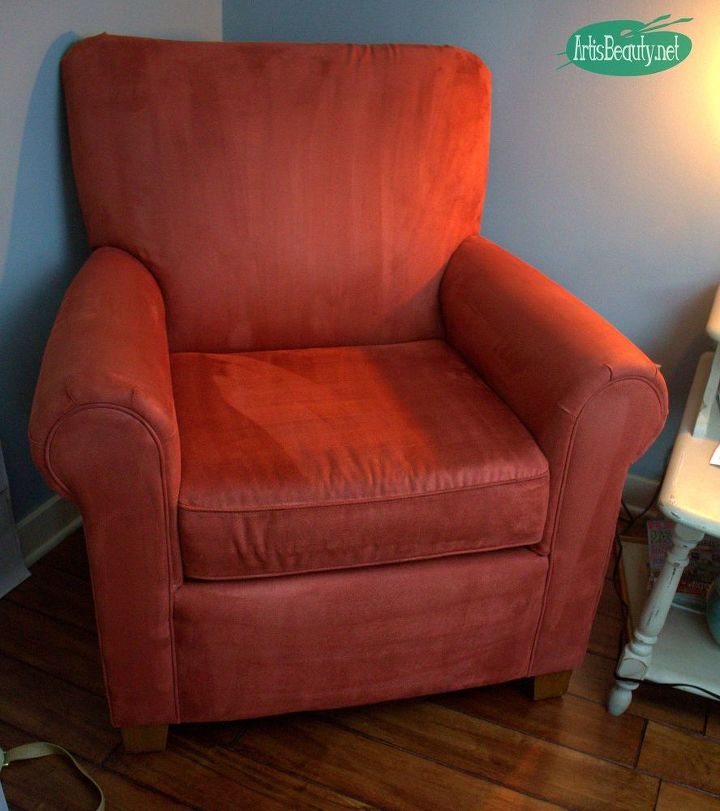
I still can't believe that this is the same chair.


I am so happy I took the chance on it, and that it payed off.


I am also glad I went with the decorative tacks,


or else I may have ended up selling it at my booth because it was too BORING for me. :)
Now I love it! Can you even believe the difference?


So next time you see that piece that you just aren't sure about,


do as ABBA tells you and "take a chance"


:)


I am so glad I did!


Until next time,


Have a BEAUTIFUL day!
Art is beauty
Want more details about this and other DIY projects? Check out my blog post!
Go
Frequently asked questions
Have a question about this project?
3 of 7 questions
  • Momgillow Momgillow on Jan 07, 2020

    I've been looking for a good steam cleaner!....suggestions?

  • Herby Herby on Jan 07, 2020

    It looks good, but how you check for bed bugs? I am afraid to buy furniture for this reason.

  • Cathy Casey Cathy Casey on Jan 08, 2020

    What is the brand of the steam cleaner you used? It did a great job.

Comments
Join the conversation
2 of 35 comments
  • Dl.5660408 Dl.5660408 on Sep 23, 2020

    Wow, it looks brand new 🙀

  • Sue Sue on Sep 23, 2020

    You think like I do when it comes to DIY. I LOVE the chair just as it is with your cleaning and brass tacks! It is fabulous and I know the chair is happy YOU chose to take it home. THanks for sharing.

Next