


How to Paint a Hardwood Floor With Tile Stencils

2 Materials
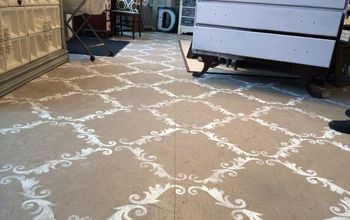
Do you have a hardwood floor that’s seen better days?? We see plenty of wood floors that are aging from being well loved, but refinishing wood floors can be pretty expensive and time consuming! Annie Sloan Chalk Paint® and Floor Stencils can really transform a hardwood floor, even if it is varnished. Floor Stencils provide immediate gratification and an instant facelift to old, worn surfaces. Stenciling a wood floor is a fabulous solution that can add color, charm, and plenty of visual punch. No need to roll out the carpet! In this DIY tutorial, we will show you how you can use Tile Stencils to add a pretty, custom pattern on worn wood floors.
Supplies:
Marisol Tile Damask Stencil
Annie Sloan Chalk Paint®: Old White, Paris Grey, and Graphite
Royal Stencil Brushes
Annie Sloan Floor Lacquer
Nylon roller and tray, paper towels, and painter’s tape
Step 1: Create the following Annie Sloan Chalk Paint® custom color mixes
Base color: 1 part Paris Grey + 1 part Old White
Dark grey: 1 part Paris Grey + 1/3 part Graphite
Medium grey: 1 part Paris Grey + 1 part Graphite
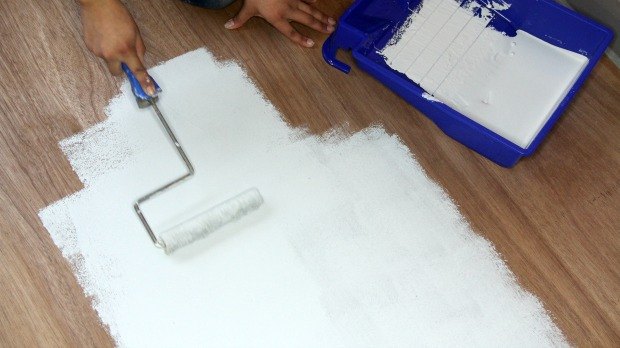
Step 2: Clean your floor and remove any dust. Use the nylon roller to paint the floor with the base color. Let dry. Paint a second coat if needed for complete coverage and let dry.
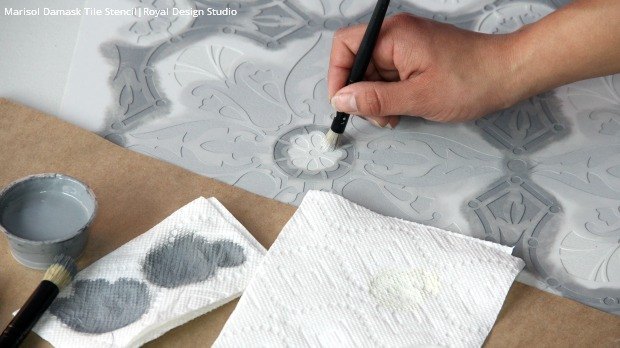
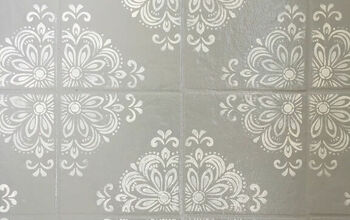
Step 4: Use the stencil brushes and the Chalk Paint® mixes to paint the stencil designs. Alternate the medium grey, dark grey, and Old White throughout the design. Remember to off-load and use minimal paint when stenciling!
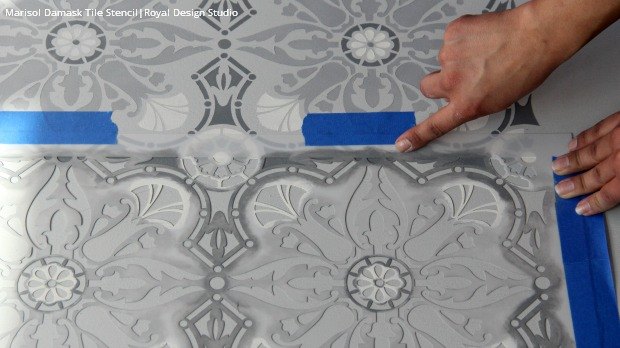
Step 5: Remove the stencil from the original position and move it to its next repeat. To align the next repeat, make sure to use the registration marks that are built right into the stencil. Repeat Step 4 and continue moving the stencil out and around until the entire floor is stenciled.
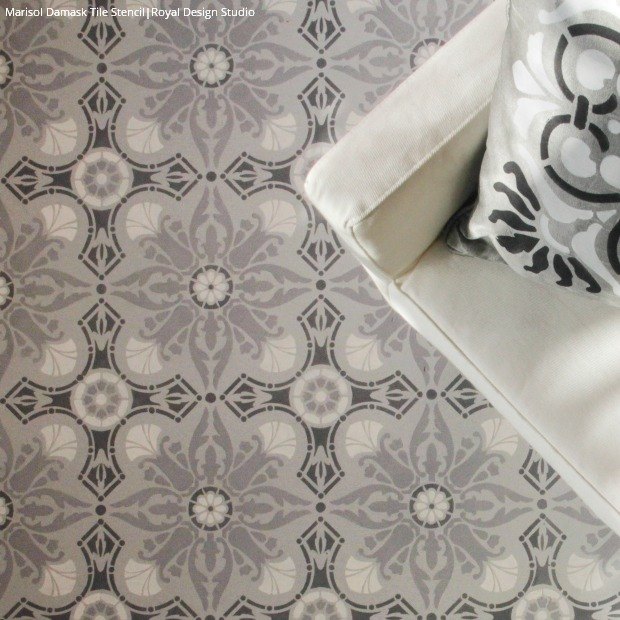
This hardwood floor now looks like a tile floor! What an easy fix! But what if tile designs don’t work with your interior style? Then you can use any stencil and Chalk Paint® color to paint your floor with the exact look you want. That’s a whole lot cheaper than refinishing… and even cheaper than getting a rug to hide your worn floor!
Comments
Join the conversation
5 of 55 comments
-
Absolutely stunning!
-
I'm with Lisa House: Stunning!


Frequently asked questions
Have a question about this project?