


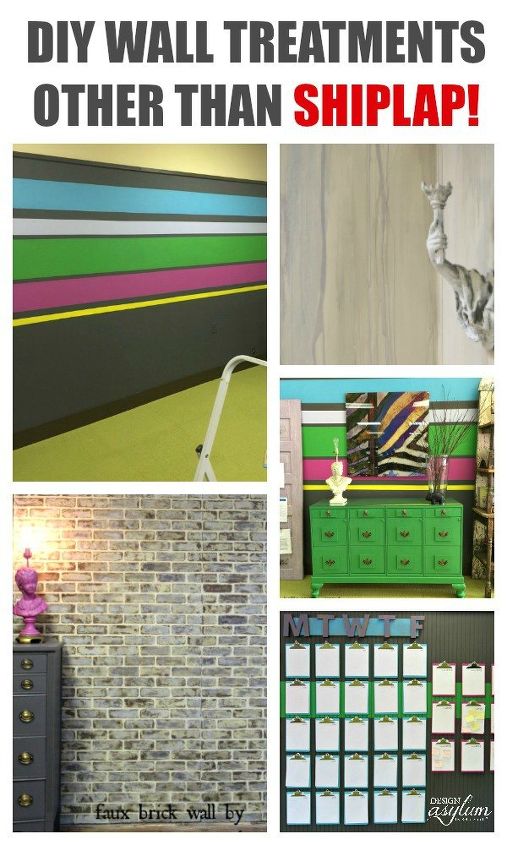
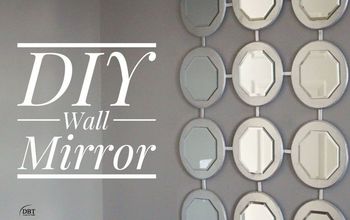
DIY Wall Treatments Other Than Shiplap
1 Material
Shiplap. It. Is. Everywhere. Shiplap in living rooms, shiplap in dining rooms, shiplap in bathrooms, shiplap in kitchens. Here a shiplap, there are shiplap, everywhere a shiplap. HGTV and Joanna Gaines has taken this farmhouse, shiplap phenomenon to the extreme.
Now, please don’t get me wrong…as an interior designer I appreciate different styles, design asthetics, and I do like shiplap, but it’s being overdone!
There’s more wall treatment options out there besides shiplap so let’s check them out!!! Take a look at a few DIY Wall Treatments that I have completed over time, other than shitlap, I mean shiplap…
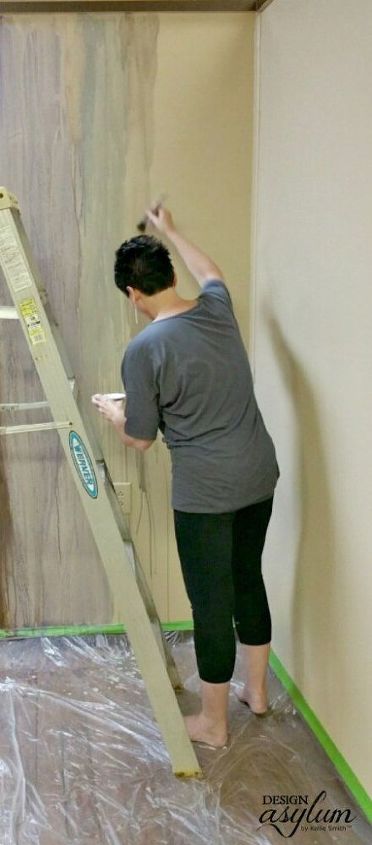
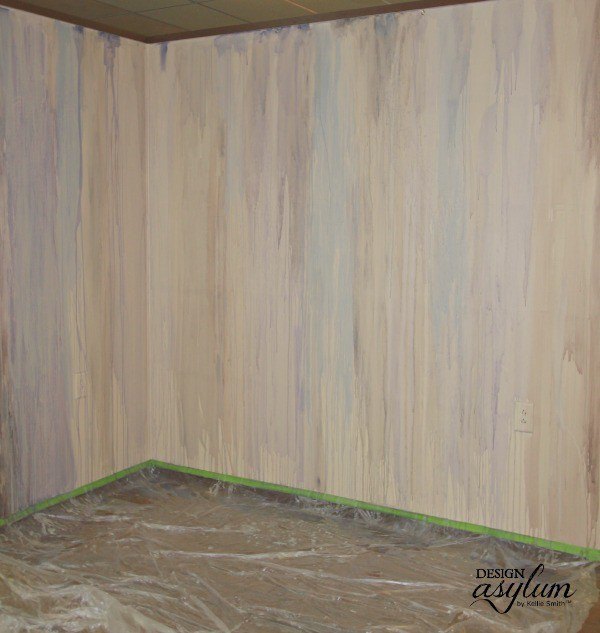
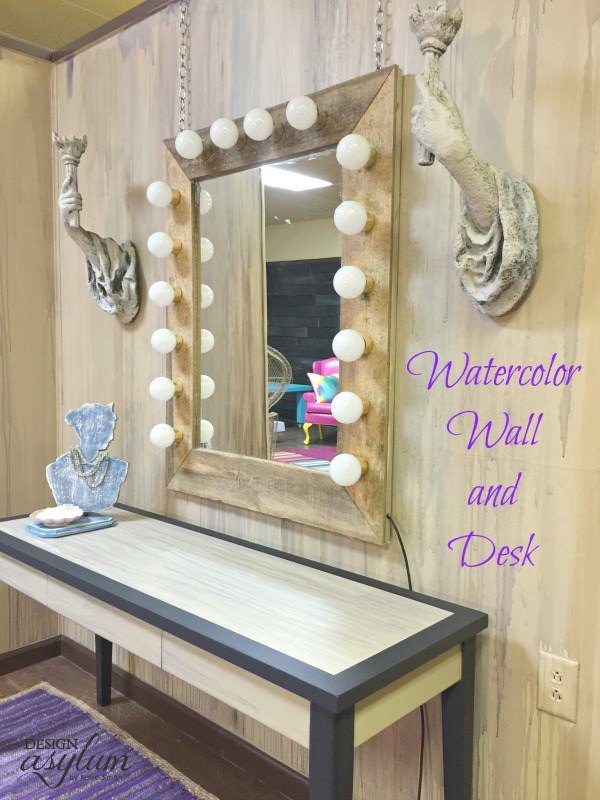
WATERCOLOR WALLS
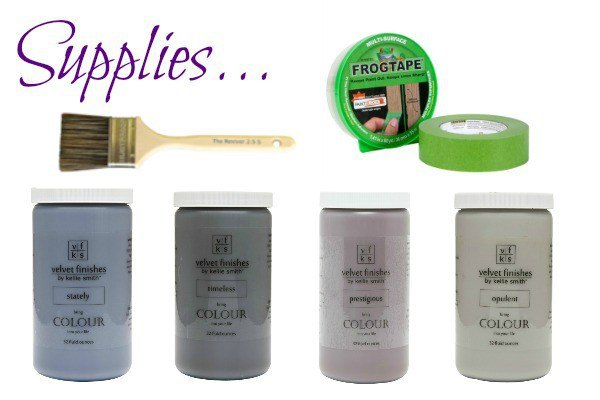
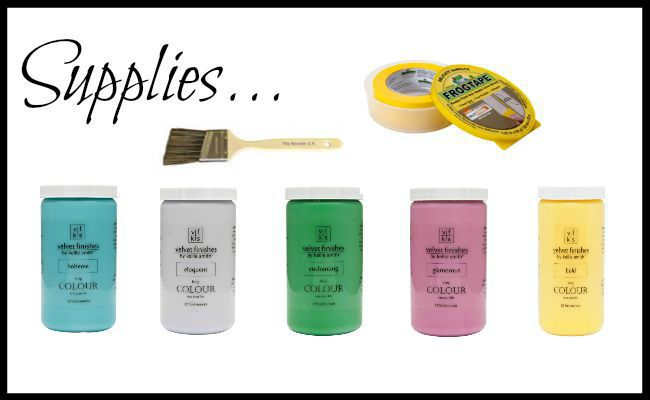
Of course I used Velvet Finishes for my DIY Watercolor Wall. Here are the supplies: http://www.velvetfinishes.com
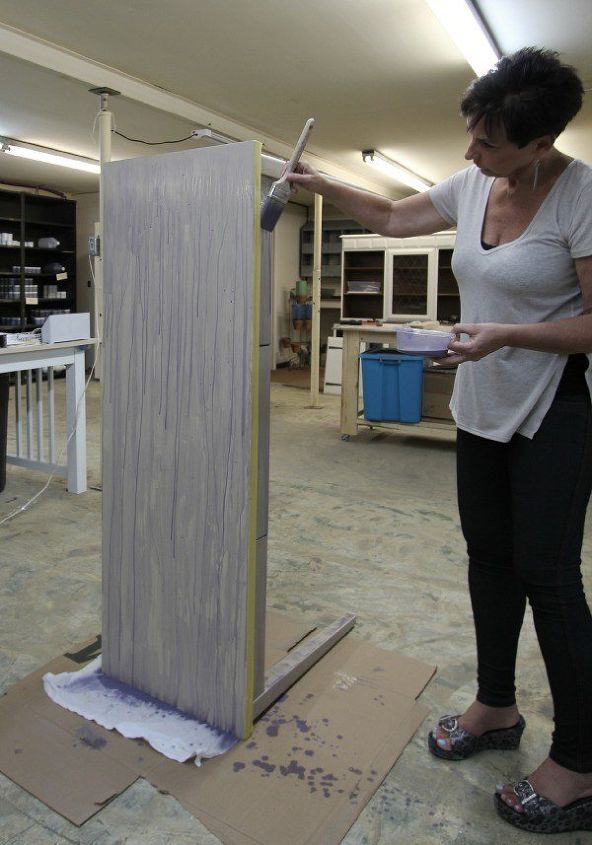
I practiced a couple of different techniques before I found the one that gave me the watercolor look I was going for. I was thinking ‘watered down paint’ but what worked was actually ‘water with a little paint in it’. Of course, just add more paint to increase the depth of color. I wanted a very sheer look. To create the watercolor effect: simply add the tinted water to your brush, place the brush at the top of the wall, and press the water out – just let it flow!
The process was incredibly easy but I’m not gonna lie… It was messy! Be sure you have your plastic well taped on the floor or trim. Definitely do not do this at home with kiddos running around!!!

Since I was so in love with this technique, I decided to do the vanity desk I was going to use with the same watercolor treatment. I painted the table in Velvet Finishes Soulful and after that was dry I turned the table up on it’s end because I wanted the color to be running in the opposite way on the top of the table, from the wall. I did the top and the fronts of the drawers.
So, what do you think?
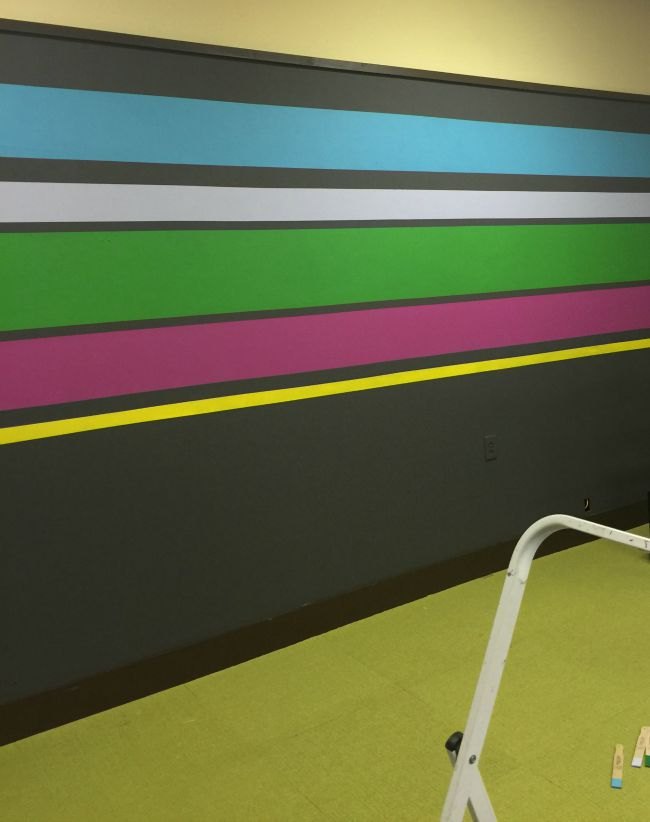
STRIPED WALLS
We used Delicate Surface Frog Tape to tape the stripes. The Accomplice taped…And I painted…Remember to pull the Frog Tape off while the paint is still slightly wet. That is important to the crisp lines. And then I painted some more…
Once all the painting was done I was finally able to put my office back together. see more from my office makeover here. http://www.designasylumblog.com/design-studio-office-makeover/

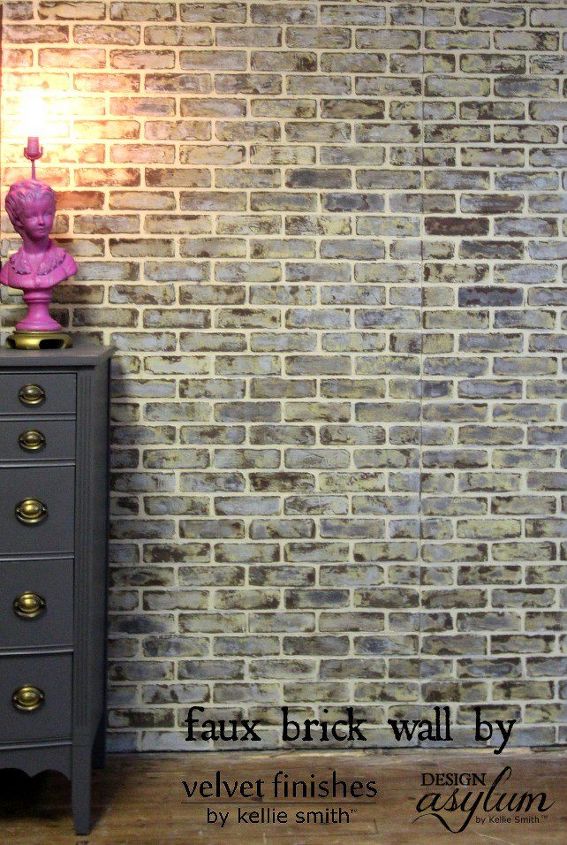
DIY FAUX BRICK WALLS
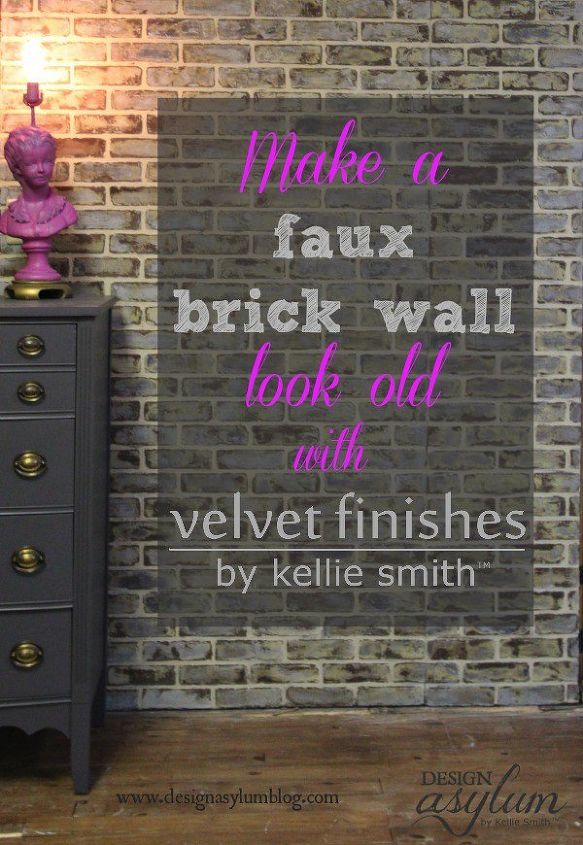
The process was quite simple! I purchased faux brick sheets from Lowe’s. They come in 4′ x 8′ sheets and run around $27/sheet. Not bad. The space I wanted to have the brick is only about 6′ wide so we needed 2 sheets. And Velvet Finishes did the rest! You can see the entire process, here. http://www.designasylumblog.com/diy-making-faux-brick-walls-look-old/
CLIPBOARD WALL
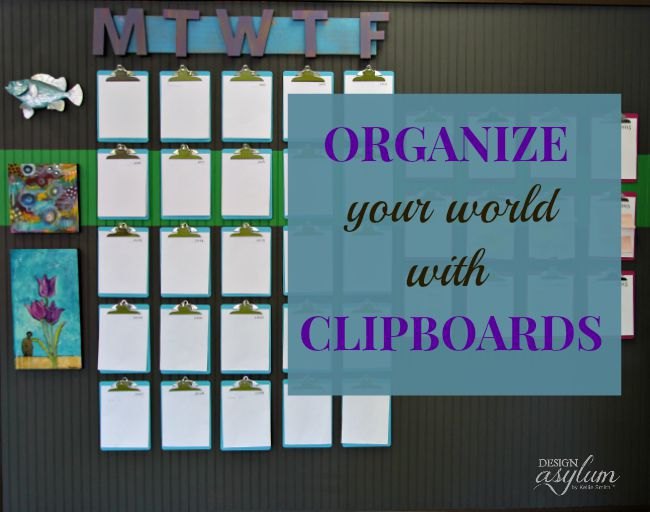
I bought cheap clip boards and since they are a basic brown, we painted them with Velvet Finishes Boheme. I also wanted to have M – F above the boards. We built the sign with scrap wood and cheap chip board letters from Hobby Lobby. We had already measured how the boards were going to go on the wall so I knew exactly how far apart to place the letters in order to have them centered above the boards. We painted these with Velvet Finishes Stately.
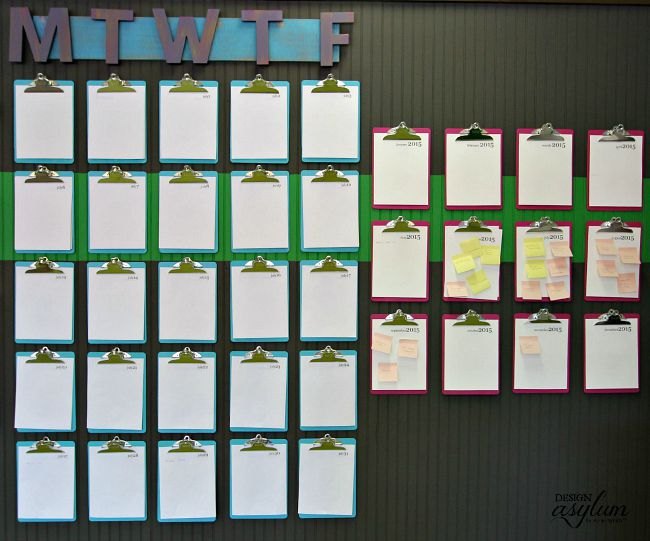
see my full tutorial on how to organize your schedule with a clipboard wall here: http://www.designasylumblog.com/organize-your-schedule-with-a-clipboard-wall-calendar/

I hope that you are inspired by the many wall treatment options that are out there and you let Velvet Finishes help with your next DIY project!

Want more details about this and other DIY projects? Check out my blog post!
Comments
Join the conversation
4 comments
-
Love you concepts! Shiplap seems to be a cheap and east way out on the TV shows. Does not always fit all house styles. Its a great coverup for problem walls. And I agree it has been overdone and taken to the extreme. Thanks for the share.
-
My favorite of your walls Kellie is the faux brick wall. The instructions on your blog were clear and it sounds do-able. Thanks for sharing.


Frequently asked questions
Have a question about this project?