3 Awesome Step-by-Step Stencil Projects You Can Do in Your Home
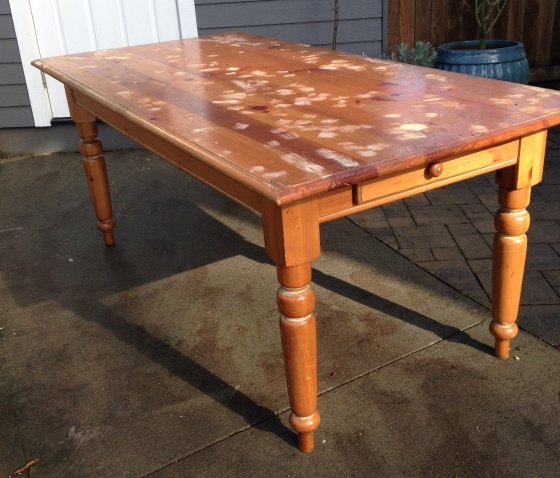
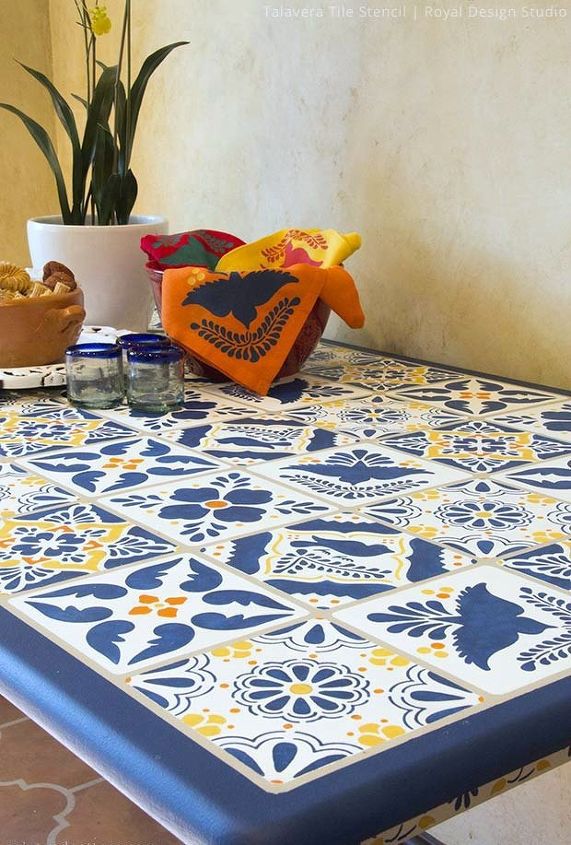
Step 1: Grab a table for a faux tile update
Here's how an old table turns into a boutique treasure. Get tutorial here
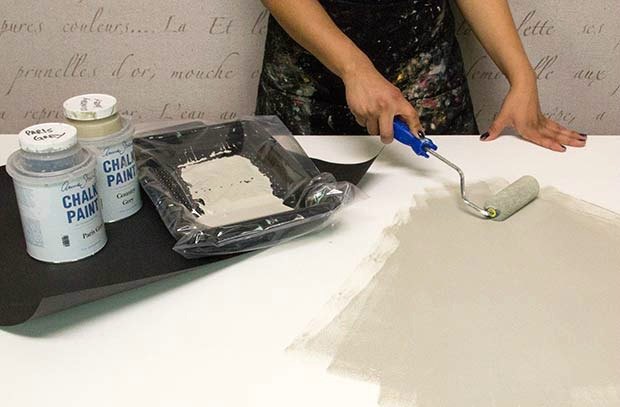
Step 2: Clean & paint surface with 2-3 coats
You can use Pure White Chalk Paint and allow to dry. Get tutorial here
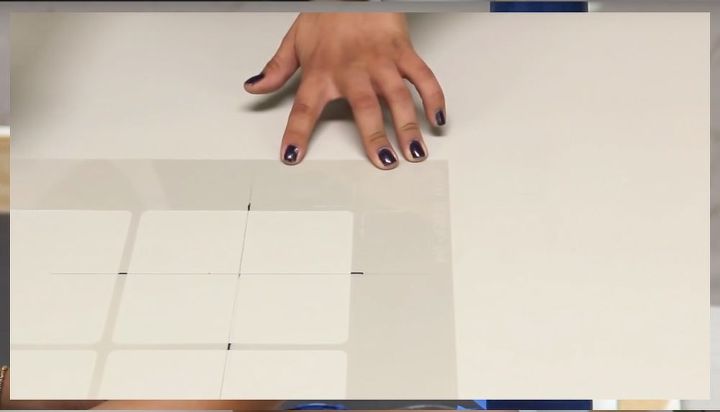
Step 3: Place a tile stencil in the center
Find the center of your tabletop and begin the Ceramic Tile stencil with one tile centered there. Get tutorial here
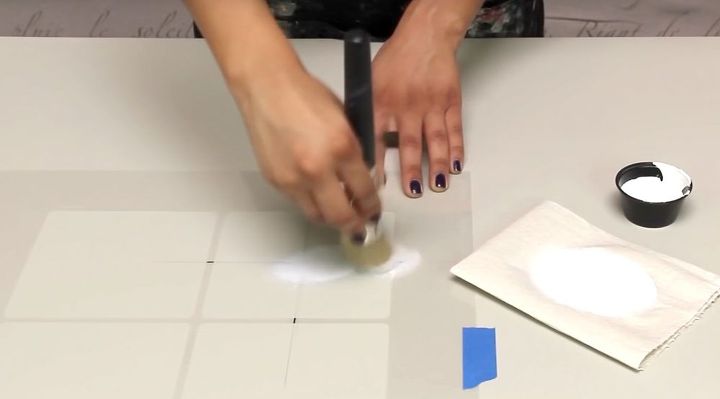
Step 4: Apply chalk paint in circular motion
Make sure you don't leave any areas without paint. Get tutorial here
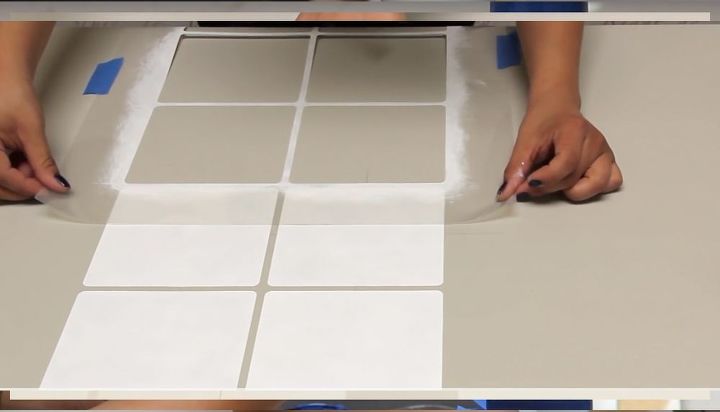
Step 5: Remove stencil and repeat the process
Make sure the stencil is always aligned with the pattern you already painted. Get tutorial here
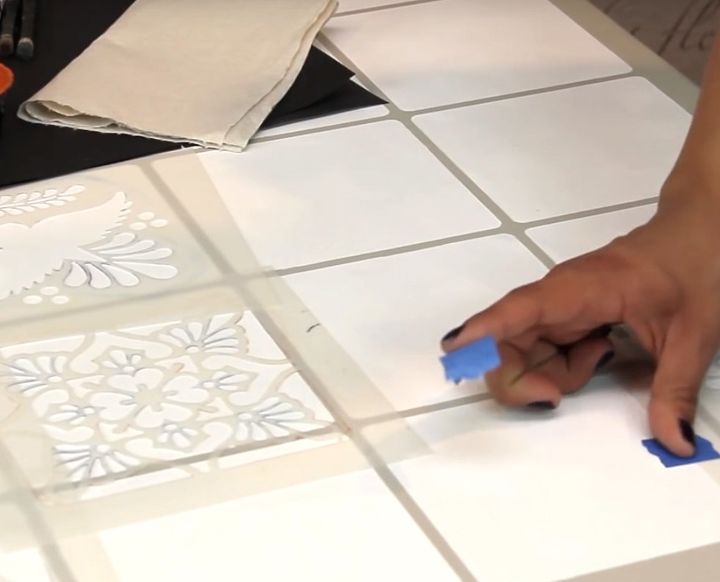
Step 6: Place a patterned stencil over tiles
Use painter's paint tape to keep the stencil from shifting while you work. Get tutorial here
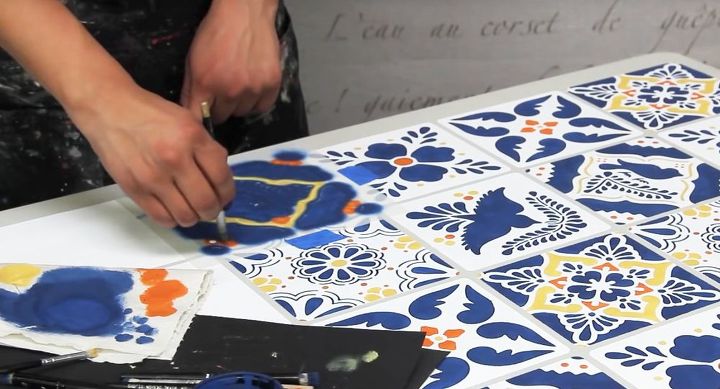
Step 7: Paint in the details for each tile
Paint with different colors to make each square look like a unique tile. Get tutorial here
Step 8: Tape over a faux grout line
Lay tape over the line to create a faux grout line when you add a border. Get tutorial here
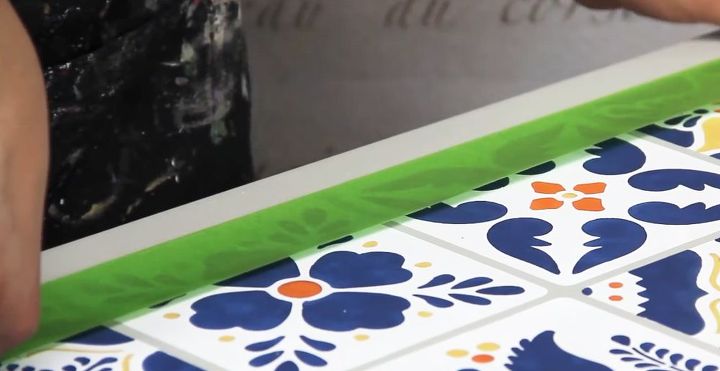
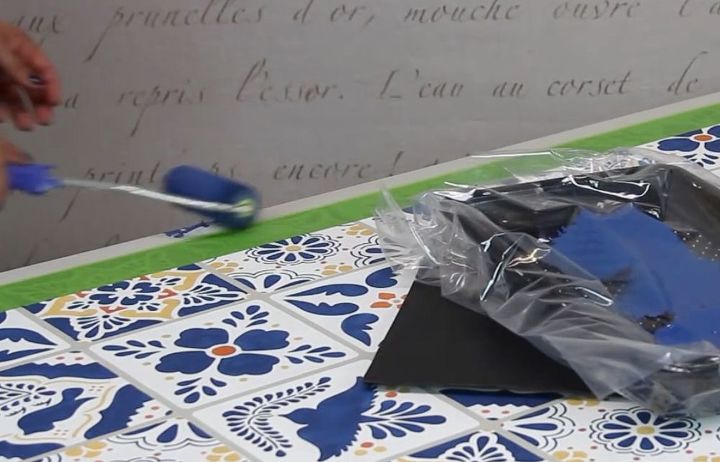
Step 9: Paint a border to complete the grout
You can use a brush or roller. Get tutorial here
Step 10: Paint the legs to complete the look
Go ahead and paint the legs too with matching colors! Get tutorial here
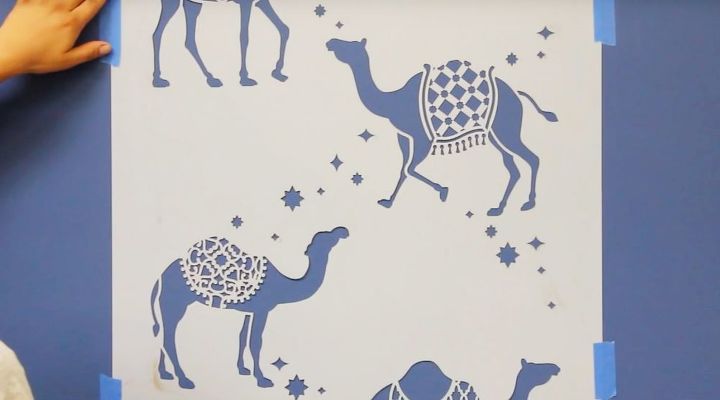
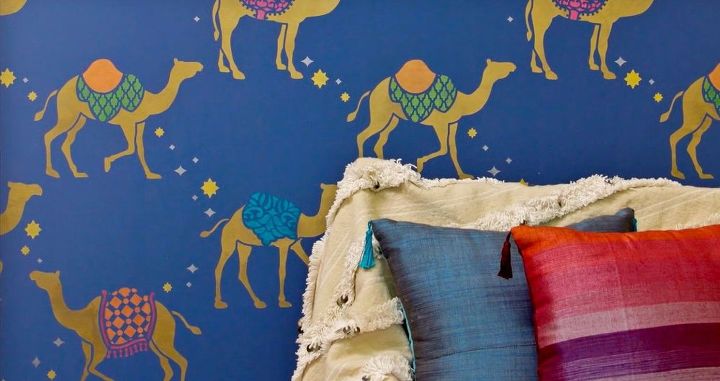
Next project: Stunning Bedroom Wall Makeover
A beautiful way to give that blank wall a makeover! Get tutorial here

Step 1: Tape the stencil to the wall
Secure the stencil with painter’s tape. Get tutorial here
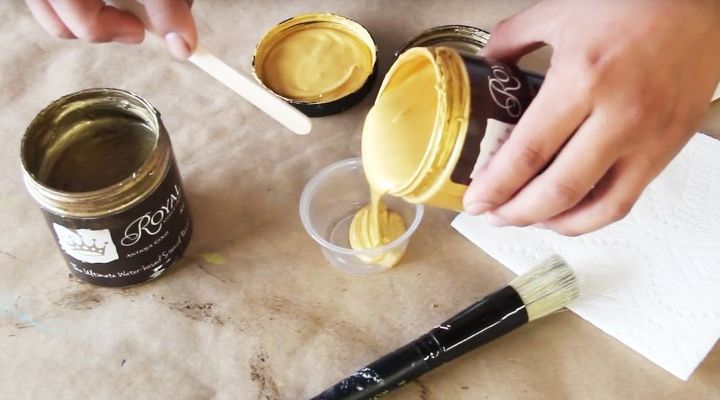
Step 2: Dip tips of brush into paint
Mix 1 part Bright Gold with ½ part Antique Gold Royal Stencil Crème paints. Offload excess paint on a paper towel. Get tutorial here
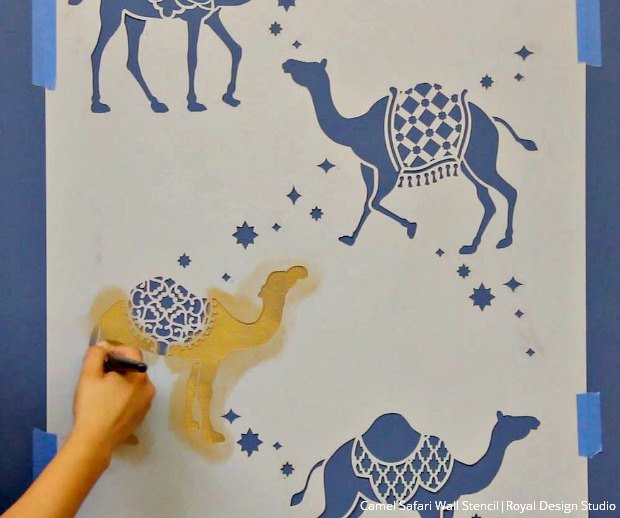
Step 3: Add first coat in a circular motion
Paint in your first color, keeping the brush moving in a circular motion the whole time. Get tutorial here
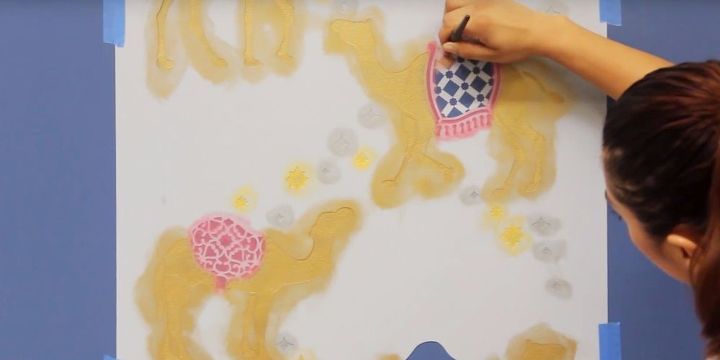
Step 4: Make it colorful! Add another color
Stencil the details with Shimmer Pink, Orange Ice, Peacock Fancy or Lime Shine for a bright accent. Get tutorial here
Step 5: Remove your stencil from the wall
Remove your stencil before the pattern dries. Get tutorial here

Step 6: Move the stencil over & repeat
Repeat the steps until the entire wall is stenciled with colorful camels!!! Get tutorial here

Step 7: Shout "OMG! This looks amazing!!!"
Relax and enjoy the beauty of your work Get tutorial here
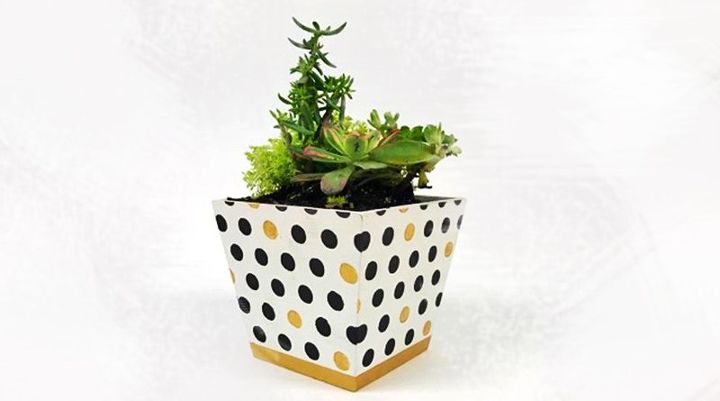
Next project: Upgrade A $7 Ikea Flower Pot
An inexpensive way to banish your plain planters from your home! Get tutorial here
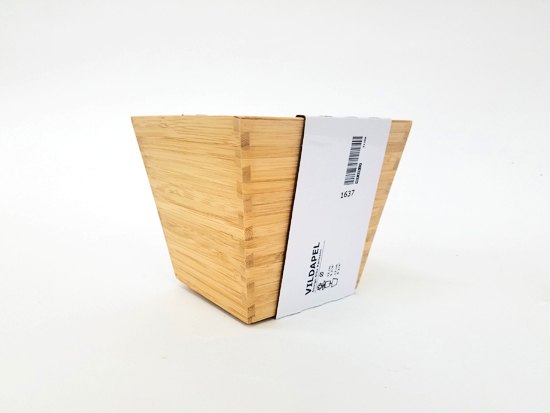
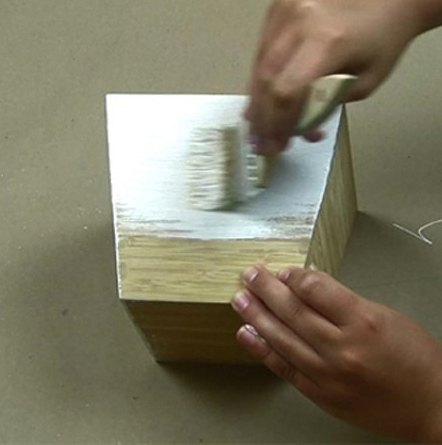
Step 1: Paint the flower pot white
You can use Benjamin Moore Cloud White paint. Get tutorial here
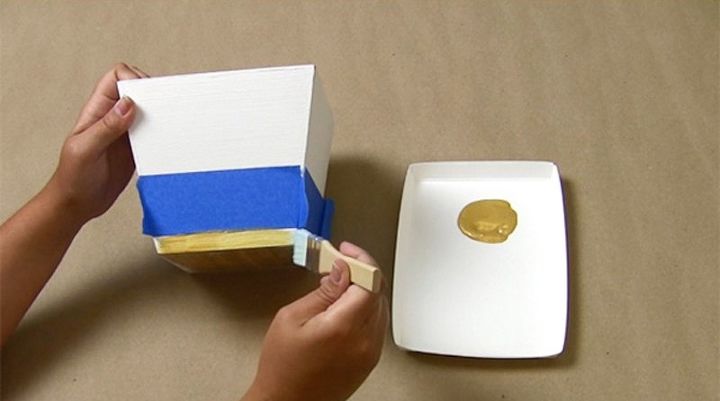
Step 2: Tape the bottom with painter's tape
Make sure there are no air bubbles. Get tutorial here

Step 3: Paint the bottom in metallic gold
You can use any small chip brush. Get tutorial here
Step 4: Lay stencil sheet on pot and paint
Spray the back of the stencil with spray adhesive and position it along the side of the flower pot. Get tutorial here
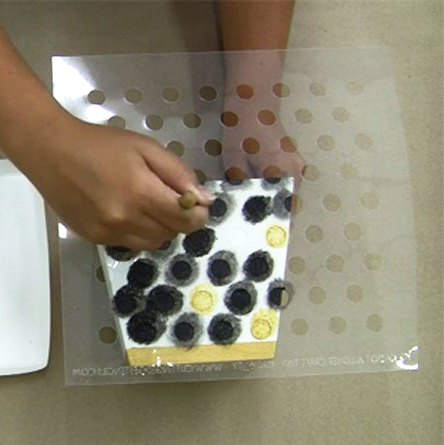
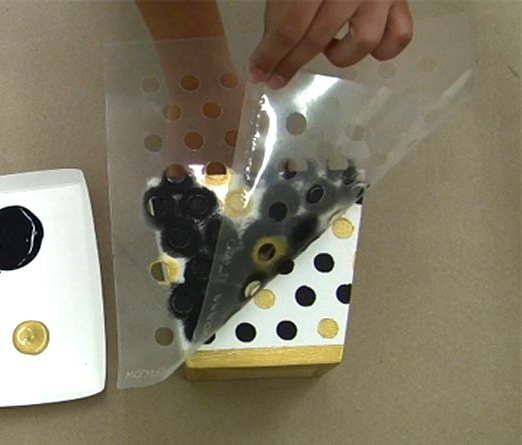
Step 5: Peel back the stencil and repeat
Resposition on the next side to complete the entire flower pot. Get tutorial here
Step 6: Put succulents in your gorgeous pot!
Don't forget to give it water from time to time. Get tutorial here