


Red, White, and Blue Nursery Reveal
12 Months
Medium
A year ago, I had just found out that I was having a boy and set to designing and planning his nursery. I don't know if I had or being on my mind, but his room inspiration turned red, white, and blue.
Now, almost a year later, I am finally posting the full reveal. I decided to "keep it real" and didn't clean or re-organize or stage ANYTHING. Maybe it will end up being embarrassing, but for now, I'd like to think it makes me relate able. Anyway, here's a quick run-down of the room:
Now, almost a year later, I am finally posting the full reveal. I decided to "keep it real" and didn't clean or re-organize or stage ANYTHING. Maybe it will end up being embarrassing, but for now, I'd like to think it makes me relate able. Anyway, here's a quick run-down of the room:
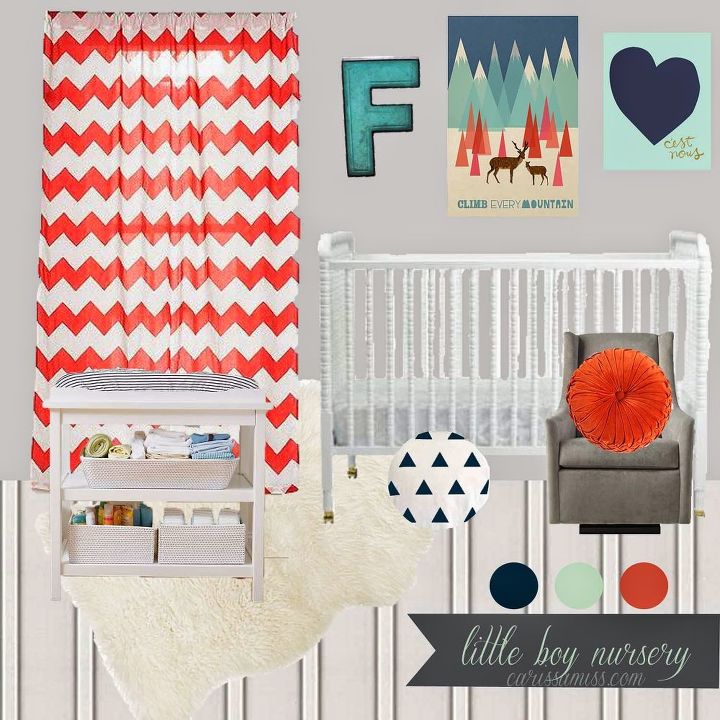
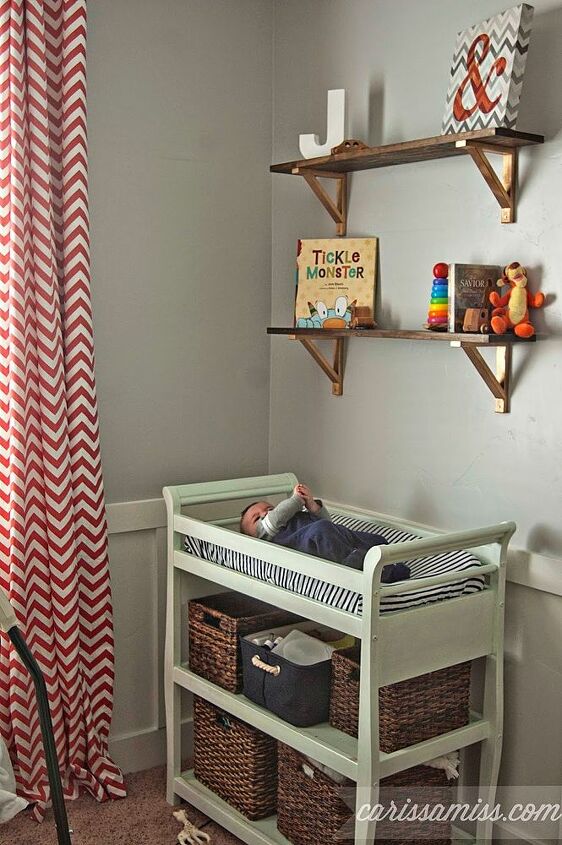
The concept was based around the red chevron curtains from Urban Outfitters. I knew I could probably recreate them for less and include a room-darkening liner since the Urban Outfitter ones were sheer.
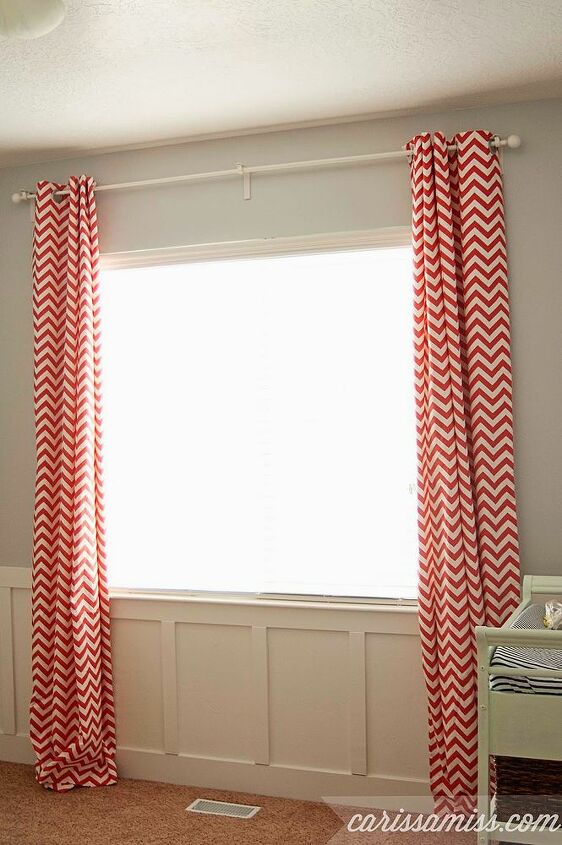
I was right! I found the fabric for less thn $8/yard and sewed up some simple lined curtains. They are kind of loud and VERY chevrony. Even though we've moved on to new geometric trends, I still think the punch of red is perfect against the gray walls. I included a step-by-step tutorial here: http://www.carissamiss.com/2013/11/diy-lined-curtains.html
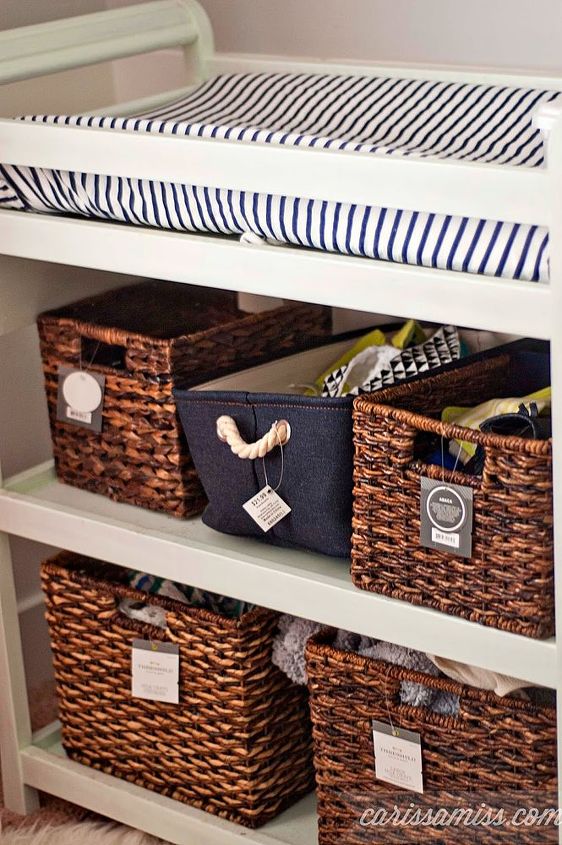
The changing table is another favorite part of the room. I sewed up my own navy and white striped changing pad cover with some cotton and saved a lot over the Land of Nod inspiration one. I totally splurged on the baskets, but I love how they make the room feel a little more designer and less little kid. I included a step-by-step and cost breakdown of the changing pad here: http://www.carissamiss.com/2013/10/sewing-for-baby-series-changing-pad.html
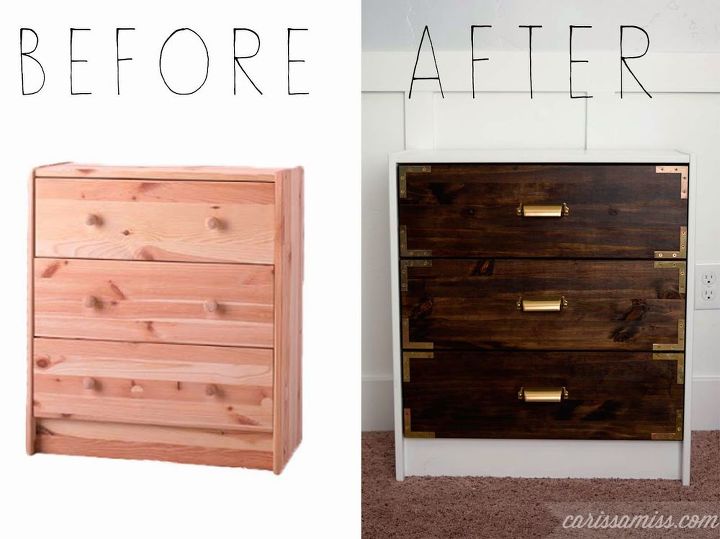
The baskets on the changing table bring out the wood tones in my IKEA RAST hack and my Rustic Shelves. The Ikea hack was seriously soo easy and is definitely one of the best parts of his room. In hindsight, I kind of wish it were twice as tall. In fact, I think I'm going to do another one exactly the same but with the TARVA. Read about the update here: http://www.carissamiss.com/2014/01/campaign-dresser-ikea-rast-hack.html

Okay. I know I've said that the curtains AND the changing pad cover AND the dresser were my favorite, but the Rustic shelves have to be my favorite too. {Can you tell I'm in love with the space? A good thing too since I spend so much time in here!} They were so easy. Just cut the wood at Home Depot and then spray painted some Ikea EKBY brackets and ta-da! Totally look rustic and expensive in my opinion. Read more about them here: http://www.carissamiss.com/2014/04/diy-rustic-shelves-ikea-ekby-hack.html
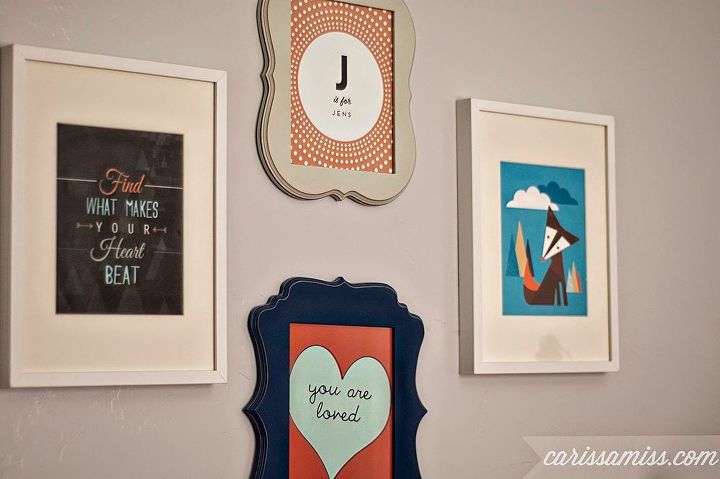
It took me only 9 months to hang these cute prints on the wall! Finally they are there and a great way of bringing the navy and red and aqua in the room together.
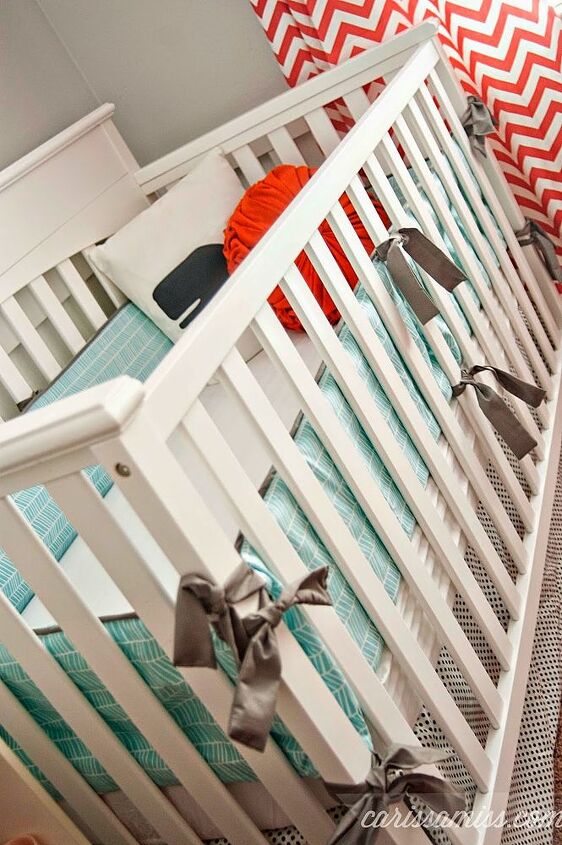
Okay, lastly, the bedding. I was so inspired by the custom bedding I found on Etsy, but knew I couldn't afford the $$$$ price tag. I did, however, have my daughter's old bumper pads that I recovered for less than $20. Score!
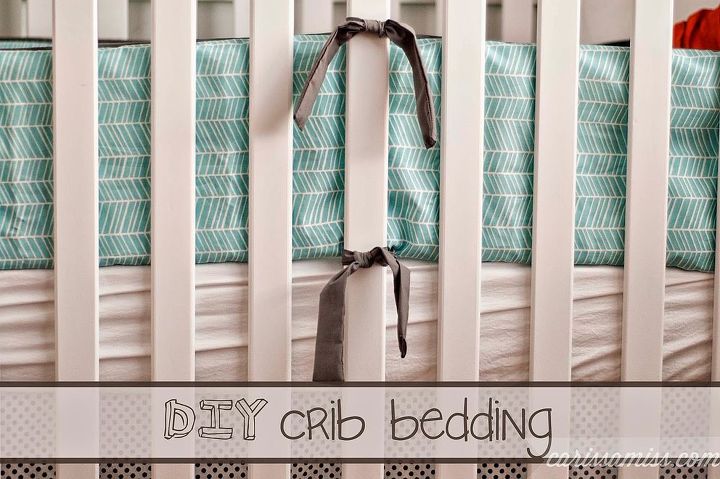
Read all about the DIY crib bedding here: http://www.carissamiss.com/2014/01/diy-crib-bedding.html
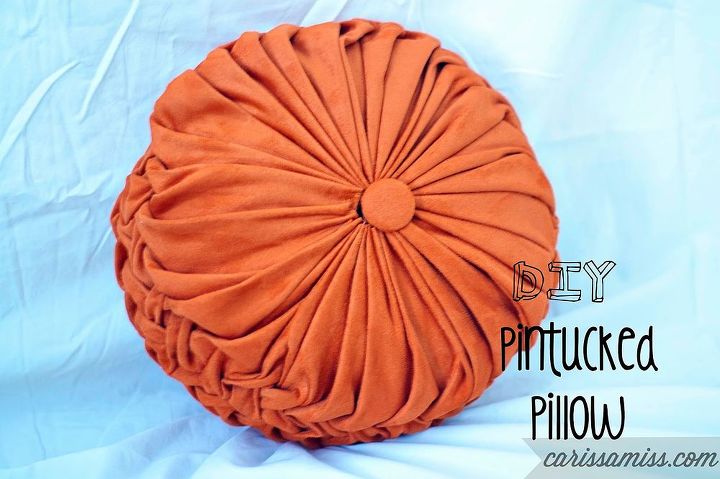
This pillow was the same pillow I included in my design board and I put it in my cart to checkout online probably 5+ times. I had never done the pintucking detail before and didn't want to risk it. Although the tufting is not as great as the Urban Outfitters one, I think my DIY version turned out pretty well. You can read more about my hawing over this here: http://www.carissamiss.com/2014/02/diy-pintucked-pillow.html
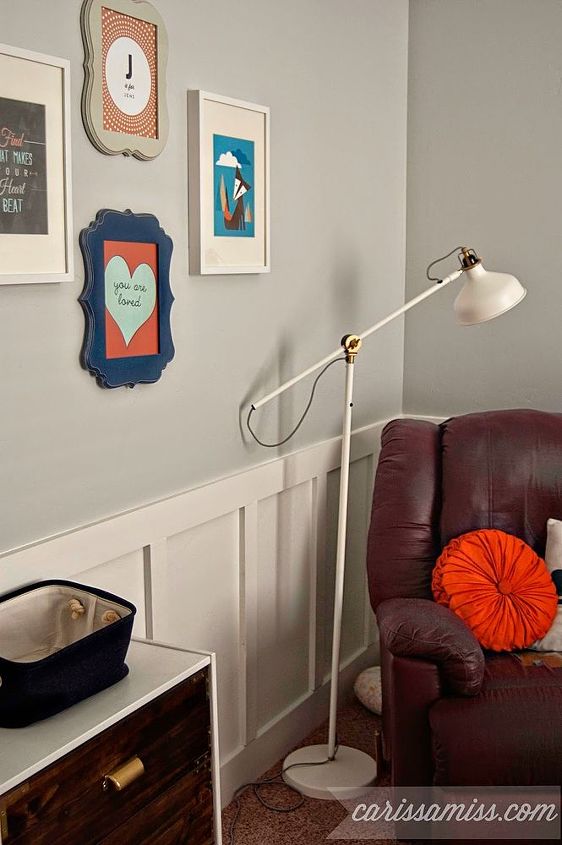
Love my Ikea lamp!
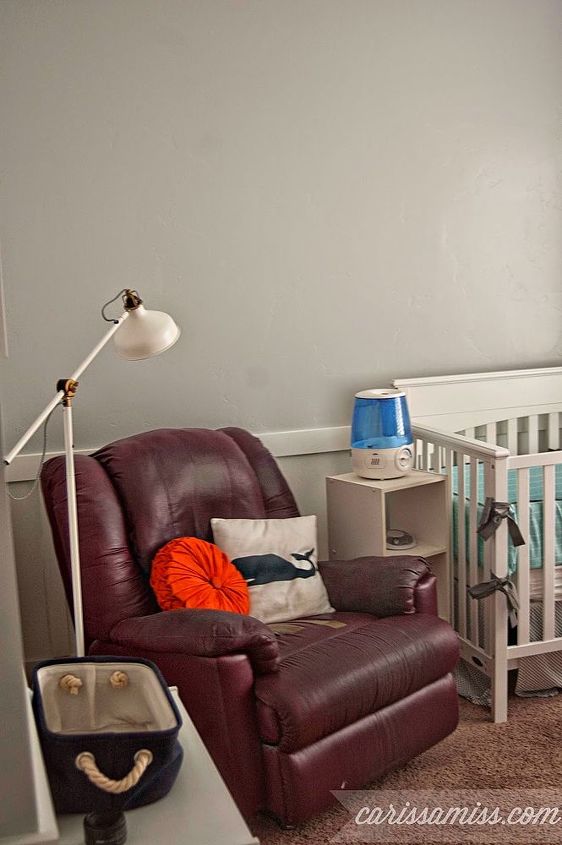
As you can tell, that glider still needs to be re-covered...such is the life of a DIYer. A never-ending to-do list.

Want more details about this and other DIY projects? Check out my blog post!
Comments
Join the conversation
3 of 30 comments
-
Very cool baby room that will last him for several years or more.
-
I love it and so will he....you did a great job.


Frequently asked questions
Have a question about this project?