


How to Craft a Haunted Halloween Arch

If you are looking to add an extra dose of spookiness to your outdoor Halloween display this year then this thrilling Halloween Arch project is for you.
Using simple supplies from Dollar Tree, I'll guide you through creating a mesmerizing Halloween archway DIY that's sure to impress all your trick-or-treaters.
This post was transcribed by a member of the Hometalk editorial team from the original HometalkTV episode.
Tools and Materials:
- Heat gun
- Pool noodles (several, depending on desired arch size)
- Saran Wrap
- Black spray paint
- Brown spray paint
- Gray spray paint
- One and a quarter inch PVC pipe
- One inch PVC pipe
- PVC pipe elbow connectors
- Zip ties
- Decorations (skulls, lizard skeleton)
DIY Pool Noodle Halloween Decor
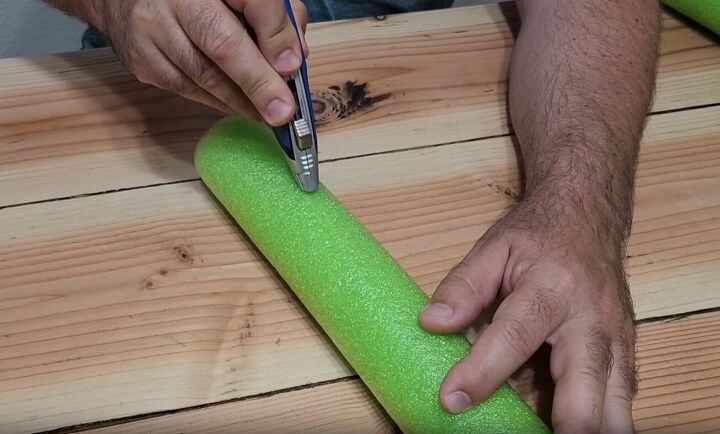
1. Cut the Pool Noodle
Let's kick things off by grabbing a sharp razor knife. Take your first pool noodle and measure about six inches from the bottom. When you begin cutting, start from the center, but remember, avoid cutting straight down.
Instead, angle the knife to the side. The goal here is to create a wedge shape.
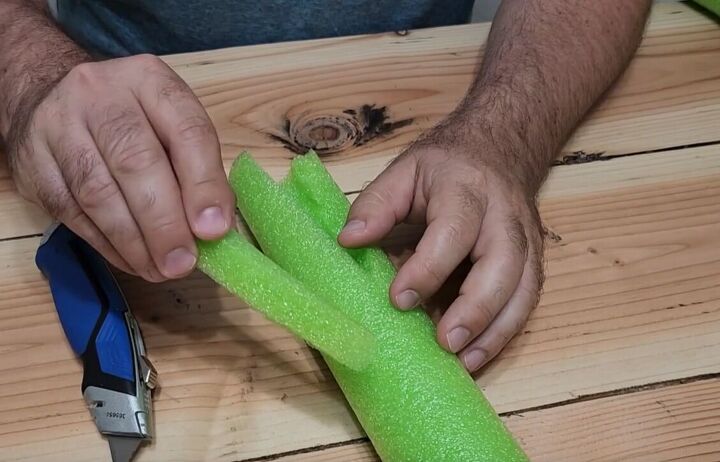
After successfully cutting out the wedge, make sure to set it aside – it'll come in handy down the line.
Now, flip the noodle over completely, ensuring it's turned 180 degrees. Once again, measure six inches from the bottom and cut diagonally to form another wedge on the opposite side.
Don't forget to save this second wedge too – it'll have a role to play later on.
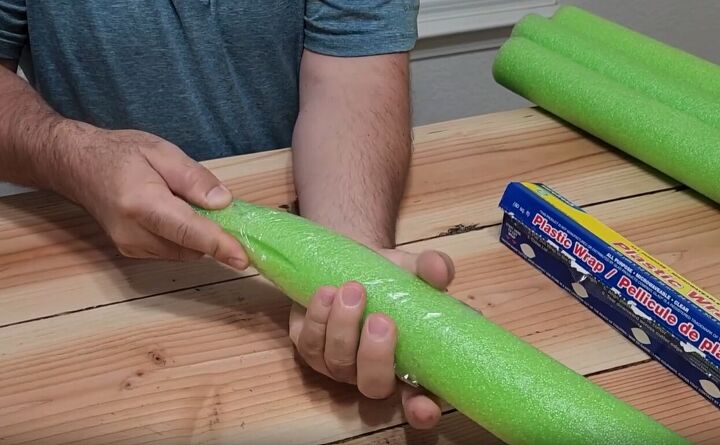
2. Cover the Pool Noodles
Wrap some Saran Wrap around the edge of the pool noodle you just cut. Bring the two ends together, forming a point. There's no need to worry about making the Saran Wrap neat – it's all about to change.
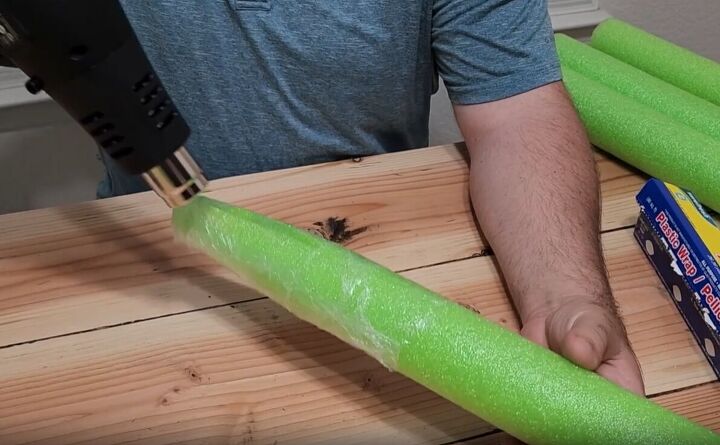
Armed with a heat gun, gradually apply heat to the wrapped noodle, allowing the Saran Wrap to melt and fuse around it. Take care not to overheat, though; the goal here is to shrink wrap the noodle.
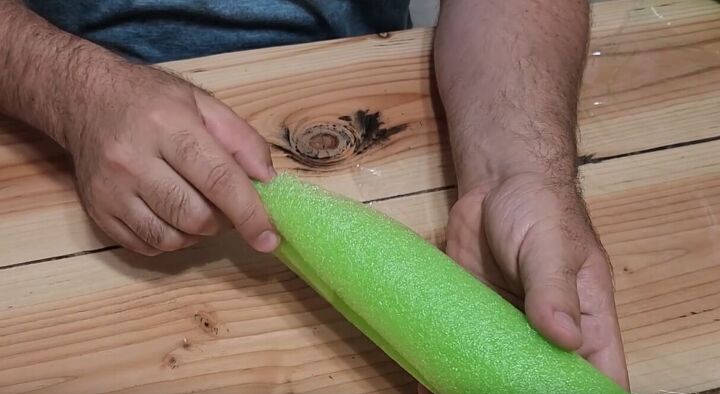
Now, take one of the wedges you removed and position it at the top of another cut pool noodle. This clever addition will create a longer, sharper point. Cover this with Saran wrap as well, circling it around. The look doesn't need to be perfect; remember, we're aiming for that textured appearance.
You might be wondering about the gaps in the arrangement – don't stress over them. These imperfections will be concealed by paint later on.
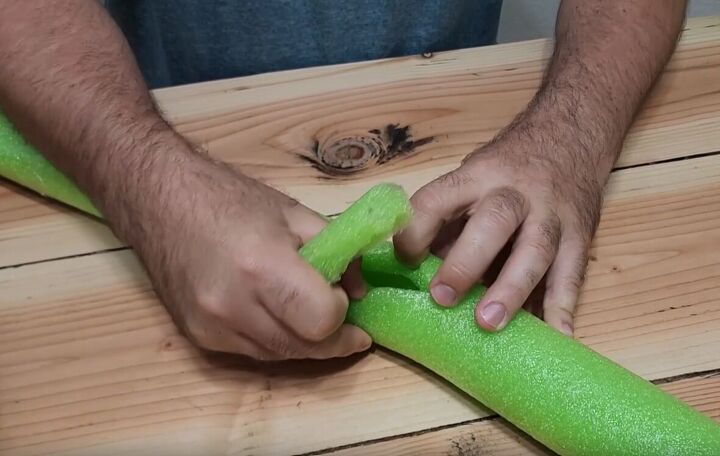
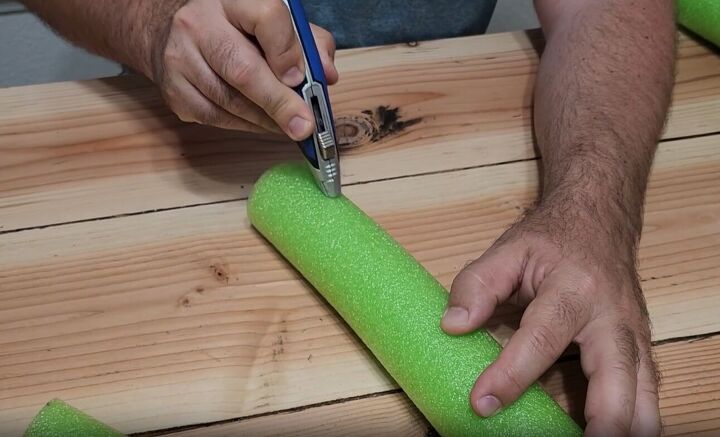
Let me show you how to add thorns to your branches for an extra eerie effect. Cut a small slit in the middle of a pool noodle and insert one of the wedges at an angle.
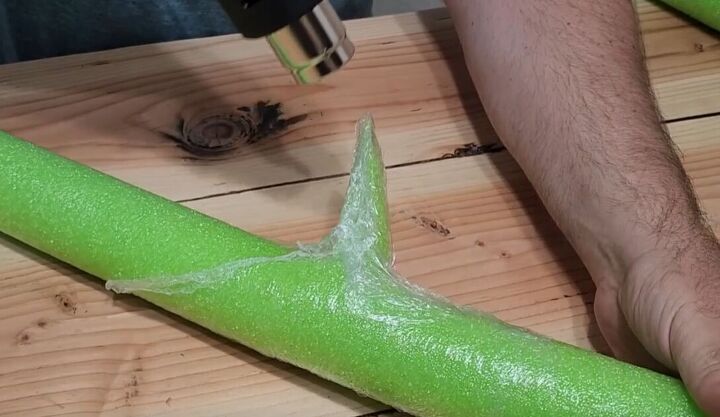
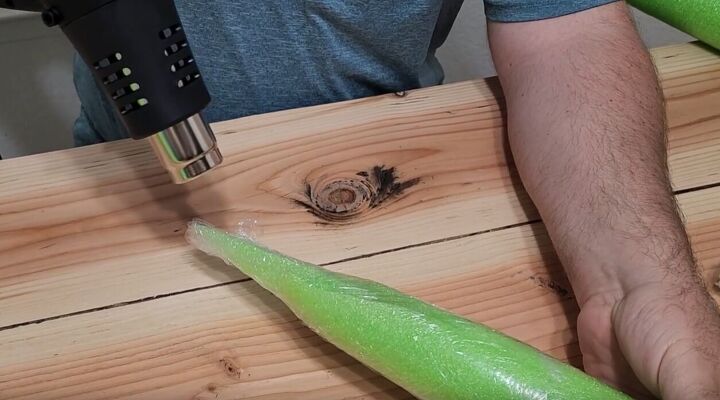
Cover this with Saran wrap and shrink it onto the pool noodle with your heat gun.
Keep repeating these steps across multiple pool noodles, ensuring everything is wrapped with Saran wrap and securely shrink-wrapped. I made about 15 pool noodles for my scary Halloween arch.
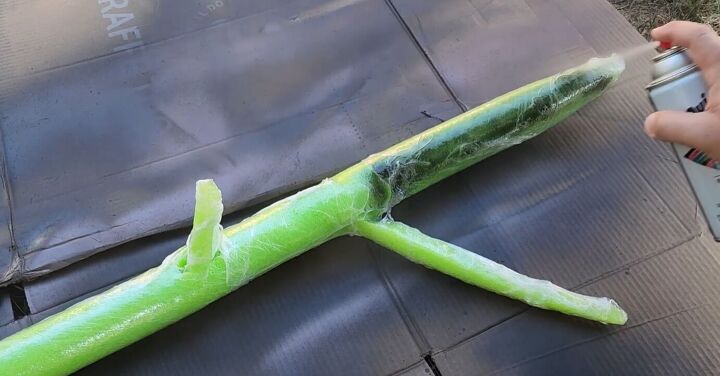
3. Spray Paint the Branches
Now, it's time to head outdoors for the next step. We're going to apply a base coat to the arch. I personally chose black for this step. Give the entire arch a good even coat of paint. It might be a bit tricky to completely cover up any remaining green colors, but don’t worry, we'll do some touch-ups, later on, to make everything look just right.
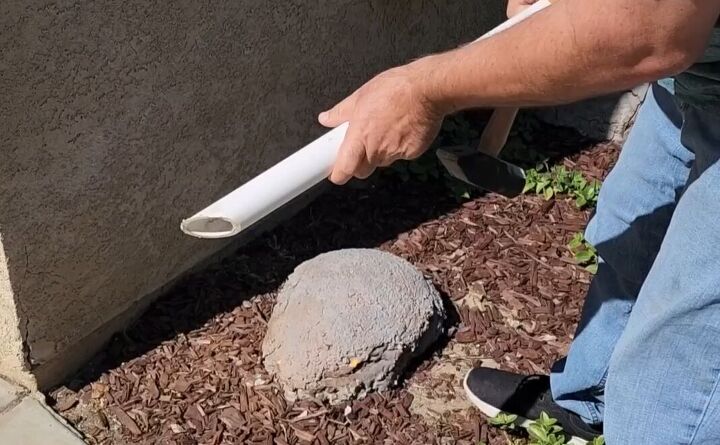
4. Build the Archway
Next up, I took a PVC pipe that was one and a quarter inches wide. I cut it at a 45-degree angle so I could stick it into the ground. This pipe will be the strong base of the arch.
I placed one of these on both sides of the sidewalk.
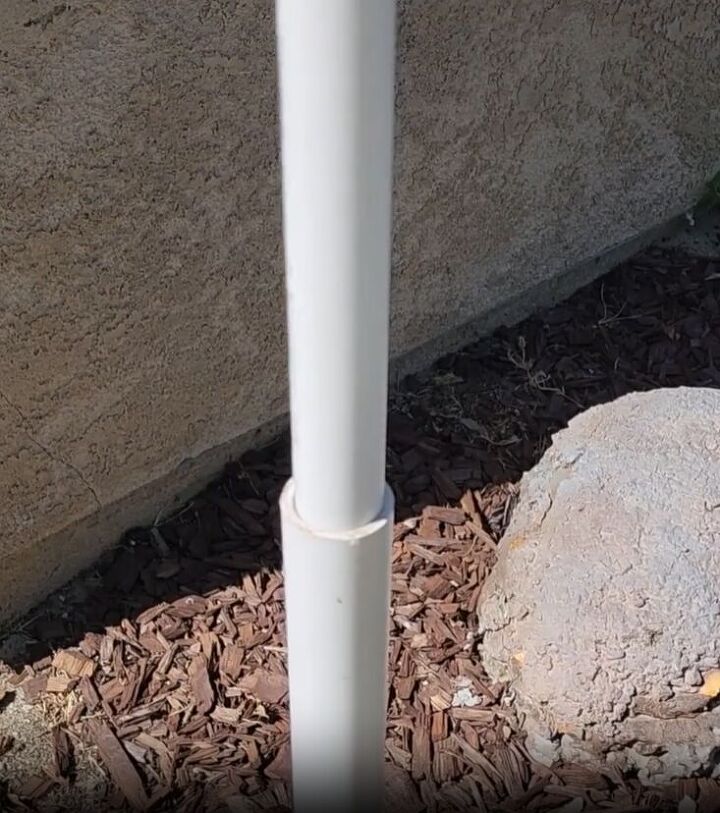
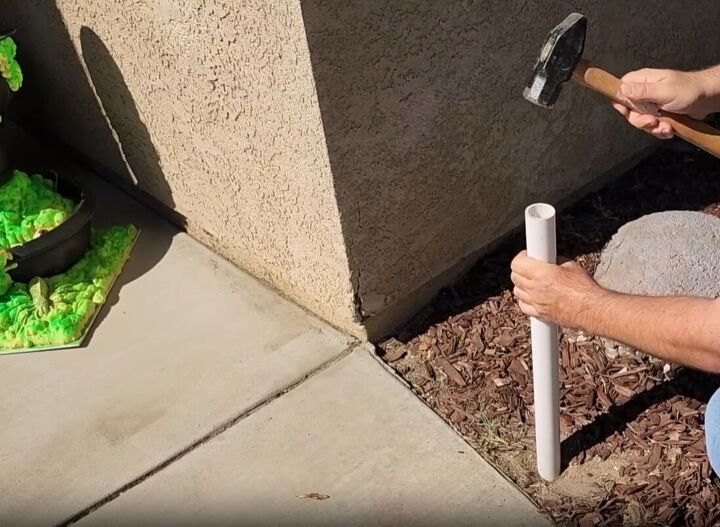
After that, I got a one-inch PVC pipe and cut it to fit. This smaller pipe fits nicely inside the bigger one, making the whole structure strong and sturdy. Add elbow connectors to the top of these pipes and connect the two sides with another pipe, creating an arch.

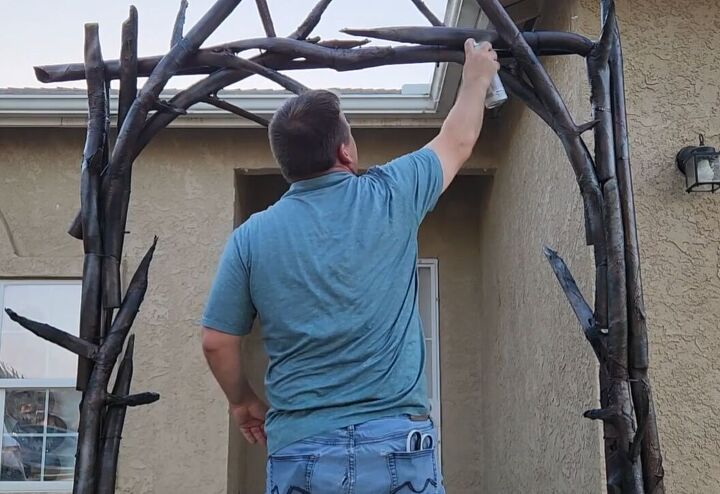
5. Cover the Arch with Faux Branches
Now, let's grab some zip ties. Take those faux spooky branches and start securing them along the edge of the arch using the zip ties.
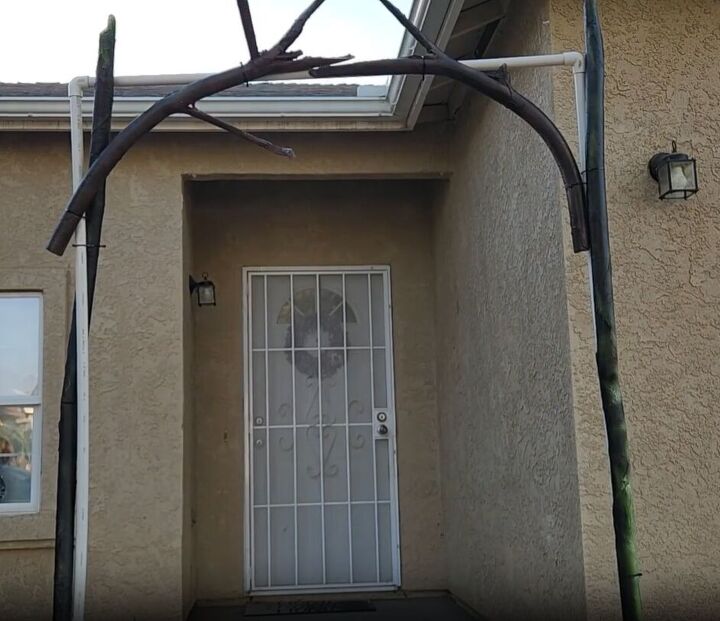
Begin by attaching the pool noodles wherever you think they fit well.
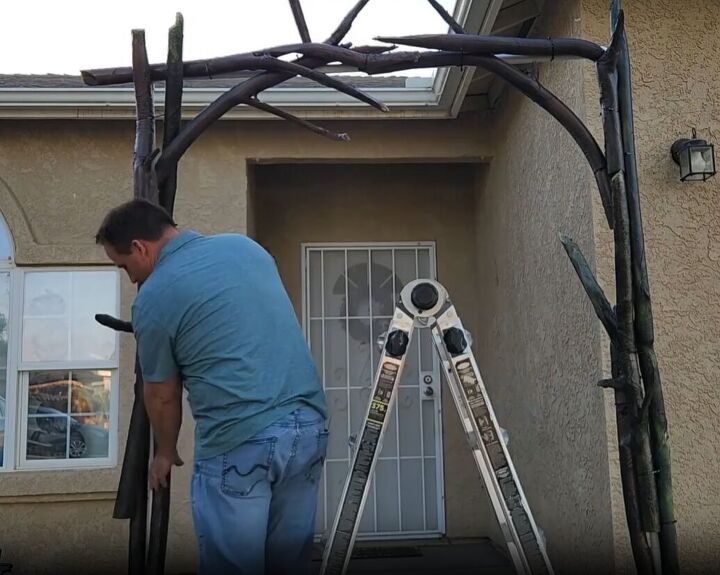
As you can see, I went all around the arch, focusing on the spots that needed them most, ensuring the PVC pipe is concealed as much as possible. Be creative with your placements, using the zip ties generously.
Once they're in place, trim any extra length from the zip ties.
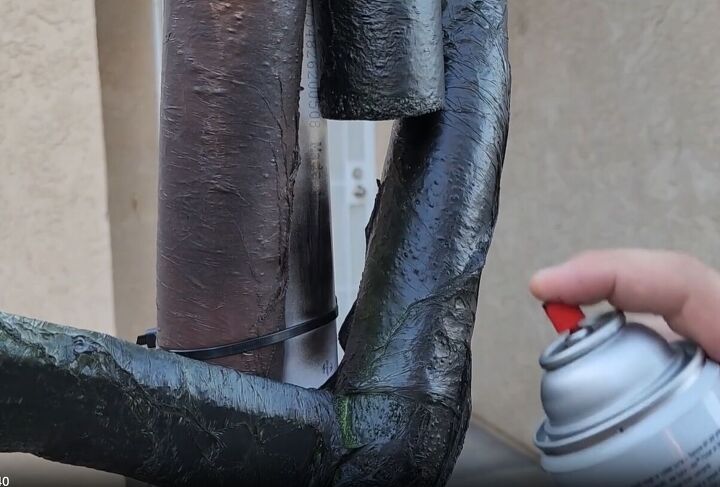
After you've managed to cover everything, pick up some black paint. Any PVC pipe that's still visible, just go ahead and paint it black to match.
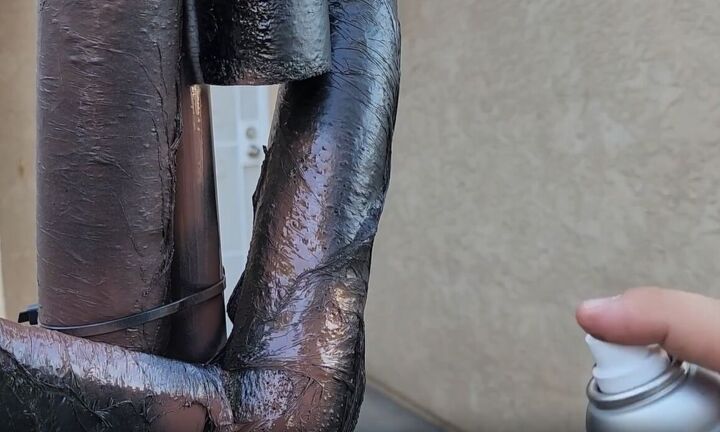
Now, it's time to add a bit of depth. Get hold of some brown paint and add a touch – not too much – just a hint will do.
And to wrap things up, I went for gray. Apply it randomly all around; this step adds a subtle texture. You'll be amazed at how it starts resembling a genuine branch, thanks to the combination of Saran wrap and paint.
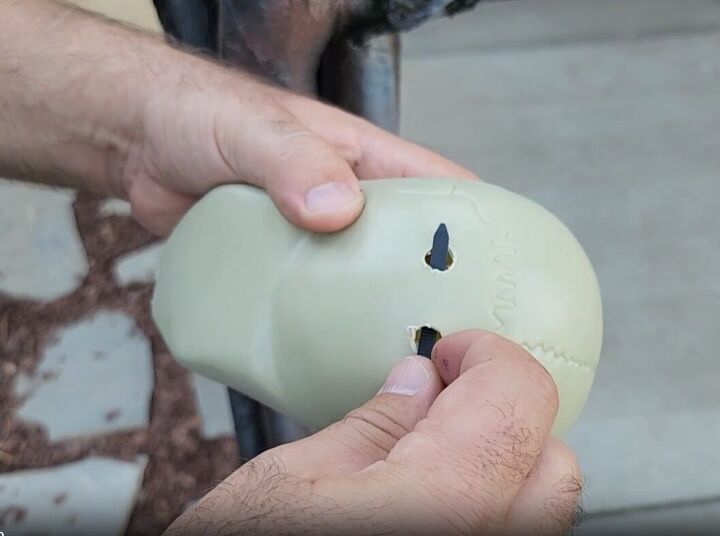
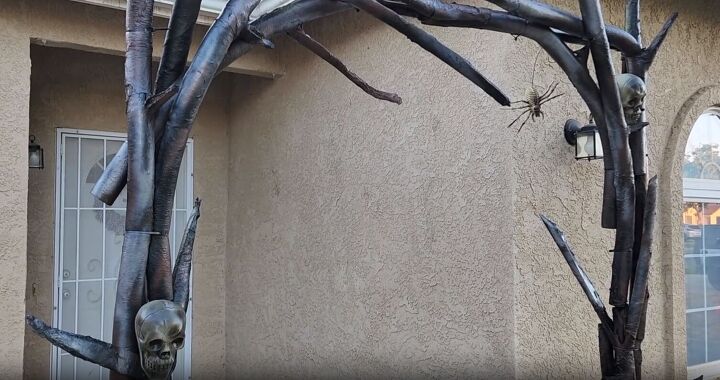
Now, for the final touch – let's take some skulls and drill two holes on the back.
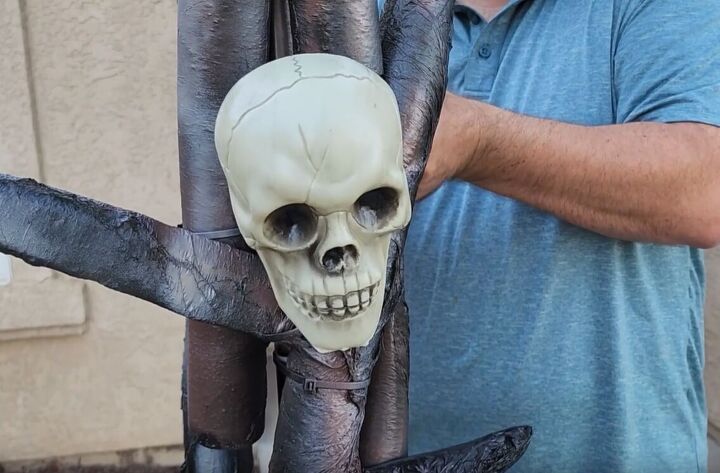
You can find these at Dollar Tree. Using a zip tie, thread it through the back of the skull. This is how we're going to secure it to the arch we've been working on.
Once it's in place, zip tie it tightly, adding a touch of black paint for some extra flair.
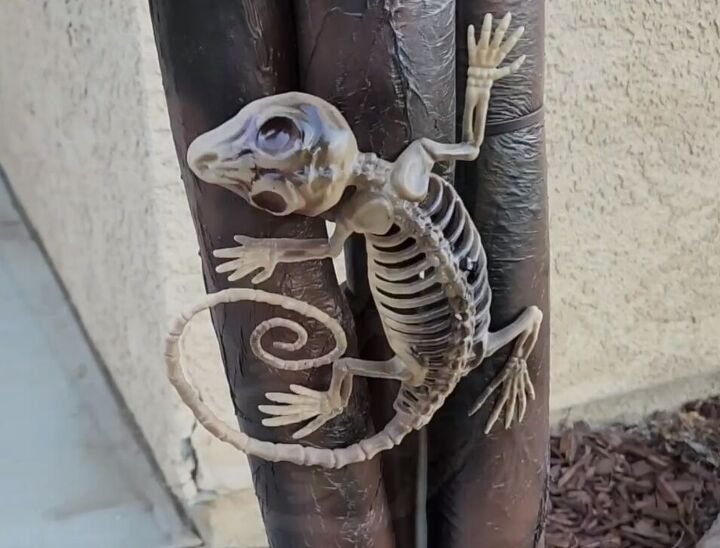
And here's another gem from Dollar Tree: a miniature lizard skeleton. It adds a fantastic touch to the arch, enhancing its overall appearance.
More Halloween Front Yard Ideas
Halloween Arch Tutorial
To sum it up, what began as a bundle of pool noodles and a spark of creativity has now transformed into a captivating Halloween arch that's sure to leave a lasting impression on all your trick or treaters.
I hope this project has been as enjoyable for you as it has been for me. Share your thoughts, experiences, and any spooky twists you've added in the comments below. I'd love to hear about your unique take on this holiday craft idea and the delightful chills it's bound to bring.
Comments
Join the conversation
-
Love it!
-
Hey this is cool. So many arches are plastic pumpkins, nice enough but yours has a spooky feel that can be embellished friendly spooky or fright spooky. Can be arranged each year to give fresh look every year. I think I see purple lights in the mix thanks for sharing such a fun build


Frequently asked questions
Have a question about this project?