


8 Simple Steps on How to Make Giant Jingle Bells
Are you looking for an amazing holiday decoration but don't want to break the bank? These giant jingle bells will give your holiday décor a nostalgic touch! Plus they are extremely easy to make!
Check out these easy steps on how to make DIY oversized Christmas decorations!
This post was transcribed by a member of the Hometalk editorial team from the original HometalkTV episode.
You can also check out the video tutorial for more information.
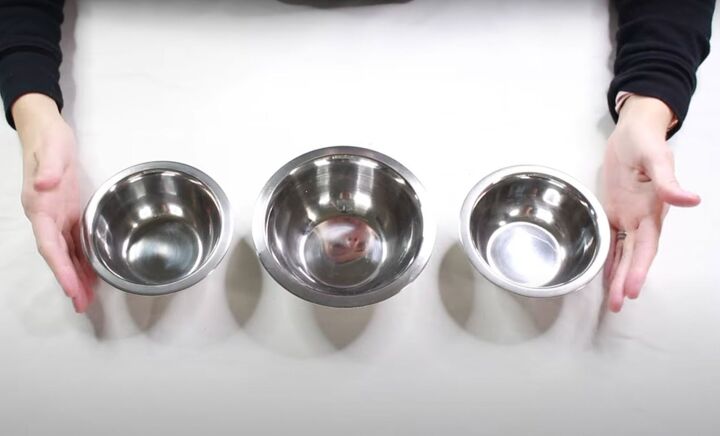
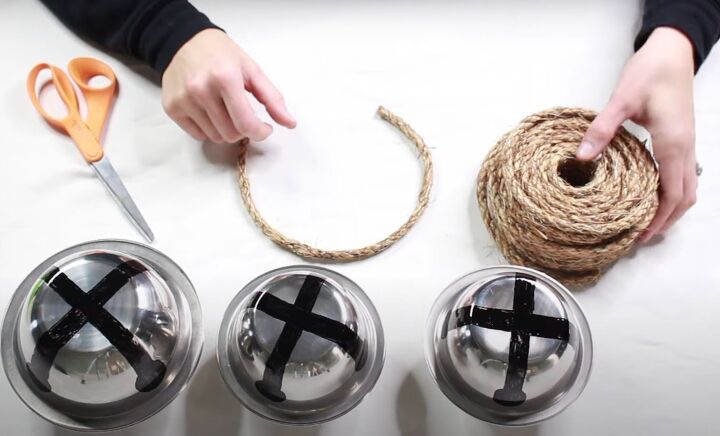
1. Gather your materials for your giant jingle bells
To start this DIY jingle bell craft I picked up six mixing bowls from the Dollar Tree.
I also bought a black sharpie paint pen, rope, burlap and some festive embellishments.
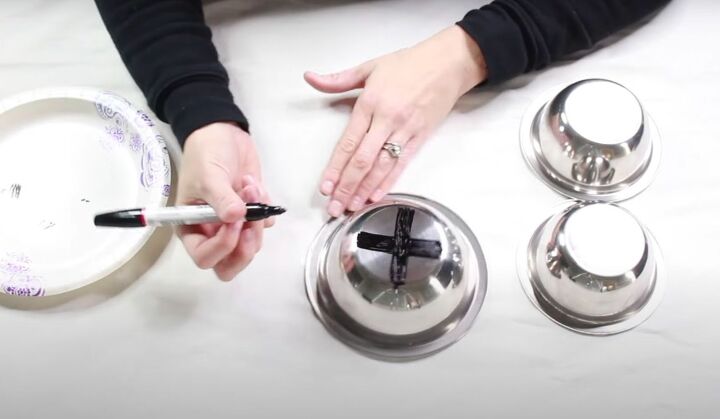
2. Draw on the bottom of the bowl
I used the sharpie paint pen to draw an X across the bottom of a bowl. You want to make the X quite thick and then color it in.

Once I had the X started on the bottom of the bowl, I took the lines part way down the sides and added a circle at the end of each. Now, the bottom of the bowl has a very distinct sleigh bell look.
Repeat this process on two more bowls.
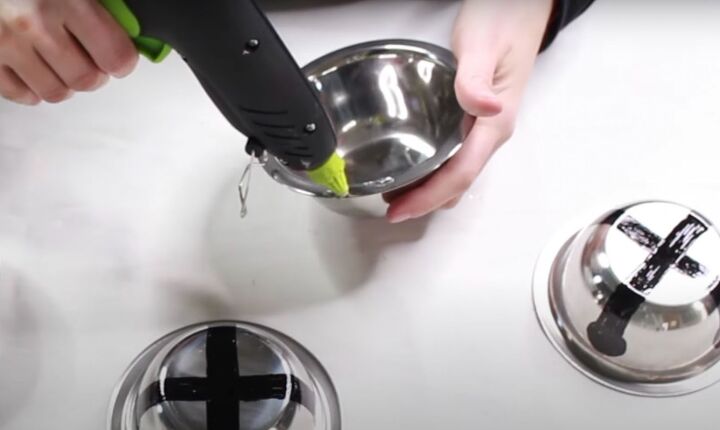
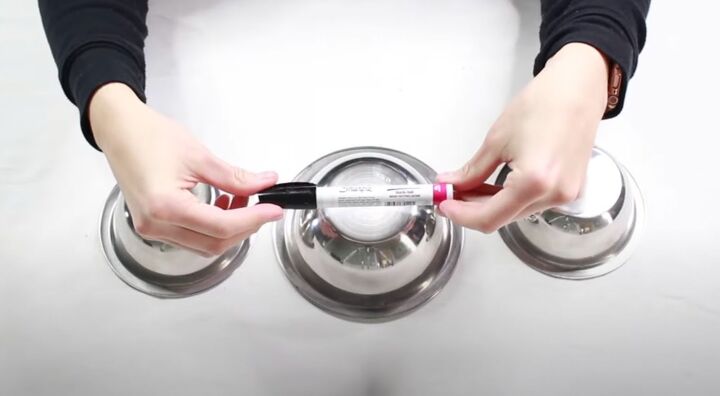
3. Glue the bowls together
Now that the bottoms of my stainless steel bowls are finished with the black paint lines, I want to close them up and create a circular shape by attaching them each to another bowl. To do that, I just added hot glue to the rims of each and stuck them together.
4. Add rope
Next, I took some jute rope and measured out three pieces to attach to the tops of my DIY jingle bell craft. I made sure to have enough to overlap them a bit.
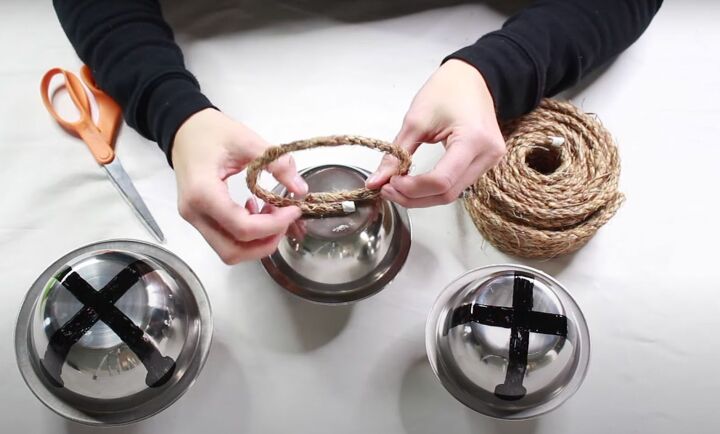
I then hot glued the jute rope to the top of each sleigh bell.
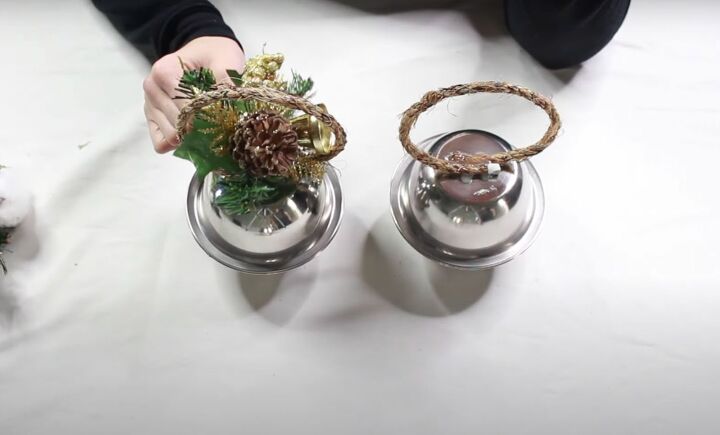
5. Add embellishments
With the rope attached, I wanted to add some embellishments to my DIY jingle bell ornament. I found all these festive decorations at the Dollar Tree. I used hot glue to add the pieces to the tops and made sure there was some at the front and back of the bells to hide the glue.
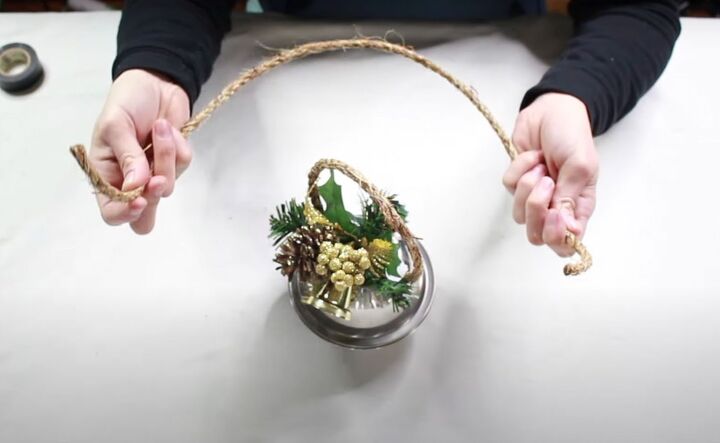
6. Attach rope for hanging your sleigh bells
Next, I added lengths of the same jute twine so that I could hang the giant jingle bell decoration.
I recommend that you measure how long you want the cord to be according to where you plan on hanging the sleigh bells. Make sure to include enough to overlap the rope at the top.
I wanted two of my bells to be a little shorter so I took that into consideration when adding the rope.
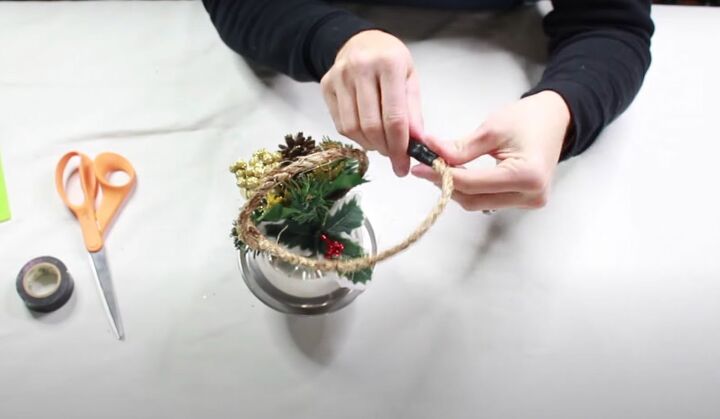
With the rope cut, I slipped it through the first jute loop on the top of the bell and hot glued the ends together. I also reinforced my rope joints with black electrical tape.
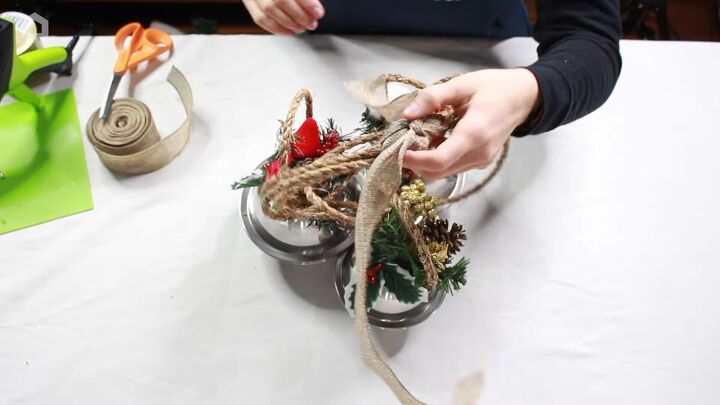
7. Attach the giant jingle bells together
I attached my 3 sleigh bells together by wrapping them at the top with burlap ribbon. Be sure to give yourself a little bit of extra length so that you can easily tie the decoration to wherever you choose to display it.

8. Add a bow
For a finishing touch, I took a cute little bow that I also got from Dollar Tree and stuck it to the burlap ribbon.
More DIY sleigh bells
Make your own sleigh bells tutorial
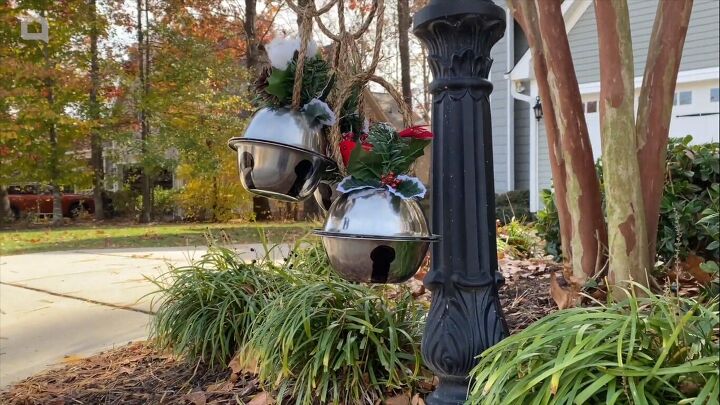
I decided to hang my sleigh bells from my mailbox. They are so cute and add such a festive touch.
I hope you enjoyed this tutorial on how to make DIY Christmas bells. It was really inexpensive and easy to make; perfect for the holidays.
Let me know what you think of this fun project!


Comments
Join the conversation
-
Enjoyed. Wonderful and imaginative idea!
-
Love this idea and can hardly wait to get started!


Frequently asked questions
Have a question about this project?
Does the marker hold up in weather or do you need a protective coating?
Hi great idea, Just wondering why you didn’t mark the top of the bells to look match the bottom.. I realize you can do this, and it’s just a matter of taste, they are a Lovely idea.. Thank you